10 Tips For The Perfect DAW template
Sick of loading up your DAW and getting nowhere? Here are 10 tips to help you create the perfect DAW template and improve your workflow…
Setting up a template in your DAW can be a great way to enhance your workflow. Loading it up as a new project can be the perfect starting point, with everything ready for you to start making music immediately. Here are 10 tips to get you going…
1. Set up midi and audio tracks with your favourite instruments
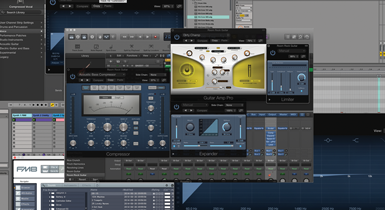
The most basic template requirement is to set up both MIDI and audio channels with your favourite instruments or samples. This will give you a good starting point, as you’ll know you have a decent armoury already installed and ready to get producing with. We always say you should get to know a few instruments well and use these as your core template plug-ins. You’ll be surprised at how few plug-ins can go a long way, once you really get to know them.
2. Name and colour everything logically
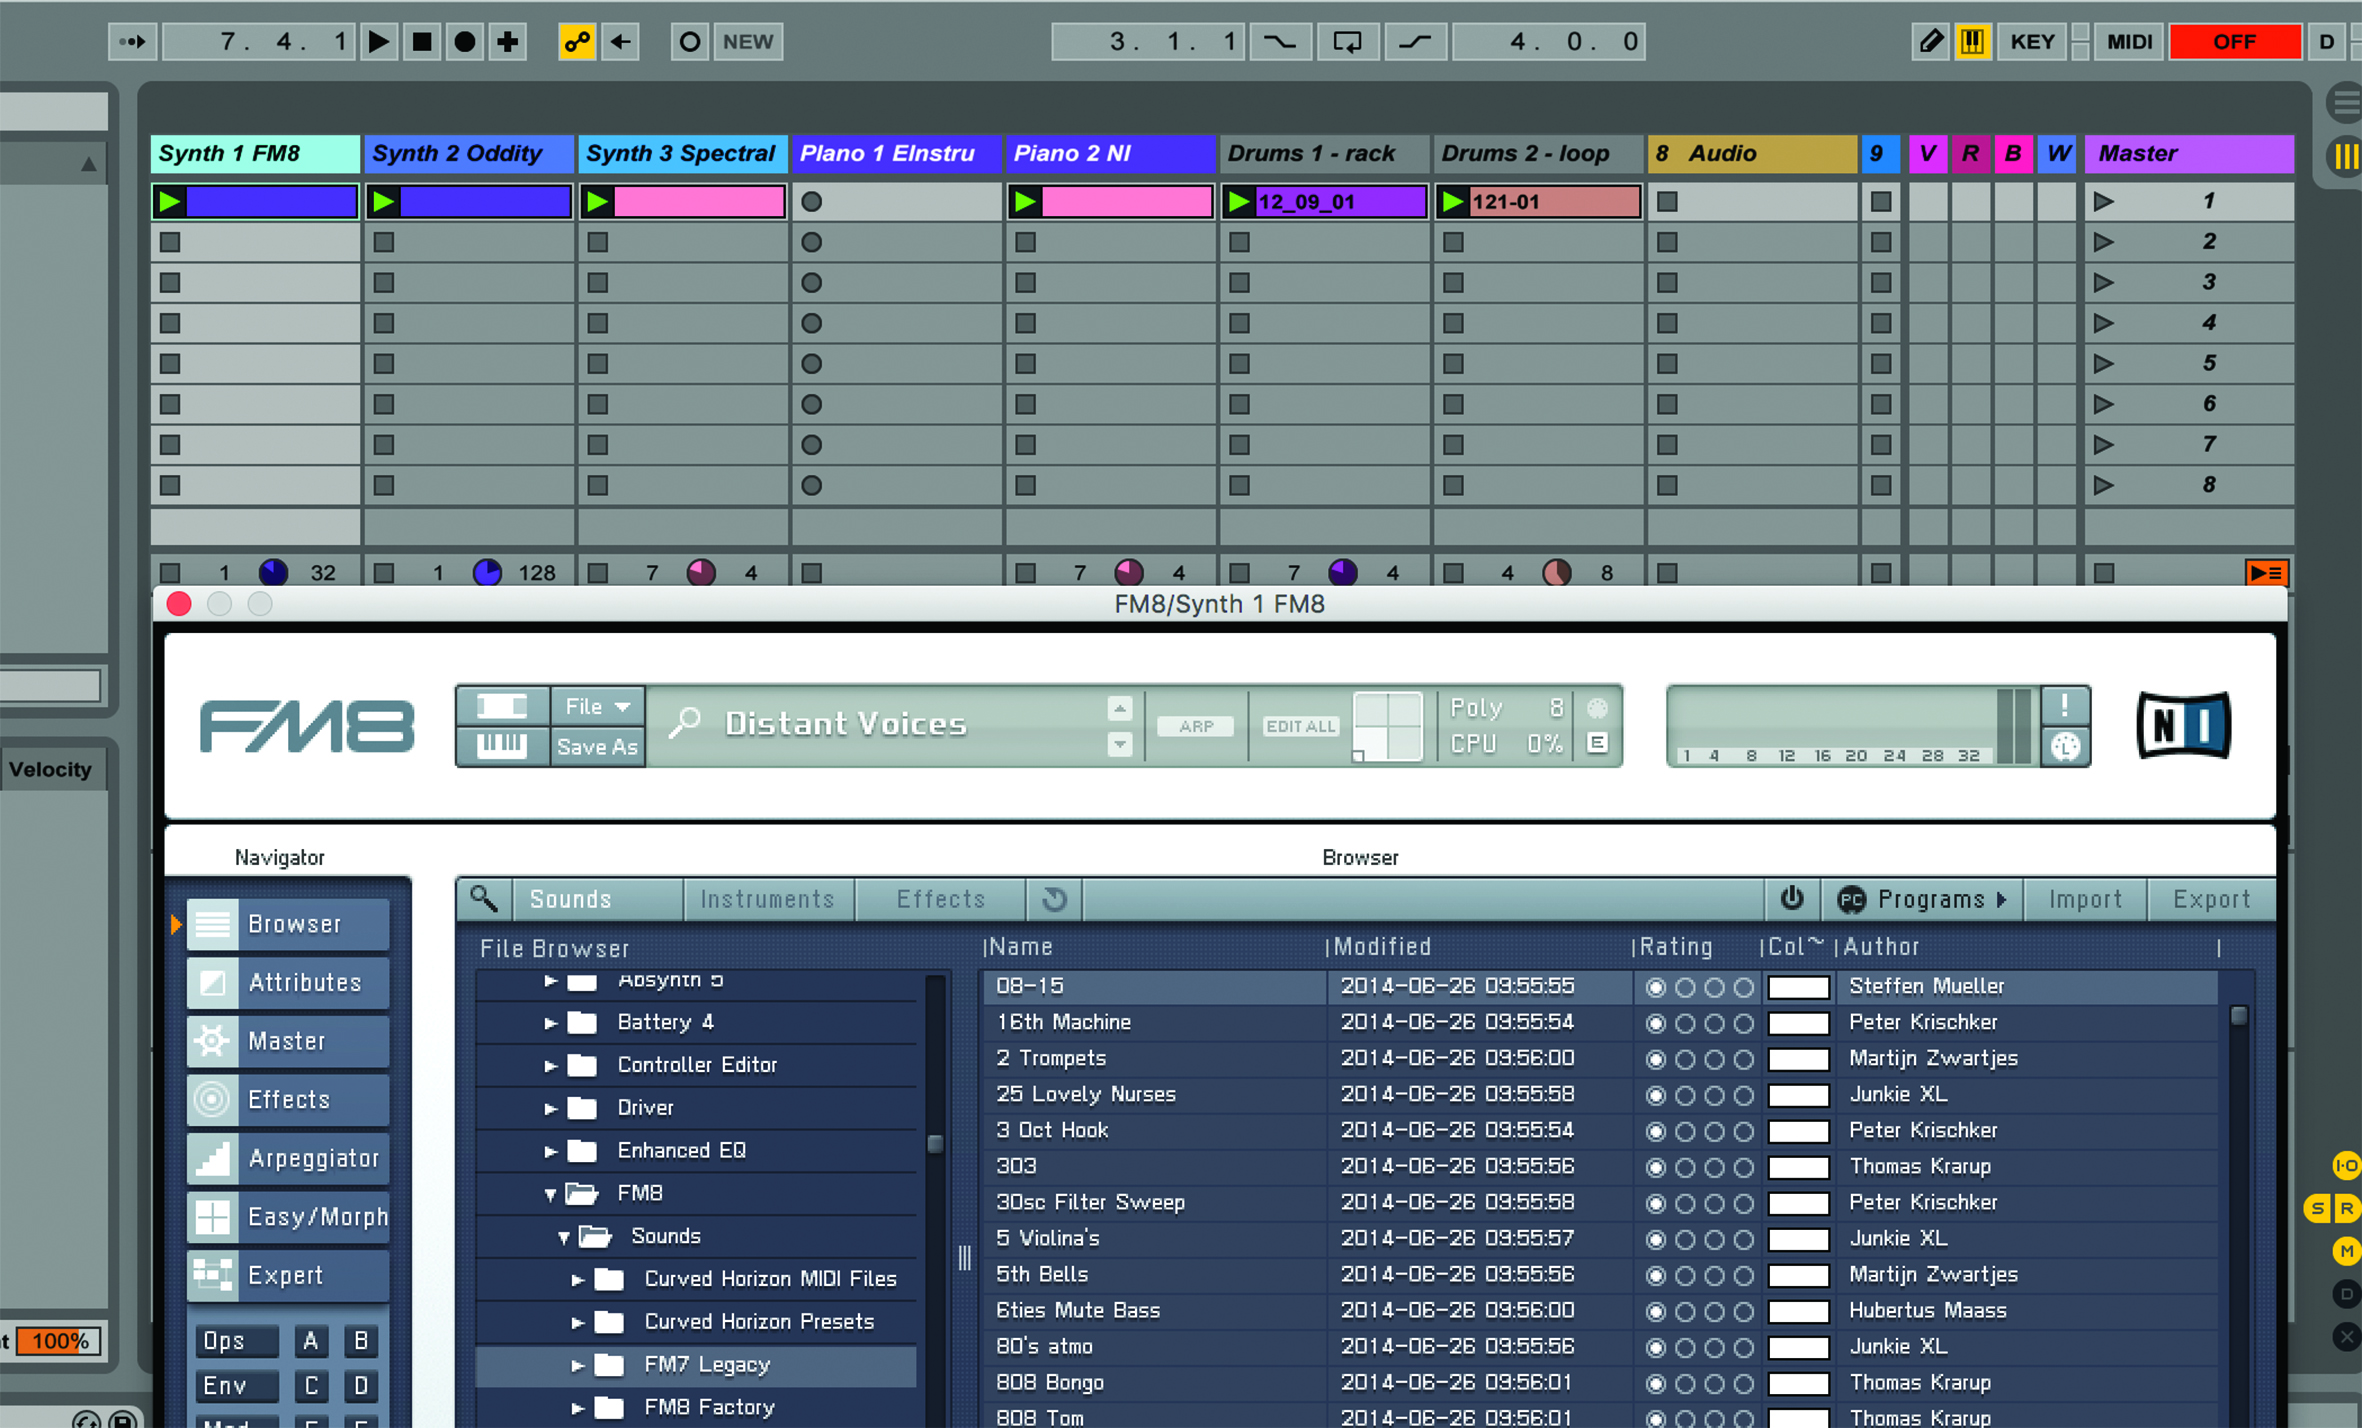
As soon as you start recording in most DAWs, the recorded information assumes the same name as whatever track you are recording. Most DAWs start with Audio 1, 2, 3 or MIDI 1, 2, 3 and so on, which isn’t that helpful down the production line (what the heck does ‘Audio 1’ mean?). So give your tracks decent names, even at the template stage, and it will save time naming tracks and recorded data later. Use a lot of synths?
Name them Synth 1 [name of plug-in]; Synth 2 [name of plug-in] and all your tracks will assume those names. Make sure you have a colour code, too, and stick with it for instrument, MIDI and audio tracks. How you do this is up to you: purple for pianos? Grey for percussion? Choose a code and stick to it.
3. Use the same channels consistently
And while we’re at it, assign the same instruments and audio to the same channels each time. So, for example, audio channels 1 through 5 could be vocals; channels 6 through 10 could be guitars and so on. This might sound obvious, but once you start working in a templated way, where all of your songs have everything in the same place – and are using the same colour scheme – every time you load up a song, it will become second nature to navigate around each one.
4. Add standard effects to everything
It’s not just instruments that can be templated. Why not add effects to every single channel, so you’re ready to go? It used to be that this wasn’t recommended, as it would slow down your projects, but processors are now big enough and strong enough to handle templates bulging with effects and instruments – so go for it. We’d recommend at least a simple EQ on every track, but consider compressors, too. And we’d also recommend specific effects for certain instruments, which we come to now…
5. Use particular effects on record channels
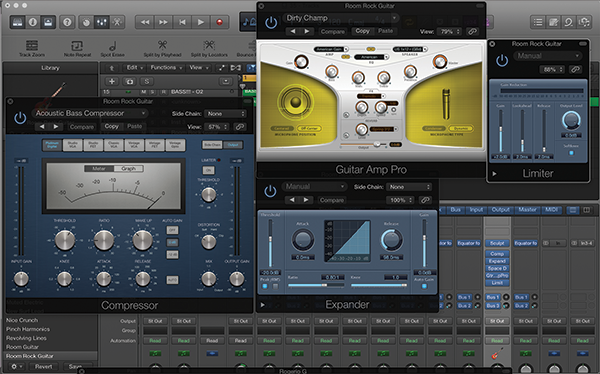
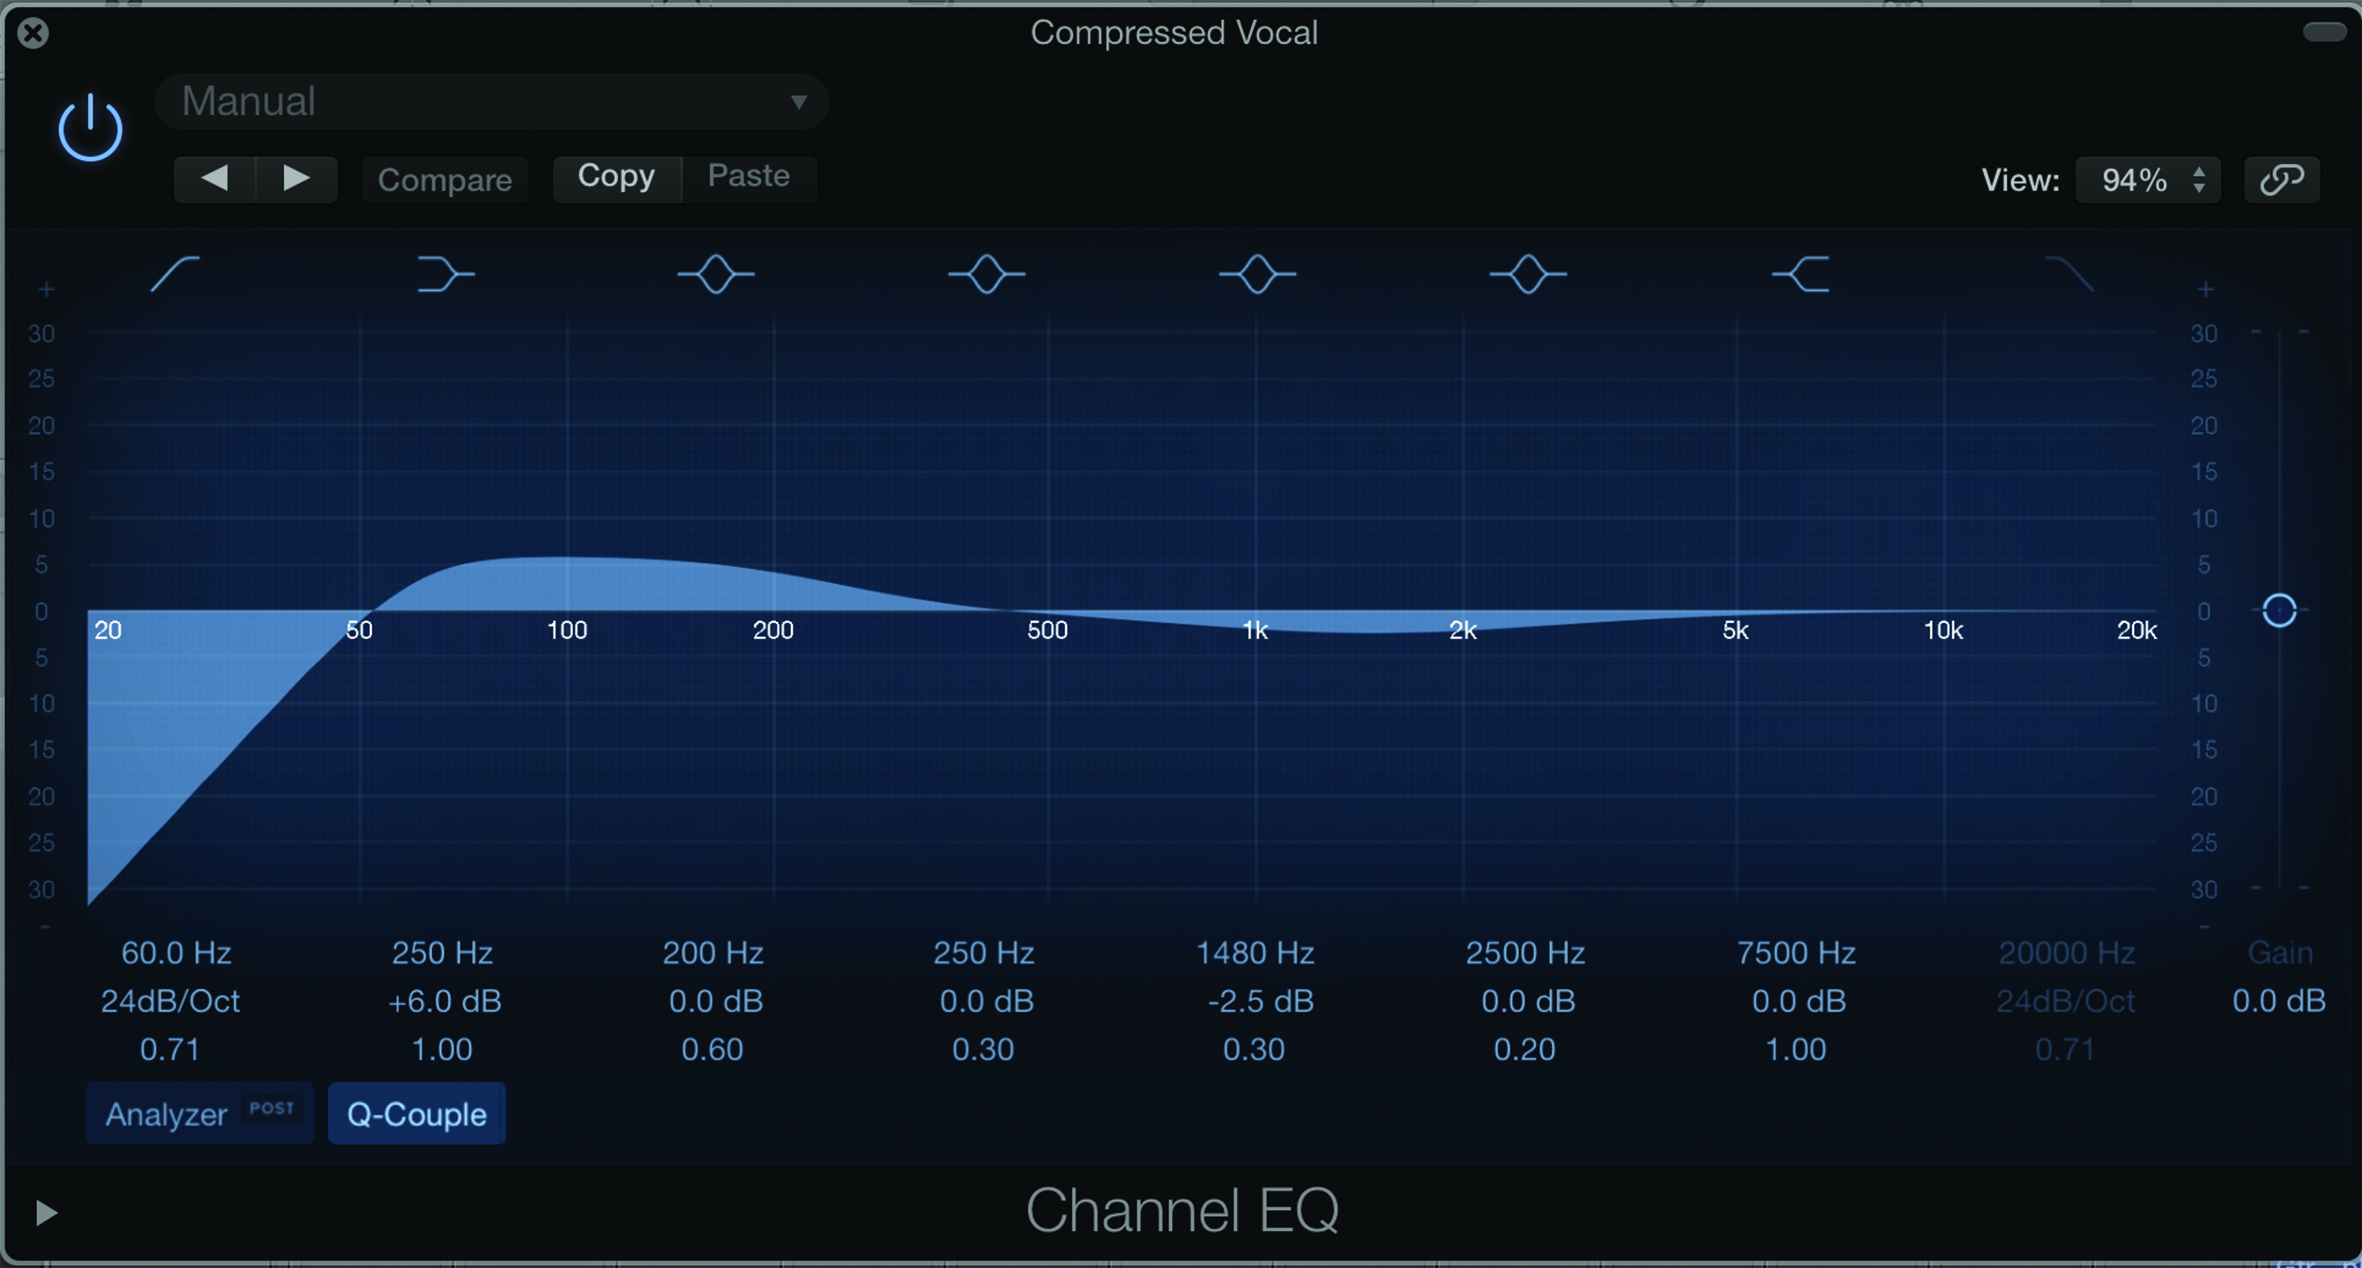
Have a specific set of effects set up in your template to use with your external recordings. So, on audio channels where you might be recording, say, a guitar, consider having a Compressor, Expander, Limiter and guitar-amp simulator pre-installed in your template. For vocal recordings, consider an EQ, Compressor and Exciter combination; for bass guitar, choose an EQ, bass amp, Gate and Compressor; for drums, consider EQ, Compressor and Limiter plug-ins.
6. Use standard MIDI files
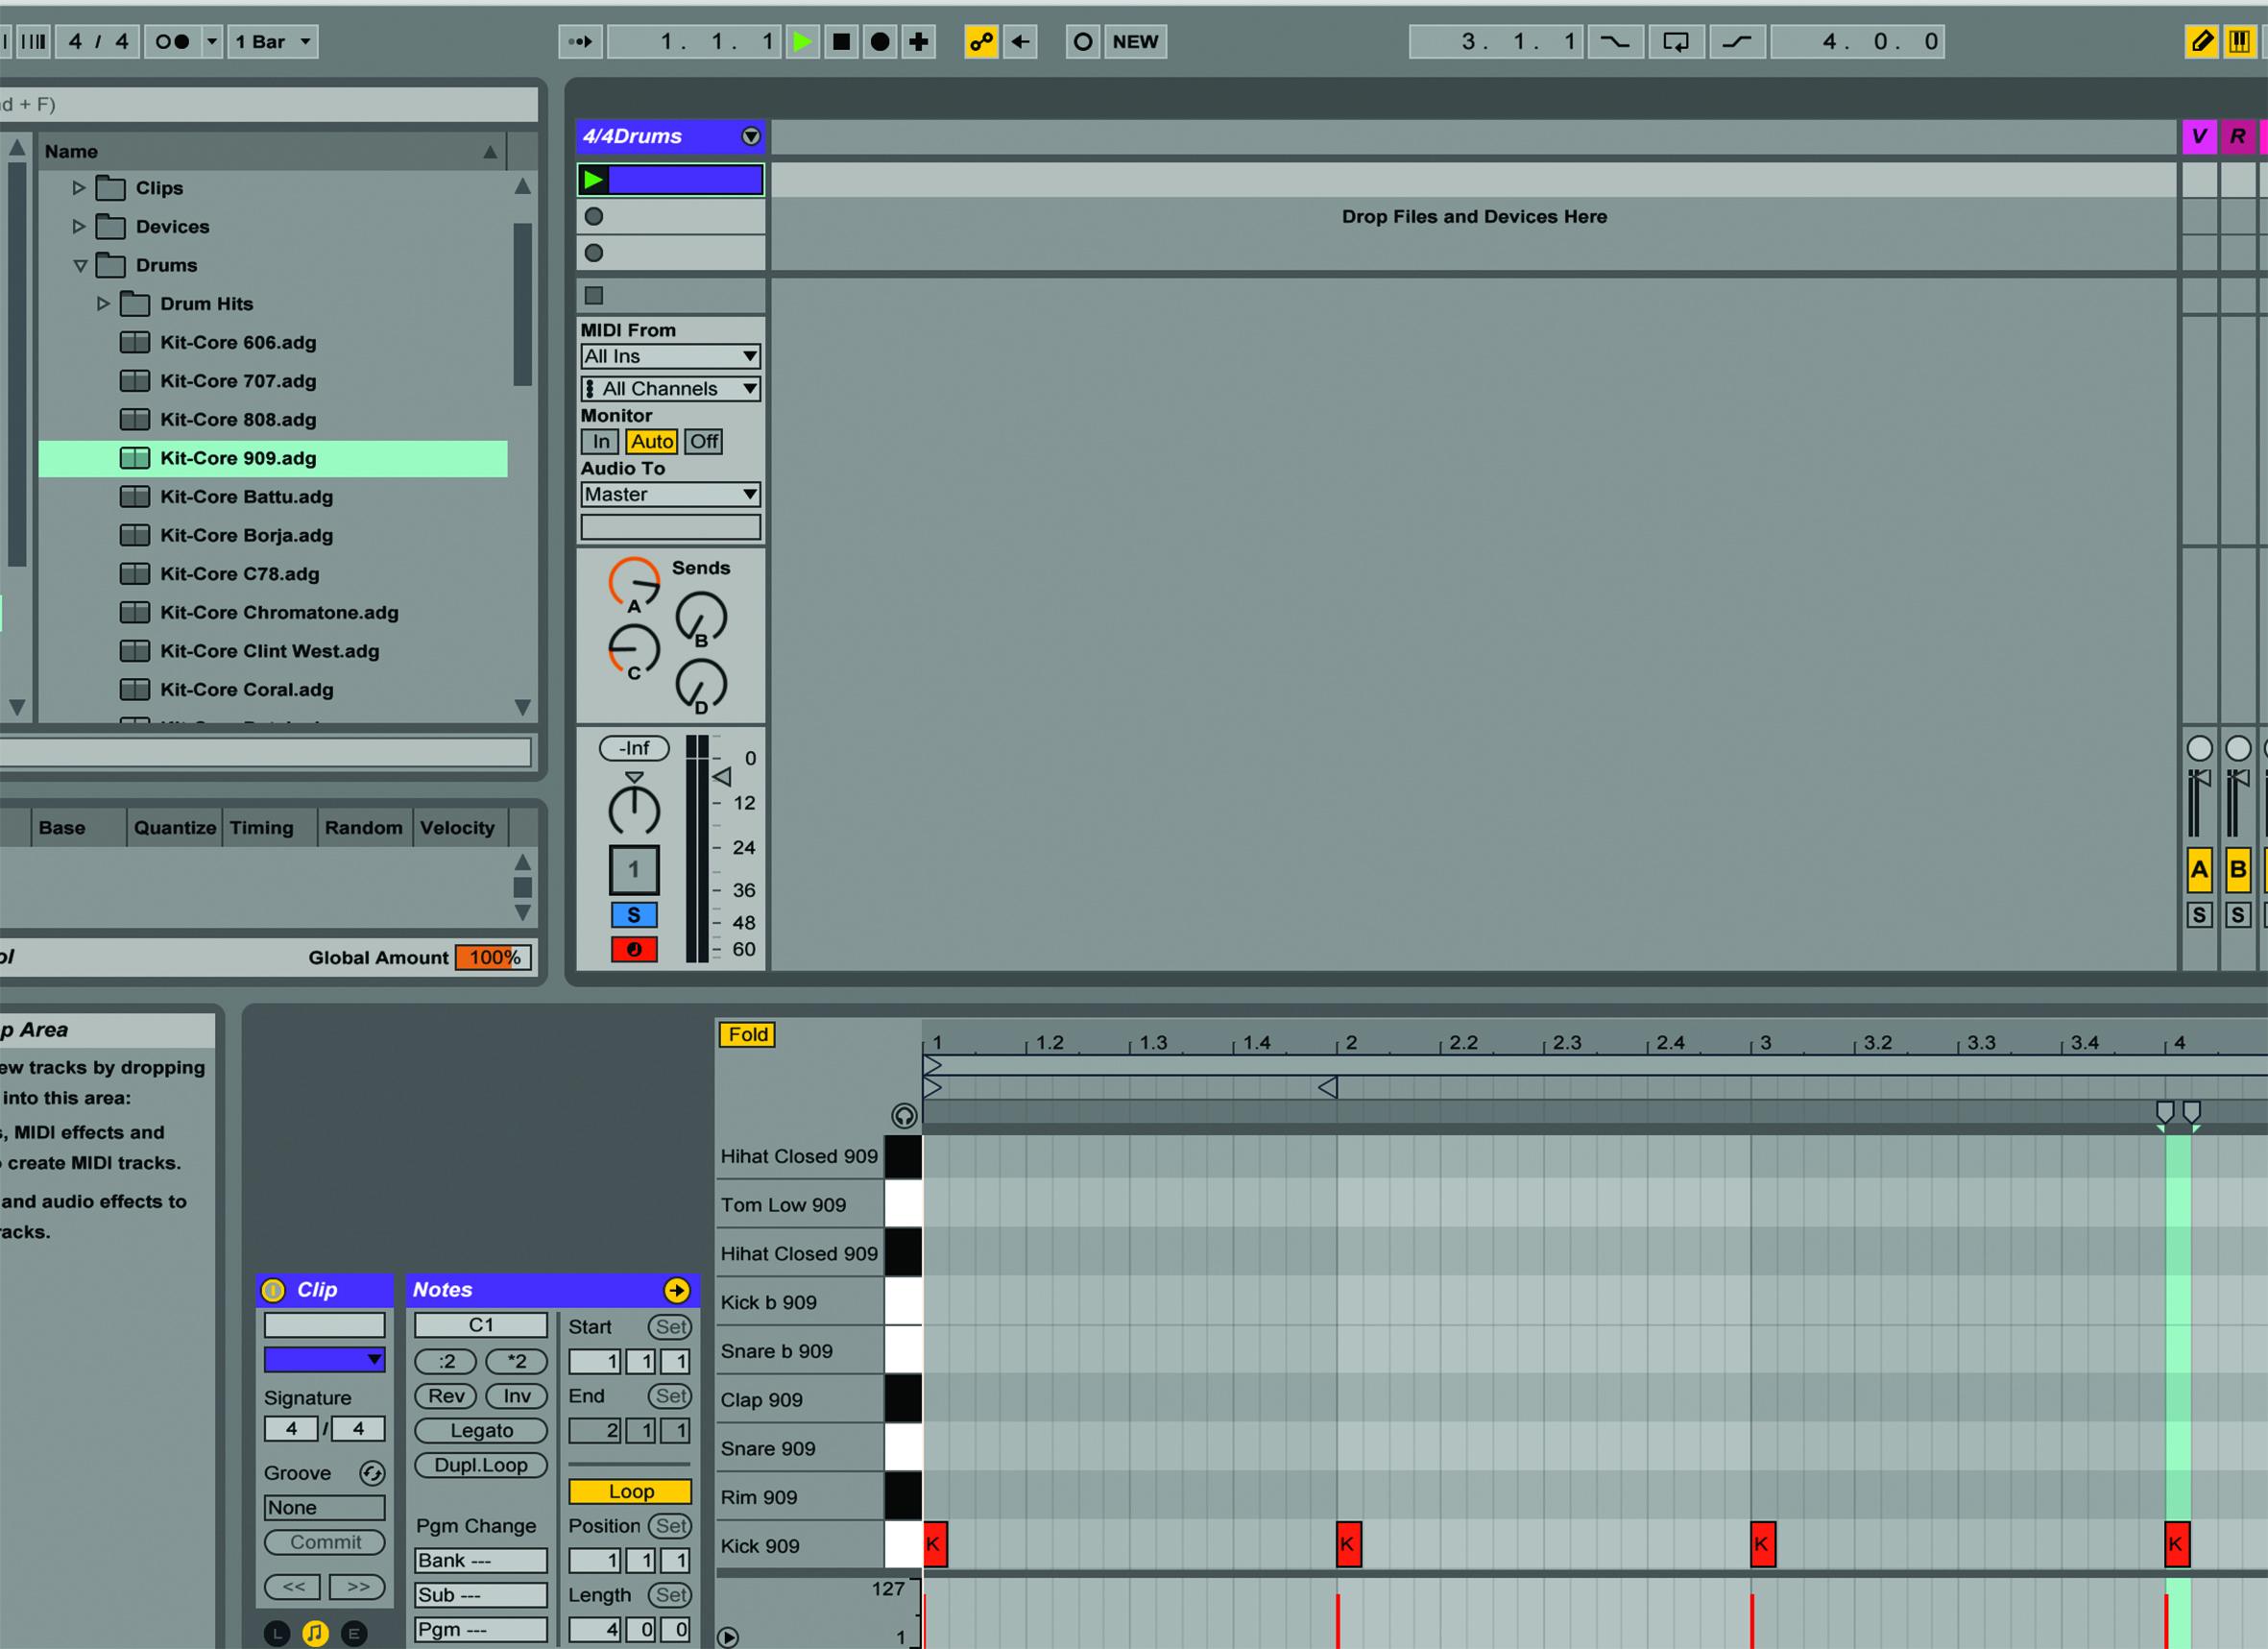
If you’re into producing music of a similar dance style, then consider using loading your template up with your favourite loops and beats in whatever sampler you use. Better still, and slightly more creative, is to use MIDI files of, say, your 4/4 kick or hi-hats, which you can simply load up to enable you to select a suitable sampled kick or hat respectively. This gives you a little more flexibility and means your notes will always be in the right place thanks to your MIDI file and you can then choose a sound that is more appropriate for the song later.
7. Set up groups
To make changes to certain parts of your song – the drums, vocal parts or guitars, for example – assign them to groups in your mixer. This can be done at the Template stage (and can usually easily be undone later, if needs be), so not only will it save you having to make the same edits to individual channels, but your groups are also there, ready and waiting, when the song loads up.
8. Organise audio
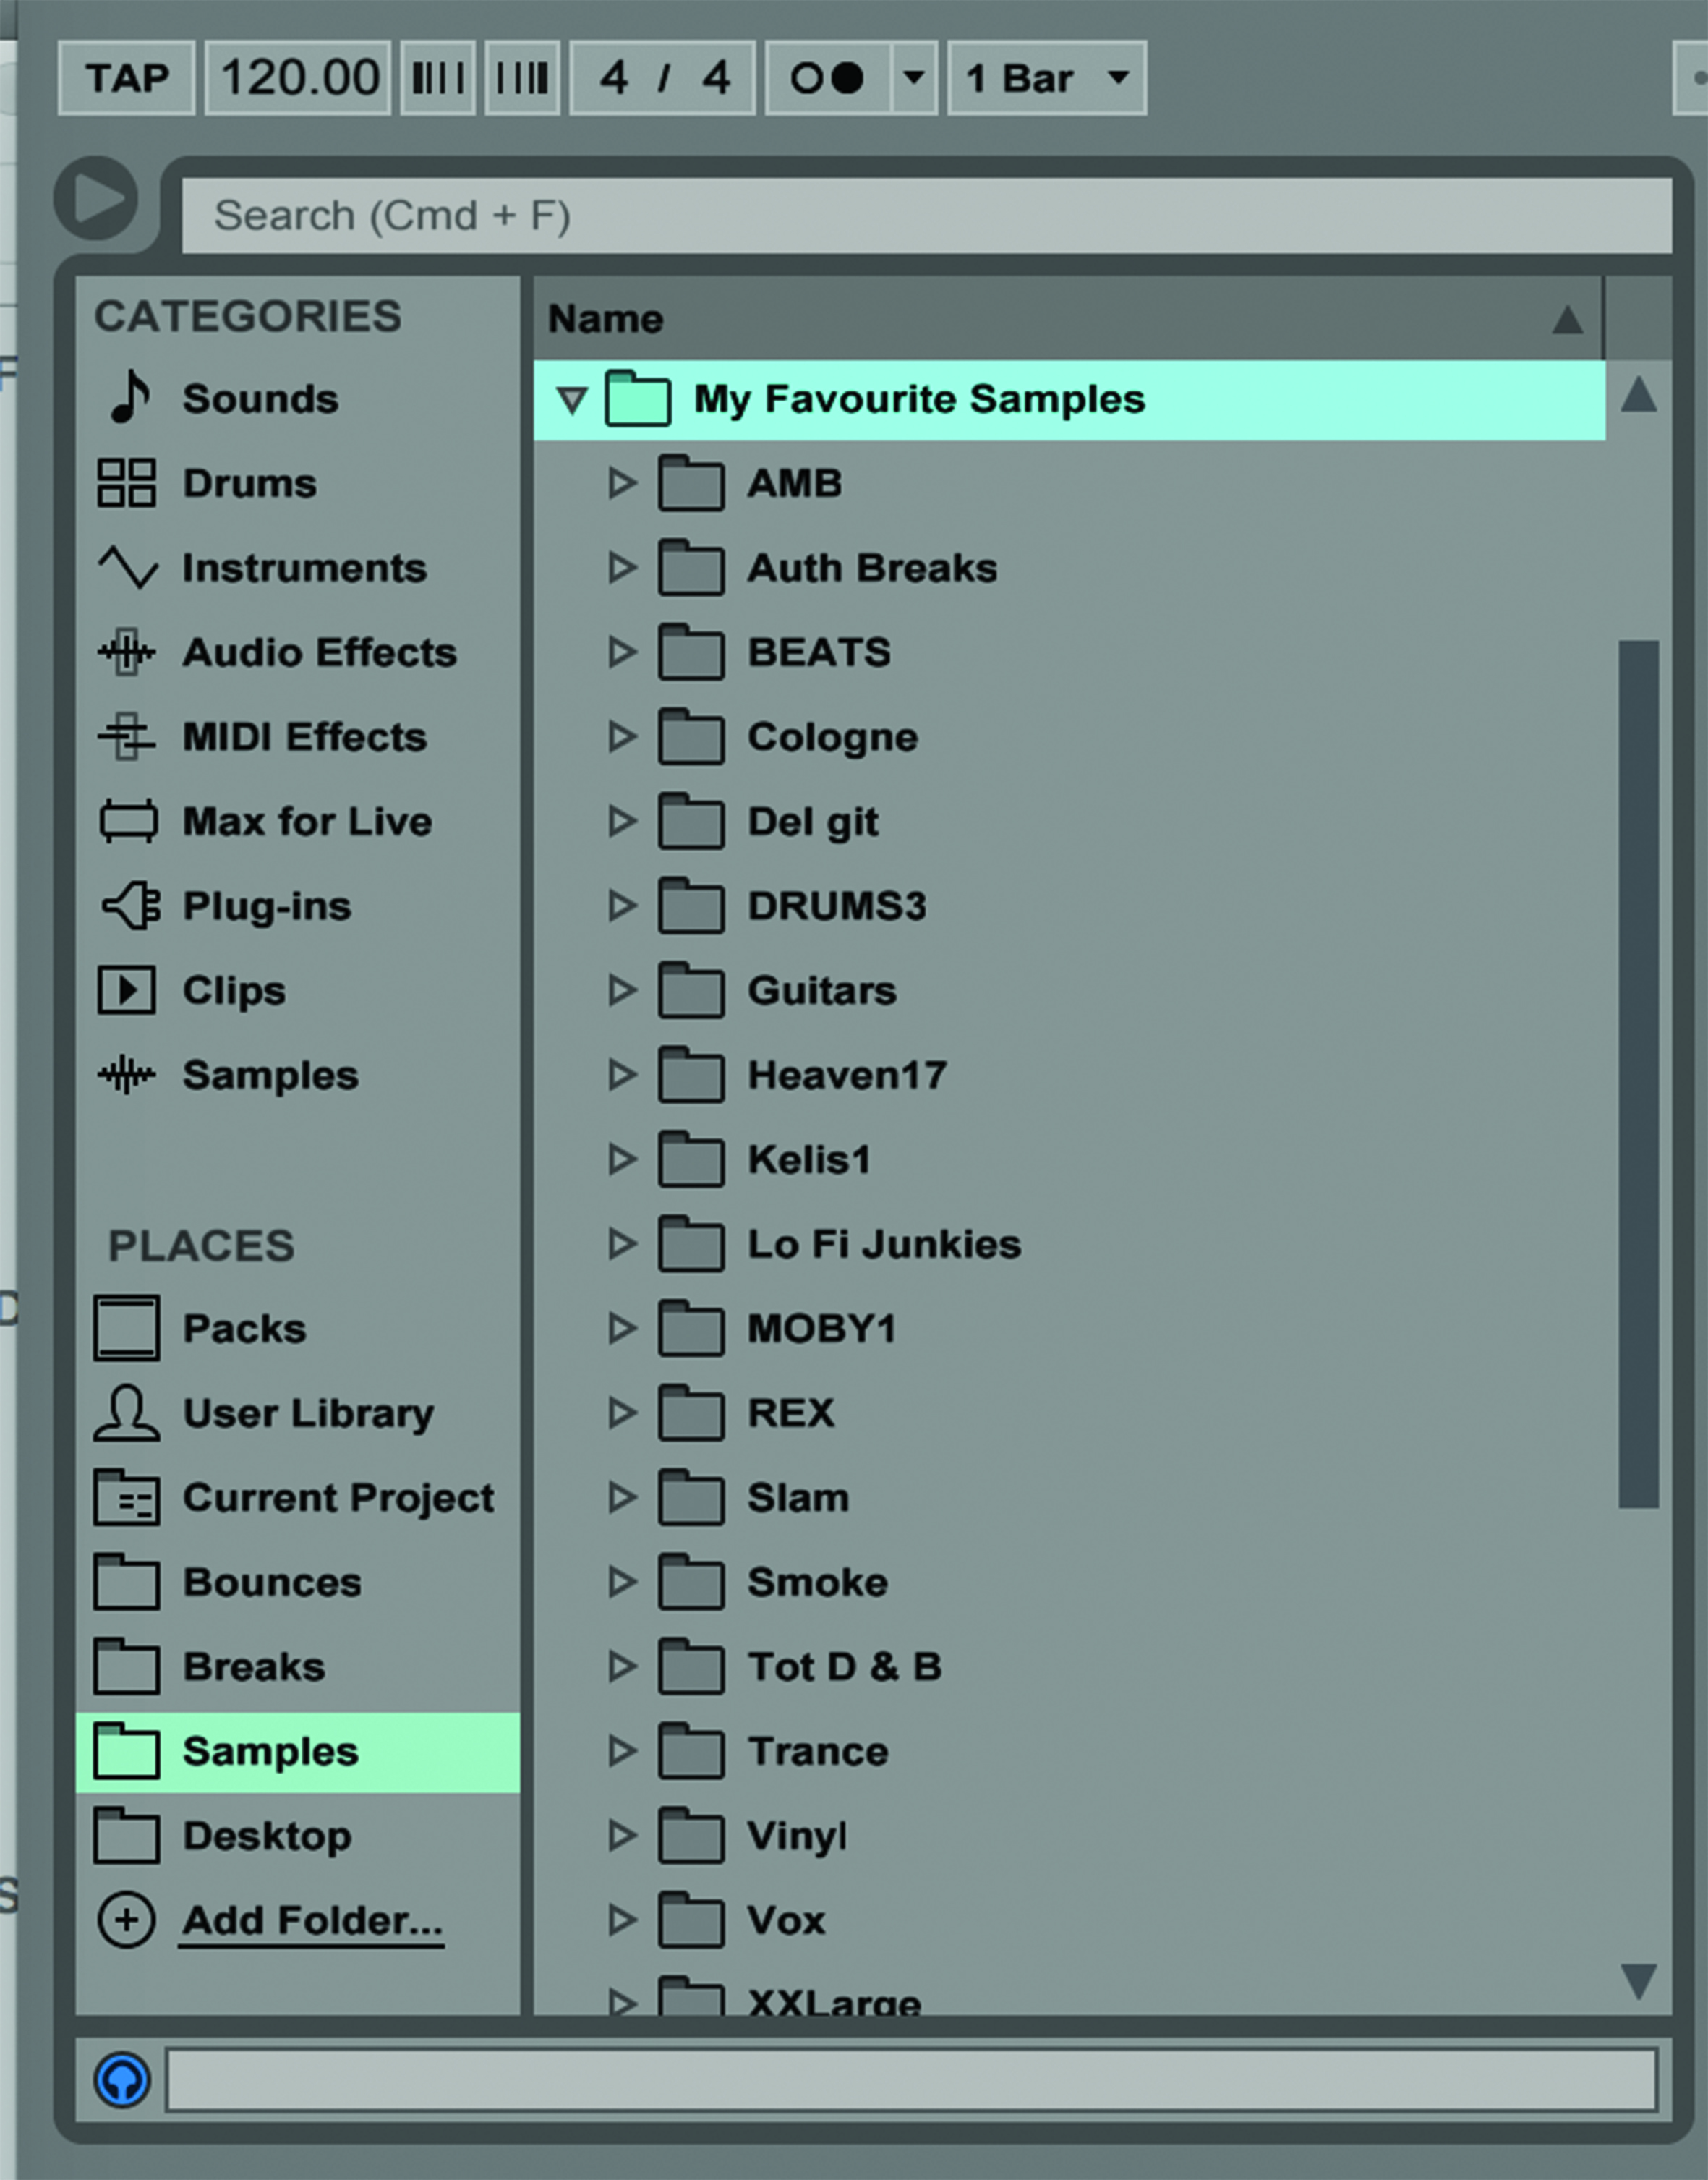
We could probably dedicate an entire issue to audio organisation. You can – should, even – have your samples laid out on your hard drive clearly and easily for reference, so you can access them without having to go down through too many layers and sub-folders to access them. A template with your favourite audio in can also be a good idea, so you could have beats, loops and vocals already loaded in your favourite sampler (as mentioned above), or a good set of percussion effects on hand to liven up any loop.
9. Use settings
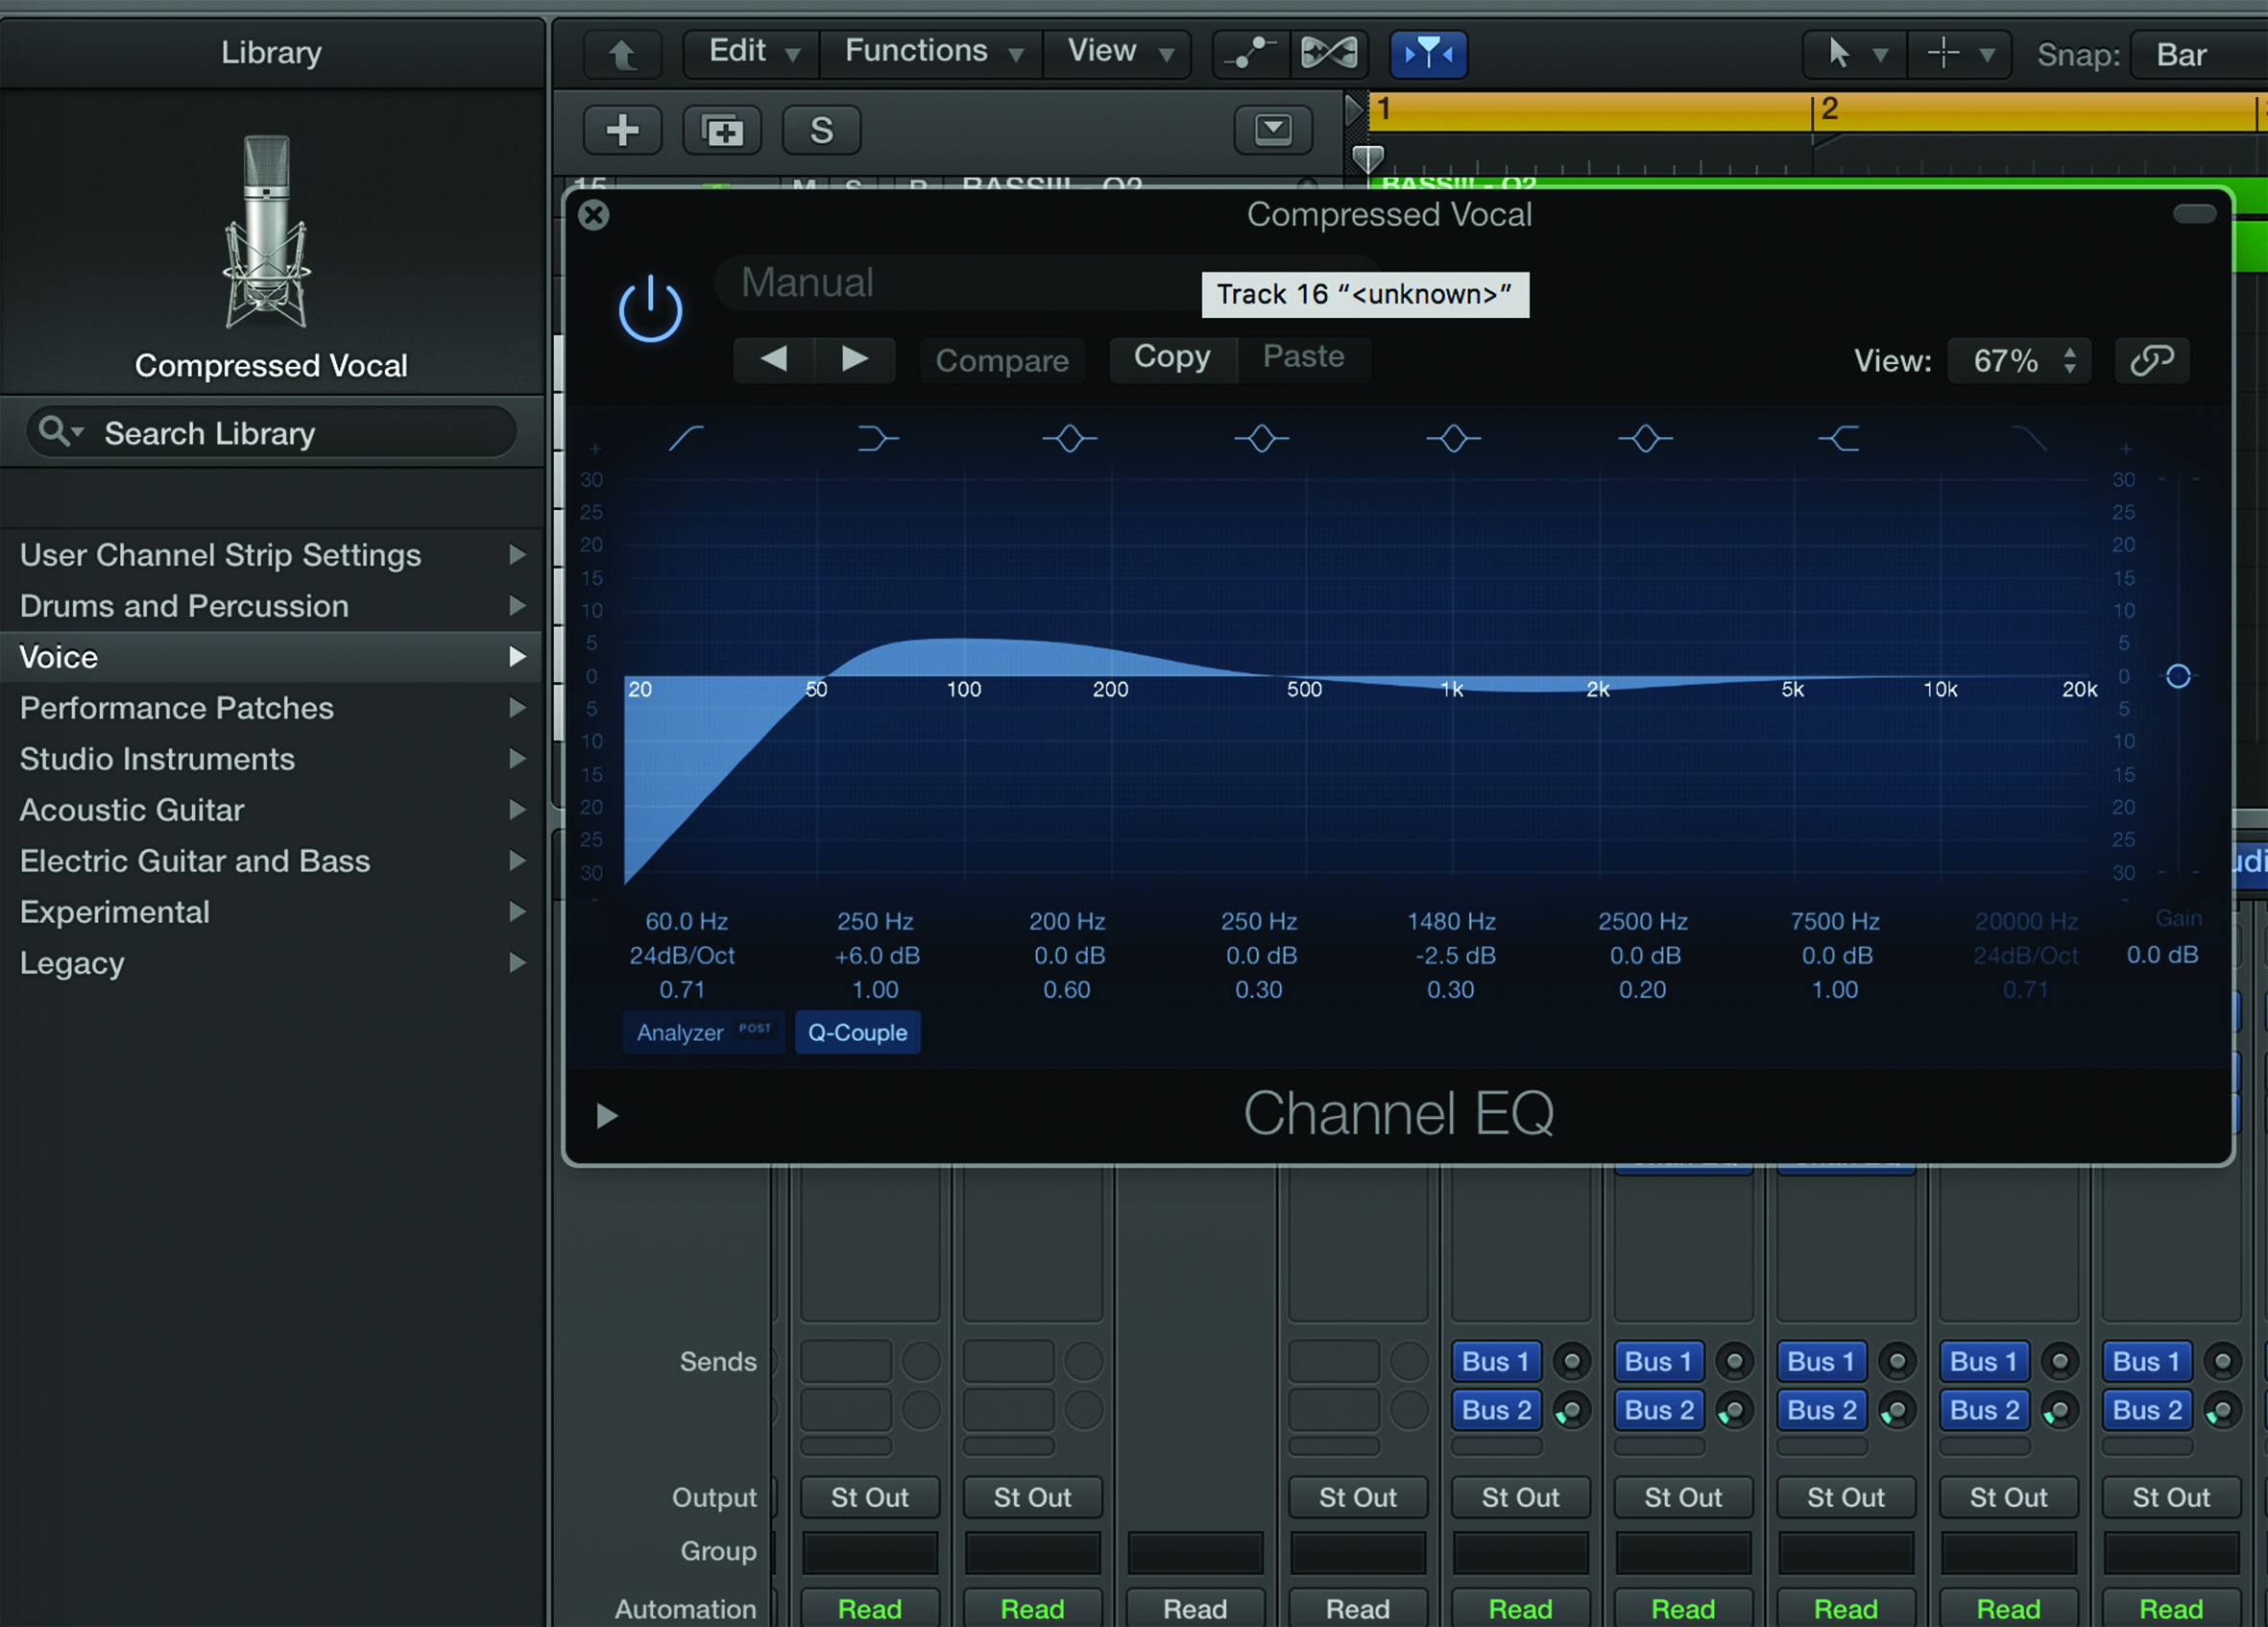
Remember that time, after loads of effort and tweaking, when you managed to come up with that incredible bass sound? Well, why not take those settings and store them in your template and use them forever? DAWs increasingly allow you to save your favourite setting from devices like EQs and compressors and then apply them to other channels and projects, so the next logical step is to have these loaded in your template. You could have your favourite devices loaded up on those particular channels – as mentioned in points 3 and 5 – and then have your favourite settings load in as well.
10. Consider a template arrangement, too
This might be going a tad too far, but bear with us. So far, we’ve got instruments, effects, channels, colours, samples and everything ready. Just add you and we are ready to go. Well, why not consider one more thing: the bigger picture? Consider having a template arrangement, or at least the song’s structure, marked out in ‘verse, chorus, verse, breakdown’ etc, marked across the top of your screen.
It will give you a guide of where everything should go and how long it should last. Obviously, this is more suited to, say, dance music than anything else – but consider adding anything to your template that saves you time down the line. If you have to repeat something that you’ve done in a past song, there’s a good chance you can template it up to avoid doing it again. Happy timesaving, template users…
Click here for more essential music technology guides.