10 Ways To Improve Your Music!
Whether you’re just getting started making music, or you’re a long-time super producer, there are some things that everyone should know. Matthew Mann gives us the first 10 of 20 tips that should help you increase your productivity, or even take your tracks to the next level 1: If your drums aren’t working try tuning […]
Whether you’re just getting started making music, or you’re a long-time super producer, there are some things that everyone should know. Matthew Mann gives us the first 10 of 20 tips that should help you increase your productivity, or even take your tracks to the next level
1: If your drums aren’t working try tuning them a bit
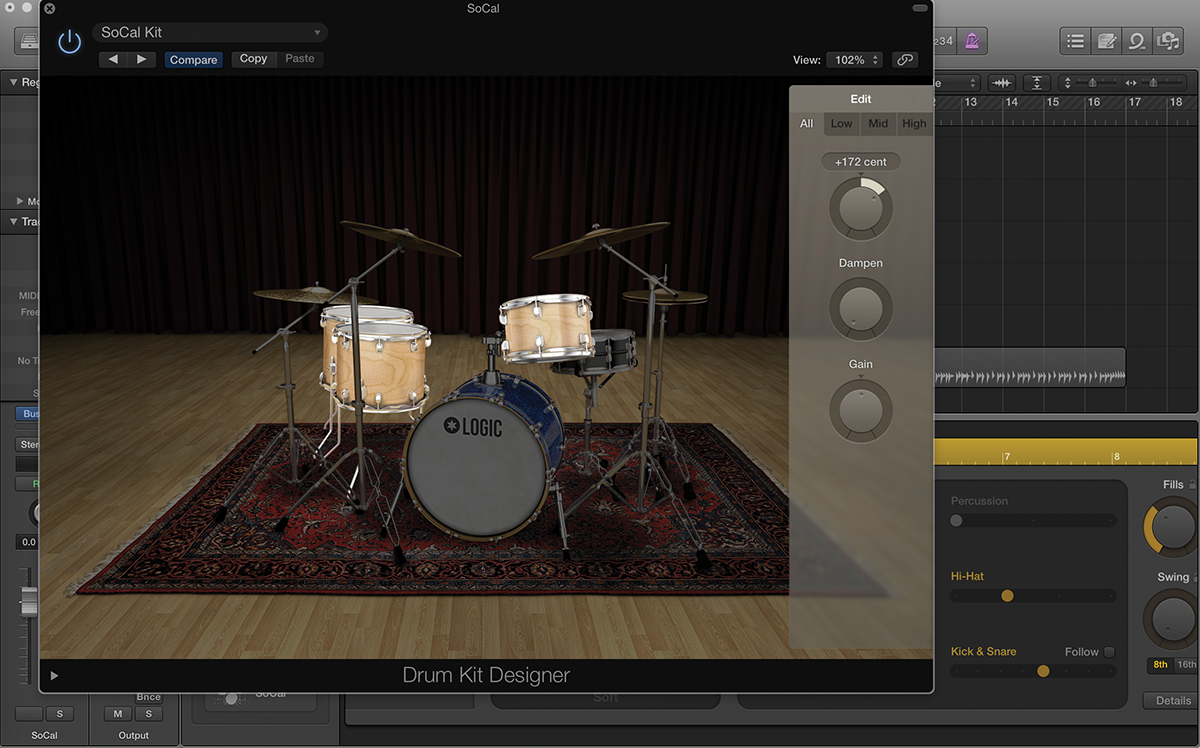
Sometimes, when drums aren’t sitting well, it might be worth changing the pitch. For example, a kick drum tuned up a little may sit better with a bass. A kick tuned down can add much more weight and can even sound similar to a subby bass drum (think 808). Toms can be tuned to the key of a song and this will go a long way toward supporting the musicality of the track. For something really arresting, experiment with tuning snares and hi-hats up several tones or semi-tones until you have something interesting.
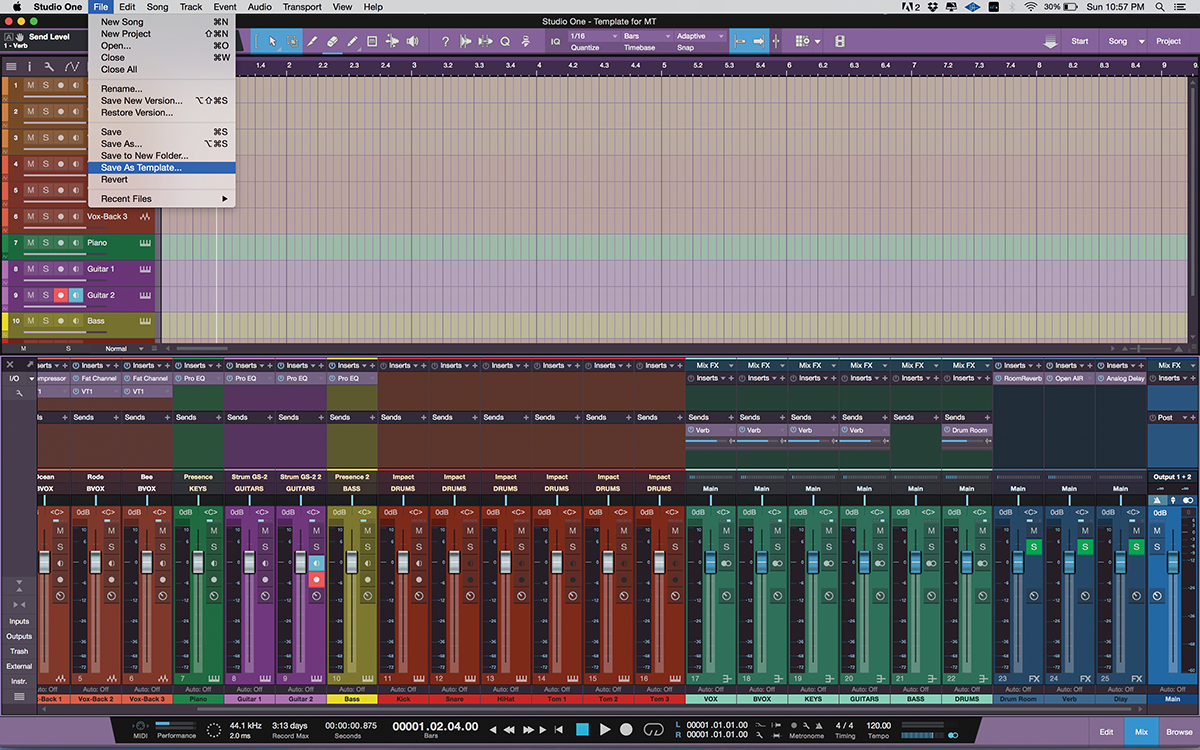
2: Create a songwriting template
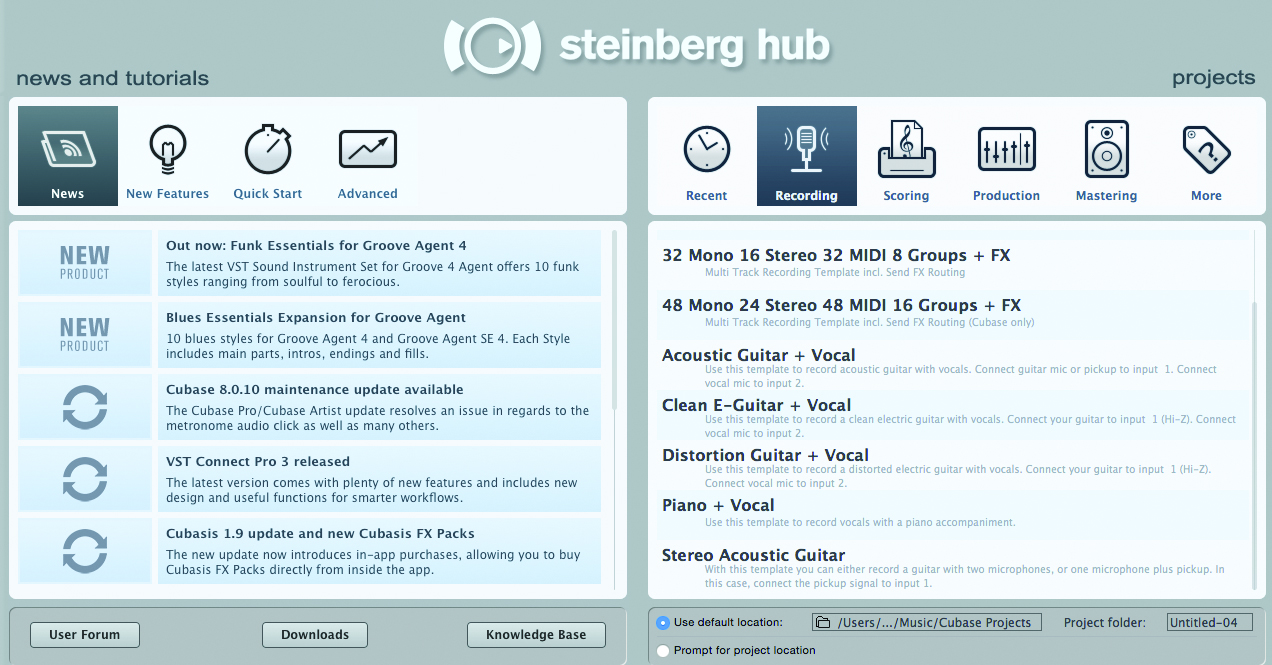
You may find that you return time and again to the same virtual instruments and/or effects plug-ins. Setting up a session that includes those instruments and effects and then saving it as a template greatly speeds up your songwriting/recording/mixing workflows. You can even save favourite ‘starter’ patches for your instrument, compressor, EQ, reverb and other plugin settings. In most DAWs, it is simply a matter of opening your template, renaming it to describe your new project, and then saving as that new name. This keeps your original template intact and establishes a great housekeeping and workflow habit.
3: Colour code and label your tracks
Getting organised is another way to speed up your workflow. Colour similar instrument tracks, MIDI tracks, and Aux tracks. After they’re properly coloured, name the tracks. Most DAWs create region names based on the track names when recording audio and MIDI. It takes much more time to go back and rename your tracks after recording, than to name them ahead of time. Make sure all track names are meaningful, too, or your exported stems could read: Track 1, Track 2… Track 36, etc. This makes it very difficult to know what’s what when you return to the track later on.
4: Save often…
…and save a new version any time you’re going to try anything drastic. This may sound obvious, but I can’t stress enough that saving every few minutes will save you many shed tears. Most DAWs allow you to choose an interval for automatic saving. Five minutes is a pretty safe amount of time. Also, use the Save As function anytime you want to try something different with your production. Develop your own naming convention that includes the track name, descriptor and new version number (e.g. ‘JustAnotherLoveSong_AltChorus_V3’). Then, if an experiment doesn’t work, you can always go back to a previous version.
5: Add some side-chain compression to make pads more interesting
Let’s say you have a pad in your song. Is it sounding lacklustre and uninspiring? Add a compressor to your instrument track and connect the side-chain input of the compressor to a bus fed by an 8th- or 16th-note hi-hat. Adjust the release time and threshold of the compressor, until you hear a rhythmic element to the pad sound. Ideally, the hi-hat track should be a dummy track with the volume turned all the way down, so you can really hear the effect it has on the pads. You can use this same trick with auto-pan, auto-filter or a gate.
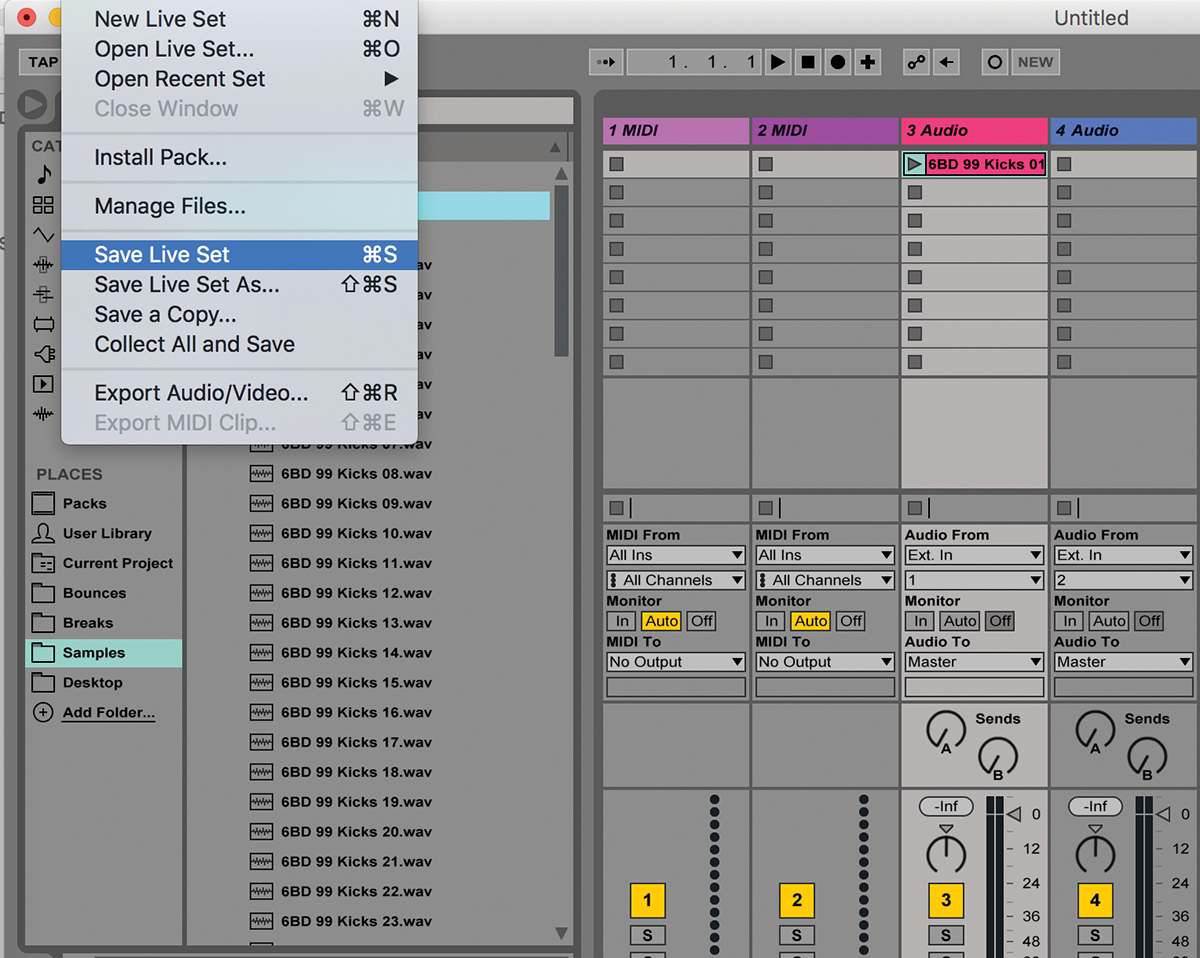
6: Layer sounds
Another trick you can try when an instrument isn’t sitting well in a track is to layer it with another version of the same instrument. Collect a folder full of kick drums. Make one for snares, too. You can take a kick with boom, another kick with snap, and yet another with some distortion and layer these to create your perfect kick drum. Then render it and save as a favourite. This works really well with synths, too. Duplicate a synth part to a new track and use another synth patch to layer beneath the first one. Experiment!
7: Tweak your sounds to fit before touching EQ
Fixing tracks in the mix isn’t the answer. My friend Joe Gilder preaches ‘getting it right at the source’. That is, taking some time to alter your sounds at the source will save time during mixdown. For example, tweaking the filter on your synth lead may get it to sit better with your pads; or repositioning the microphone in front of your guitar amp may allow that track to sit better with the rest of your instruments. Experimentation during production can often lead to a song that practically mixes itself.
8: Find your own unique sound

Stop! Don’t reach for that preset on your favourite synth. If you do, tweak it enough that it’s uniquely yours. Often, when a new synth is released, top producers will use the presets to create successful tracks. Suddenly, everyone who follows with tracks using those same presets will be accused of trying to sound like that producer or artist. This was especially obvious when the Yamaha DX7 was released in the 1980s. Don’t fall in line with the herd. Create sounds that are yours by twisting those knobs, adding interesting effects or even layering them with other sounds.
9: Reference. Reference. Reference
You’ve heard it over and over, but you still mix tracks without a reference, right? Using a reference will help get you close to what you’re going for in terms of layout, sound, and mix. Import tracks that are similar in style to what you’re going for and compare them occasionally to your own. Make sure to adjust the volume of the commercial track to match the level of your own mix. Also, make sure the commercial track isn’t running through any processing that your mix may be running through, or it can skew your reference material.
10: Check the phase
Phase issues between two tracks/sounds can sometimes kill a mix. If layering kicks or other instruments, check to make sure their waveforms are in phase with each other. You can visually look at waveforms and move them forward or back on the timeline so they line up properly. Some DAWs feature a switch or plug-in that will invert the phase on a track. If you ‘flip’ the phase and it sounds better, you’ll know something was out of phase. This is especially important with multi-mic’d drum kits. This can affect sampled kick and bass relationships, too.