20 Audio Editing Tips – Part 2
Hollin Jones continues his essential audio editing advice… 11: Cheat using copy and paste Sometimes you will find that your recordings have some performance errors in them and there’s no opportunity to do any retakes to fix them, perhaps because the performer is no longer available. A good way to patch over such errors is […]
Hollin Jones continues his essential audio editing advice…
11: Cheat using copy and paste
Sometimes you will find that your recordings have some performance errors in them and there’s no opportunity to do any retakes to fix them, perhaps because the performer is no longer available. A good way to patch over such errors is to identify similar or identical passages in a take that were performed correctly and then isolate, cut out and copy and paste these into the location of the incorrect part. This takes more skill than you might think, since there may be small variations in timing or feel between the part you’re pasting in and the time segment you’re pasting it into. But with some careful nudging and perhaps even a little slicing and groove quantization of the audio, you can usually make it fit in, and if you do the job seamlessly nobody will ever know the difference.
12: Snap-to-Zero Crossings
Many DAWs have a ‘snap to zero crossings’ option that you can turn on when editing audio waveforms. This works independently of your main application snap settings and ensures that a cut is not made at a point in the waveform where signal exists, but rather where the level is zero. This means that when you edit two parts together you shouldn’t get any nasty clipping caused by clashing waveforms.
13: Use Volume and Fade Handles
You can automate a mixer easily enough but sometimes it’s quicker and more suitable to use the volume and fade handles found on audio clips in many DAWs. These work independently of the channel fader so you don’t affect any other clips in the track. Simply pull any chosen clip’s volume up or down, or create fades to create a sort of submix within the track.
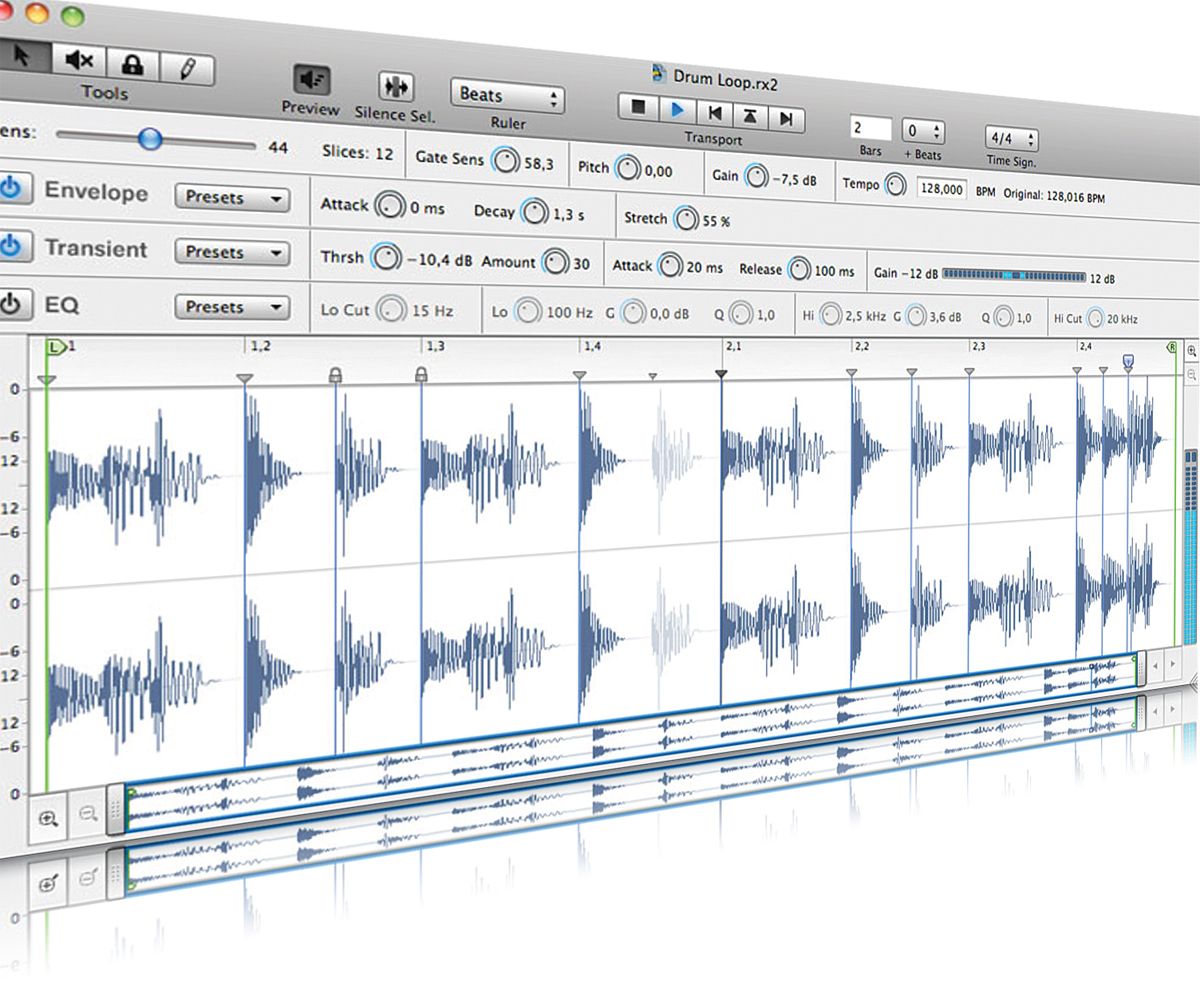
14: Use REX Loops
Using software such as Propellerheads’ ReCycle or Reason you can slice up any audio file and quantize it as you like, even adding some effects before you bounce it out to a REX loop that can be opened in various different instruments and applications. These loops will alter their timing to fit any project and are also playable slice-by-slice from any MIDI input device. Audio is made super-flexible using this technique.
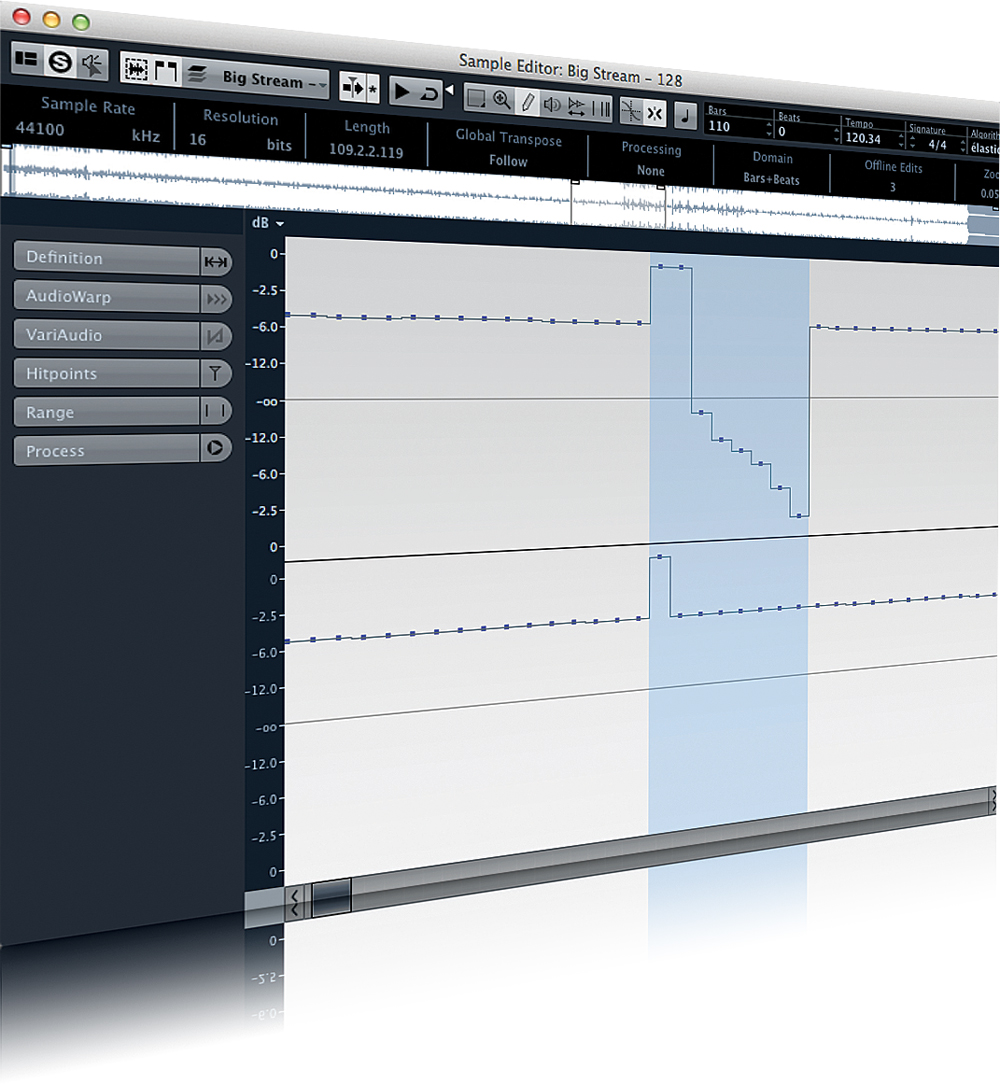
15: Fix Glitches With the Pen Tool
In a sample editor you can zoom down to sample level, showing the very building blocks of the digital sound. A digital click or pop will usually manifest as a clear spike or peak in the sample display, sometimes flattening out against the very top. You can often fix these by using the pen tool to literally draw them out, flattening the waveform to erase the spike.
16: Always be Crossfading
When you edit audio clips and arrange them on the timeline, there can be occasions where two clips glitch as they cross over because one or both waveforms are not perfectly cut. To avoid this, apply short crossfades to remove any glitching. Some DAWs such as Cubase are able to automatically add these for you.
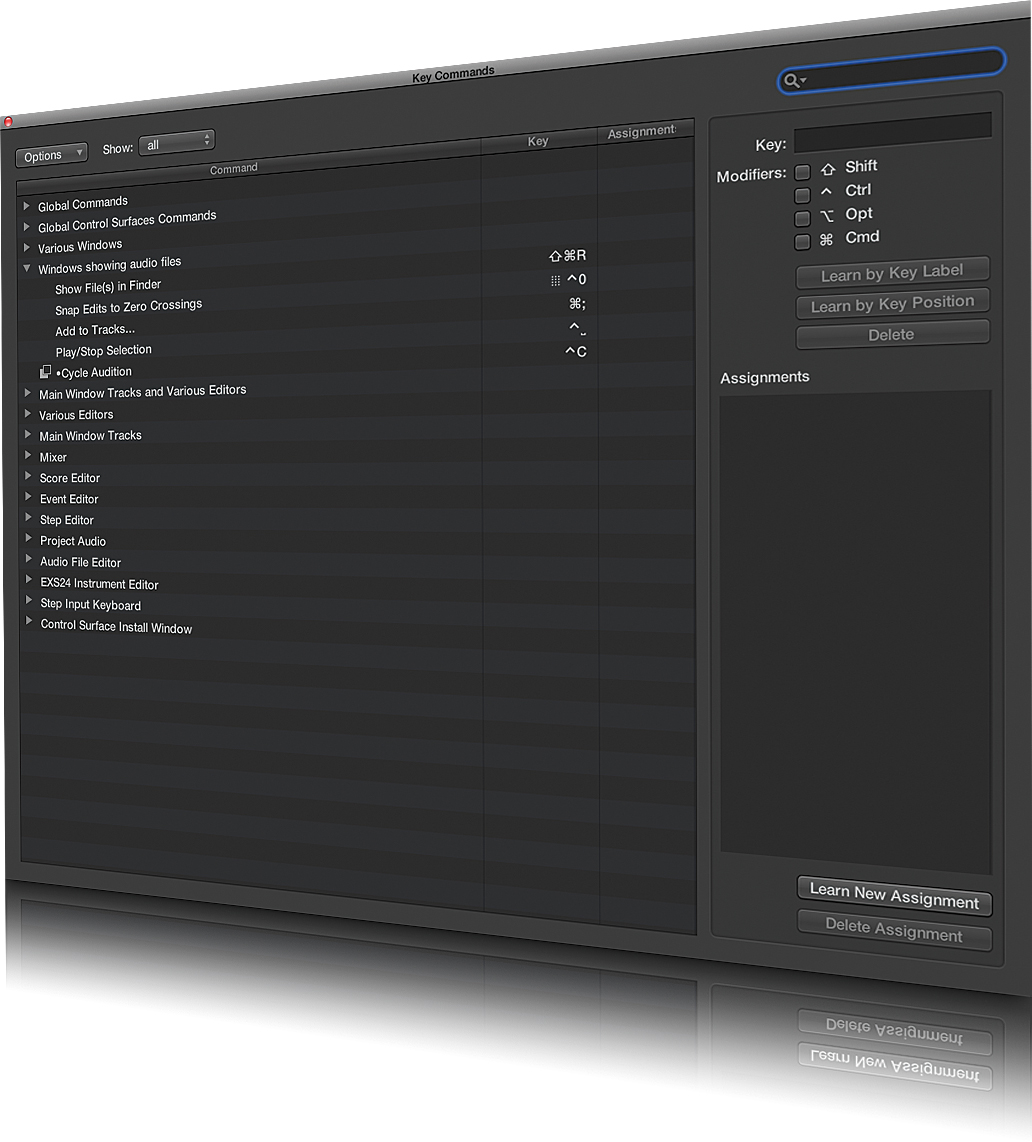
17: Learn a Few Shortcuts
Sometimes you might find yourself having to make lots of cuts to a long audio take, perhaps to remove periods of low-level noise between voiceover or guitar riffs. Rather than manually zooming and clicking over and over, use a shortcut or set up a macro to use a key command to split a clip. Over the course of many edits on a clip this will save you lots of time. Logic has a ‘strip silence’ tool to achieve this.

18: Use Regions
Instead of making physical cuts to audio files you can often define regions within a clip and then use markers or similar commands to jump back and forth between regions. If you decide you want to make edits permanent there is usually the option to divide clips to new clips based on the regions you have set up.
19: Remove the Room
One of the problems some people encounter when recording in less-than-perfect acoustic spaces is room ambience on recordings. Always use an isolator such as the Reflexion Filter, but you can also use EQ to try to identify and then dial down the frequencies that are clouding your sound. This takes time and patience but it can significantly improve the end result.
20: Know What Tools You Have
Each DAW will have a different (if overlapping) set of tools to make working with audio easier. These can save you lots of time, with tools for trimming, cropping, deleting overlaps and moving data to preset locations all available in many applications. These tools typically cut out tens of mouse clicks on your part, so if you’re spending hours on the donkey work of editing, look to see if you’re missing a trick