20 Audio Repair Tips – Part Two
Our 20 Audio restoration and repair tips continue… Noise gates are quick and easy solutions to well – noise of course! 11: Be Consistent If you’re dealing with audio from a number of different sources, say for example from several recording sessions, or lots of samples from old records that are being combined into a […]
Our 20 Audio restoration and repair tips continue…
Noise gates are quick and easy solutions to well – noise of course!
11: Be Consistent
If you’re dealing with audio from a number of different sources, say for example from several recording sessions, or lots of samples from old records that are being combined into a single song, it’s important to keep an ear on consistency across the whole project.
It can be too easy to get bogged down in fixating on one sample or loop when in reality it’s the sonics of the whole track that’s really important. So if you’re going to take the crackle out of one sample you’ll probably have to take it off them all. Or if you want to leave it in one, you might have to noise print it and apply it to the others as well. This is all very specific to a given project of course, but nonetheless consistency is something to bear in mind.
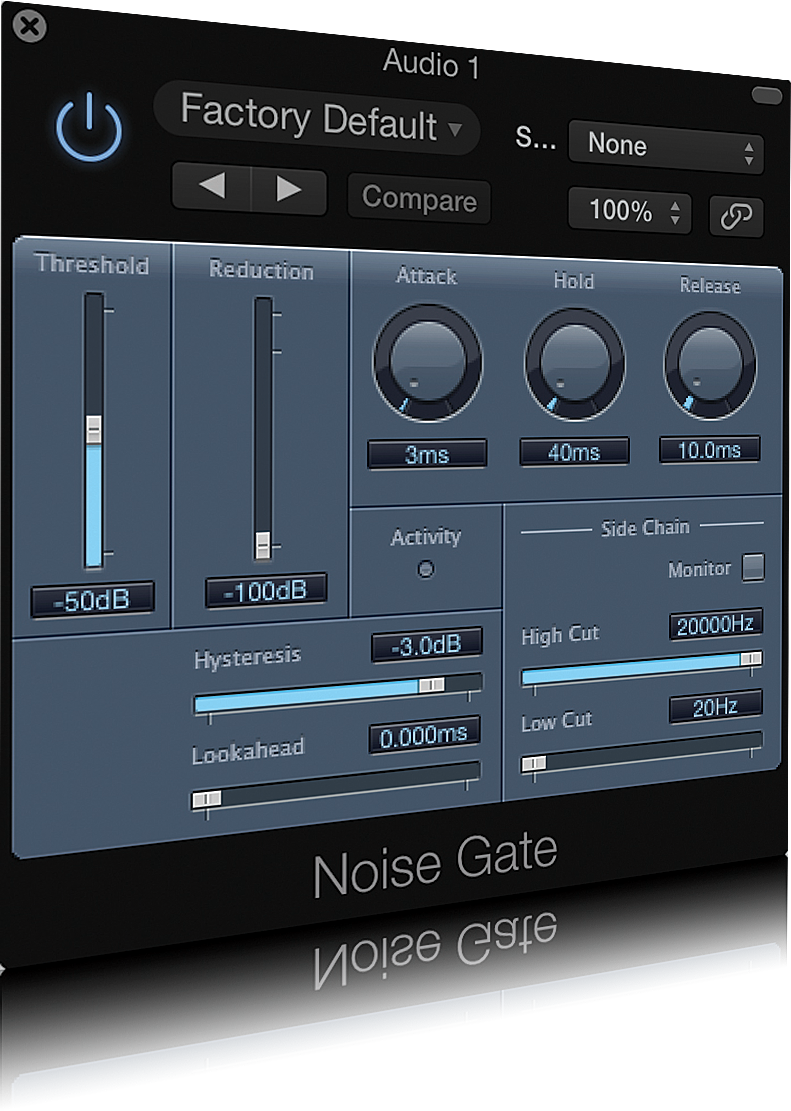
12: Use a Noise Gate
A quick and easy way to deal with background noise between takes is simply to use a noise gate plug-in as an insert.
It’s better to apply this post-recording to ensure no signal is actually lost when you use it, but if you set the threshold, attack and release settings properly you can make sure periods in your track that are supposed to be silent really are silent.
13: Composite and Crossfade
Compositing audio takes and using crossfades between comp sections is a good way to build a good take out of several others. Imagine you have a few takes and certain parts have problems.
If you’re lucky you may be able to cut the best bits from each one and stick them together, using crossfades to smooth out the joins.
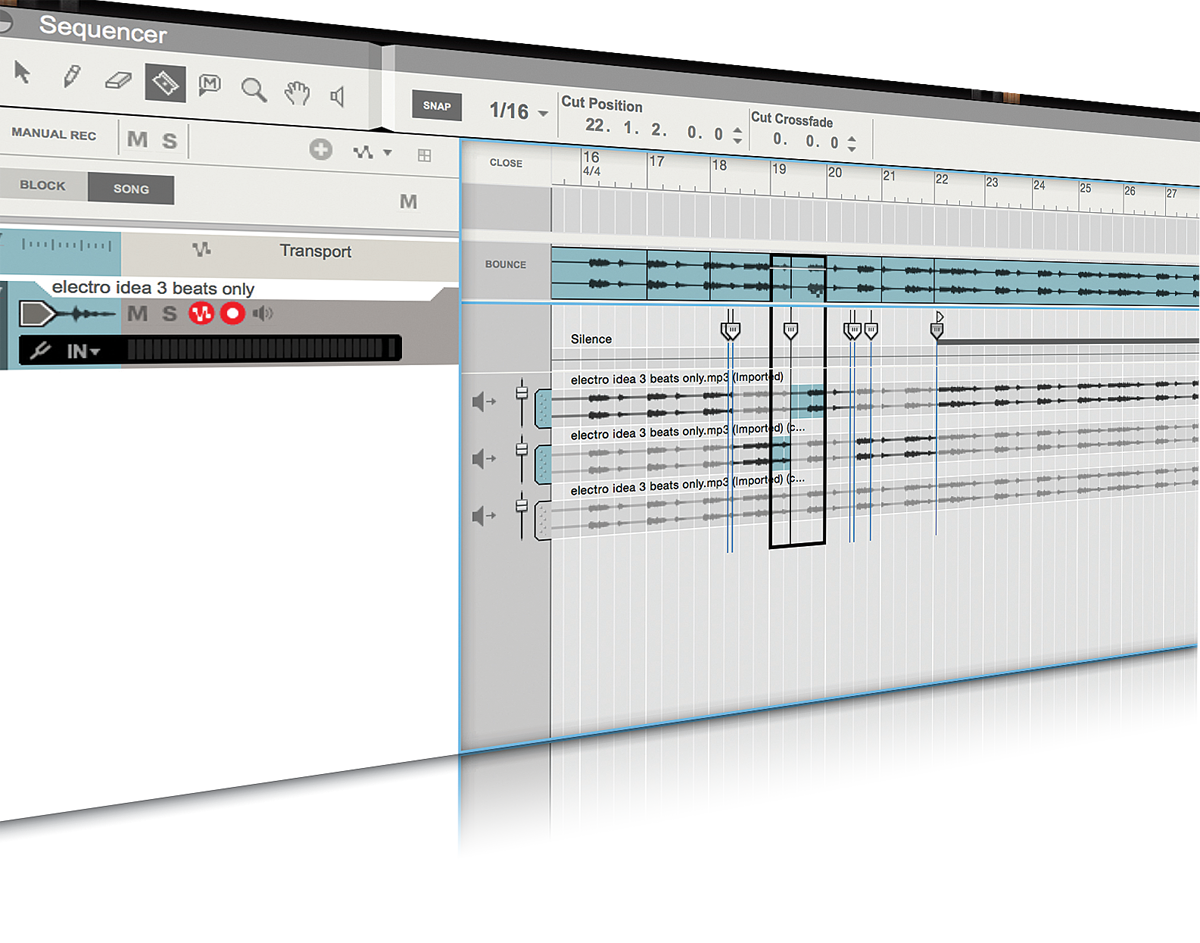
Compositing audio can build a good take out of several takes
14: Spectral Analysis
We have mentioned spectral repair but spectral analysis of audio can be just as important. When you hear a sound, many factors are at work in shaping how you perceive it.
These include the levels set at every stage of your signal chain, the quality and quirks of the monitor speakers or headphones you’re using, and the acoustics of the space you’re listening in.
A spectral analyser such as those from Blue Cat Audio, properly inserted across a track or across the master outputs, looks at the sound before it even leaves the application and so gives a very accurate picture of what’s really going on.
This will help you to gauge for example whether excessive bass end is really an issue or actually being caused by poor room acoustics. This trick is handy not just for audio repair but mixing and mastering in general.

A spectral analyser from Blue Cat Audio will give you a good idea of what’s going on before you start.
15: Perfect Your Setup
When you record sound you can reduce the risk of clips and pops by setting up correctly. Test and monitor recording levels and get the performer to go as loud as they plan to go.
Do a test take to find out the ideal level to record at. Err on the side of slight caution and remember it’s easier to boost a slightly quiet signal than to repair one that’s clipped.
16: Use Existing Material
Digital audio affords a great deal of flexibility to manipulate existing material.
If you have an audio take where there’s repetition but one or more sections has a problem, it can be possible to copy and paste a good section in place of a bad one. This requires great precision to avoid jumps and glitches, perhaps even using some timestretching but it can work well.
17: Watch your Analogue
Material recorded on analogue media like vinyl or tape usually has a lower overall level than that recorded to a hard drive. When you’re incorporating it into a digital project the temptation is to normalise it to bring its level up. This is fine but remember in the process you will also pull up pops, clicks and any hiss that may be on it as well.
18: Use Effects
Occasionally you can disguise errors with special effects. If for example a take has some crackle on it or is too mid-heavy, stick a megaphone effect on it. This will more or less mask the inadequacies of the original recording. Of course this kind of trick only works in a few cases, but it’s worth keeping in mind.
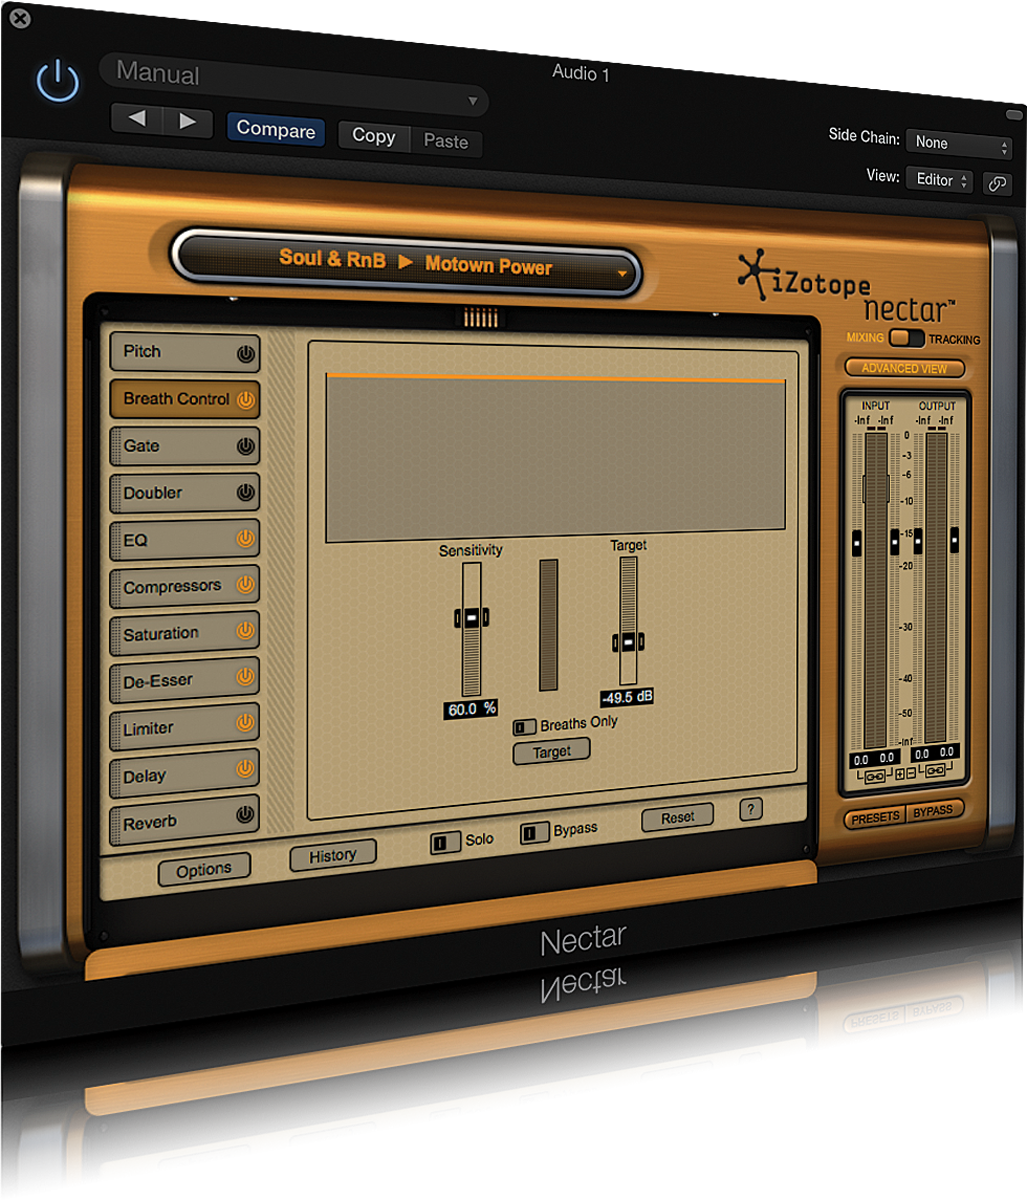
Use Izotope’s Nectar to remove you plosive sounds.
19: Remove Your Plosives
Plosives – ‘b’ or ‘p’ sounds that are very prominent on a vocal recording, can be annoying when they’re too loud. Obviously, using a popshield helps to prevent them but where they already exist you can use frequency-specific compression to help dial them down. Specialised processors like Izotope’s Nectar have plosive removers.
20: Process Differently
One interesting trick is to take two versions of the same file and process them differently. For example, take one and compress it while cutting the bass end. On the other, boost the bass and run it through a limiter. Use faders to blend the two channels. It’s more complex but can help you kind of ‘unmix’ a sound and get better overall control.