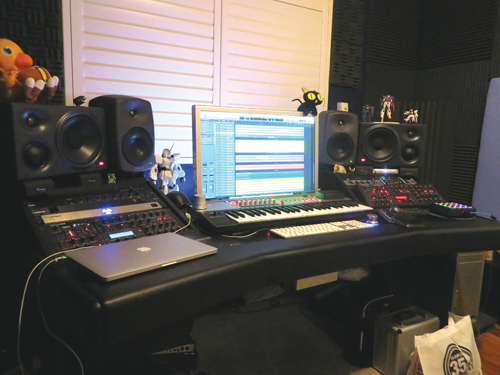
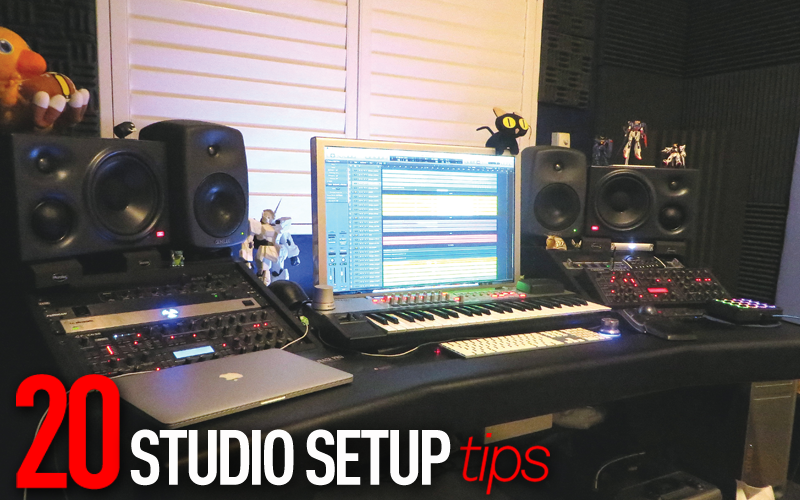
20 Studio Setup Tips
Creating your own studio setup can be an empowering and immensely fulfilling experience, but what are the essentials in terms of the gear required and the processes involved? Here’s our essential studio setup tips that will work best for your needs… 1: Get a Good Computer There’s no point complaining that your 10-year-old off-the-shelf PC […]

Creating your own studio setup can be an empowering and immensely fulfilling experience, but what are the essentials in terms of the gear required and the processes involved? Here’s our essential studio setup tips that will work best for your needs…

1: Get a Good Computer

There’s no point complaining that your 10-year-old off-the-shelf PC or cracked MacBook from 2007 won’t run the latest version of Pro Tools properly. Like anything worth doing, music is worth doing properly.
That doesn’t mean you have to spend a fortune, but buy wisely. Upgrade more recent machines with fast SSD hard drives and plenty of RAM and watch them gain a whole new lease of life.
If a computer is beyond saving, spec up a new machine that more than meets the requirements of your favourite DAWs and plug-ins. Remember, power needs only go upwards as time goes on. Modern computers are very powerful, so a decent music machine shouldn’t cost the earth, but equally there’s a reason that pro music machines cost a little more: they can handle what you’re going to throw at them. Believe us, you will save hours in lost productivity.
2: Remember It’s Not All Glamorous

Interfaces, laptops and synths are all pretty cool things and essential parts of any music setup.
But remember that a lot of the other stuff is important, too, even when it’s not as exciting. We’re talking about things such as cables, grounded power supplies, pop shields and mic stands. None of these have to be particularly expensive, but any decent music shop will have a good selection of affordable bits.
These are really studio essentials and you’ll soon realise when you are missing something: your cheap jack leads start to crackle, or you get a hum in the signal from a ground loop. Invest a little of your budget in some solid peripherals and you won’t find yourself stymied at the moment of musical inspiration by a stand that won’t stay up or a buzzy cable.
3: Make The Most of Your Working Space
Let’s face it, many people will be recording in a spare room or a bedroom at home, unless they are lucky enough to have access to a space outside their home.
Even then, it’s not too likely to have been designed as a music studio, but may well be a standard office space press ganged into service to do music in. Either way, you need to understand the idiosyncracies of the room you work in and try to mitigate any problems that may result.
The most common issues are poor acoustics. To an extent, you can work against these by avoiding placing speakers too close to walls or in the corners of rooms, which causes boomy bass. Speakers should be at around head height when you are sitting down, and preferably isolated from the surface they are resting on. As obvious as it sounds, close the doors and windows when recording.
4: Your IO Needs May Change

It’s tempting to buy an interface which has the correct number of inputs and outputs for what you’re doing right now. But think about whether your needs may change in future.
A 2×2 audio interface is great for a singer/songwriter, or someone producing EDM in the box, but not much use for recording a drumkit or a band. If your budget allows, think about whether the next step up in terms of IO might be a better idea. You might not use the extra inputs yet, but having them on hand is a lot easier than trading up later.
Even USB interfaces now support pretty generous I/O configurations at the higher end of the market. Mac users have a bit of a headstart here, as OS X supports “aggregate devices”: multiple connected audio interfaces that appear to the system as a single interface. It’s a little more work, but it is possible.
5: Buy Smarter, Not Bigger
There’s so much gear out there that it can be tempting to want everything. While that’s fine if you’re rich, most people need to be a bit more canny with their decision-making.
A good approach is to always go for the best tool for the job, not necessarily the biggest or flashiest one. And try to find good all-round tools. As an example, while it would be nice to have a big collection of mics, it can be good – at least in the beginning – to buy a good multi-purpose mic that can be used to record vocals, guitars, drums and other staple stuff.
Many mics in the £100-£200 range are actually perfectly good when used in different recording scenarios. If you need more than one mic, say for recording guitar and vocals at the same time, or a drum kit, look for bundle deals, which usually include properly matched models at a bit of a discount.
6: Save Your Budget for Where it’s Needed
Budgets vary tremendously, from zero to decent, though few people have the luxury of bottomless pockets. A good rule of thumb is to save what budget you have for the area that you’re least equipped to do yourself. So, for example, if you are working in a home studio but need to record your full band, book a day in a proper studio with a live room and the facility to record multitracked drums.
If you can record fine at home but are less than convinced of the acoustics of your room, do all your recording, editing and arranging, and then pay for a day in a bigger studio for mixing, where the acoustics will be far better.
Similarly for mastering: it’s the final stage of the production process, so if you don’t have the tools to do it yourself, spend a little on getting it done professionally. Few people spend the duration of a whole production process in a commercial studio these days.
7: Look at how to Incorporate iOS Gear you Already Own

This is assuming you have an iPhone or an iPad, but a lot of people do. The apps you can get on the iOS platform are often surprisingly capable and powerful, and technologies such as Inter-App Audio, Audiobus and the upcoming plug-in support in iOS9 make it a powerful platform for music programming and production.
These apps also tend to be considerably cheaper than desktop versions. In recent months, several new products have appeared that make the process of incorporating iOS instruments and effects seamlessly into your DAW far easier, and they do it without requiring any extra hardware: just the charging cable you already own. Investigate MusicIO and Audreio, both similar systems for achieving this.
Maybe don’t buy an iPad just to use synths on it, but if you already have one, go for it.
8: Get a Good Core Plug-in Set

Your DAW will come with a plug-in set and if it’s a higher-end DAW this may indeed be very good; Logic, Cubase, Live, Reason and others all come with some great effects and instruments. If you’re on a more entry-level version, however, or for some reason your plug-ins aren’t all that great, investigate getting a core of good mixing and dynamics plug-ins, as these will serve you well.
Probably the most important for mixing are a great compressor and EQ, and you can look at reverbs and delays, too. In terms of instruments, base it on what kind of music you make.
A soundtrack composer, EDM producer and indie musician will all need completely different kinds of instruments, but all are well catered for. Demos are often available, so you can try before you buy.
9: Get Good Monitors

That might sound like slightly blasé advice: after all, everything you use should be ‘good’. But your monitors are of particular importance. They are the medium through which you spend most of your time listening to and working on your music.
Some old hi-fi separates press-ganged into service might look cool, but they’re not going to give you a particularly accurate sense of what your music sounds like. They’ll also probably blow up the first time you accidentally send a feedback loop through them.
The key with monitors is to audition them; it’s the only way to get an accurate idea of which ones are going to best serve your needs. Go to a music shop and take some music you’re familiar with to play through different models.
You’ll probably be amazed by the difference between them. The right set of monitors will last you years and form a key component of your studio, so choose wisely.
10: Have a Back-up Regime
This is more of a computer tip, but since so many people’s studios are computer-based, it’s still very important. You will almost certainly be recording to hard drives of one sort or another, so it’s vital to back up everything at the end of each day, in case of technical failure, theft or some other disaster.
Backing up to a hard drive using Time Machine in OS X or Backup in Windows is fine, but there are increasingly capable cloud back-up services available for free, or for a modest amount if you want more features and tons of space. Backing up to the cloud gives you double the security, as your files aren’t stored locally – so even in the event of a catastrophe you should be able to recover your stuff. When you work commercially, it’s even more important.