6 Killer Sound Design Tips
From stretching time to outfoxing the poor human brain, sound design requires a diverse skillset. Rob Boffard enters the sonic frontier… Sound design is the best fun. It’s a bit like maths, in a really good way. No matter how high a number you can think of, all you have to do is just add […]
From stretching time to outfoxing the poor human brain, sound design requires a diverse skillset. Rob Boffard enters the sonic frontier…
Sound design is the best fun. It’s a bit like maths, in a really good way. No matter how high a number you can think of, all you have to do is just add one to make it bigger; in sound design, no matter how crazy the sound is, all you have to do is make one little tweak to make it even wilder. And the chances are, you’ll have come across a sound nobody else has heard before, just by virtue of this experimentation.
There’s clearly no roadmap to great sound design, of course, but there are some useful tips that can make a real difference. Here are six of them, then, in no particular order…
1: Record Smart
Good sound design starts with a really good sound source, and a lot of those sound sources come from the real world, as opposed to synths. That means you need to get out there and actually find some good noise. It’s not quite as straightforward as loading up a decent field recorder and walking out of your front door – you need to record smart.
That means making sure that any sound you capture is clear and well recorded (without too much ambient noise) and that you slate your takes – in other words, record yourself saying what the sound is. This is super-important, especially if you’re recording multiple sounds from one source. You need to be able to tell them apart back in the lab. Also, be sure to label the clips clearly later on.
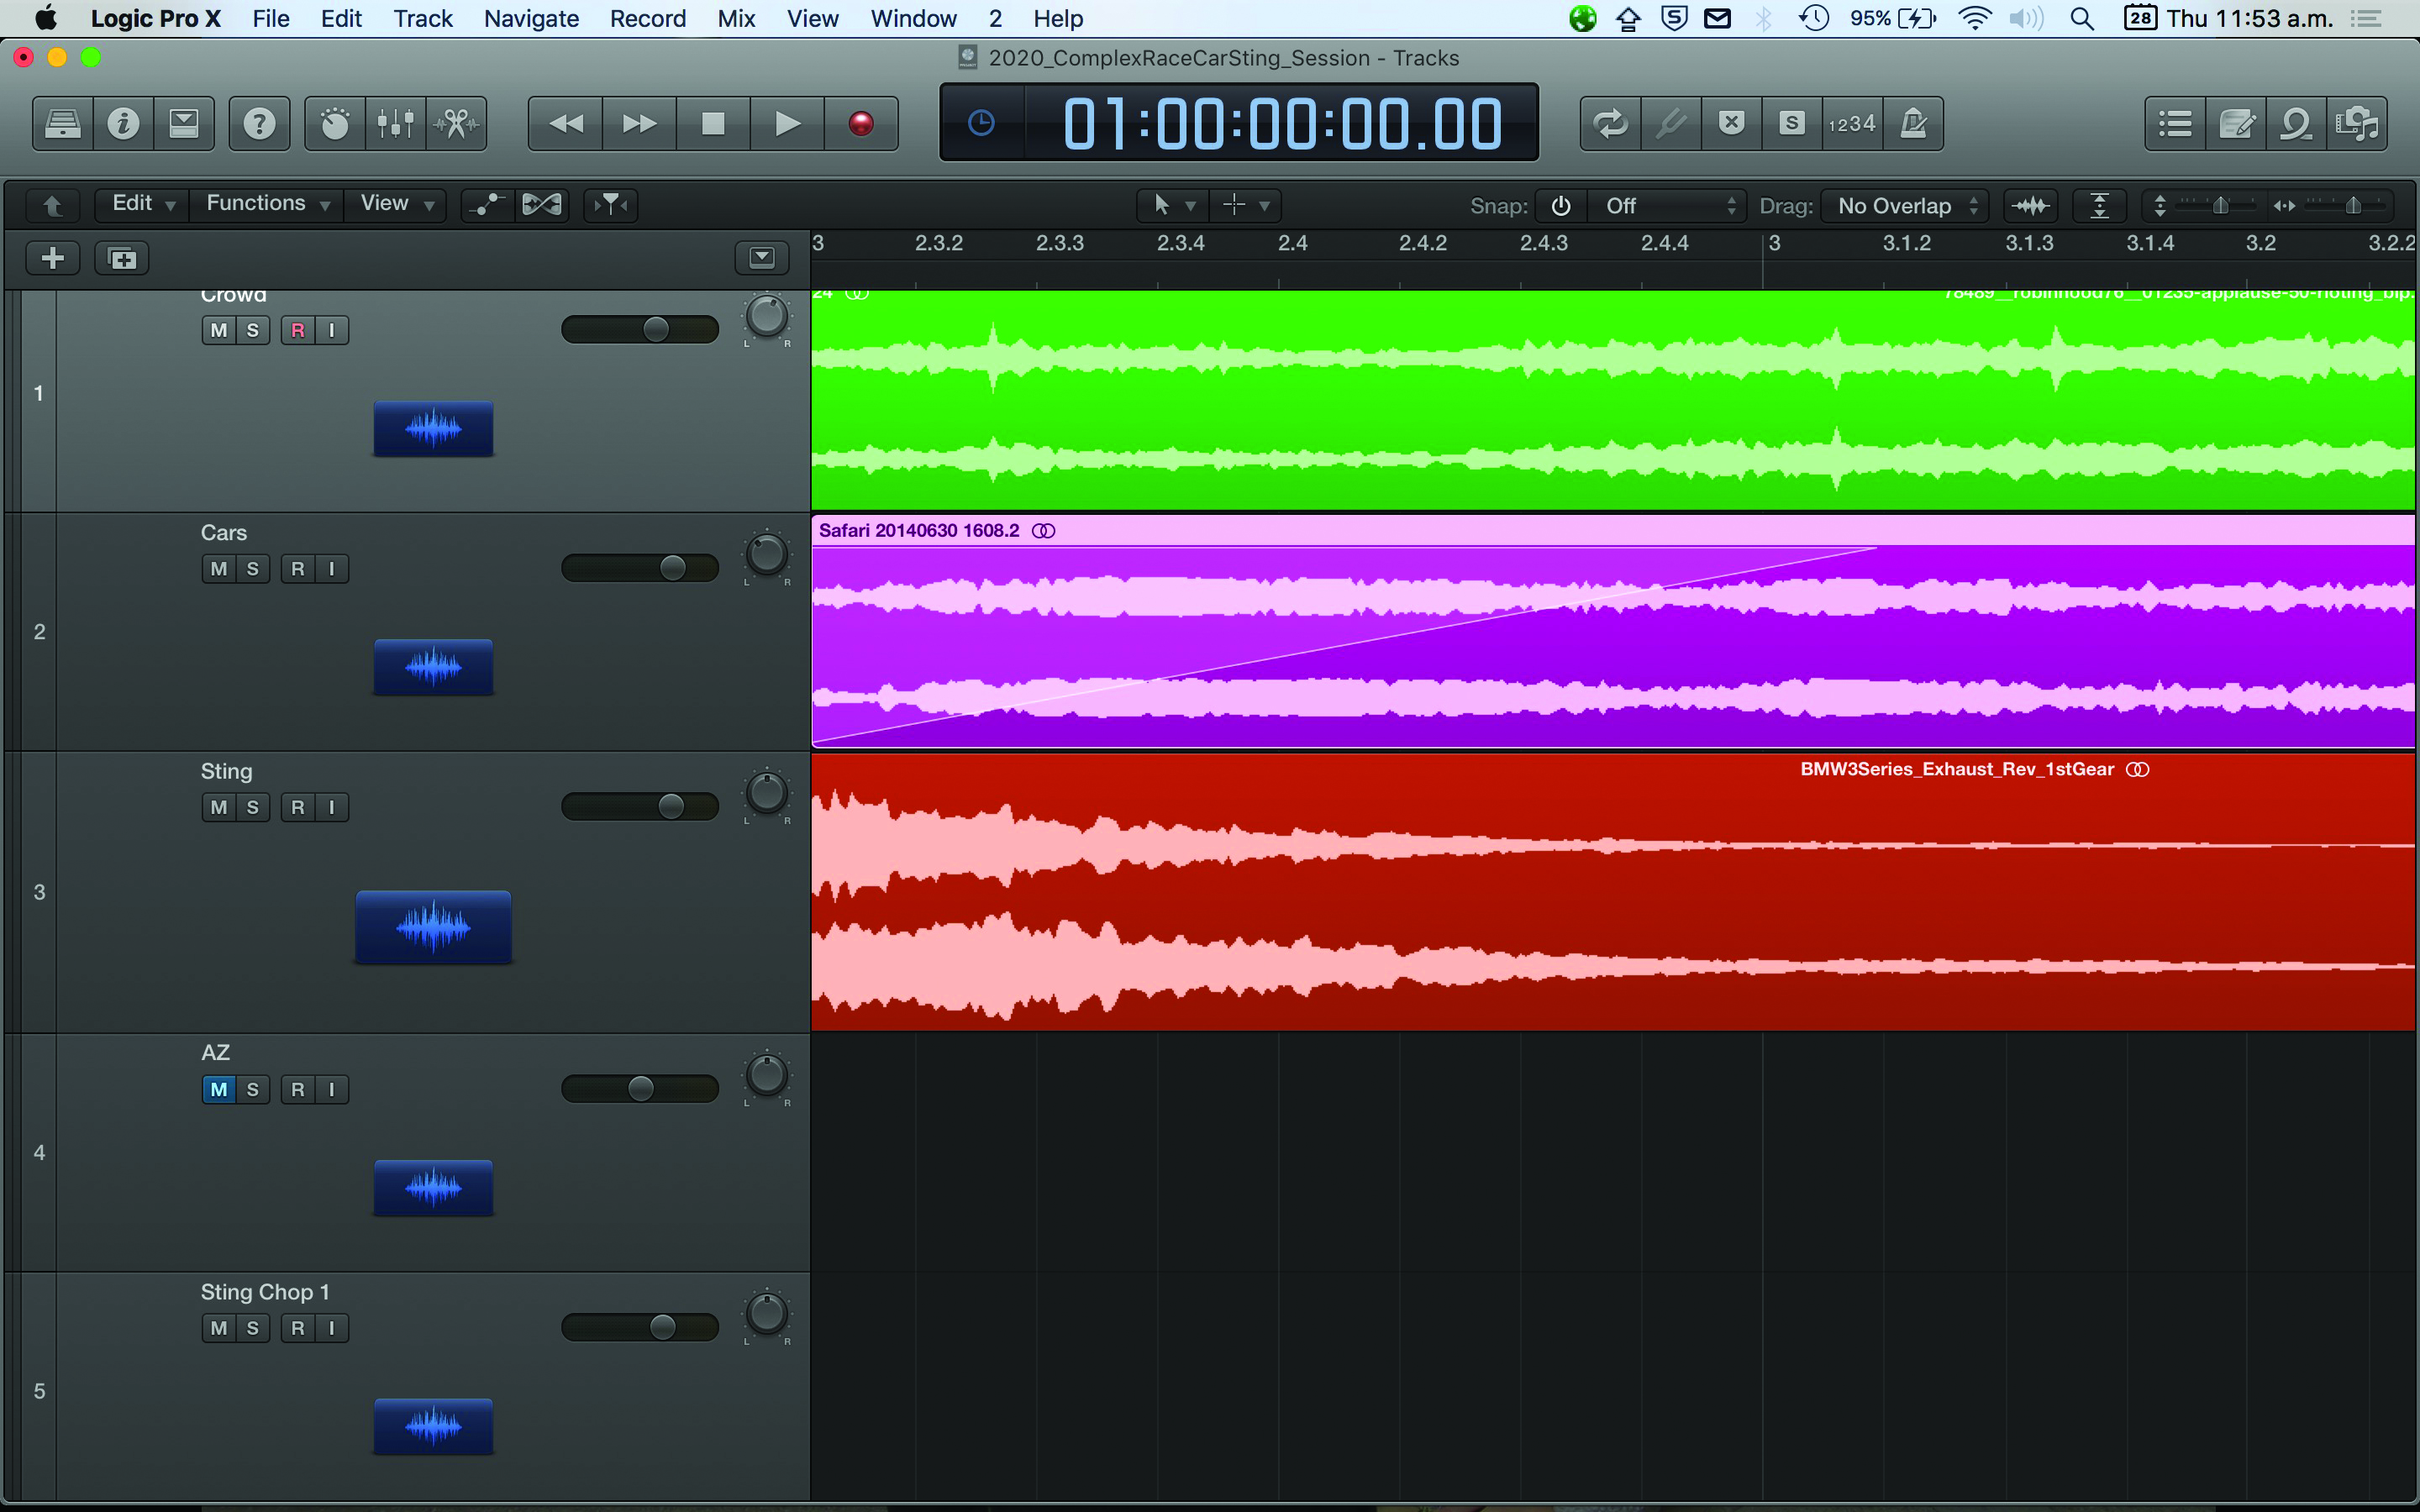
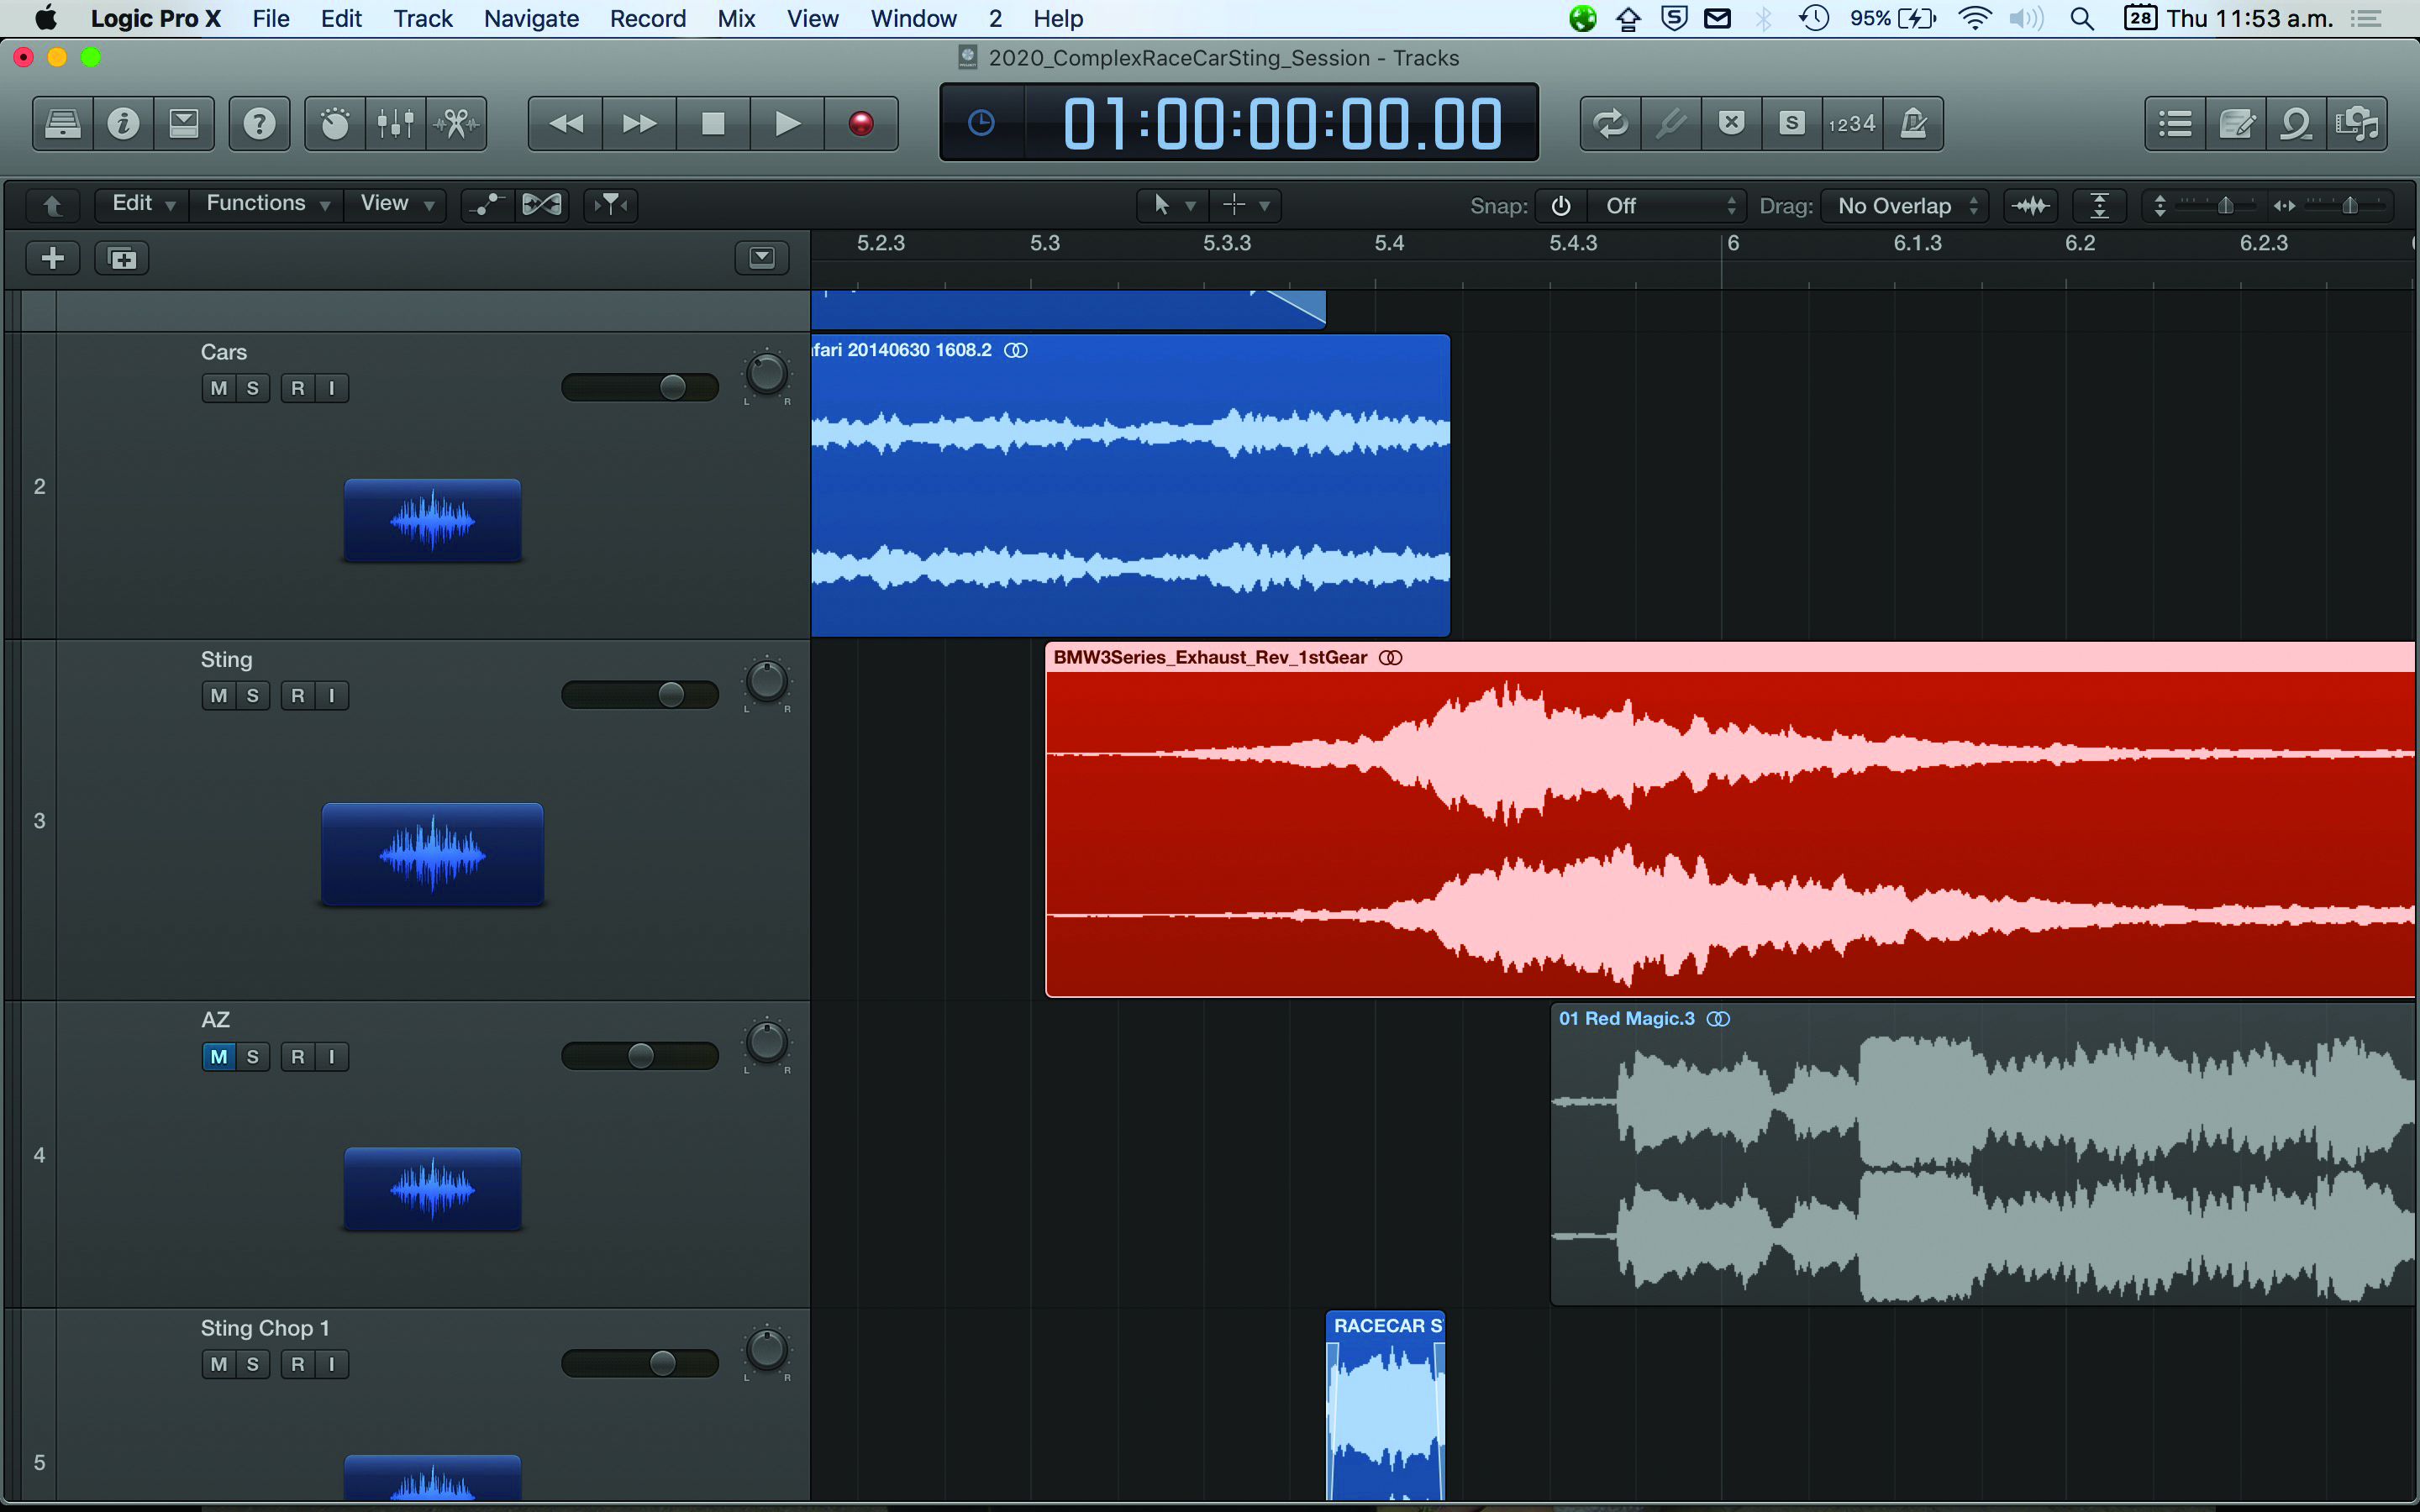
2: Layer Up

You can get a decent sound from a single source, but things works so much better when you put them together. While there are definitely no rules to this, it makes sense to pay attention to the types of sounds that you’re layering.
Do they mask each other in the frequency spectrum? Do they sound too similar? What happens when you take one of them away? Layering is the kind of tip that sounds easy, but can actually take up a huge amount of time. That being said, it’s absolutely worth doing, as it can make a real difference to the finished product.
3: Bring the Noise
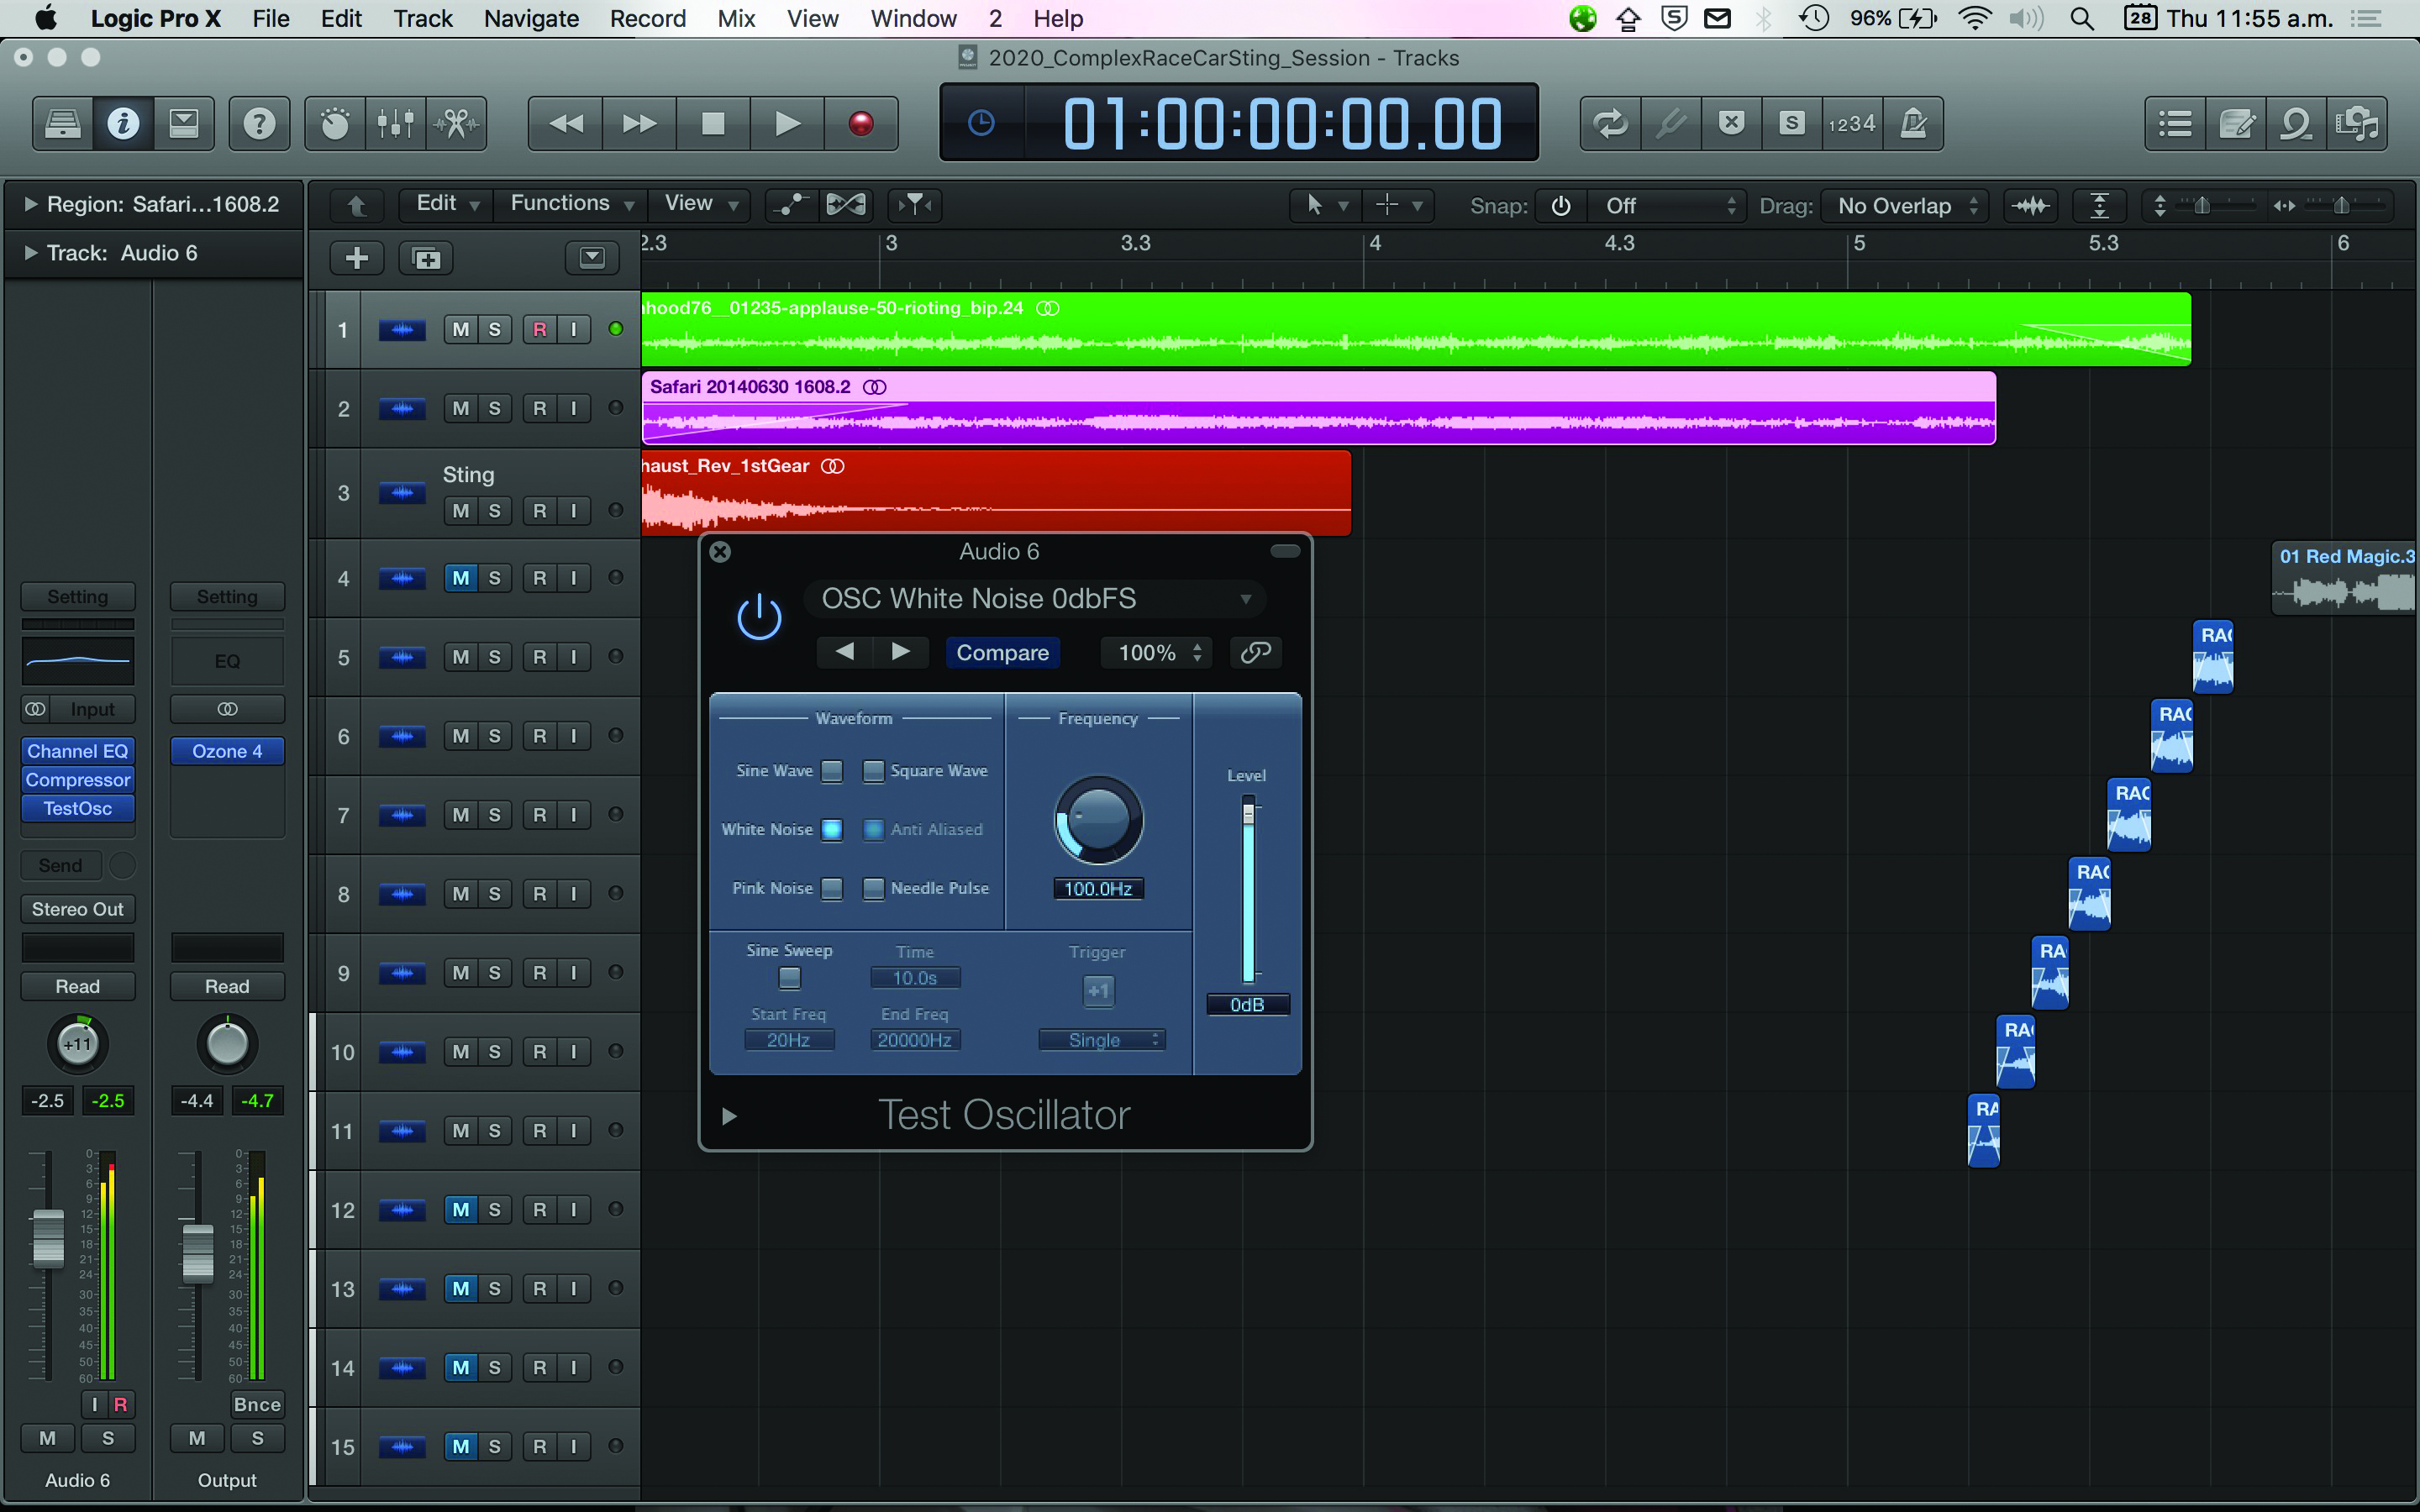
Are your sounds not doing what you wanted them to? Add some noise. That’s right: plain, old-fashioned noise. Most DAWs usually have a noise generator plug-in built-in, and it comes in multiple types.
The most common of these are white, pink and brown. They are all different in fundamental ways (white noise has equal energy across its frequencies, while pink noise has equal energy across its octaves), but really, the best way to figure out how to apply them is to hear them yourself, and become aware of the subtle differences between them. Try adding an automated burst of white noise to a synth or snare sound, for example.
4: In the Haas
Meet the Haas Effect. It’s named for acoustician Helmut Haas, and without getting too technical, it’s a way of turning a mono sound into fantastic stereo. The trick is actually really easy.
All you have to do is take two copies of your sound, then pan one extreme left, and one extreme right. Then pick one, and delay it by no more than 10ms. This has the effect of tricking the human brain into thinking that it’s hearing a single, wide sound – and it’s an excellent technique for when you need to add width and depth to a particular piece of sound design.
5: Go Long
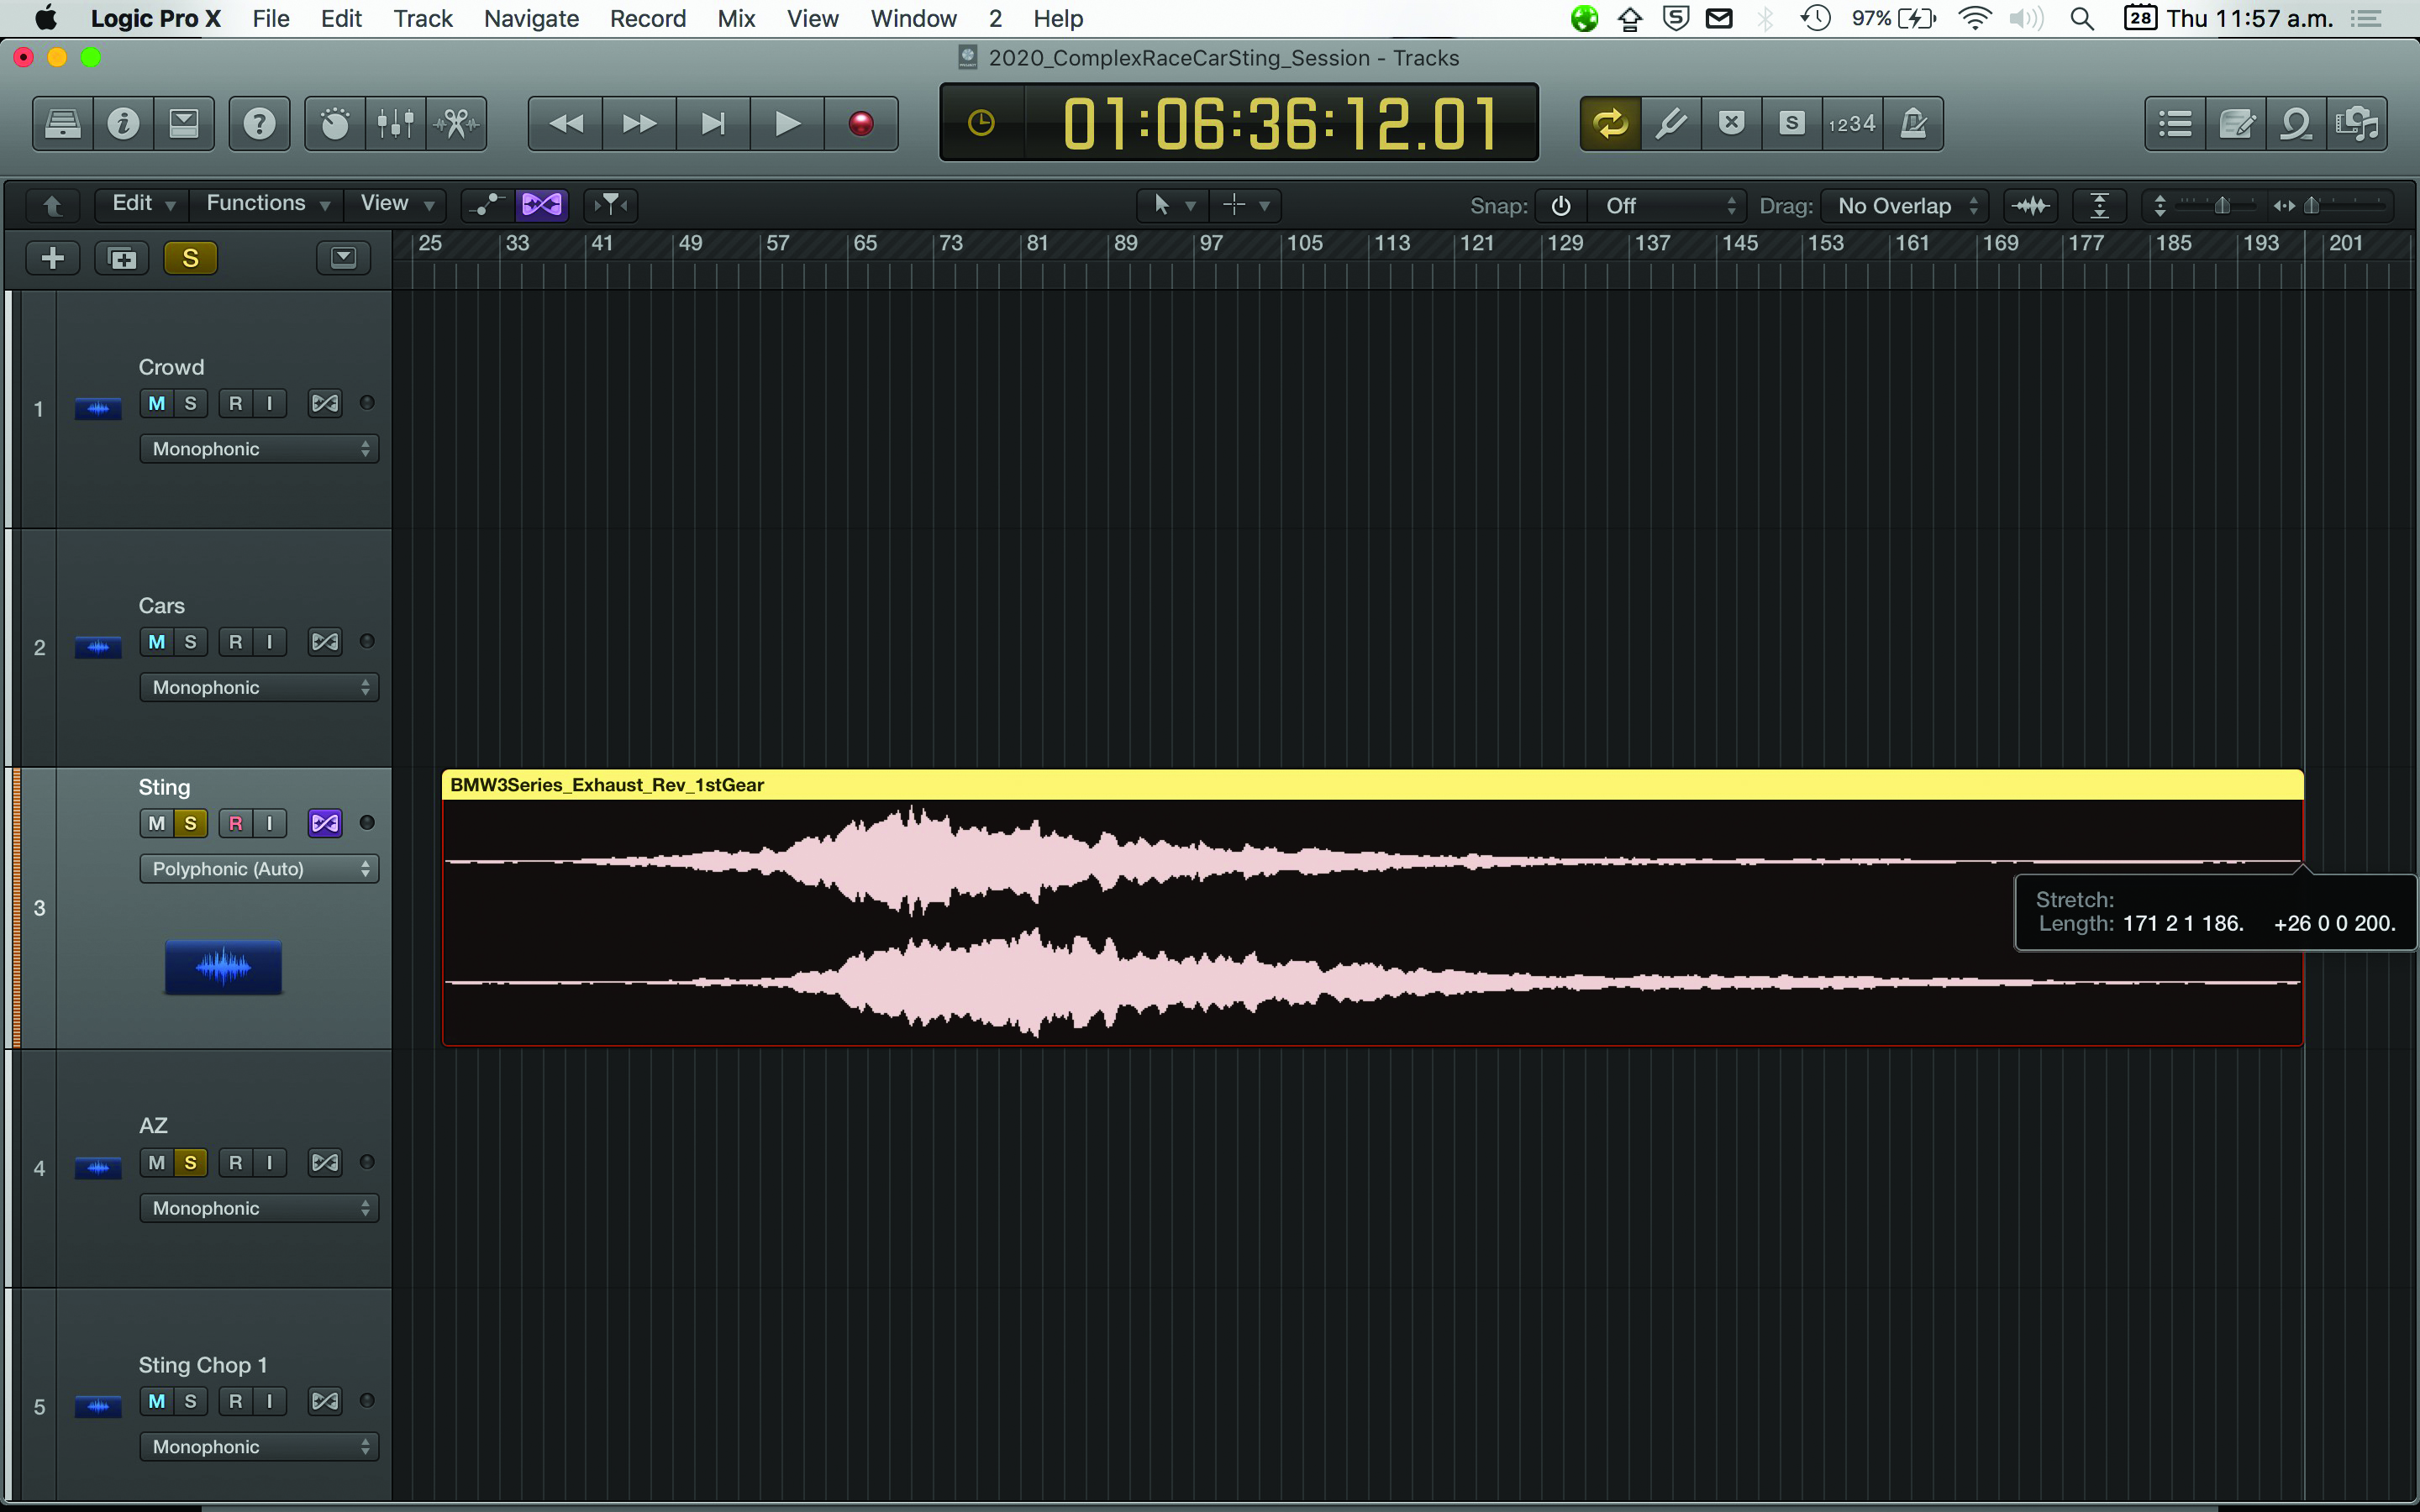
Time stretching is a familiar trick to anyone involved in sound design. Typically, the technique is to take the sound and shorten it, which often results in glitchy-sounding electronic effects.
But it’s also worthwhile looking at the opposite: taking a sound, and using time stretching to elongate it to extreme lengths. And we do mean extreme: try stretching the sound to three minutes, five, even 10.
This can result in some unbelievable textures, and if you then chop and slice the long audio clip into its own segments, you can recombine, alter and filter them, ending up with sounds which differ wildly from the one you started with.
6: Plan your Sessions
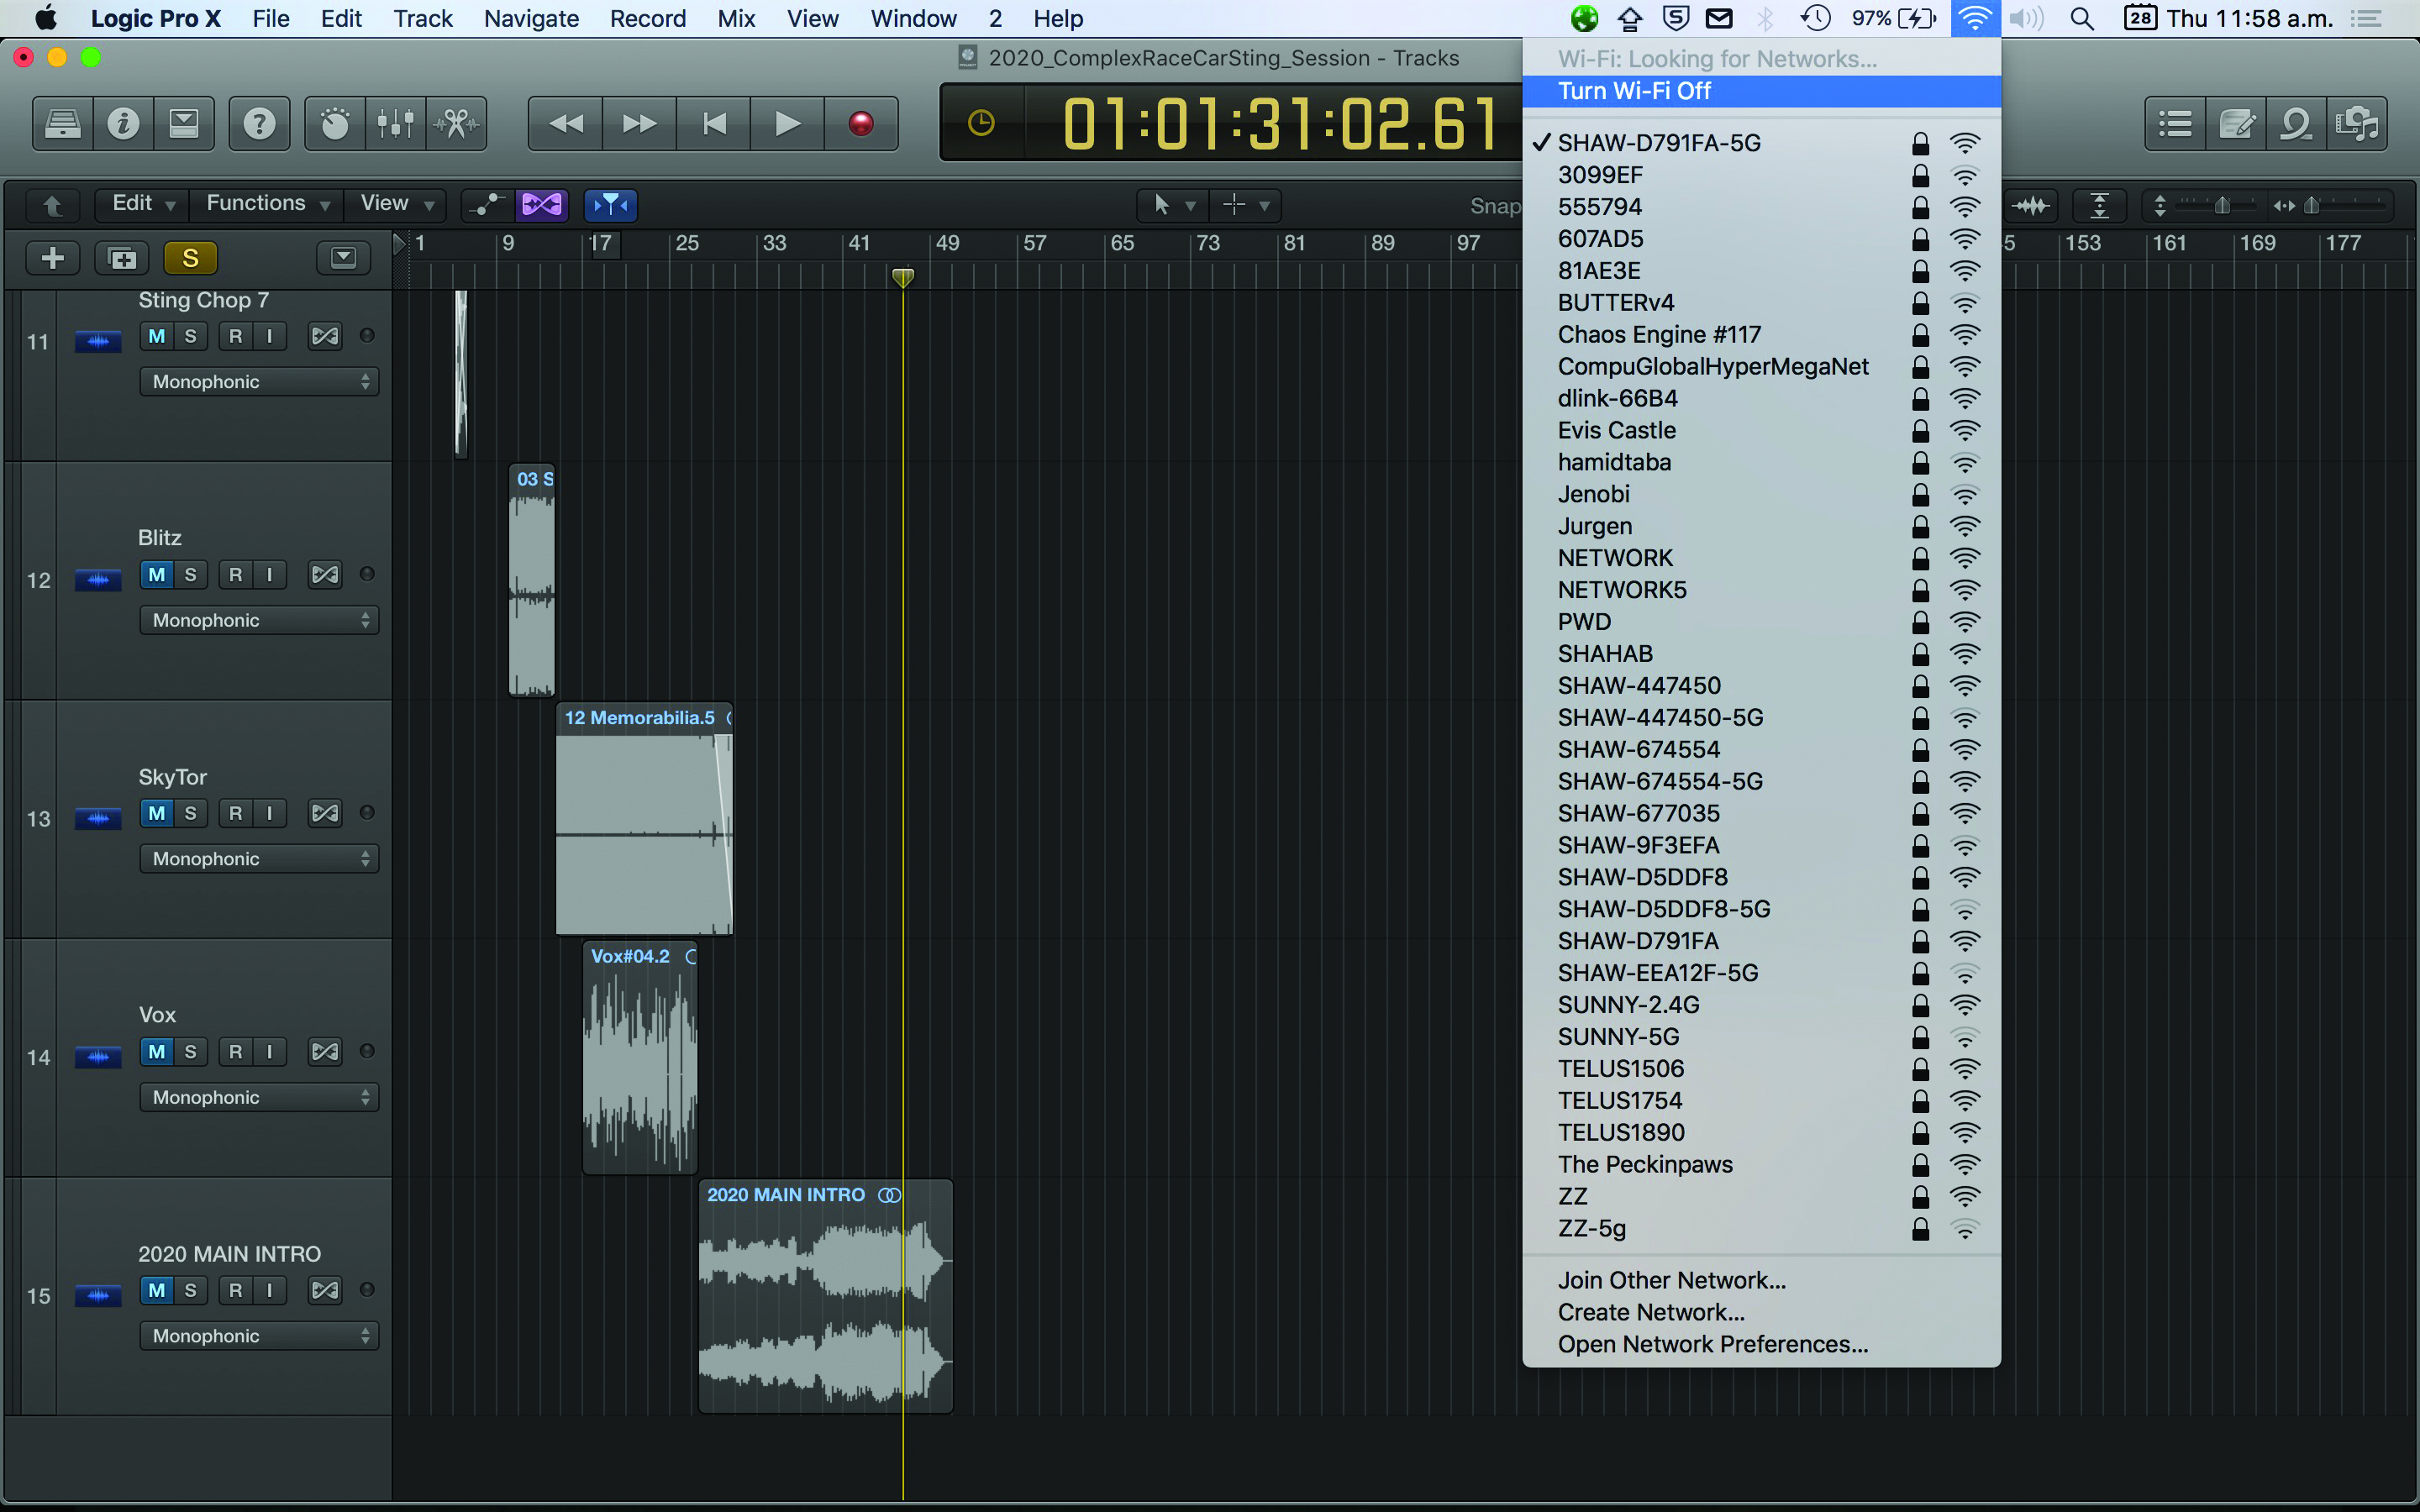
It seems weird to think of it this way, but sound design is exhausting. It’s even more exhausting if you begin without a particular goal in mind, as so many sound designers do when they’re experimenting.
The best sessions, though, are uninterrupted; which means you’ll have to plan a little beforehand. Turn off your phone, update all your plug-ins, get some snacks, kill the Wi-Fi router.
The goal here is to sit with your sounds for a long period of time, without any interruptions or distractions. You should also be prepared to walk away if things aren’t going the way you hoped, and pick it up again another day. So much of sound design happens in your head, and it’s in your best interest to keep that space as clear as possible.