The Ultimate Guide to Producing Dirty Dubstep – Part One
Fierce yet clear, loud but clean… Liam O’Mullane and Christopher Pearson guide you through the process of creating the harder edge of this contemporary genre, their first point of call being the fundamentals of bass design… Dubstep is a genre that’s morphed from its dubbed-out form over the years and since splintered into two distinct […]
Fierce yet clear, loud but clean… Liam O’Mullane and Christopher Pearson guide you through the process of creating the harder edge of this contemporary genre, their first point of call being the fundamentals of bass design…
Dubstep is a genre that’s morphed from its dubbed-out form over the years and since splintered into two distinct camps. For the more meditative and deeper experience, artists such as Burial, Phaeleh and Mala fly the flag, sticking to the genre’s original principles of a mix with depth, space and general musicality.
Over the years and more recently in the mainstream, a louder and more aggressive influence has taken hold. The driving force behind this new breed of dubstep include Skrillex, Zomboy,
Excision and Flux Pavillion to name a few. Although terms like EDM and brostep are often frowned upon due to their buzzword nature, this is the musical style we are focussing on in this five-part feature.
Like any bass-orientated electronic genre, there are rules that apply across the board in terms of composition and production. These aspects will be highlighted when relevant, but our real aim here is to educate you on the standard tools for crafting a heavy dubstep track, whilst offering a variety of techniques you can use to create something original.
It would be pointless to give you a full how-to on today’s sound as the leading artists will have moved on by the time you’ve learned your trade.
Although today’s sound is of importance, do try to keep an open mind and fully explore our suggested practice in your own way. This is key, as a lot of the best ideas and sounds will come from happy accidents and a pursuit for originality. So set your tempo to 140bpm and let’s begin by first defining the essential components for the dirtiest of basslines.

Bass: Defined
The word ‘bassline’ when used in bass music may differ to your own definition, so it’s important to understand what it means in the context of a dubstep track. Although a sub bass is used to pin various instruments and sounds together – so they have an even sense of low-end weight – what people consider to be the bassline can be a large range of musical, noisy, discordant and SFX sounds.
If we break down the elements that form to make a dirty bassline, there are no set rules and this is why experimentation is so important.
Though less common in use today, a single bass sound can be the singular feature of a track, but this does require a huge amount of creative programming to give it the variation it needs to hold the listener’s interest.
The more common approach today is to work between at least three separate sounds with contrasting timbres, then after establishing an initial idea, use internal modulation and automation to twist and take their tone into different areas for maintaining listener interest.
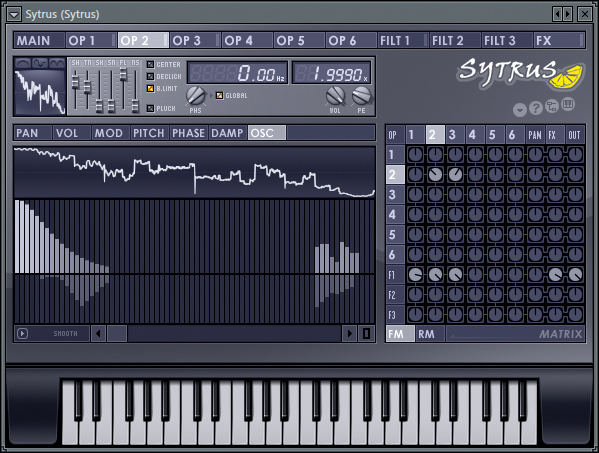
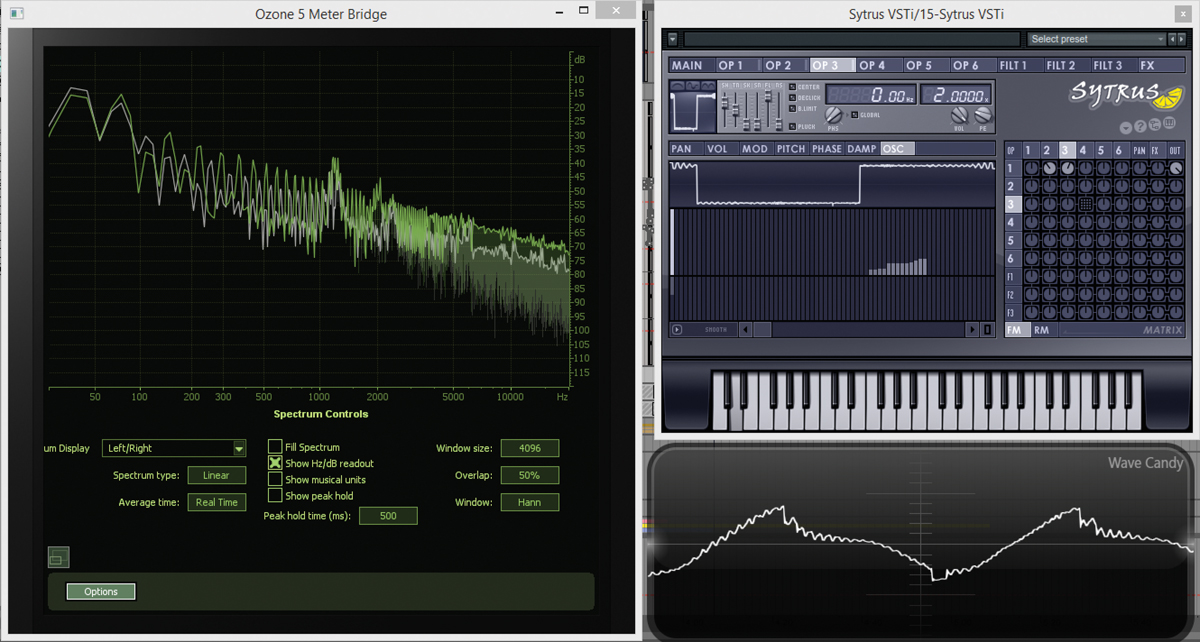
Not all FM synthesisers are equal and some techniques might translate differently from one to the next. The fundamentals however, are the same. Sytrus is one of our preferred options because it allows control of individual partials (harmonic frequencies above the fundamental).
Though dirty bass might be fierce and in your face, a constant barrage of a singular distorted synth will lose the listener’s interest quite quickly through monotony. Bass design is about building the right sounds, but before you lay down a single note, you need to be thinking ahead for how you’ll create bass dynamics.
Dynamics
When designing a bass sound, asides from the technical starting points we’ll discuss next, be mindful of your options for twisting and turning a sound. When balancing parameters of a synth or subsequent creative audio processing, take note of parameters that create either a subtle or severe timbre shift.
These can then be either internally modulated within your synth or sampler so they respond to MIDI note information as you play, or you can program them within your sequencer through automation or MIDI CC data.
In the interests of workflow, make use of macro options within the instrument itself or your DAW so multiple parameters can be controlled at once. If you don’t decide on the best parameters to modify, or group them up in this way from the start, you’ll soon find yourself swamped with confusing movement data. This will always cause problems when it comes to arrangement and further editing of your track, so do treat this as an essential part of the initial creative process.
As the parameter combinations of synths and audio effects are infinite, let’s look at the standard options we always consider when creating a bassline sequence. The first choice is what register you want a sound to live in. Even though the sub bass may stay in the same frequency area, a lot of dynamics can be created by alternating between a low and high pitched instrument. For instance, one sound can be very low-end orientated which leaves space in the mids and top-end of the mix.

Another sound can have lots of mid and top info so it’s a fuller-sounding part and the third sound could be scooped in the mids by being a sub with a thin sound that plays towards the top-end of the mix – very much akin to classical music.
The nature of each sound’s frequency content is another element to explore for dynamics. Fundamental waveforms – sine, triangle and saw waves – are pure, slightly and very harmonically-based respectively. The harmonics are even so they create a pleasant, defined musical pitch.
Square waves also carry pitch clearly, but they consist of odd harmonics which means they sound big and hollow. These waveforms can be used in modern dubstep, but they will be a point of contrast against other, much less musical components.
These instruments are a counterpart by being non-musical and noise like. This is a big reason why FM and additive synthesis are used so much in today’s production for dirty-sounding bass. Uneven clusters of harmonic content that are static or move over time are all used against each other to create the type of textures the older generation often dismiss as noise.
But it’s this contrast of tuned and none-tuned sounds that are essential in creating aggression, abrasion and a generally up-front energy that still retains a sense of movement and depth.
Step by Step Guide – Vowel Bass Foundation With FM Synthesis

1: Our first oscillator begins its life as a sine wave-based sub. Sines are a clean source meaning frequency modulation is easy to hear and therefore control in finer detail. The sine is pitched to E1 or 41.2034Hz – this will sound much higher when we apply frequency modulation. The second oscillator’s pitch is the same as the first, but slight detuning can be used to create movement.
2: Our second oscillator is set to modulate the frequency of the first oscillator using a triangle wave. This imposes new harmonics which thicken up the sine wave. If you can control oscillator partials, raise the 32nd to add a new fifth octave pitch to the triangle’s shape. Otherwise, add a 3rd triangle oscillator up by five octaves to modulate the 2nd.
3: Moving the modulation amount for the second oscillator will now create a basic vowel sound. Next add another oscillator to create high information for a sense of air. Pitch a different oscillator (we’ve used a square) up by 64 semi-tones and add modulation depth to taste.
FM Design
To start with a solid foundation, we use a sine wave based oscillator. A pure sinusoidal waveform is the most clean, and therefore most powerful wave we can create and being infinitely smooth, it has nothing but its fundamental frequency to impart. The sub is essential as it carries the weight of the track and the frequencies you want from sub woofers to rattle the audience’s nose cartilage.
On its own, a sub instrument can be nice but our examples throughout the article contain sub, mid and high range information. Sometimes we’ll achieve each bass instrument with more than one layered source, but it’s entirely possible to create large and complex patches within a single synthesizer. In this particular genre, FM synthesis seems to be the main staple for bass creation.
Because of how FM synthesis works, it becomes very simple to create complex, warped sounds. In fact, even when basses are created in other types of synthesizers, it’s usually an FM technique that will make the sound fit the genre. For instance, NI’s Massive, although subtractive, uses phase modulation to create similar-sounding effects.
Experiment with different processing on your grouped bass sounds to fill or create space to all sounds as a whole. This will help unify them and put them in their own space within the mix.
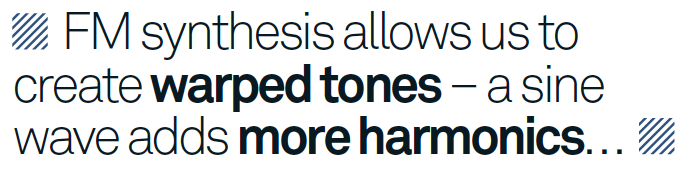
FM Synthesis allows us to create very warped tones by using oscillators to modulate other oscillators. A sine wave set to modulate another will impart new even harmonics which in turn create a new waveform at the synth’s output. But detuning the modulating oscillator, or changing its wave type, it will venture into noisy and unpleasant timbres.
Sweeping the amount of modulation being applied is key to achieving the FM bass sound used countless times in this genre. So be sure to explore tuning, waveform choice, waveform phase and additional oscillator routing to move away from the norm.
For example, a few of our bass sounds use Image-Line’s Sytrus with internal modulation amounts being used for movement. After exploring some strong-sounding parameters to automate, we then mapped them across an X/Y controller within the synth. These X/Y parameters are then mapped to our host software as two automation lanes to keep life simple.
When experimenting with audio processing, or any onboard synth modulation, it’s worth trialling a sound to see if it works better when re-sampled into a sampler or kept live. Playback speed alters when playing a sample higher or lower and this adds a character of its own to a bass idea.
To find the sweet spots of where the X and Y best overlap, we started with random automation data, then fine tuned the automation until we achieved a groove and interesting timbre shift against our varied drum track.
To underpin an FM instrument with a clean sine wave to emphasise bass, we can simply enable another operator, set to sine and keep it modulation free. This means we have all elements of the sound available to play in one instrument.
Bass Processing

There are two different categories you can put audio processing into when it comes to bass: creative and mixing. Creative processing can be a fundamental part of a sound or punched in on occasion to create a timbre shift for dynamics and variation. Amplitude modulation is a popular choice at the moment and can be achieved through a tremolo effect or LFO controlling a synth’s amplitude. At slower rates you’ll hear a detectable rhythm, but get the rate above 20Hz and you’ll hear a distortion that creates edge with a soft characteristic
As long as you’re processing the mid to high frequency part of your bass sounds (i.e. not processing the sub-bass) the options for creative processing are endless. Dry/Wet reverb control, strong phasing, guitar distortion and glitch-like effects are tools which feature in dubstep on a regular basis. So the more you experiment with the less common options, the better.
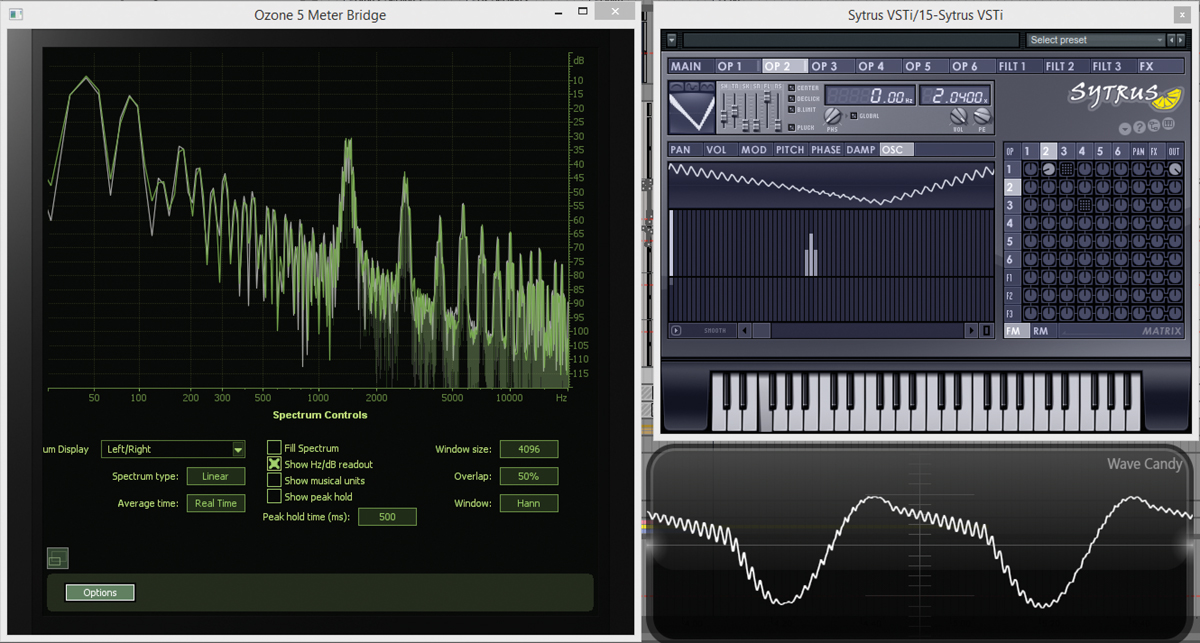
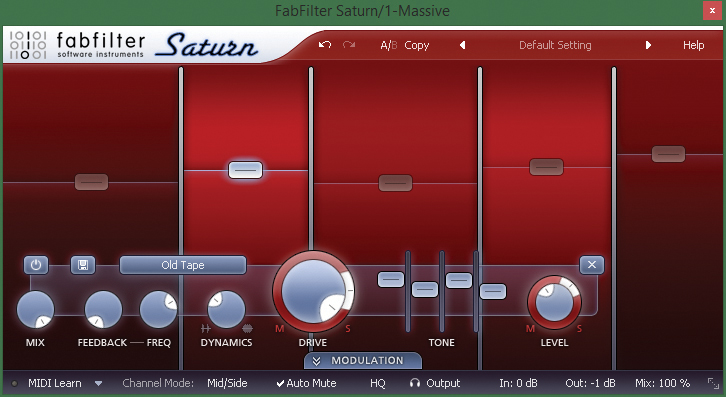
Mix processing involves the use of EQs and dynamics processing to balance each sound to fit comfortably within the track. We generally used multi-band processing that also includes an element of saturation. FabFilter’s Saturn, Image-Line’s Maximus and iZotope’s Alloy 2 are good examples for their sonic quality and uniqueness in character.
This allowed us to firm up certain areas of the frequency spectrum and add harmonic information per-band or mid and side plane as required.
For EQ balancing you shouldn’t need to do any major removal work to remove brash frequencies. If you’ve got too much grit, go back to source and find what element of your synth or plug-in chain is creating it and tone it down!
Wherever possible we like to group ‘types’ of sound together. Not just for aesthetics and housekeeping but mainly to give groups of sounds their own identity and colour in the mix to help them stand out as a unit.
For example, all bass sounds will go to a bass group and be compressed, EQ’d and mastered as a unit. This solidifies its range and defines its space, allowing other groups to cut through around these main bass elements.
Bear in mind that it’s always good practice to pick out similar sounds. So rather than grouping everything musical to a single ‘music’ group, think about dividing them by their transient and timbre nature.
For example, we wouldn’t group pads and guitars together as they’re so different sonically. If picked instruments are grouped, we can then accentuate frequencies that are plucky with EQ and add transient processing if required.
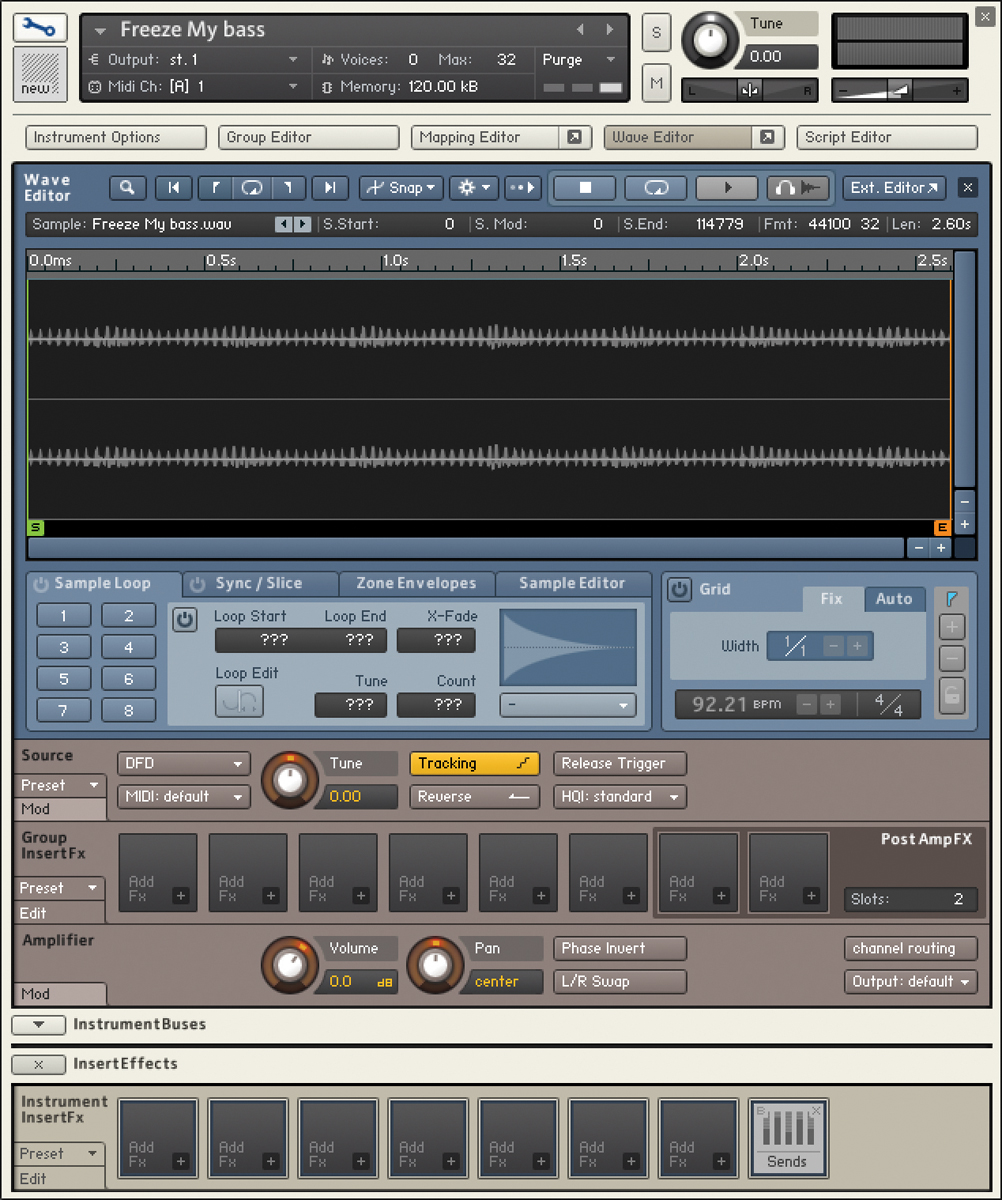
Re-sampling and Slip Editing
A good way to get creative with an existing idea is to re-work it as a new sample. This can be done in various ways depending on the tools available in your DAW. All DAWs can bounce audio and this is the simplest way to re-sample.
Once bounced, you can chop and re-edit the sample, or use slip editing to move the start position of the audio within the audio clip. This changes the content but the clip itself stays in place on the grid. This is good way to encounter happy accidents and is most commonly used on long pieces of audio recorded when jamming with a synth and its parameters.
Musical Keys
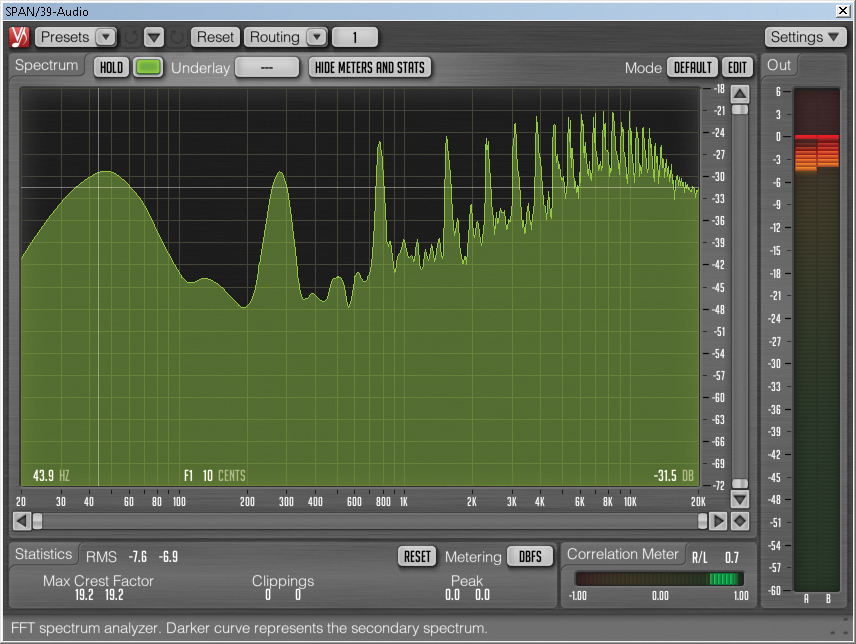
Due to the sound-design biased nature of the more extreme end of dubstep, musical keys are difficult to decipher and follow. Pitching sounds, re-sampling them, pitch-bending etc can result in the end result, often venturing into non-western scales and microtuning. But an important factor is the choice of root notes that you base your sub bass around and its closest harmonics.
Most club sound systems have a bass roll-off of around 40Hz which means pitching your sub bass any lower than this can cause a less than universal translation from one venue to the next. In some cases this means you’ll hear no sub at all if your choice of key is too low.
On the opposite side of this, going too high can leave your track lacking in any low impact information when compared to other music in the mix. Also bear in mind that sound systems are EQ’d to sound pleasant for their environment and genre; boosts and cuts will be applied in the expected sub area, kicks, snares and even where cymbals are expected to fall.
For all of these reasons, bass genre artists have naturally fallen into using the keys of around E, F and G.
You can test this phenomena by running reference tracks through a spectrum analyser to study where their keys lie. Even individual sounds are becoming standardised to frequency so mixes tend to have a unified and equally musical sound.
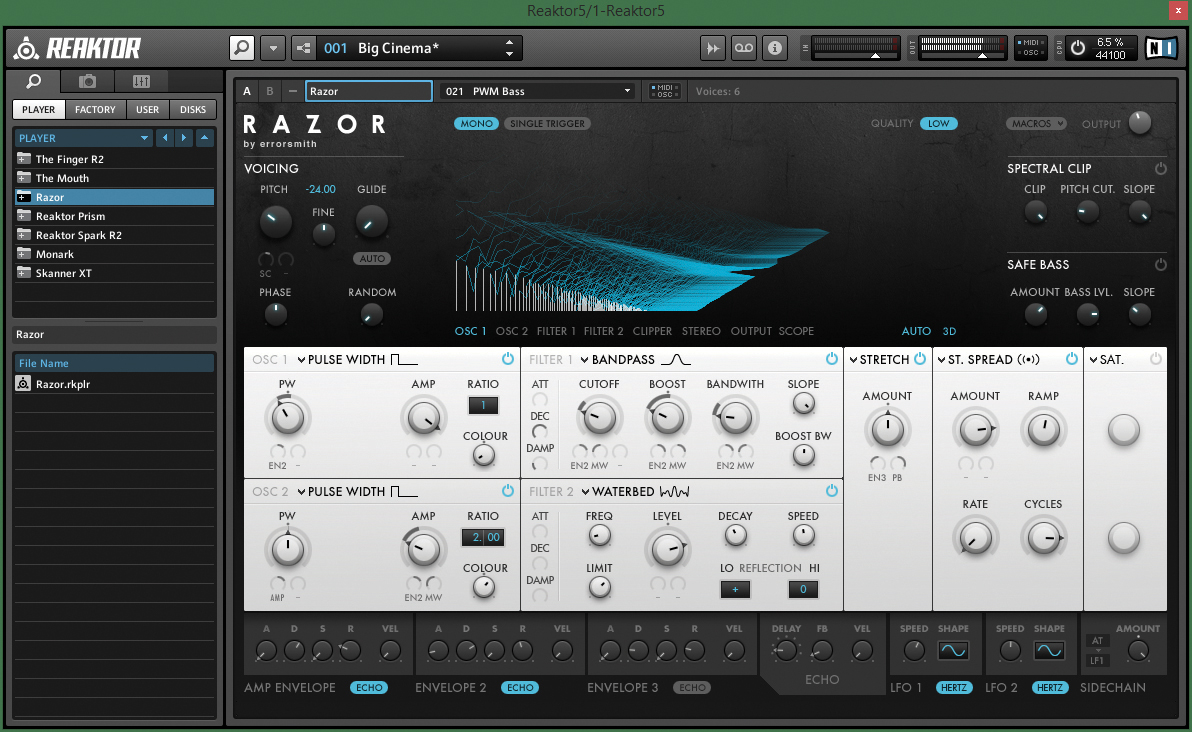
Though we’re focussing on FM synthesis for most of our bass design, additive synthesis is a great option for different textures. It allows complex waveforms to be built from many sine waves just as real sounds are in the natural world. But it’s the unique approach it takes to synthesizing sounds and its interface that will encourage unique results.
Food for Thought
In this first instalment, we’ve covered the very essence of what this genre is about – bass! You should have the tools and basic understanding of FM synthesis to explore or use to try and mimic our example sounds.
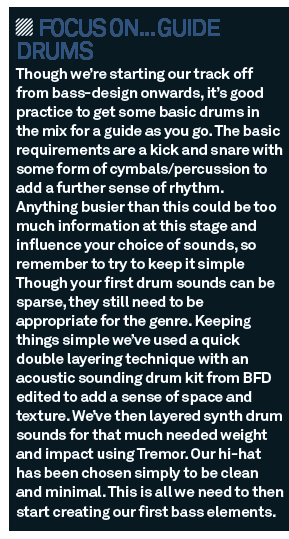
You can explore different styles of guide drums at this stage to help expose new potential vibes, but let’s not get too committed at this stage. After all, we haven’t explored musicality or thought about song structure and flexibility is a gift at this stage in the process. We’ll next explore where our bass ideas can go while also designing our principle drum sound.

