Twenty Dynamic Processing Tips – Part Two
Hollin Jones continues his exploration of some of the best advice for dynamic processing… 11: Shape your Bands Consider using a multiband compressor in situations where you are dealing with audio material that is more complex, such as a whole mix. You can have three or four bands and each has its own set of […]
Hollin Jones continues his exploration of some of the best advice for dynamic processing…
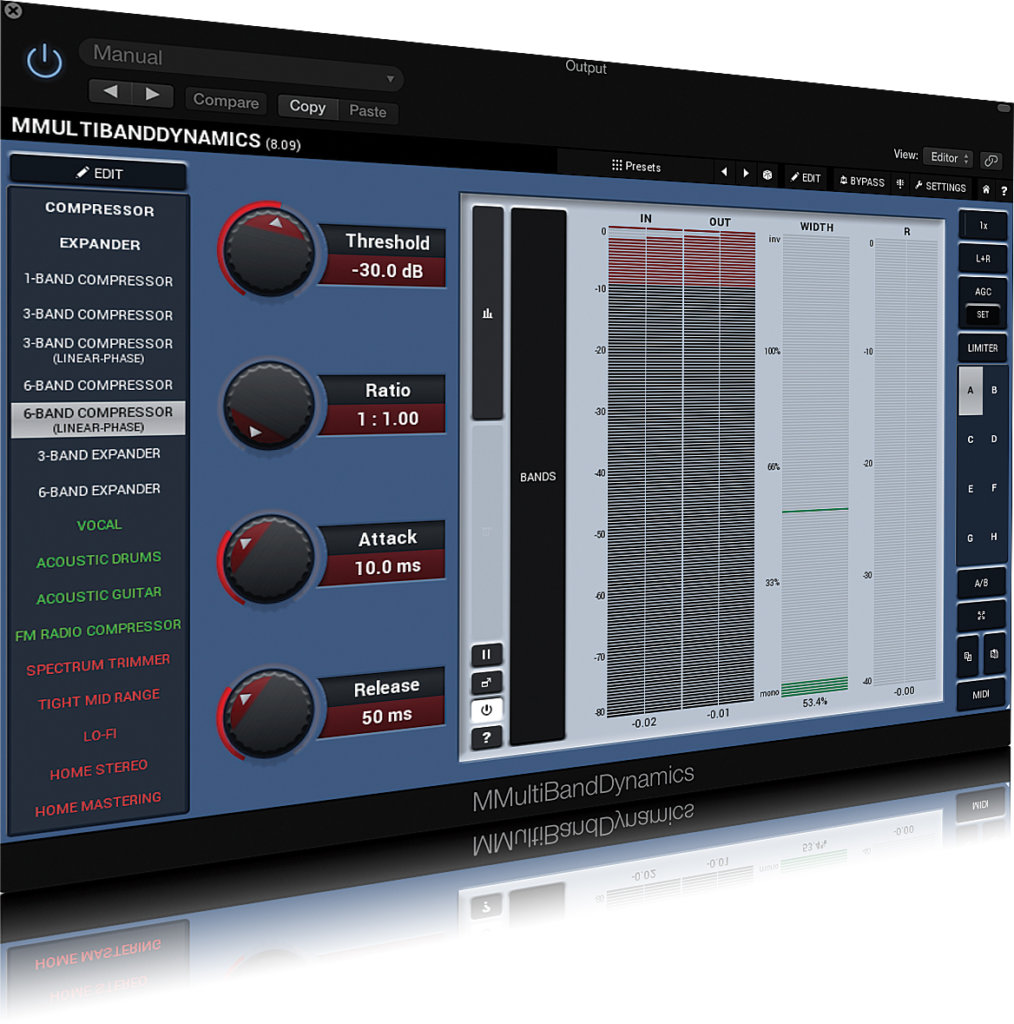
11: Shape your Bands
Consider using a multiband compressor in situations where you are dealing with audio material that is more complex, such as a whole mix. You can have three or four bands and each has its own set of gain controls, allowing you to shape each band separately. The bottom end of the track, for example, could have slow attack and release times, and a smooth amount of gain reduction.
The top end, on the other hand, could use faster attack and release settings to be more reactive to peaks. One benefit of multiband compressors is that no single frequency controls the amount of gain reduction applied to the whole track so you can push each one harder or indeed leave it more natural sounding but treat other parts of the frequency spectrum differently. This is why multiband compression is often used at the mastering stage, because it provides much more fine-grained control
12: Watch The Bass End
Very low frequencies can cause problems for compressors and especially limiters, potentially resulting in too much gain reduction being applied across the whole mix and meaning that your master ends up much quieter than it could otherwise have been, and with less dynamic range. Try using a high pass filter to filter out any sounds below 30 or 35Hz and see if this frees up a bit more headroom for the track as a whole.
13: Keep Order
When compressing bass guitar, consider placing the compressor before any EQ in your signal chain. If you do this the other way round, the frequencies you’ve boosted with EQ will be compressed more and you might lose highs and mids. If you compress the signal prior to EQ’ing it and then use EQ to add bottom end, you’ll end up with a more even, weighty and accurate sound.
14: Watch the Background Noise
Compression can amplify the noise in the sound being treated, because when a signal is below the threshold, the compressor raises the gain. It’s possible therefore to accidentally raise the volume of things like hiss and other background noise during compression. A little hiss is sometimes a natural part of recording, so be gentle in your efforts to eliminate it.
Use sidechaining to use one signal to control the amount of compression applied to the other one
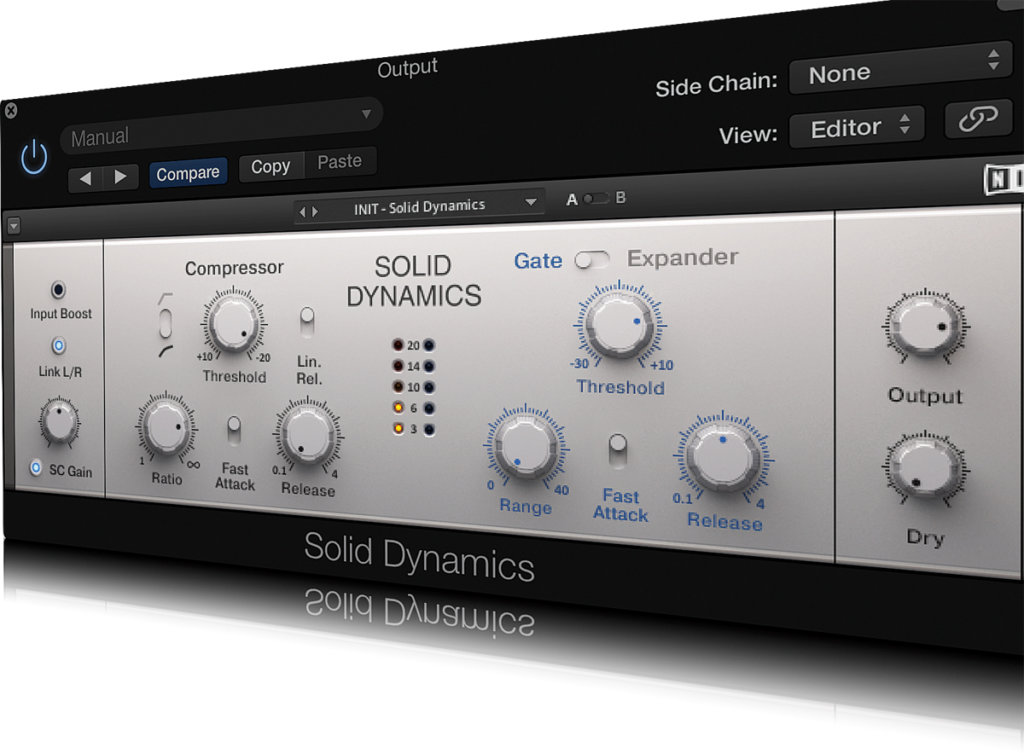
15: Sidechain
One interesting use for compression is when your compressor supports sidechaining. This enables you to use one signal to control how much compression is applied to another signal. So, for example, you could feed a compressor’s external sidechain input with a copy of a kick drum track, and then feed a bass track to the compressor’s processing input. The result should be that the volume of the bass part is pulled down more or less instantly every time the kick drum sounds.
16: Use Sparingly
Compression can be used to bring elements out of a mix but should not necessarily be applied to every track, at least not heavily on every element. It’s easy to over compress and suddenly find that everything’s fighting with everything else. A good rule of thumb is to decide what needs to live where in the mix and in the soundstage, and then selectively compress to bring just a few elements to the front rather than everything.
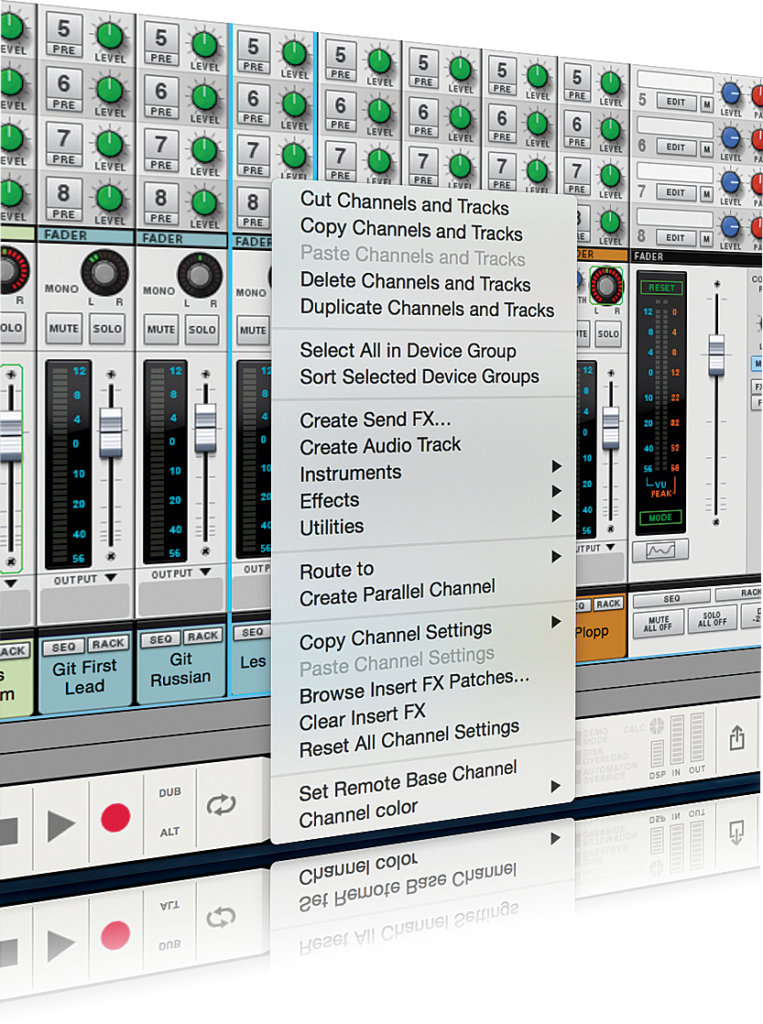
17: Group When Necessary
One way to work with groups of sounds is to route them all to a group channel or a buss channel and then apply dynamics processing to that channel. So a choir might only need to be run through a single compressor. A drum kit could be selectively compressed channel-by-channel since it’s a complex source, but then smoothed out by compressing the drum group with one processor only.
18: Attack and Release
The best way to get compression to add punch to a track is to enable the attack of the sound through and experiment with release times to tweak the effect. Faster attack times will reduce the amount of punch that the signal has, but slower release times can cause an unwanted ‘pumping’ effect as the compressor takes too long to let go. The ideal setup, which you can find by a bit of experimentation, is to make the compressor seem to breathe at the same pace as the track.

Switching the output level to -0.1dB guarantees you won’t get any clipping – bonus!
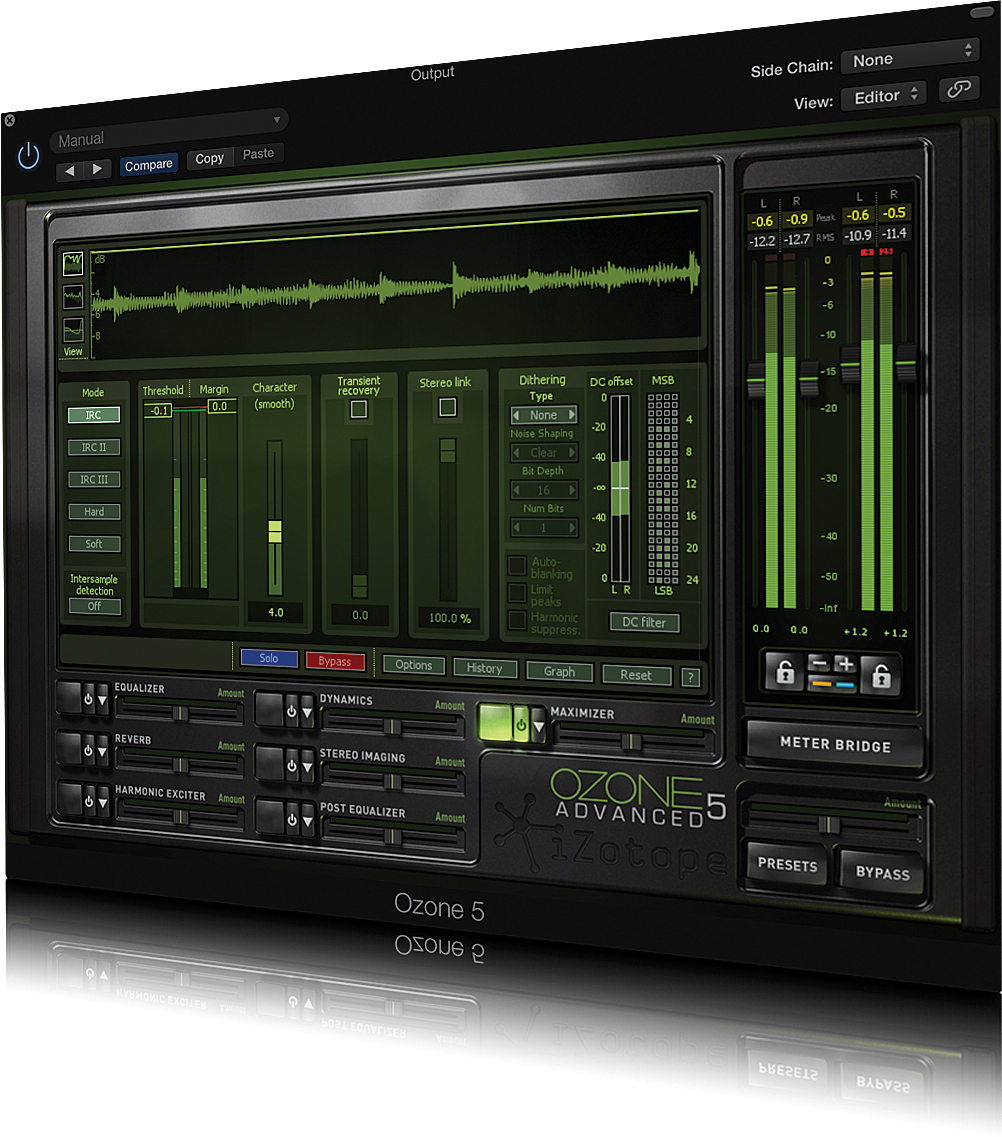
19: Avoid Clipping
When limiting, typically at the mastering stage, consider setting the output level to -0.1dB rather than zero. This might sound like a small, unnecessary thing to do but it guarantees you won’t get any clipping. Also, try not to drive the input overly hard, which will also reduce the probability of distortion in the limited signal.
20: Use Parallel Processing
Parallel compression is useful for mastering. Take one version of the track and apply moderate mastering processing. Then duplicate the audio file to a new audio track, perfectly in sync with the first, and dial in some more extreme settings.
Use the mixer faders to slowly blend in a small amount of the heavily processed track with the original, and see how this affects the overall sound.