The Essential Guide to iOS Music Production (Part 2)
We pick up the story where we left off and continue our essential guide to iOS music production where this time we cover iOS studio and internal integration and round up some of the best iOS accessories. Check out part 1 if you missed it. Music making on iPad and iPhone has matured into something […]
We pick up the story where we left off and continue our essential guide to iOS music production where this time we cover iOS studio and internal integration and round up some of the best iOS accessories. Check out part 1 if you missed it.
Music making on iPad and iPhone has matured into something of an equal partner in the recording studio. At one time, the music-gear industry saw iOS music production as the future, the platform on which we would all be swiping, pinching and expanding our music making and on that platform alone. Yet, instead of that, the iPad and iPhone (and we’re focusing on iOS, although much will be relevant to Android and Windows devices, too) have become additions to the studio rather than replacing it.
Producers tend to use their iOS devices as instruments in their own right, or as controllers. Sure, you can make music completely on an iPad/Phone and we detailed a lot of the all-in-one sequencers that can do just that last time around (and see the boxout on the further down the page for more on those) – but generally speaking, there are perhaps more people who use their iDevice as an integral part of music making, rather than as the sole option.
Internal and external
This time around, then, we’re going to look a how to integrate your iOS device into your current studio setup, but in several different ways. Firstly, we’ll explore the physical interface options that help link your iPad to the outside world.
In this way, you can use your iDevice for anything, including the main DAW for song creation with external instruments – synth, vocal, guitar or whatever – plugged in via the interface. This will also cover your needs for that other option: to simply use your iPad or iPhone to play sounds, beats and instruments, perhaps recording them into your main desktop DAW.
The other aspect of studio integration is, if you like, ‘internal’ rather than external. Last issue, we introduced several iOS audio platforms that attempt to link audio applications together – a synth to a DAW, for example. These are Audiobus, Inter-App Audio and Audio Units and in this feature, we’ll detail more about how you can use all three to really unify all of the music apps on your iOS device.
iOS studio integration – using musicIO

1. Secret Base Design’s musicIO has established itself as one of the best ways of connecting your iOS instruments to your DAW. Connect up your iPad and run the app and desktop versions together to connect.
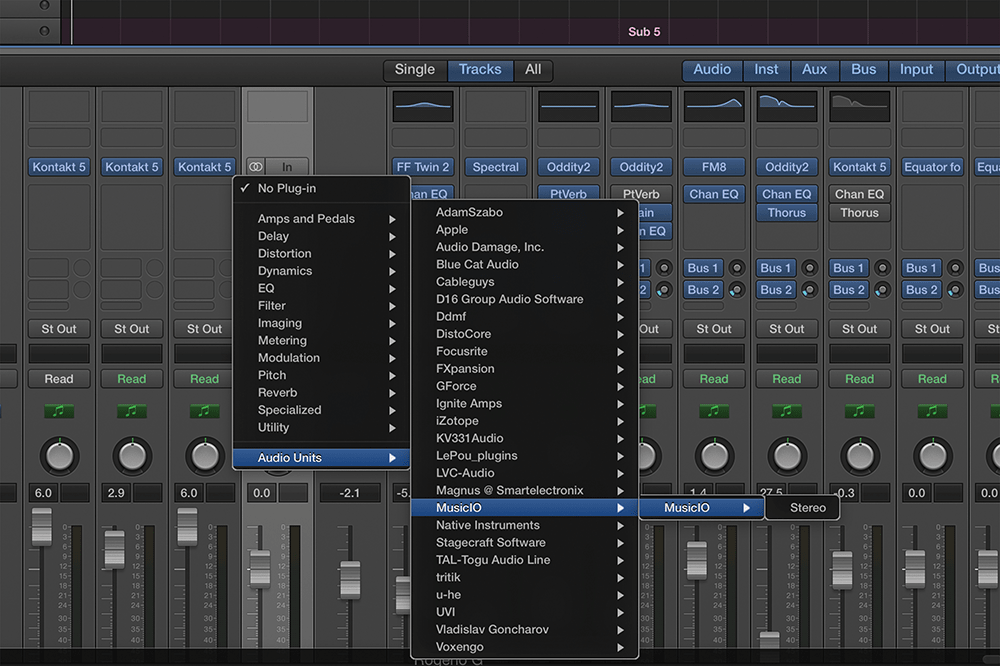
2. Within your DAW, create an audio track and select musicIO as a plug-in. This now allows the audio from your iPad to be routed straight into your DAW, just like recording a vocal or guitar from the outside world – only better!
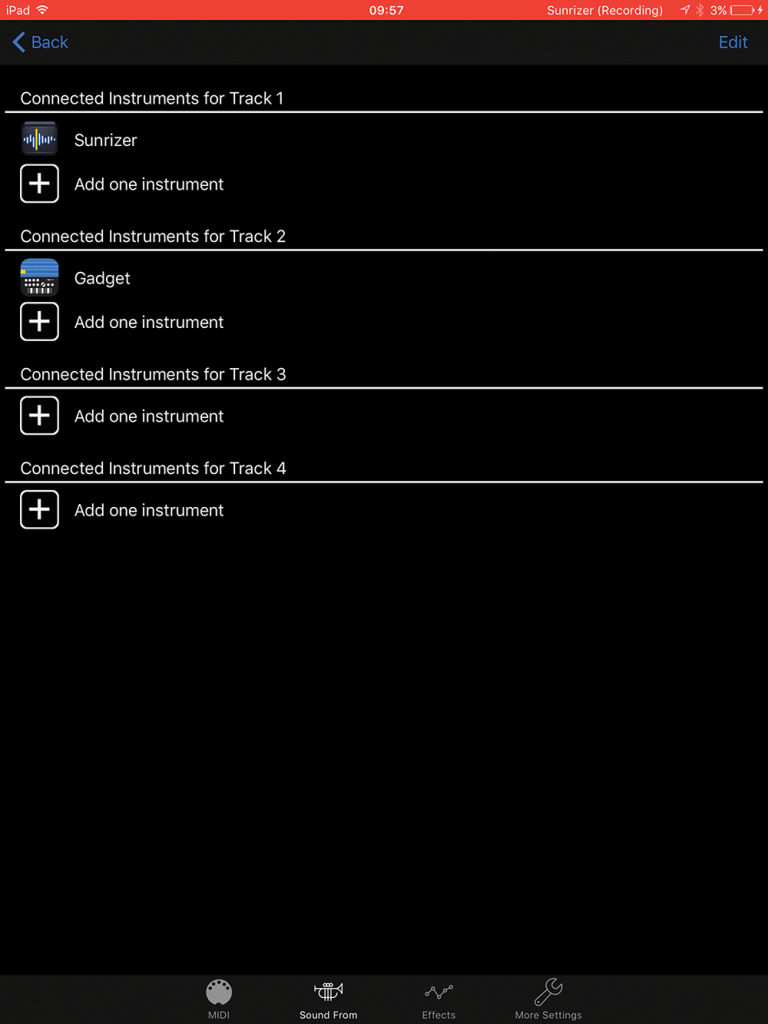
3. It’s better because musicIO gives you up to four tracks to play with. Using Inter-App Audio, you can route different apps through it and back out to your DAW. Here, we’ve selected Sunrizer for Track 1 and Gadget for 2.
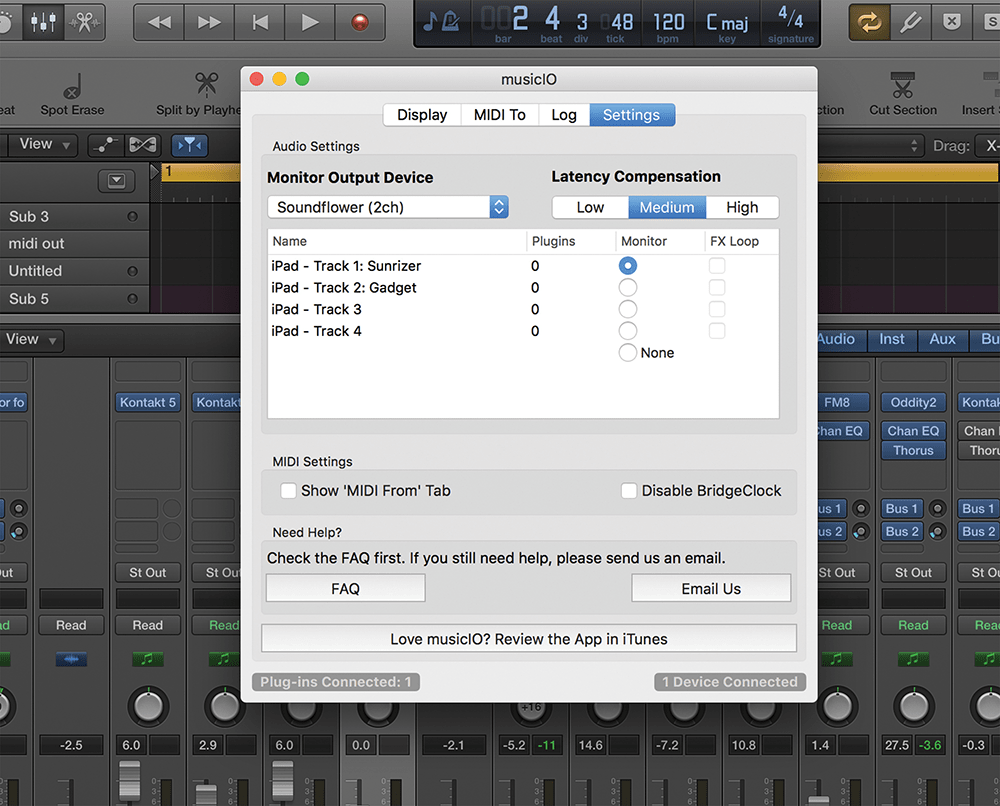
4. Within the desktop version of musicIO, it should update with your instruments on each track. There are also options to select the output and you may have to select Soundflower and then set that as your DAW input.
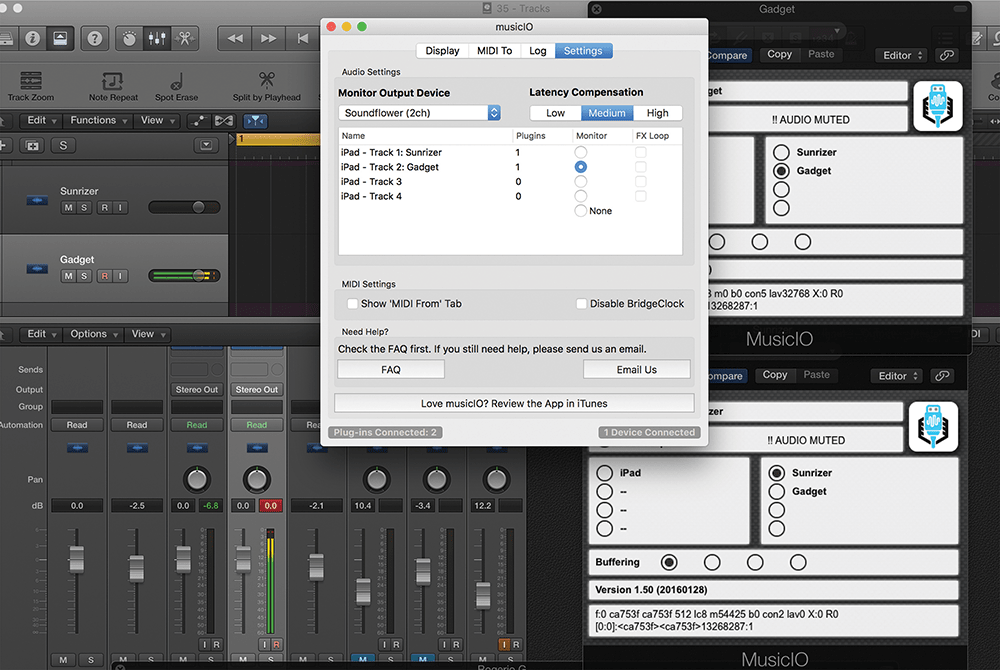
5. Now you should be able to hear the audio from your iPad on the different tracks within your DAW. Here, we’ve created an audio track from both Sunrizer and Gadget. Switch the monitoring in musicIO to hear them.
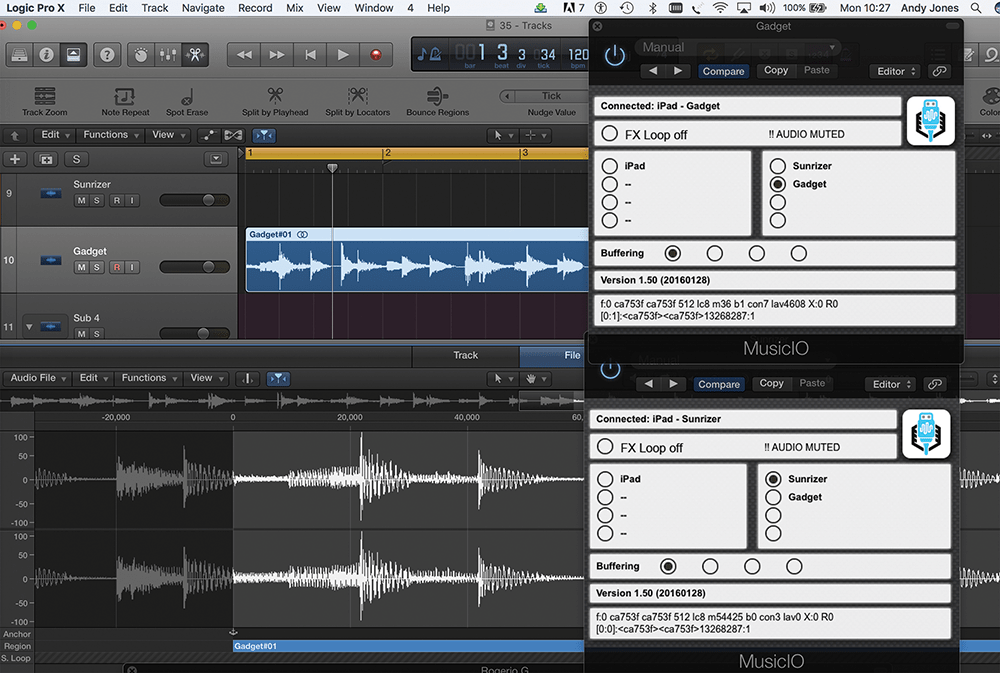
6. And of course, then you can record the audio into your DAW as normal (using Gadget as shown). musicIO also handles the MIDI side of things, too, so you can also record Gadget’s note info.
Let’s get physical
The idea, then, is to explore the best ways to create a single and unified recording setup with the iOS device at the heart of and integrated with your desktop setup – one studio that has the best of both worlds!
The audio interface is the obvious first port of call when it comes to expanding your iOS audio options. You need an interface, as your iDevice may only have a headphone socket (or nothing at all). A dedicated interface allows you to plug in a guitar, for example, so you can record it, or plug a mic in to record your singing.
Then there’s the interface, such as Korg’s plugKEY, which essentially makes recording an iPad a lot easier – so you can simply use it to play melodies or beats as audio to record into your desktop DAW.
One great little app that allows you to do this without an interface is musicIO, which links your iPad or iPhone to your desktop DAW as a regular plug-in. We show you how to use it in the tutorial on the facing page.
As for interface types, we’re only really covering two types here. First, we’ll list those that are dedicated iOS interfaces – so they connect directly to your iPad or iPhone and have the correct connections. We’ve also included a few small and robust USB interfaces that can be used as mobile options. Be aware they may not have a dedicated iOS connector, so you’ll need the Camera Connection Kit we detailed in our previous feature.
In our Buyer’s Guide, we list both types of interface, including all of the ones we’ve tested in MusicTech (plus a few that we haven’t, but are lining up to review soon). There’s everything included, from recording guitar right up to mixing a band, and plenty to allow you to use your iPad as the instrument.

There are other pieces of hardware that will help you link your various music-making worlds together – microphones, keyboards, controllers and so on – so we’ve included some of those in our Buyer’s Guide, too, starting over the page.
The internal process
Even if you don’t think you’ll need an interface – perhaps you want to do everything on your iPad, or you’re happy with a solution like musicIO – you really should sort out the internal dialogue between your music-making apps.
This is where the various audio standards come into play and over the page, we’ve included some basic tutorials on how to use the three we mentioned above – Audiobus, Inter-App Audio and Audio Units. These really do integrate everything on your iPad together and, in the case of Audio Units especially, really do mirror that desktop experience. Finally, the Buyer’s Guide also includes a list of some other handy utilities to check out.
iOS internal integration – using AudioBus, IAA and AU
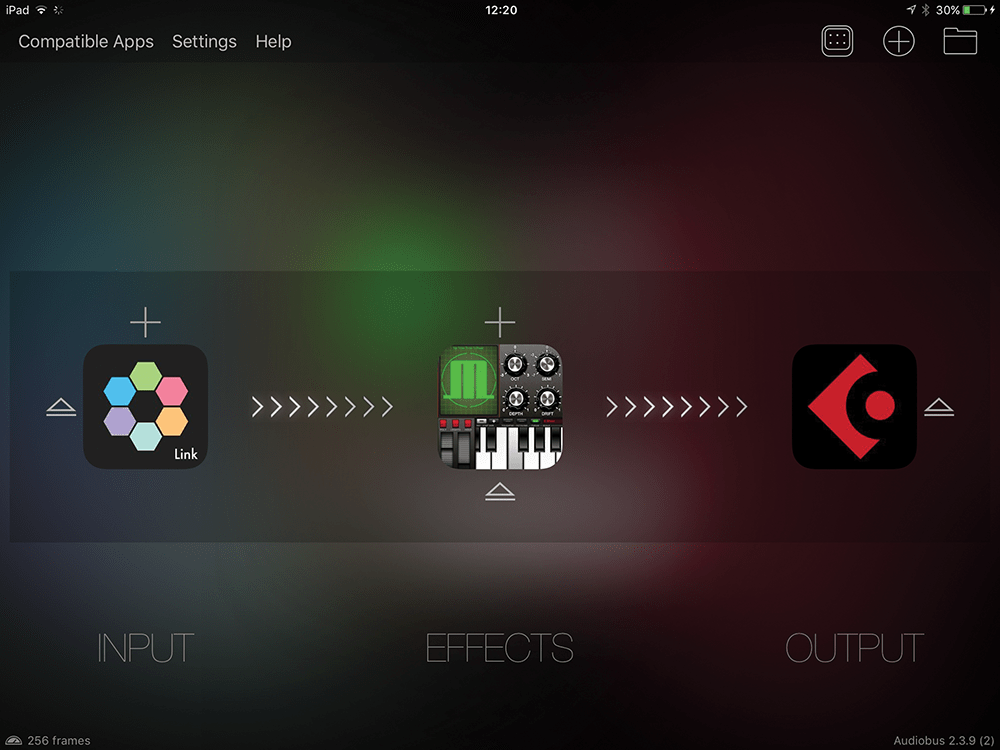
1. Audiobus is one of the oldest audio standards for iOS. You select an input, effects and an output. Here, we’ve put Blocs Wave as the input, through some synth effects and into Cubasis to record.
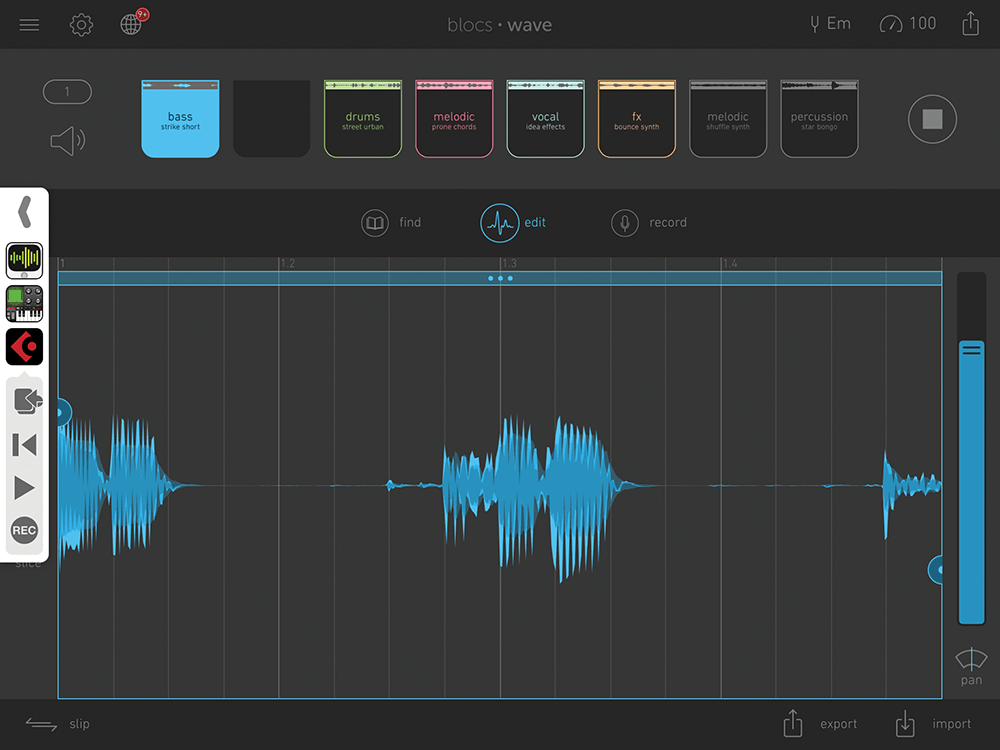
2. Within Blocs Wave, you now get a set of icons on the left which allow you to remotely control Cubasis so you can record what you play in Blocs Wave into the DAW. Easy!
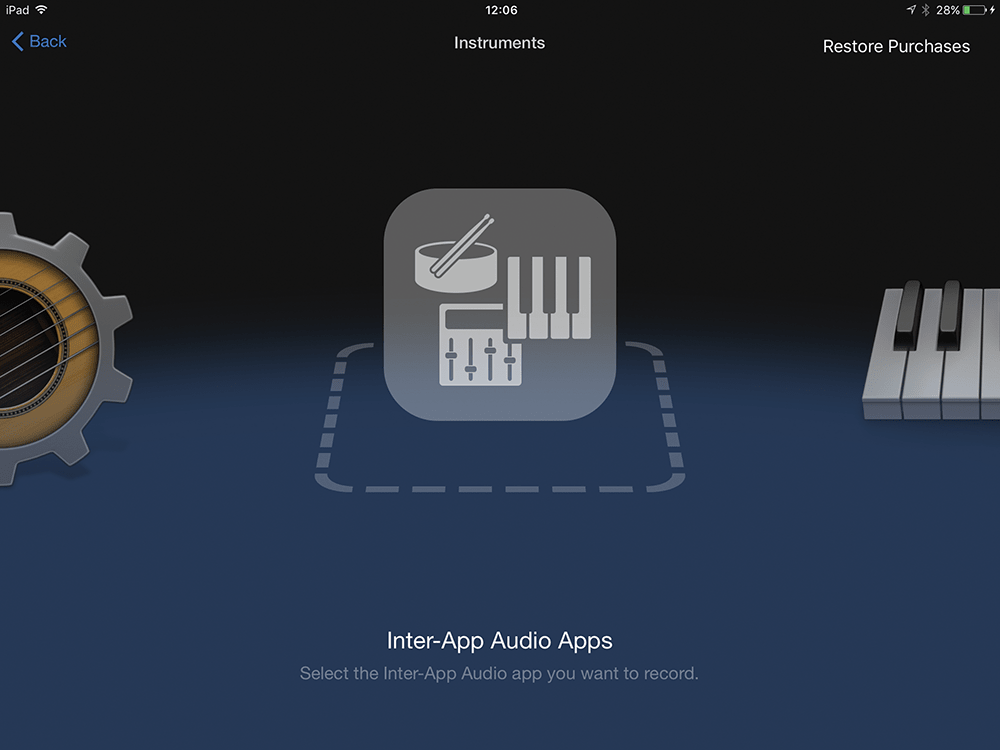
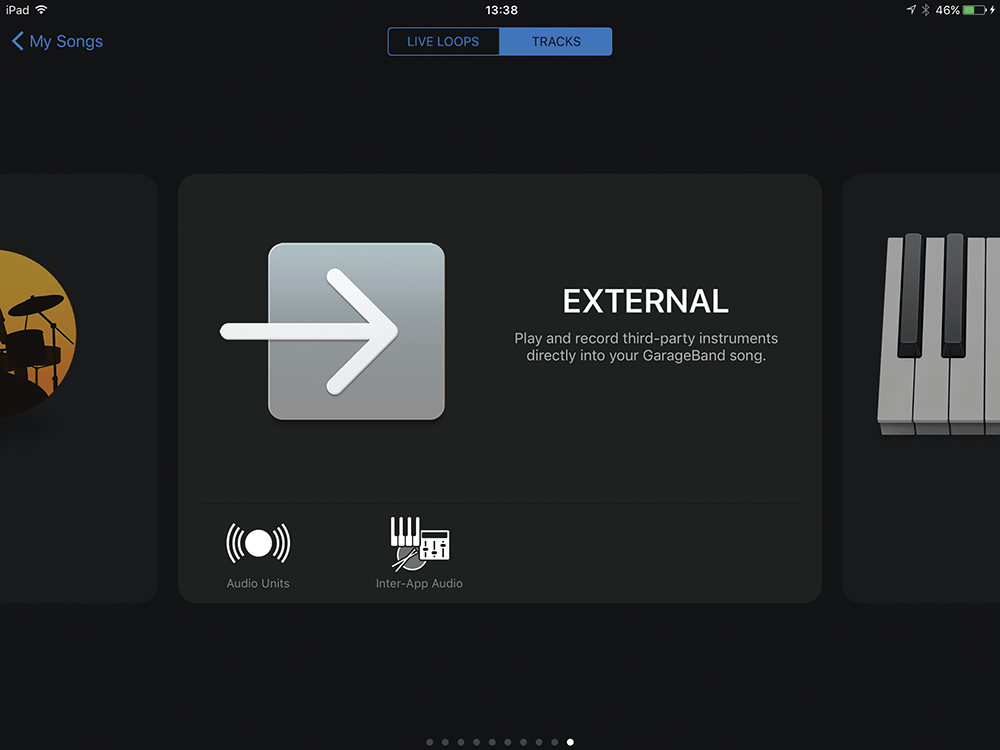
3. Inter-App Audio is another standard for audio routing. Here’s GarageBand with the Inter-App Audio feature selected as an instrument. Click on it and you’ll be presented with a list of compatible audio apps.
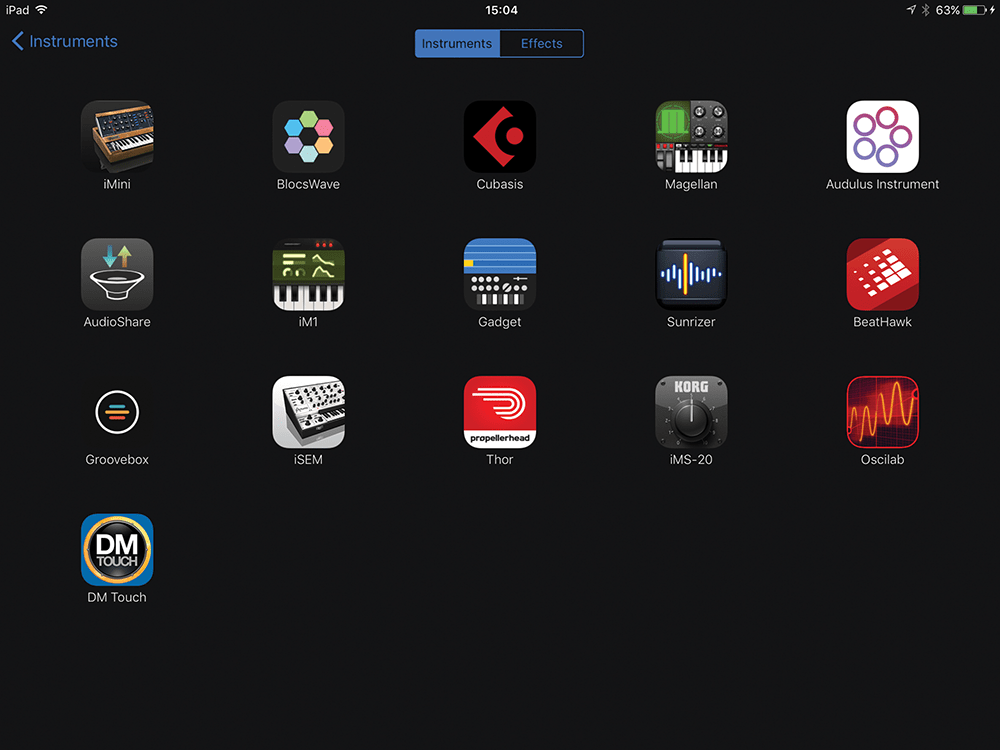
4. So this will show every audio app that you have already installed that’s compatible with Inter-App Audio. We have quite a lot of them, as you can see. Simply click on one to load…
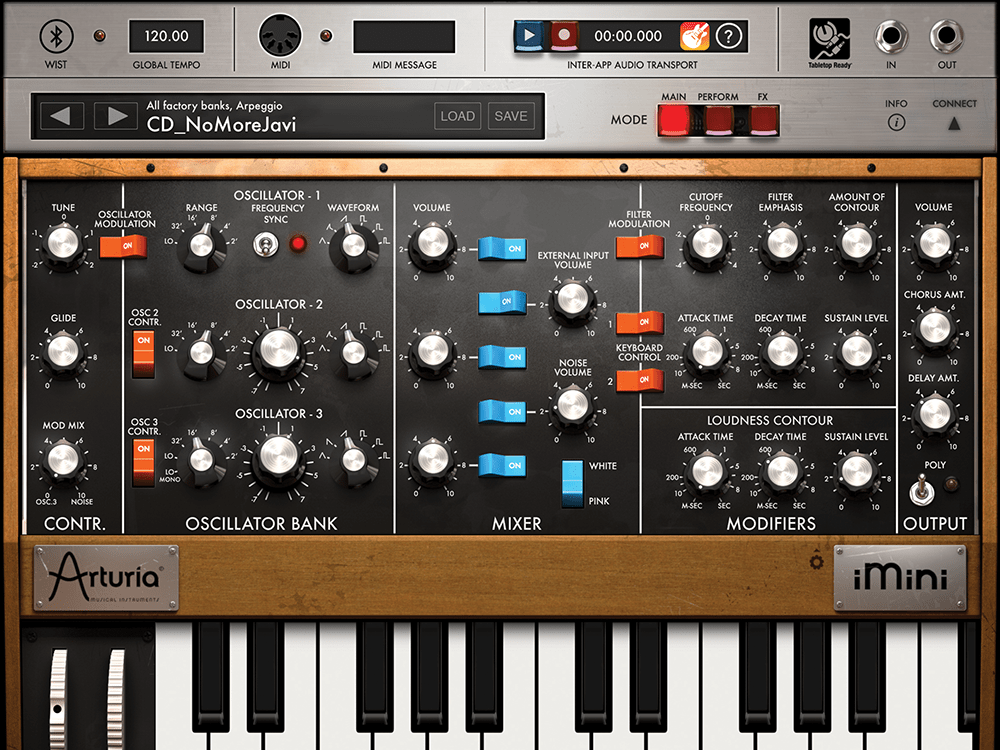
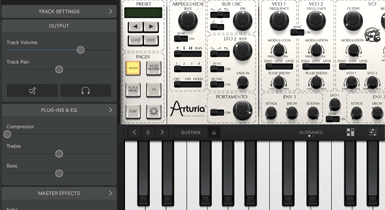
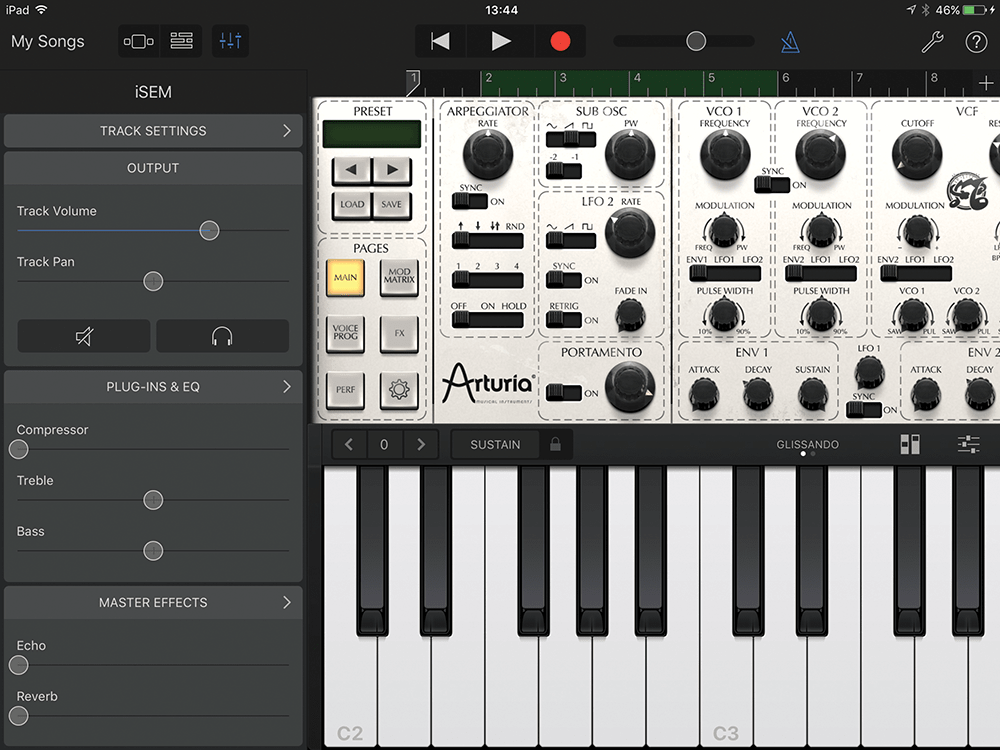
5. Within your chosen IAA App – in our case, Arturia’s iMini – you’ll need to remotely control your DAW (GarageBand). Note the controls for this – Play and Record alongside the GarageBand icon – at the top of the screen.
6. Audio Units is a newer standard, designed to incorporate iOS apps as plug-ins in GarageBand in the same way that Logic has its desktop Audio Units plug-ins. Again, click on it for a list of AU apps on your iOS device.
7. We had rather fewer AU devices, but each loads within GarageBand itself, so you can record its audio without switching out of GarageBand and using remote recording. It’s effectively just like a desktop DAW, then!
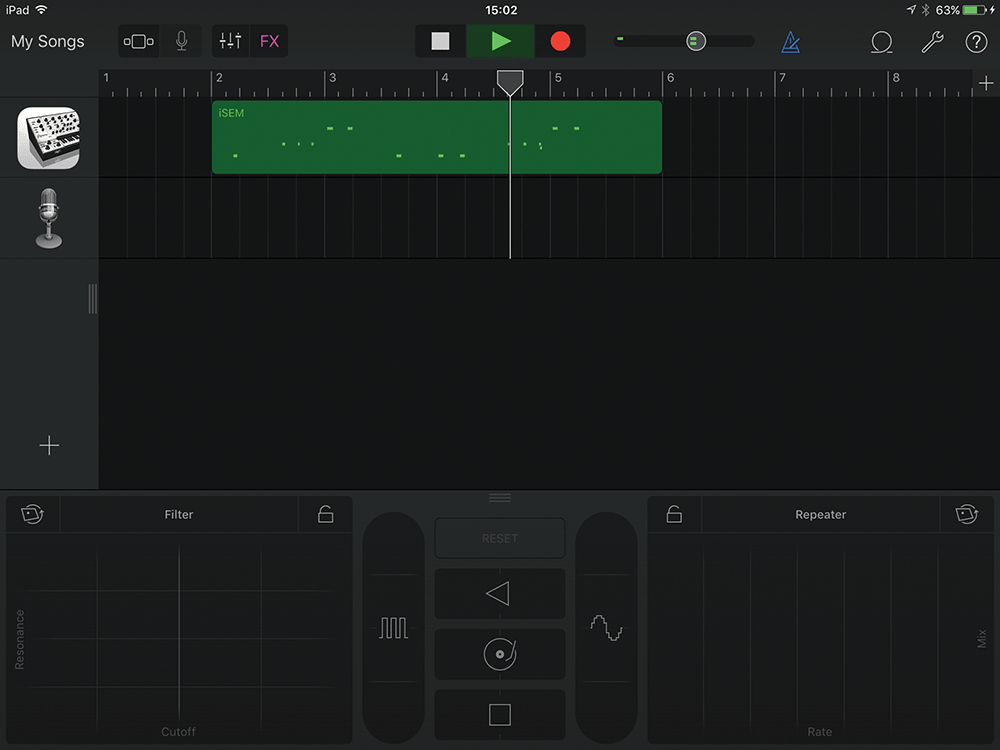
8. Once you’ve recorded your Audio Units device, the note data appears as MIDI data, so you can drag and edit the notes. And, of course, you can also use GarageBand’s excellent effects, too.