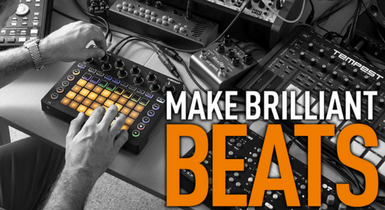
Make Brilliant Beats
You now have more options available to you for beat making than ever before. Here, we bring you the ultimate guide to making beats in 2017, with guides to programming 10 different genres, hands-on hardware, beat-making tutorials, sequencing tips, buyers guides and even ways to (kind of) cheat… There’s now an almost stupid amount of […]
You now have more options available to you for beat making than ever before. Here, we bring you the ultimate guide to making beats in 2017, with guides to programming 10 different genres, hands-on hardware, beat-making tutorials, sequencing tips, buyers guides and even ways to (kind of) cheat…
There’s now an almost stupid amount of technology designed to help you make beats. Many DAWs offer pretty much everything you need, while dedicated hardware units from the likes of Akai, Teenage Engineering, Novation and Pioneer enable you to program rhythms without a computer in sight. For you computer users, there are Kontakt instruments, freeware plug-ins, virtual drum machines, and huge sound libraries with every drum beat ever made! There’s a whole world of Eurorack/modular beats and even drum hardware that emulates drum software (we kid you not).
So, there are hundreds of solutions in hardware and software, all designed to answer your beat-creation questions, and there’s an explosion of genres out there, too, for you to create beats for – with dance music fragmenting into a billion scenes that might be in vogue one day, out of the window the next.
If you’re new to it all, or even a seasoned musician, this list of options can be mind boggling, so we’ve stripped it back to basics by offering this guide to all the routes there are for better beat creation. We have step-by-step guides to programming patterns for the main genres, workshops for hardware beat makers, buying guides to some of the best software and hardware currently out there, and plenty of advice to easier beat creation by sampling.
So, without further ado, read on for all of your hardware and software programming needs, genre guides and better beat processing. In 10 pages’ time, we guarantee you’ll be a better beat creator…
Programming
Whether you go hardware or software for your beat making, or a combination of the two, programming your beats can be a similar and logical process.
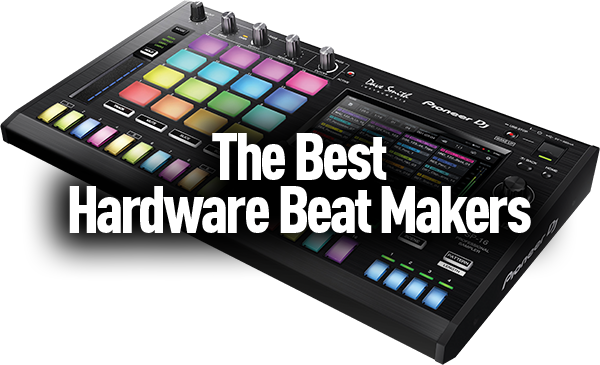
Hardware machines like those in our Magnificent 7 Hardware Beat Makers Buyer’s Guide will often still use the XoX method favoured by the original Roland TR drum machines, where you program the beats over, say four bars, each with four beats, by simply filling in the gaps as the sequence cycles around or playing the notes in live. Choose your drum sound, a kick for example, and either play it or program in the beats step-by-step.
Then there’s the grid-based programming method, where you get a square set of maybe 4×4 pads to program with – Akai MPC users love the extra live feel of programming this way. Ableton Push and NI Maschine utilise this grid method using both hardware and software and very often, it’s a combination that allows you a lot more flexibility over the sounds, so much so that whole tunes are very often just a few button presses away.
For the purposes of our programming tutorials, we’re going to show how to program different genres in software (Ableton Live) but using similar principles to the methods above. The beats are shown on a grid, and cycle around two to four bars, with the different beats shown along the side. You can use these tutorials to program similar beats in either hardware or software, just by filling in the beats as shown, so they should work whatever your machine, hard or soft.
Click below for the best software beat makers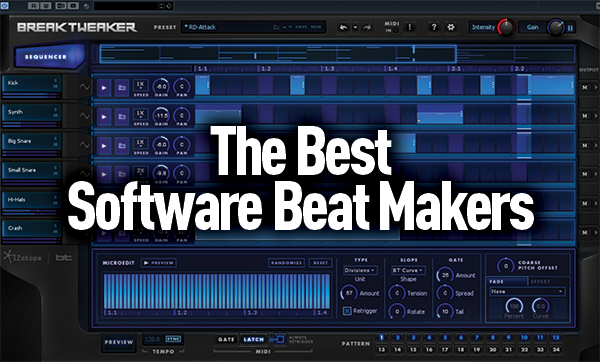
We’ve detailed how to program basic beats across 10 popular dance and urban genres, with house music getting four tutorials to itself, as it splinters almost daily into something new. We’re supplying the very basic beats for you here and have used the most popular 808 and 909 kits in Live, as they’re everywhere. It is, of course, up to you to take these further – but hopefully, they’ll give you a great starting point in whatever genre you make music in.
Swing, groove, velocity
We can’t repeat it too much – but programming beats is not just about getting beats into the right slots. In fact, very often, it’s about getting them into the (slightly) wrong slots. All drum machines, both hard and soft, tend to quantise beats unless you tell them not to, so this can result in the most rigid of beats – great if you’re into stripped-back techno – but most genres benefit from at least a little live feel.
On a very simple level, this might mean turning the quantise off or lessening its impact, but introducing velocity changes into your programming will help your rhythms no end. By default, your grid programming may give you the same velocity for each note input. With maximum quantise on and the same velocity on each beat, you are talking ultra-rigid beats. Even making the first kick of a loop slightly harder will help here, but introduce subtle changes to your snares and a flowing change of velocity to your hats and you will automatically make your groove feel more, well, groovy.
Talking of which, some DAWs come with special features that let you add swing to your beats (that is, a gentle lilting of the groove to make it instantly more like a human has played it). It might be done by selecting a simple groove-quantise value and applying it to your rigid beats. In Live’s case (and some hardware like the MPC) you can impose grooves from a groove pool or library onto clips, while in other software such as Logic, you can make a groove template from your favourite sampled groove and apply it to your programmed beats. Whatever you use, software or hardware, experiment with groove, swing and velocity for a human feel. Unless you are a robot. Or Kraftwerk.
Layer away
Eventually, you won’t always get the beats you want with one kit or set of samples. Even in our genre tutorials, we haven’t been afraid to layer sounds to get more clout in the kick or more crispness in the snare, but layering drums does bring its own set of problems. Very often, frequencies will clash between, say, kicks, and you’ll get a muddying of those bands.
What you need to do is identify the component of the sound you want and then EQ or filter it in order to either emphasise it, or (often better) cut the offending clashed part of the other sound out completely. Since we’re getting into the realms of EQing then, it’s high time we covered processing your beats…
Processing
A complete guide to drum processing could fill a book or three, but there are some rules that can help your beats today. We’ve already covered some EQing, but some subtle EQ can obviously aid all parts of a drum kit. However, if you can, try to have each of your drum sounds on a different channel, so you can adjust levels and EQ separately.
You can group certain parts together to add effects – a touch of reverb on your percussive elements, perhaps – but the more you have on individual channels, the more flexibility you have down the line… and this goes for all of the processing, not just EQ.
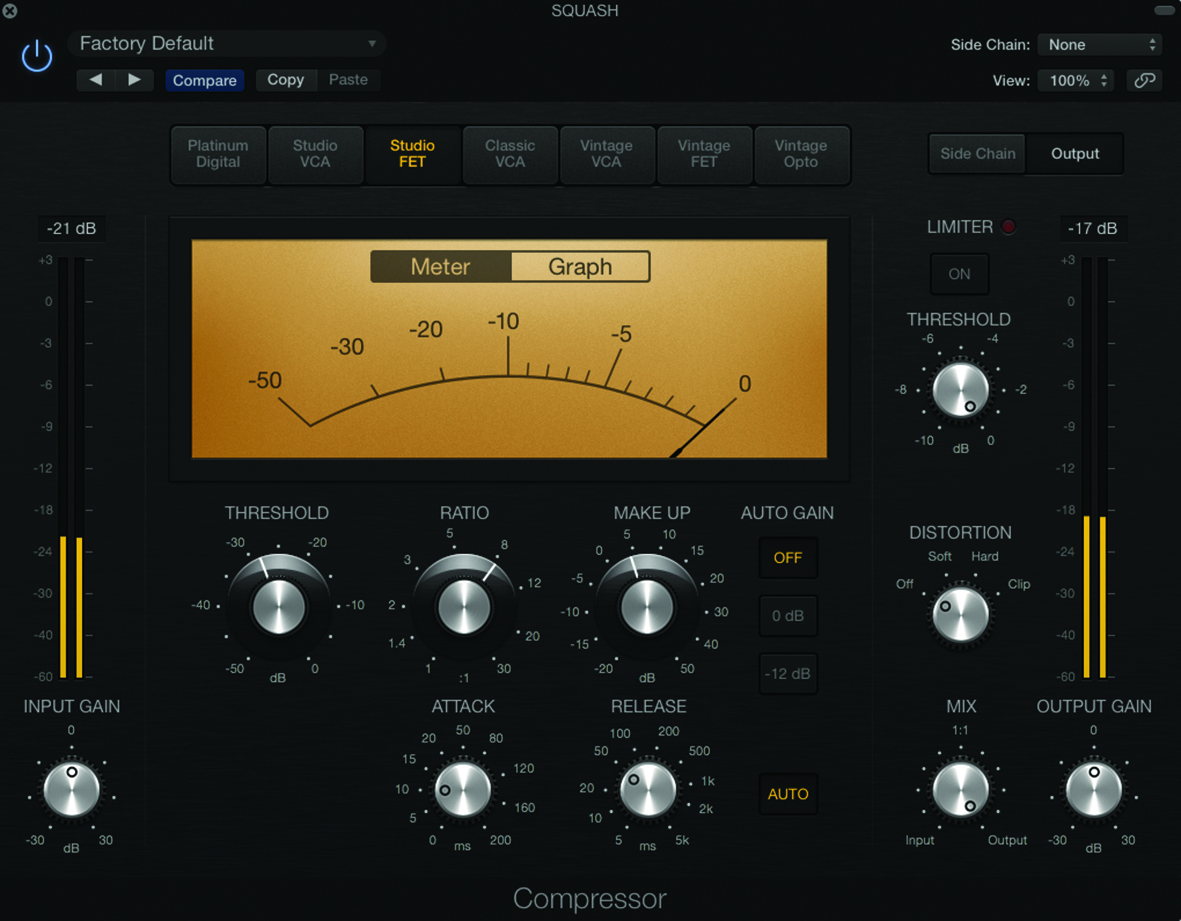
Compression is one of the most common processes for drums and loops. Downward compression effectively reduces the level of the peak parts of your beats while keeping the level of the quieter ones the same, so the whole thing can be lifted as one without distorting. Upward compression does the opposite: increases the level of the low-level parts while the high-level parts remain the same. It’s most often achieved with parallel compression, where you have a kind of wet and dry version of your beats or loop: one with over-the-top compression (a ratio of 8:1) and one without any compression. The two are then mixed together and an EQ ‘smile curve’ applied.
Sidechain compression is most often where the beat itself, the kick, is placed in the sidechain input of your compressor (hard or soft) while an audio signal (anything up to the rest of the song) goes into its main input. The kick signal then controls the level of compression over the main signal – you’ll need to set the attack and release to fast settings – causing the famous Eric Prydz Call On Me pumping effect.
It’s become a little overused now, so maybe experiment with other input signals. There are three very good tutorials at MusicTech.net for the latter two types of compression here. They’re based on Logic, but you can apply the figures to any compressor and DAW.
Transient designers are another category of effect well worth considering using with beats, as they allow you to really change the character of individual (or groups of) beats by altering the envelope – an often-forgotten-about factor that can really change any sound.
Transient designers are often employed on loops to alter the start and end characteristics, to give them a subtle changeable and live feel. More obviously, they can also add punch to any hit or loop by upping the attack, whereas increasing the tail can be great for more grungy and lo-fi loops.
Click below for the best freeware beats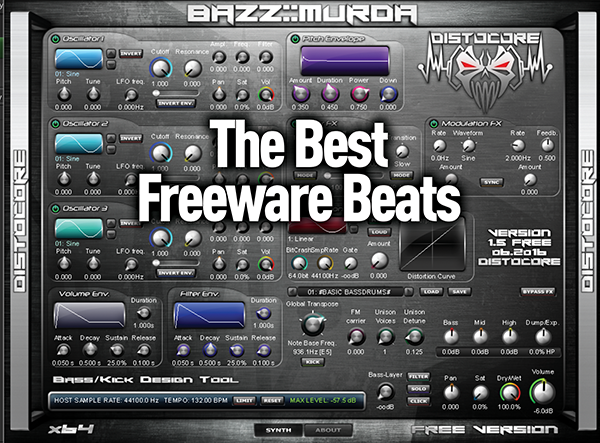
Finally, tuning beats may not be something you’ve considered, but many producers swear by it, as essentially, your drum kit may need tuning to the pitch of the tune it is backing. We say ‘may’, as we’re not convinced an entire kit needs it. Some beats need it more than others – a deep and boomy kick is the obvious one.
Some samplers have easy ways of tuning entire kits to go along with the pitch of your song and, in other cases, it might be that you play it by ear. Pitch up and down a semitone and then fine-tune it until it sounds right. If you’re not sure, use a spectrum analyser to determine the frequency of your beat – middle C is 261Hz, A is 440Hz and so on – and tune according to your song’s pitch.
Dealing with loops and samples
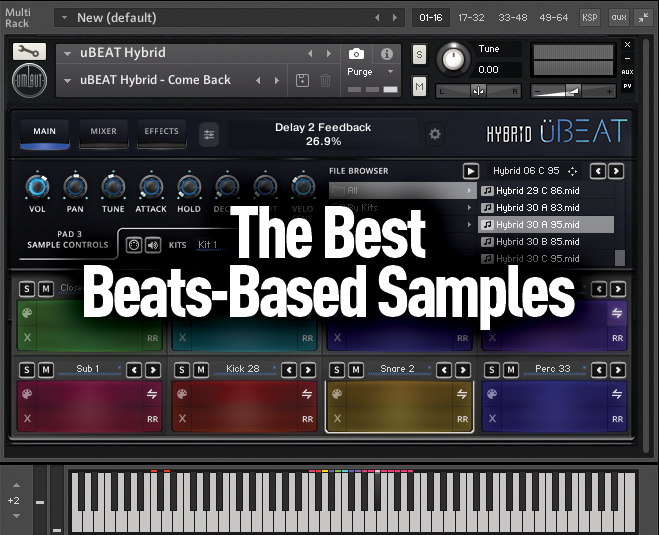
The easiest way of creating beats is, of course, using sampled loops or hits. Jungle, breakbeat, and trip-hop were built on sampling beats, usually obscure ones from old vinyl. Nowadays, of course, there are a gazillion sample libraries out there for specific beats and genres, and don’t feel bad about using them – that’s what they’re there for.
As you’re not sampling vinyl while mining for beats, you know you’re covered legally with pro sample collections (do always check the small print first, though). See the boxout below for plenty of our sample-collection recommendations.
Generally, the rules are the same for processing breaks – although, because of their nature, there are one or two extras worth considering. Beat slicing – first made famous by Propellerhead’s ReCycle – is particularly appropriate for breaks, as you can carve them up into their constituent beats and replace some or all with your own, thus effectively making that break that you’ve sheepishly lifted from a collection or record a bit more worthy.
Another way of incorporating loops into your percussive tracks and making them your own is by layering hits (or complete programmed beats) underneath – a solid sub on the first beat, for example. Of course, you can also layer more loops together, but beware the clashing of frequencies and be prepared to go to town with your EQ.
Workshop: Using Circuit for beat inspiration

1. Hardware beat makers are so inspirational because they’re hands-on. Novation’s Circuit uses the 16-step input approach to making beats, but uses two rows, so you can input two tracks at a time. Here’s a simple 4/4 kick pattern over 16 beats.
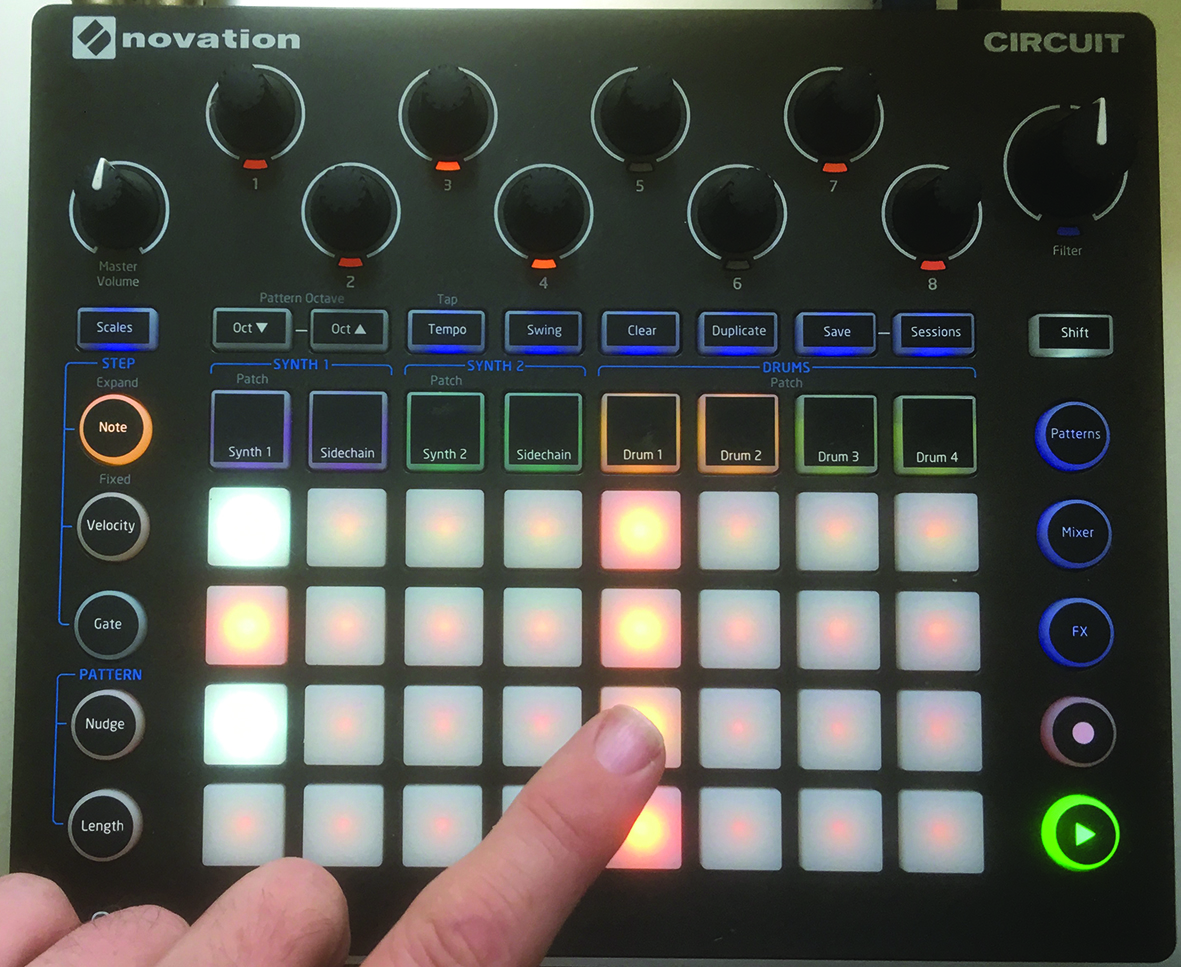
2. The top row is for those kicks, so now we add the snares along the bottom row of 16. It’s similar to the house-music tutorial we did, only now in hardware!
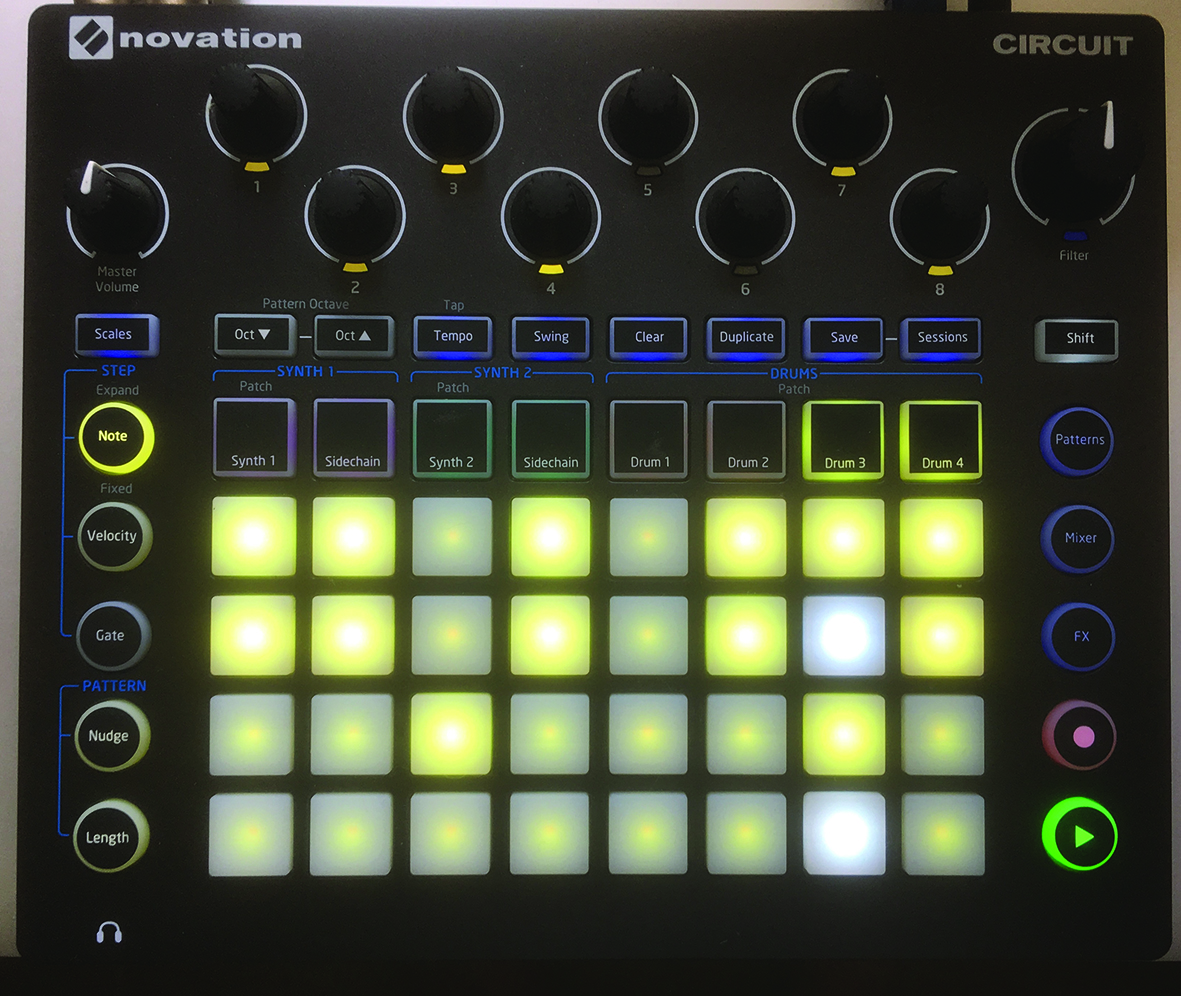
3. Select the other two drum tracks on Circuit for two more beat layers – this time open and closed hats. The top row is a plentiful selection of closed hats, while the bottom is the open hats. Pretty standard beats so far, but Circuit has options…
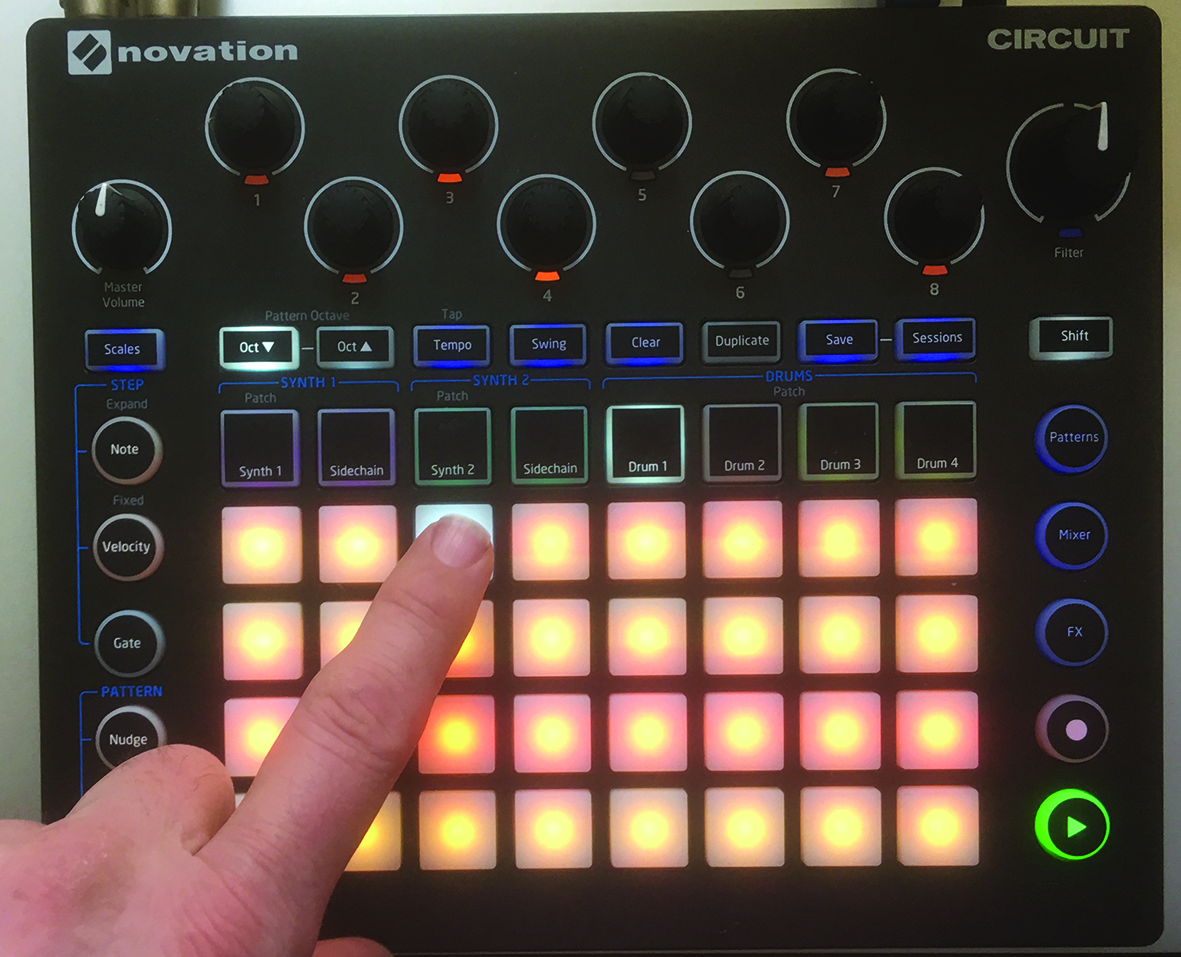
4. The new 1.5 update (review coming soon!) enables you to audition sounds on the fly simply by selecting from 32 beats on the 32 pads. You can play them and as you select each, the pattern changes accordingly, allowing you to experiment.
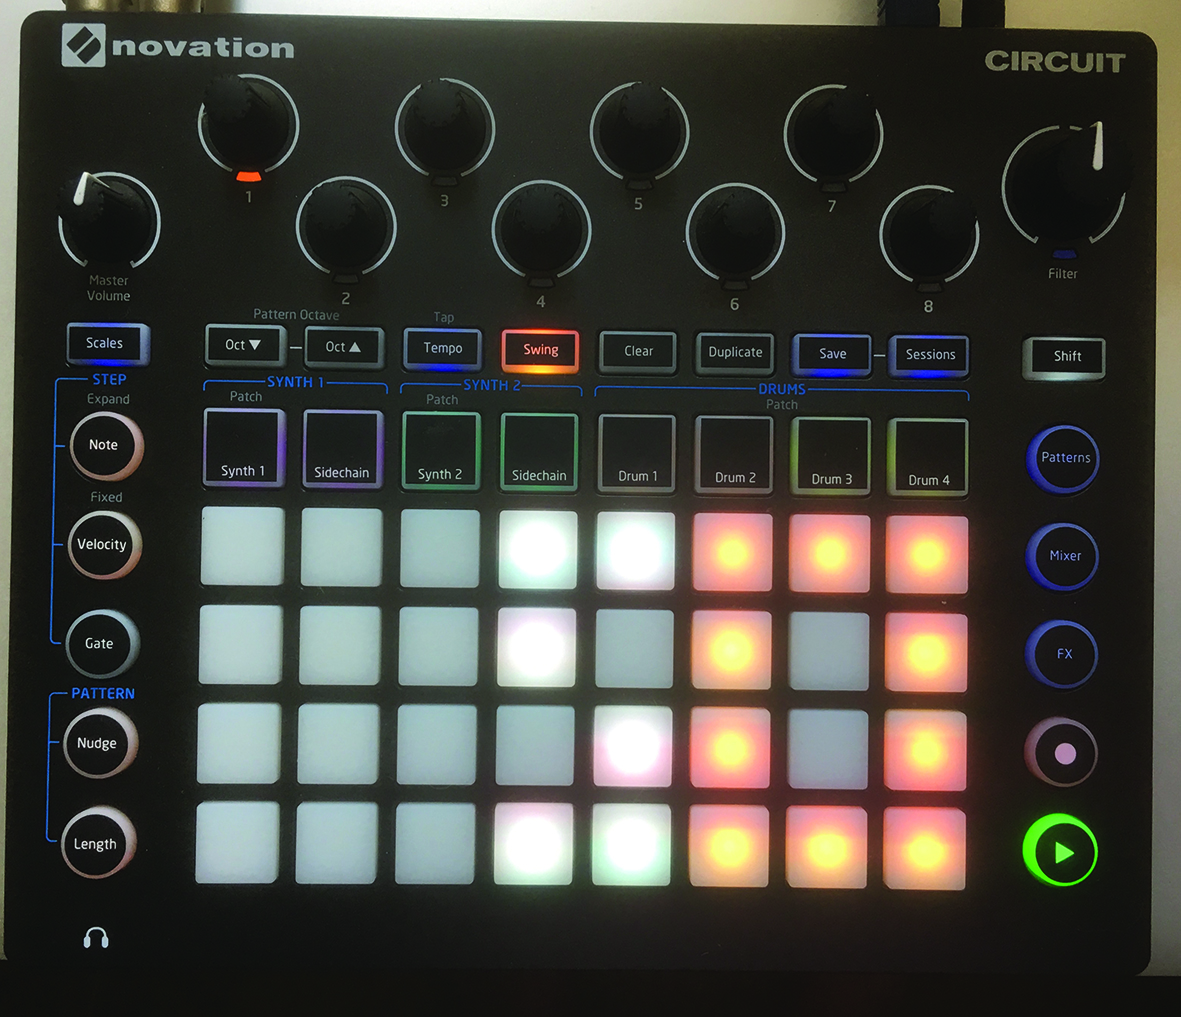
5. As we said in the main text, one of the key programming skills to introduce is swing, which will really add a live feel. Circuit has an option for this. Hit the Swing key and a large 50 appears on the screen.
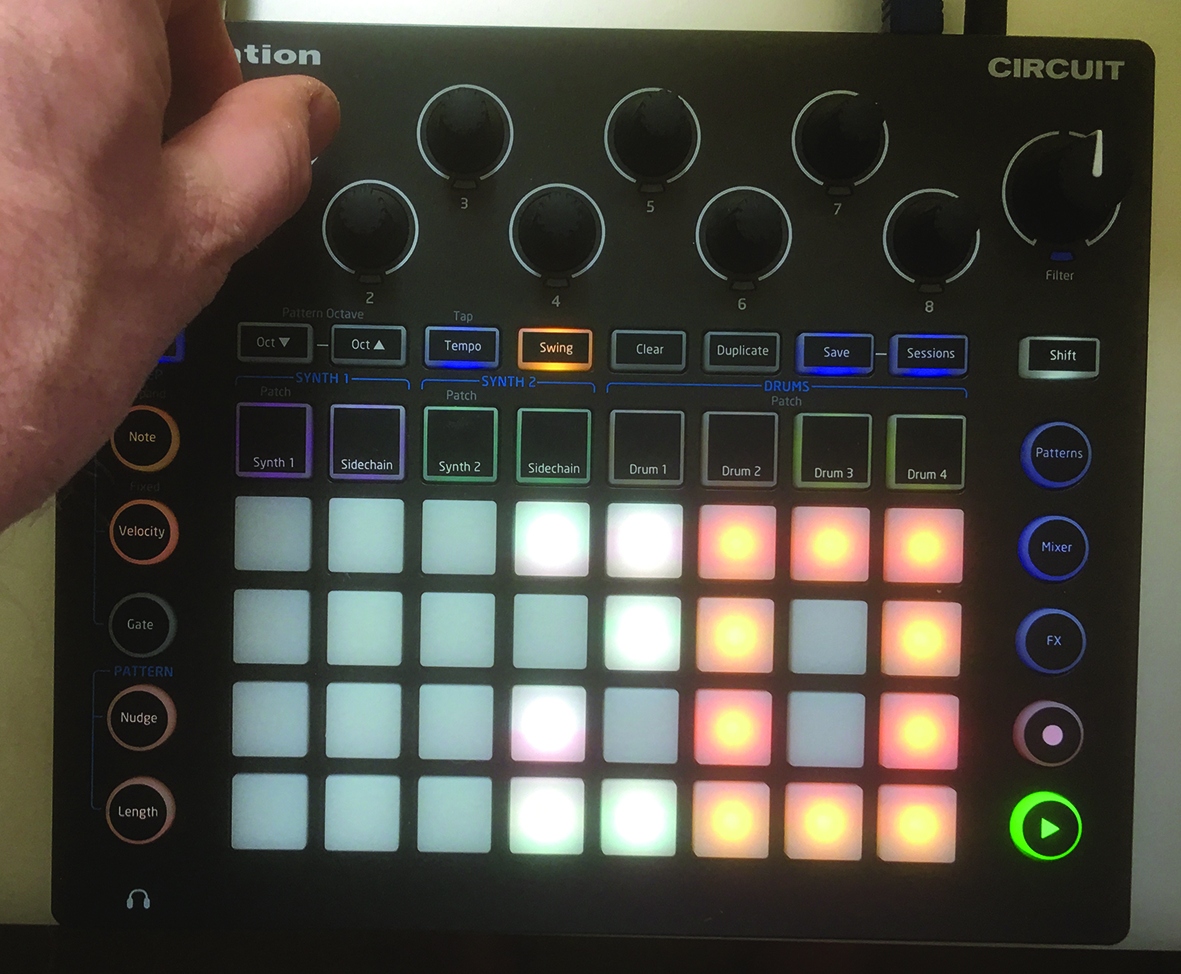
6. Simply adjust the swing up and down to experiment with the overall feel of the groove. At extremes like this, it still works as a beat, but gives you something completely different from that rather samey beat we started with.
The future of beats is…
We’ve talked about beat programming and processing in terms of hardware and software, but only touched upon those systems – NI Maschine, Ableton Push and Live and Teenage Engineering’s PO-32 – that have elements of both worlds. Yet these are possibly the future. Push, in particular, opens the sensibilities of beat programming open to the wider music-production audience, so you’ll be making tunes as quickly as you do beats.
While we love all three very different ways of combining technologies, we feel that having a hardware element in whatever you do is where the fun comes in. Simply hitting something to make a noise… well, it’s a ‘beat-iful’ thing, isn’t it? However you make your beats, we hope this feature will give you the inspiration to take your programming or processing up a level.