How To Run A Pro Studio – The Tutorials
In these tutorials to accompany our big feature on running your own pro studio, we explore some of the essential things you’ll need to know… Multi-Track Sesssion 1: In this example, we’re going to take a complex multi-track session and get it organised so that a client (or another engineer) will be able to see […]

In these tutorials to accompany our big feature on running your own pro studio, we explore some of the essential things you’ll need to know…

Multi-Track Sesssion
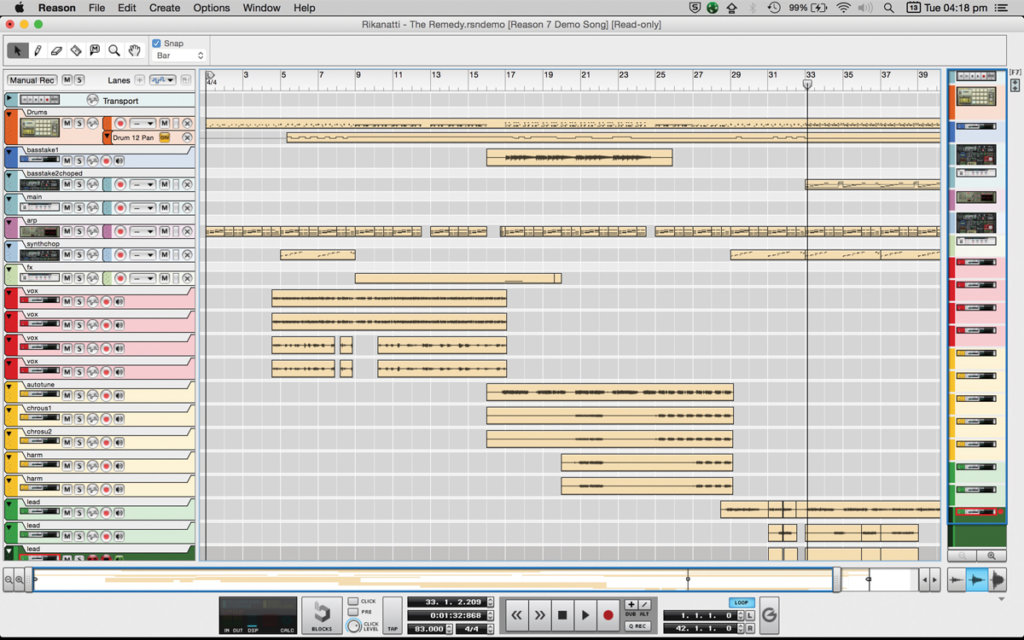
1: In this example, we’re going to take a complex multi-track session and get it organised so that a client (or another engineer) will be able to see what’s going on. This kind of thing can seem basic, but you’d be amazed at how much easier it will make a project when things are properly arranged. Sessions can often end up riddled with abbreviations, orphan audio takes, dead markers and much more besides, and untangling it all can be a nightmare – not what you want when clients are around.
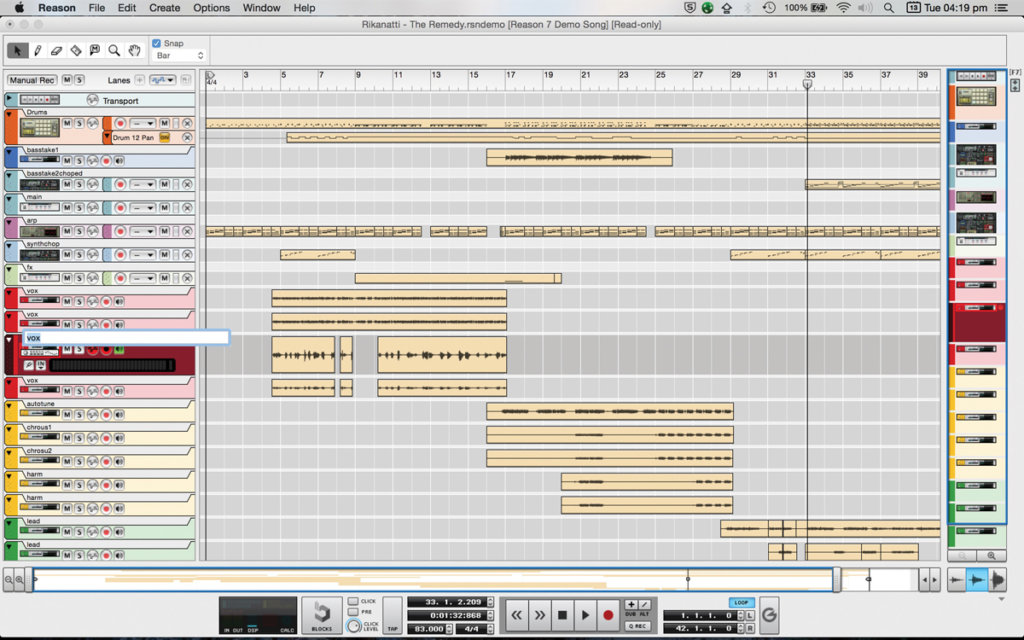
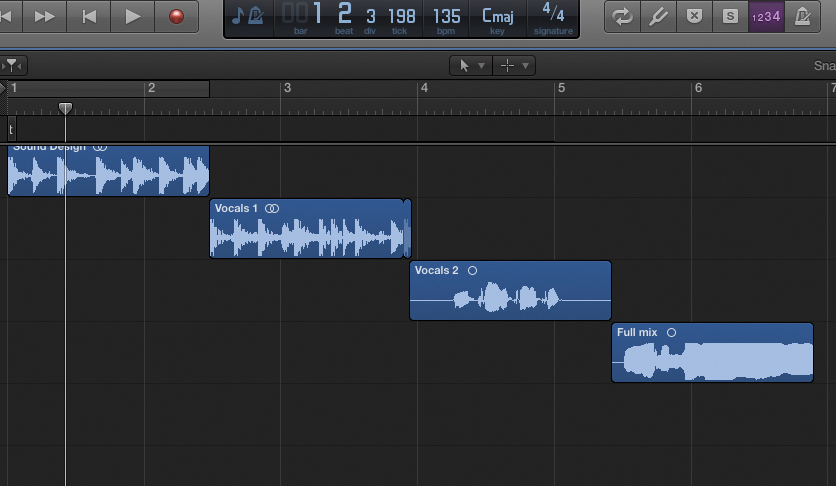
2: Track names are first. As you can see, things in this example are…messy. We have four different vocals, all labelled ‘vox’, which does no-one any favours. If you’re going to start mixing, you need to be able to see at a glance what and where everything is. So let’s take a moment to rename things in a logical fashion, making sure that anybody looking at a track can immediately see what it is. Many projects can often involve the handover of a session to another producer or engineer, so this is a crucial step.
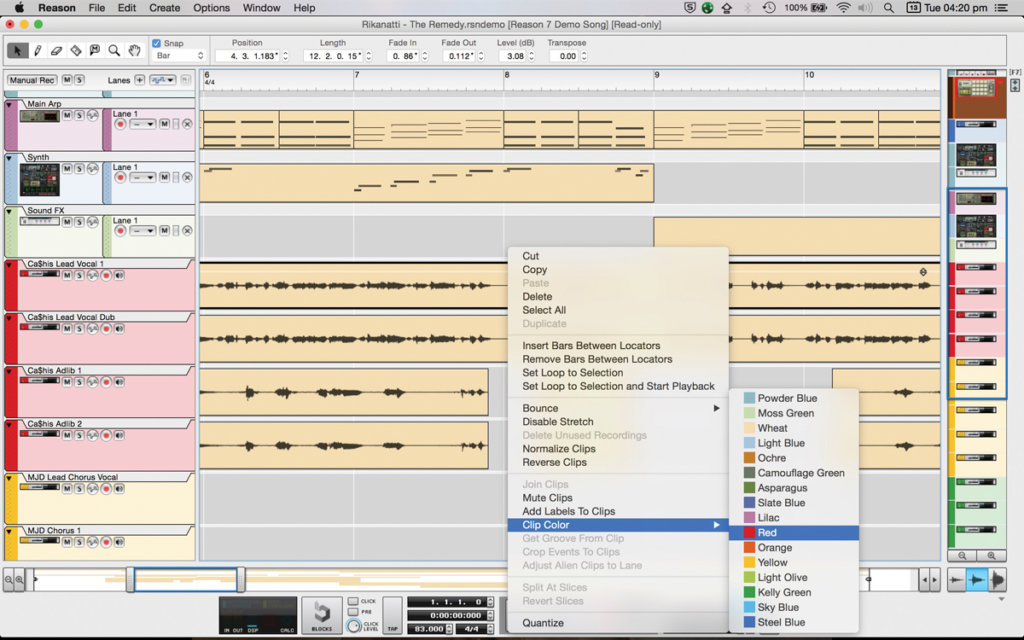
3: Clip colour is important as well. With everything a uniform beige, it can be hard to find the take you need – and in sessions where time is a factor, this can be a right royal pain in the backside. Most DAWs provide the option for colouring audio and MIDI tracks, and you can develop your own system for colour-coding. For example, all vocal tracks could be red, and all percussion tracks could be green. Again: it sounds simple, and it is, but it makes an enormous difference for anyone working on the session, including you.
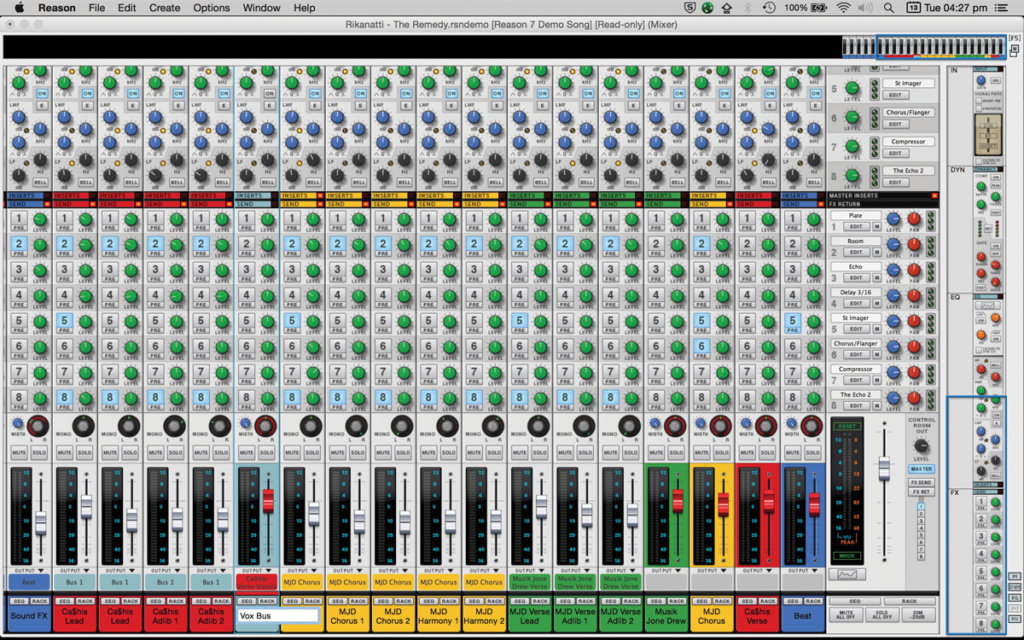
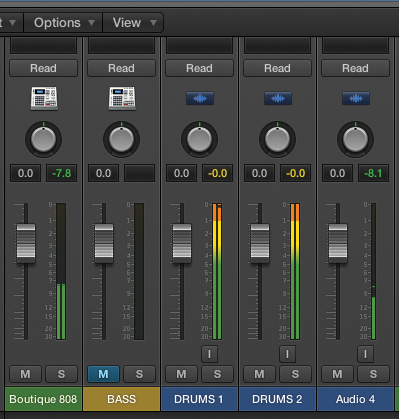
4: Two words: mix busses. By grouping all your vocals, all your drums and all your other instruments not just by colour but by placement, you’ll quickly be able to control the levels of elements in the mix. Note that placement and naming are important here too. We’ve named our vocals bus ‘Vox Bus’, and we’ve placed it right next to our vocal tracks (some engineers prefer their busses nestled up next to their master fader). We’ll also make sure it’s the same colour as our vocal tracks, which will make identifying it easier.
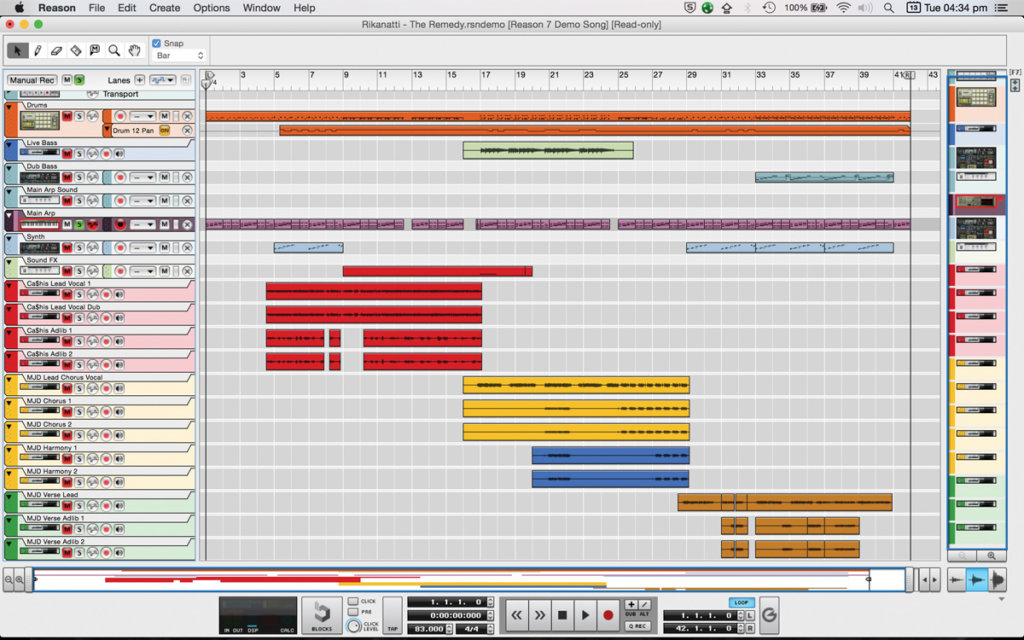
5: Should you print your stems? Possibly. In this example, we’re using Reason – if we were sending the session to someone else to work on, it would definitely make sense to do so, as it’s not as common as, say, Pro Tools. Some DAWs offer the ability to output all tracks as separate files, but if not, get ready for some time-consuming, busy work. Make sure none of your tracks are clipping, that they are all the same length, and that they have a few seconds of silence at the very end.

6: File names are important – both for the session and for any stems you print. Go for consistency. In this case, our file name is MainArp_TheReason_Printed – in other words, instrument, track name, then what it actually is. Following this logic, the session name would be saved as TheReason_Session. Such a simple thing, but you have no idea how many sessions get hamstrung because of things like failing to label parts properly. Put all these simple tricks into practice, and your clients will love you – whether you’re full-time or freelance.
Prepping a Studio
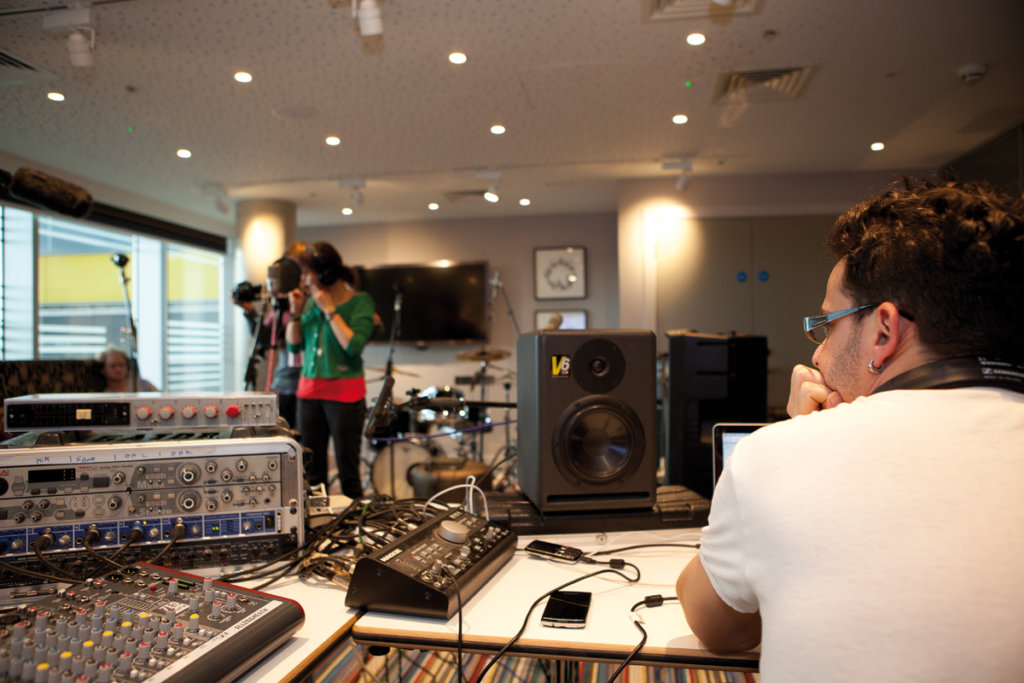
1: Let’s talk about how to get a studio ready for a recording session, from the perspective of an assistant engineer (or a particularly trusted runner). The first thing to do, before you even enter the studio, is research. Who’s going to be at the session? For how long? What do they require? Do they have any special requests you need to be aware of? What’s happening afterwards? You need to know these things without having to refer to email, and although not every session will be a complicated one, they’ll all run smoothly if you’re prepared.

2: Time to sort your equipment. This is everything from mics and amps, to guitars and other instruments. You’ll need to clear the studio of any unwanted equipment (you’re probably shocked to hear that studios get cluttered and dirty…) and replace it with the gear you need. Usually, that means a trip to the studio’s storeroom – in some cases, several trips. But it’s better to have more equipment there than less, as you don’t want to go back to the storeroom during recording if you can afford it.
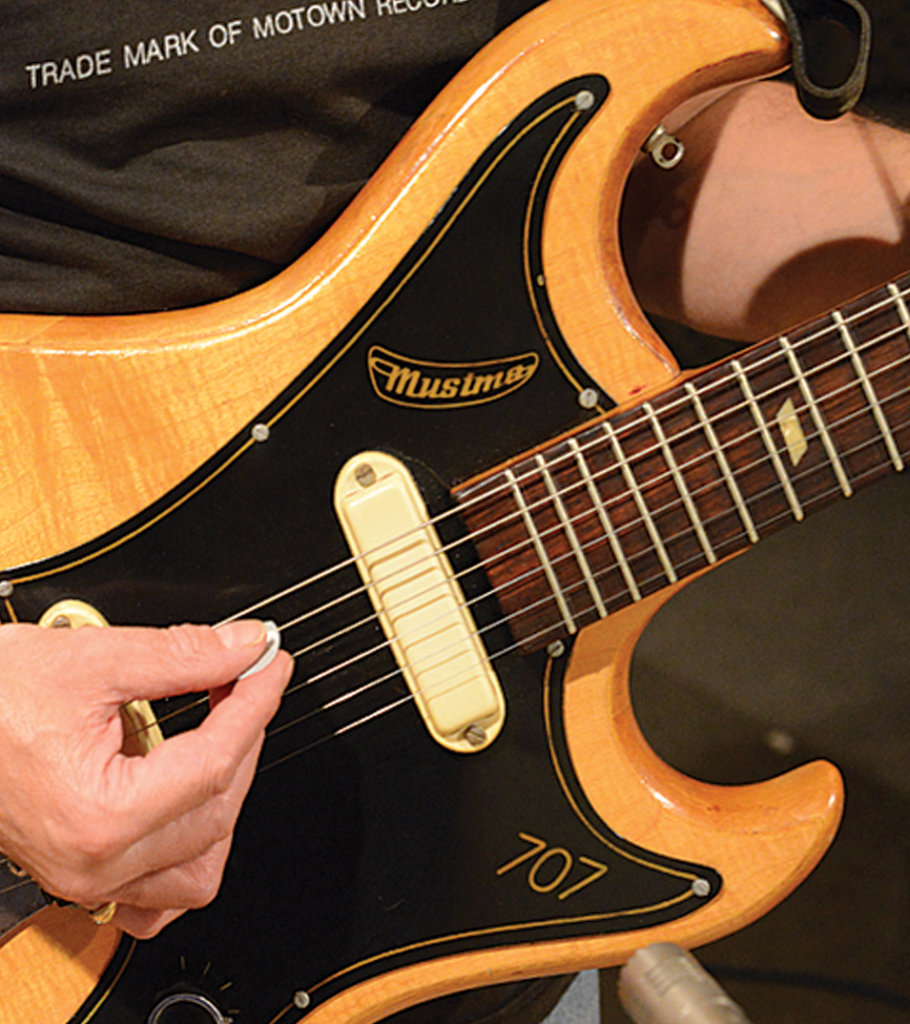
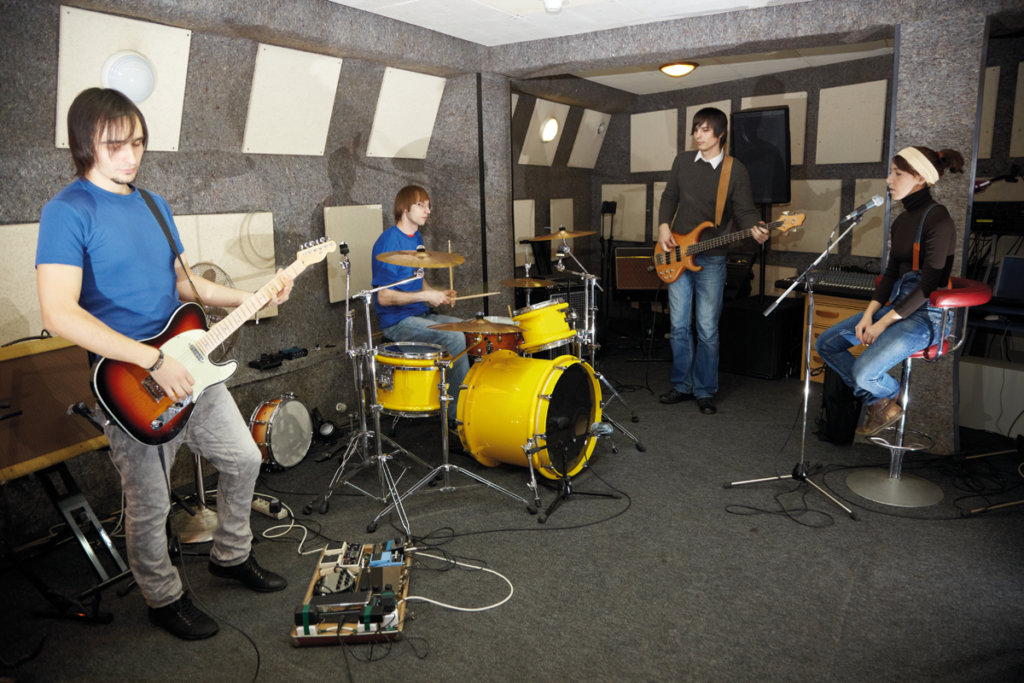
3: Now’s the time to make sure that all the equipment is good to go, and that it’s set up to record. By this, we mean micing the drums, tuning the drum heads and the guitars, and testing the mics. It’s good to have another assistant in the studio who can help with this, as it then becomes easier to check that everything’s ship-shape. This is also the stage when you may need to coordinate a few people, as there could be (for example) guitar techs on hand. Be sure to get the DAW up and running as well.

4: What if equipment is broken? If it is, you want to find out now, rather than in the middle of a session. XLR cables are often the first to go, as they take a fair amount of abuse. Ditto for any sensitive condenser microphones – they pick up sound with amazing detail, but they’re often quite fragile. Knowing about these problem areas beforehand can really speed things up, and if you can handle these problems before they become a big deal, the producer (and the band) will thank you.

5: Details time. Are all the connections working properly? Have the input devices been tested? Are all your plug-in licences up to date (nothing is more irritating than a random box popping up on screen during the session)? Are your backup drives in place? Has the desk been set up correctly? Are the channels a mess of tape, or have they been clearly labelled? Above all: do you have enough pens? Some of the best engineers and producers in the business are also the most meticulous. Make sure you are, too.
6: Once that’s all done, it’s time to think about receiving your clients. Make sure you’ve got food and water to hand – and if you haven’t, send a runner to get some. You don’t want clients wasting time, if they can help it – you want them relaxed, calm and ready to go. They get there to that point by having everything they need, and if you’re the assistant, that means it’s part of your job. By this point, the lead engineer or producer will be in the house, so chat to them to make sure they’re okay too.
A Killer Demo
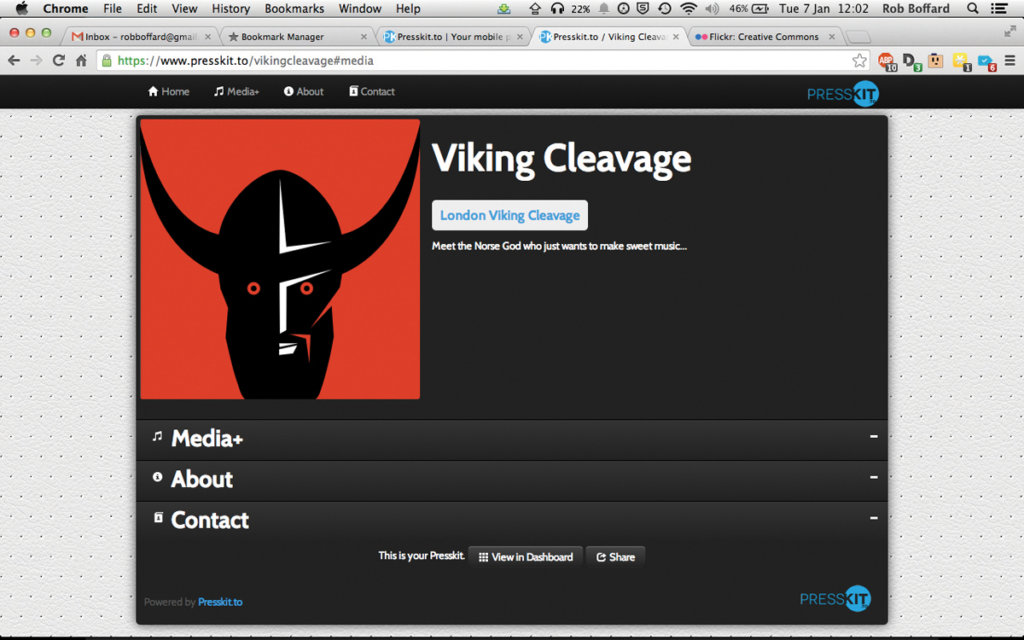
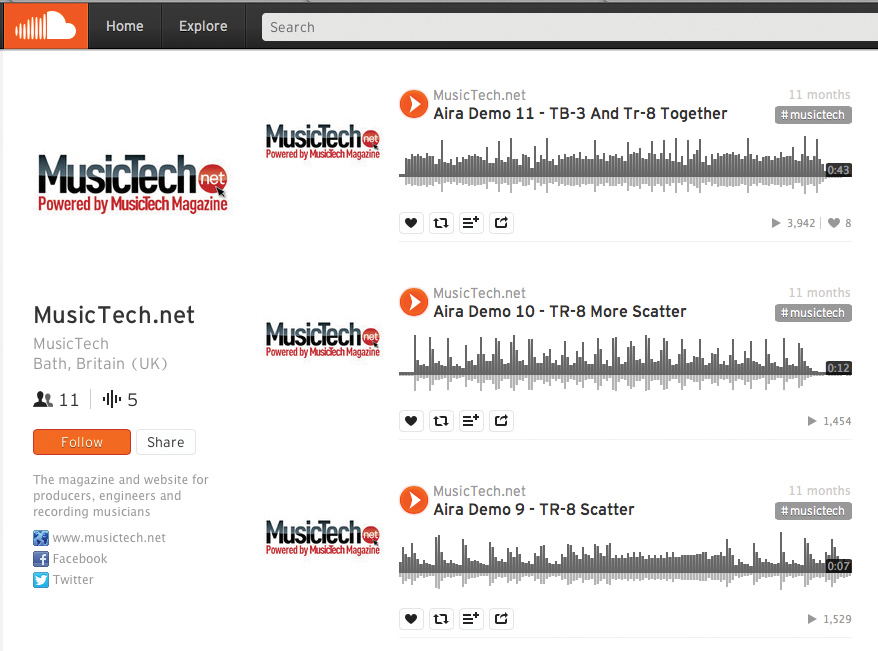
1: If you’re a freelancer, or looking to land a full-time position, a demo reel of your production, sound design and engineering skills should be a top priority. It’s too easy to fall into the trap of simply displaying a collection of Soundcloud clips online. While this is a good start, you’ll find that you get much better results if you combine your skills into a single package, with one link, that you can give to anybody who wants it. Create an Electronic Press Pack like the one shown.
2: Even then, a randomly-arranged mix of your work won’t do you any favours. You need to make the best out of it, and have it be memorable. The first step, obviously, is to pick your best work. Only select the songs, sound effects and mixes that are your absolute best, where you were firing on all cylinders. You’re aiming to keep it short – no longer than one and a half minutes (two at a push). You want to wow the listener straight away.
3: Choosing the order in which things are arranged is crucial. If you can, start small, with things like sound design elements and vocals, then progress to track segments that you’ve mixed or produced. Build to a climax, and keep each segment short and sweet. There should be none of what broadcasters refer to as dead air. And by the way, if you’re just starting out and don’t have a portfolio yet, just make one yourself. You don’t need clients to put together a package that shows off what you can do, although clients always help.

4: One of the most interesting ways to put this all together, assuming you’ve got a microphone and are comfortable using your own voice, is to narrate the demo, creating a story for the listener to get into. Be as creative as possible – you can process your voice to show off your mixing skills, chop it up and create a track from it, or just tell the listener exactly what they’re hearing (in as few words as possible, of course!). Doing this puts your own personality on the demo, and makes it memorable.
5: When you’re mixing all of this together, don’t forget to actually do some mixing. Even if you’re using previously-mastered work, you’re going to end up with a lot of pieces of audio at different loudness levels. Make sure everything is balanced before you bounce it down – and you might want to consider adding some very light compression or limiting as well. You want this thing to be loud, punchy and powerful, and you shouldn’t be afraid of pushing things a little more than you normally might.
6: Now you need to think about how to deliver it. Sure, you could simply give out a website link – but even a single page on your site can have multiple parts in its address. You should aim for the simplest address possible: something that could fit on a business card, in a tweet, or in an email. Services such as bit.ly will shorten URLs, while tinyurl.com will let you create a custom address. Just do us a favour, and don’t bother with QR codes. They’re the worst thing ever invented.
Click Here to Read Our Pro Studio Feature
Click Here to Read Interviews with Studio Pro’s
