From Studio To Stage – Live Set Preparation
You’ve made the big decision to take your tunes outside of your studio to the masses. Now it’s time for some live set preparation. Make sure you read part 1 before continuing. Keep it real However you visualise the end result, the first thing to decide is if you want to keep a timeline/arrangement, retaining […]
You’ve made the big decision to take your tunes outside of your studio to the masses. Now it’s time for some live set preparation. Make sure you read part 1 before continuing.
Keep it real
However you visualise the end result, the first thing to decide is if you want to keep a timeline/arrangement, retaining the basic song structures and giving you something to play or sing over, so it’s more like an interactive backing track. If you can sing, or play an instrument, focus on that; doing something ‘real’ is more important than pushing buttons in the eyes of most audiences.
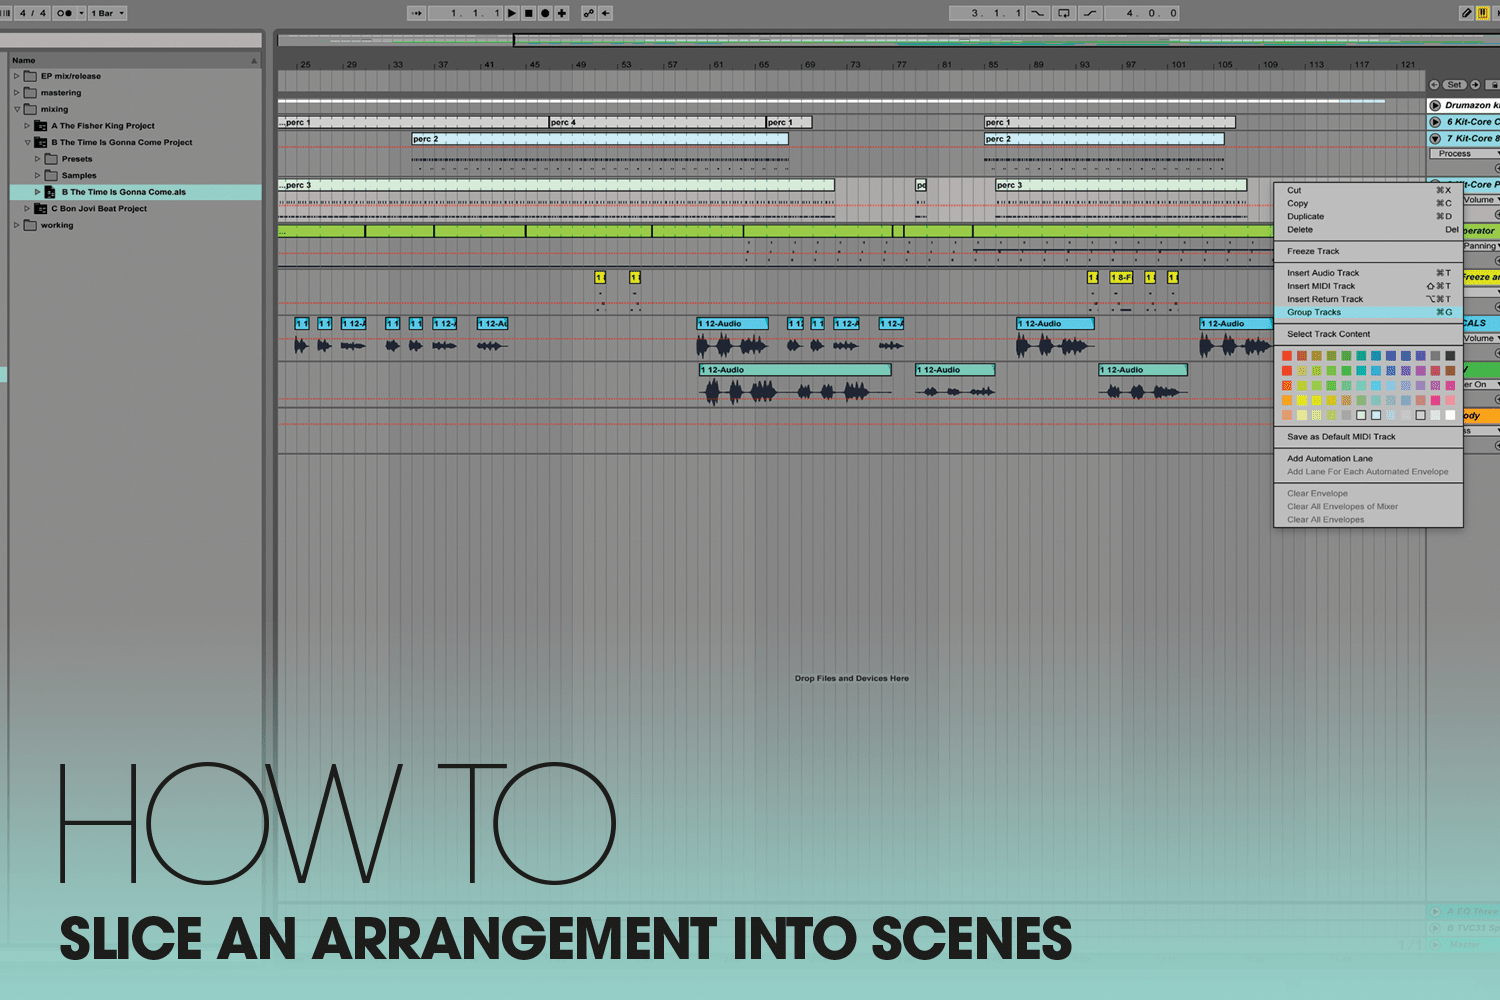
However, if you want more structural flexibility, you’ll be breaking your music into sections (like Scenes in Ableton Live) to rearrange as the situation demands. It’s even possible to incorporate sync’ed visuals in these flexible setups, thanks to VJ software such as Resolume.
How many tracks are available to you on your hardware, and how many do you want to deal with in your software? Hardware sequencers are naturally more restricted in track count, and even with software, I prefer a lower track count – it’s easier on the computer, and easier on the eye. Also most hardware controllers presume you’re working in eights or banks of eight anyway, like it or not. What’s a good manageable number of tracks for you? There’s no right or wrong answer, you’re in charge!
Even the tempo is subject to change, it doesn’t have to be the same as your original mix – sometimes a bpm that works in an arrangement can drag a bit when you’re faced with a live audience; don’t be shy of changing tempo during songs as well. Conversely, some people like to treat the process like doing a DJ set, working with their stereo mixes as if they’re someone else’s tunes and throwing in extra sounds and effects along the way. Why not? It’s not compulsory you rip everything up again for live sets, though I personally think it makes life more interesting.
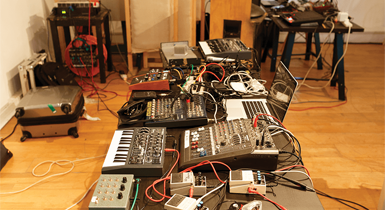
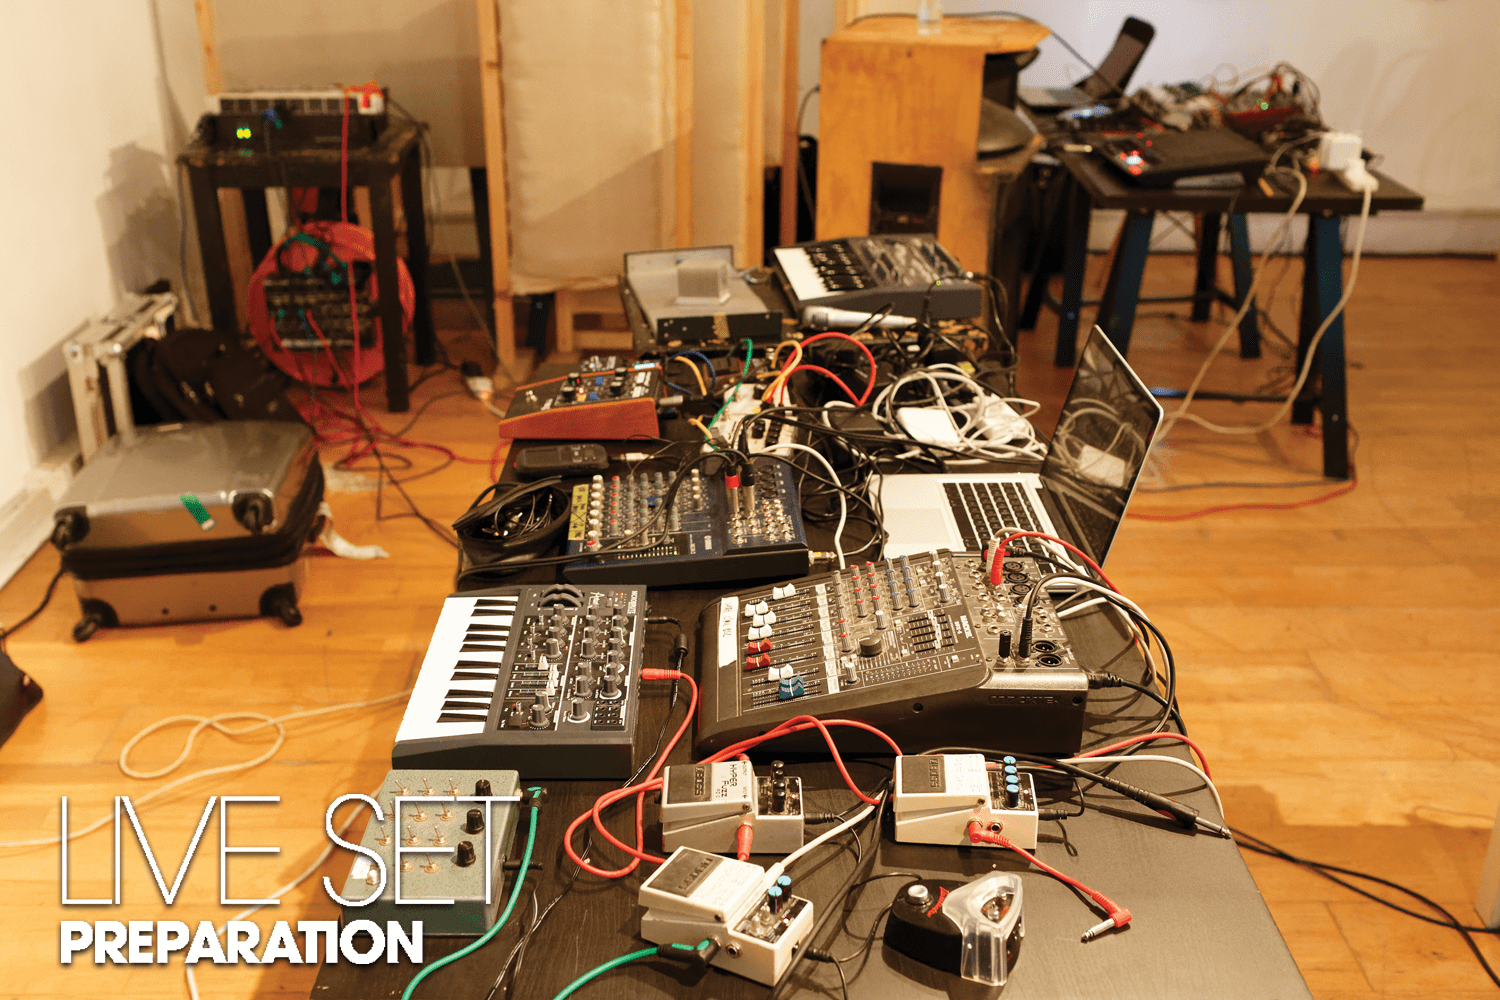
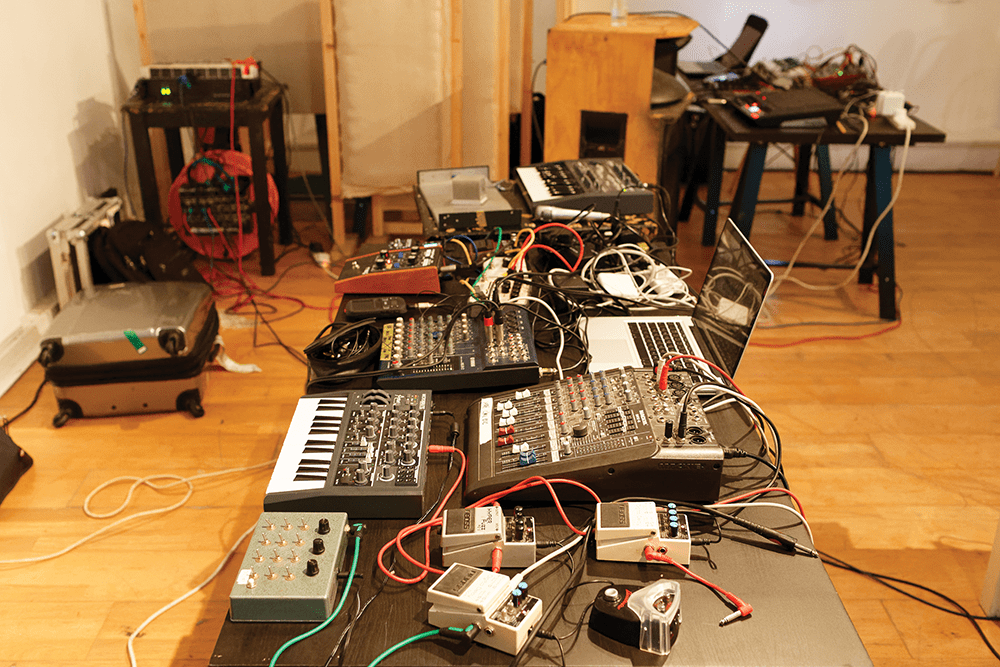
Your choice of gear will be a major influence, at a purely practical level. If you have a massive studio-hardware setup, that probably isn’t something you’ll dismantle and take with you; even if you can, I’d advise against it. You don’t need to overcomplicate things at the outset. If you have a minimal studio setup based around a computer, controller, interface and some choice bits of hardware, then maybe you should take that as-is and enjoy the familiarity of having your usual setup laid out in front of you, without it being difficult to cart around.
As an Ableton Certified Trainer, I once told a client he was bringing too much equipment to his early gigs, basically packing his entire studio in a van. A few shows down the line, he told me I was right, he’d scaled right back and was enjoying his gigs much more as a result.
The right amount of gear affects how much fun you’ll have – too much and it’s a pain, too little and there’s not enough to be expressive. Hardware is fun, sure, but try to stick to a realistic budget when you’re tooling up. Especially in the early days, avoid buying anything unless you can afford it and you’re sure you need it. Once you play a few gigs, even just one, your ideas about gear will change. I’ve got clients who have, during a training session, gone online and bought cheap, used, MIDI controllers on eBay, then continued to do paying gigs with them for years.
My own process for recent gigs has been similar to the steps described in our walkthrough tutorial – my productions take place in Ableton Live, so there’s a pretty straightforward path. I allow a maximum of eight tracks, for simplicity and ease of control and I’ll use a combination of MIDI control assignments and Live’s Key Map Mode (using the computer keyboard to trigger effects).
I try to use only Ableton’s native instrument and effects devices in live sets, which gives me some chance of downloading the Live demo and running my set on somebody else’s computer if things go really wrong. I have an .alp (Ableton Live Pack) compressed version of my set stored separately on the computer in case of accidental deletions, or if I really need to ‘reset’ back to that version.
Plus, I often take a USB drive containing yet another backup. I’ll use at least one piece of hardware – a synth or drum machine, something that’ll add a different sonic signature, a more interactive workflow, and to keep making a noise if the Mac goes down (that’s never happened during a gig so far… fingers crossed).
Although it’s seen as more of a studio technique, automation can be helpful to deal with repetitive tasks that you don’t want to think about. I use it mostly at a clip-envelope level in Live; it can really take the load off in terms of keeping everything running smoothly while you’re free to jam or play over the top. But make sure you fully understand how automation works in your particular software: how to override it if necessary, how to edit it in real-time and how to restore it.
Live set preparation tips
1. Gear that your set relies upon needs to be in good shape. Check it, test it – label any plugs and cables that you’ll need to identify in the dark.
2. Experiment. Give yourself room to adapt – you might be asked to play longer or shorter than originally booked, for example. The audience response might encourage you to extend certain sections and shorten others. A band member might not show up. Maybe you won’t get a full soundcheck. The video projector might need a really weird cable adaptor. All things are possible!
3. Master channels, if using software, should have useful ‘helper’ effects loaded, such as an EQ, compressor, and limiter, turned off, but ready to put into action if needed – every venue sounds different, so give yourself some options to tweak your sound. Keeping tracks separate so you can balance them dynamically is one reason I don’t perform with stereo mixes.
4. Practice. The more complex your setup, the more you should practise building it up and breaking it down. Make a checklist and keep it on your computer or phone, to be absolutely sure you don’t forget anything. Then practise the performance, get it nailed and automatic, so you can be confident that if things take an unexpected turn, or you just want to go on a little trip for a while, you’ve got a solid foundation to come back to.
5. Structure your set in a meaningful way. The opening tune that works so well on your EP might not make the best opener. If you’re using visuals, structure those, too – don’t just throw them on screen in a random sequence. I used to read about hypnotism and brainwashing when putting together visuals for my live set. You might decide you don’t want to give the audience something to look at, which is legit as well, of course – but do it as an artistic choice, not just because you’re lazy.
6. Enjoy yourself! If you’re adequately prepared, you’ll be relaxed and more able to enjoy yourself. Most gigs go by so fast, you really want to experience the moment.
Ableton Live fan club
Ableton Live is the software you hear about most when it comes to performance. I use it almost exclusively in the studio as well, because over the years, it’s become so versatile. Also, there’s a tremendous advantage in using the same software – the same DAW – in all situations. As you’ll see in our walkthrough, converting an arrangement to a performance-ready session is straightforward enough, to the point where you could more or less be slicing up your timeline material after beginning your performance… that’d be kind of edgy, but doable!
Live is stable, visually well laid out and versatile, hosting software instruments, launching samples, controlling hardware or processing incoming live signals. If you’re purely focused on software instrumentation, there are alternatives, such as Apple’s MainStage or Native Instruments’ Kontakt, but Live is the ultimate all-in-one software hub for your live show.
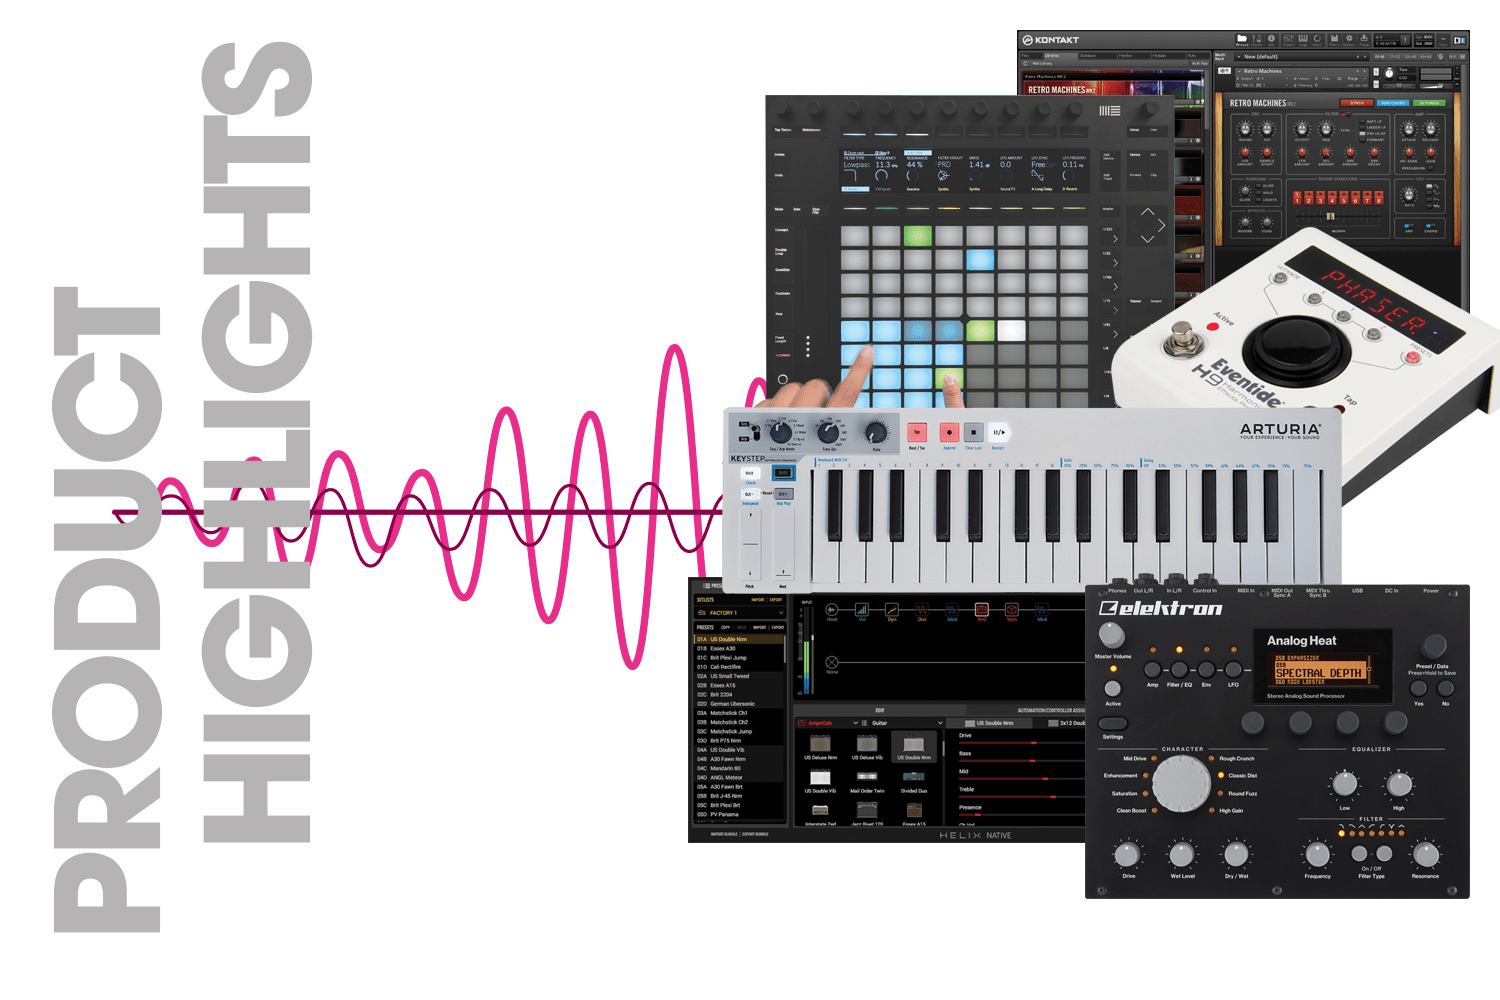
There’s no arguing that music software in a live context feels better with a good MIDI controller running it. We could divide controllers into two categories, of general-purpose devices and those dedicated to specific software. In the first category, there are generic keyboards and pad/knob/fader-type controllers, as well as a few more interesting (maybe even quirky) options, like the BeatStep Pro and KeyStep from Arturia. And then there are those ‘committed’ controllers; currently, the most prominent examples of this are Native Instruments’ Maschine, and Ableton’s Push.
Both are very solid products, which will give you immediate control over your favourite software without configuration or mapping assignments: the trade-off being that neither is particularly useful if you move onto another platform in the future.
One device that fits into both categories is the iPad, which you now see on stages everywhere: hosting instrument apps, controlling software remotely and prompting amnesiac vocalists with the lyrics they should’ve memorised ahead of time. iPads also have the advantage of being very compact and you can build a killer mini live rig with just a tiny laptop, an iPad and a little stereo soundcard.
Recommended iOS music apps: Korg’s Gadget (sequencer and synthesiser host), BIAS FX (guitar amps and effects – www.positivegrid.com), touchAble (Ableton Live control surface – www.touch-able.com). You can minimise your gig-luggage further by using your computer keyboard for shortcuts, or even as a little virtual MIDI keyboard.
In Live, it’s really easy to assign keyboard characters to mixer, instrument and effect functions; anything that has an on/off action, but you’ll also get interesting and more dramatic results if you map them to a fader or knob: when you tap the key, the control will jump to the other end of the value. You can use the MIDI Mapping Browser to restrict and invert the range of these control jumps, too.