From To Studio To Stage Tutorial – Slicing An Arrangement Into Scenes
Hitting play may work in the studio, but it’s not going to wash on-stage. By slicing an arrangement into scenes you give yourself more control over your tracks. Here’s how you do it. Be sure to read our full From Studio To Stage feature and share your music live. 1. You’ve got a finished Ableton […]
Hitting play may work in the studio, but it’s not going to wash on-stage. By slicing an arrangement into scenes you give yourself more control over your tracks. Here’s how you do it. Be sure to read our full From Studio To Stage feature and share your music live.
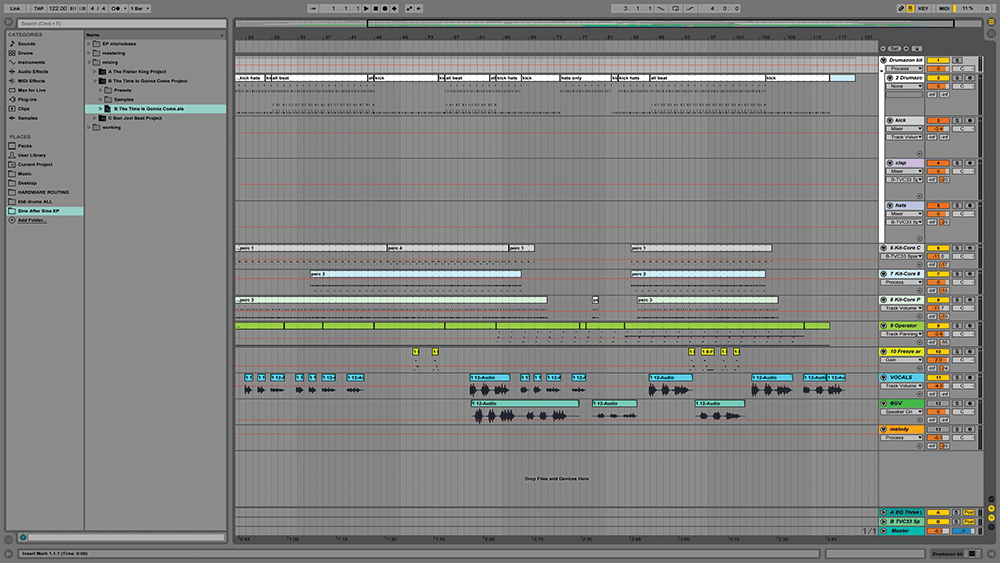
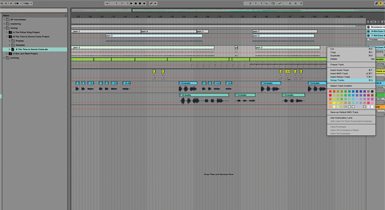
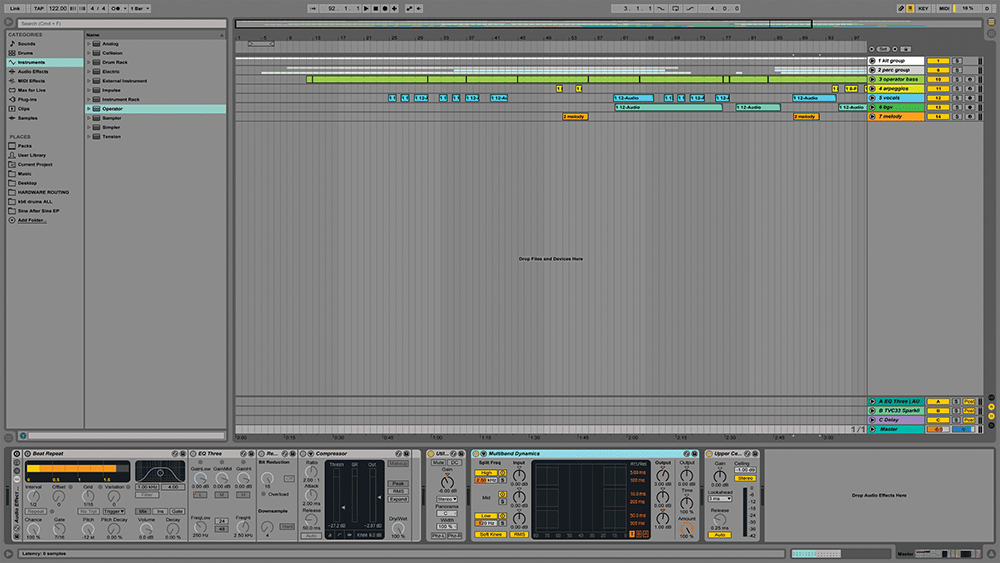
1. You’ve got a finished Ableton Live tune that you want to use in a live performance. Currently, it’s laid out in traditional style, an arrangement going left to right on the screen. Ableton Live has some great tools to help us get this jam-ready and out of the frozen zone.
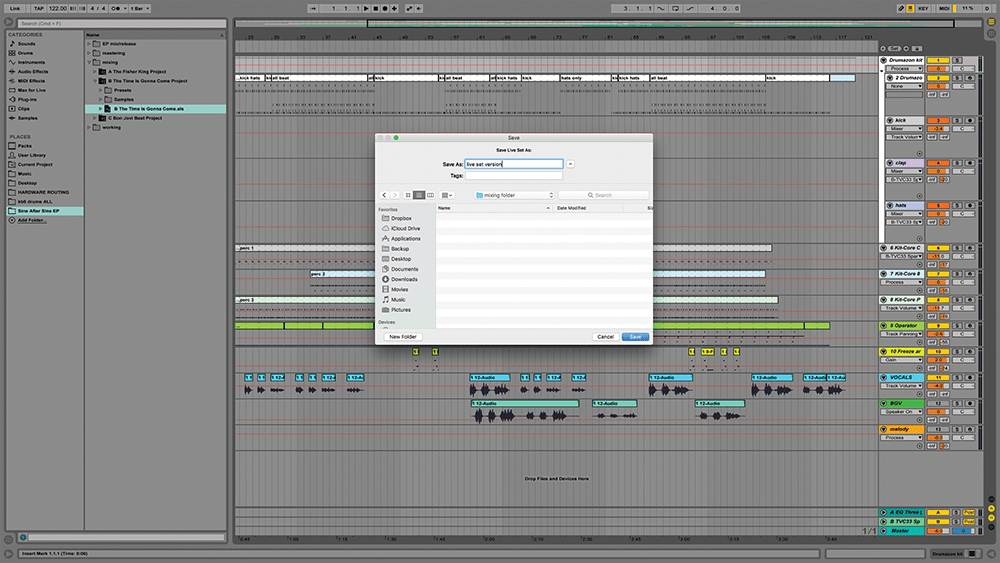
2. Before continuing, archive your original project; we don’t want to destroy your final mix! Use the File/Save Live Set As… command to make a new version and give it a unique name, then File/Collect All and Save to round up all samples needed into the new project folder.
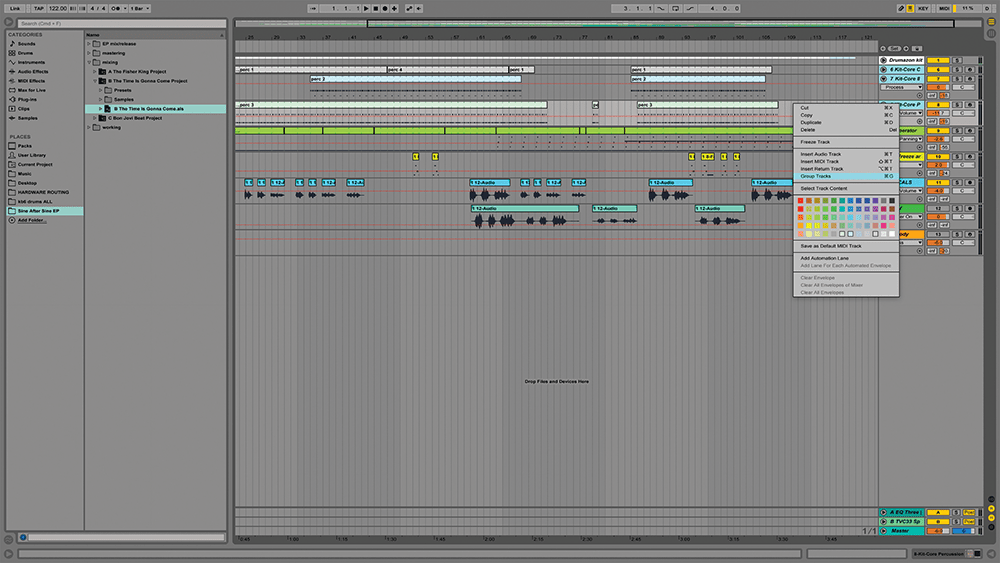
3. On to the actual content. Reduce your track count to a manageable number, by submixing and resampling to new audio clips if necessary, or using group tracks, or using Freeze/Flatten to convert MIDI clips to audio so you can more easily combine and rearrange them into different tracks mid-set.
4. Aim to use Live’s native instrument and effect devices as much as possible in your set, replacing third-party plug-ins you’ve used in your production. Live’s more stable and less CPU-intensive if it’s using the native devices. Use freeze and flatten to embed third-party sounds if necessary.
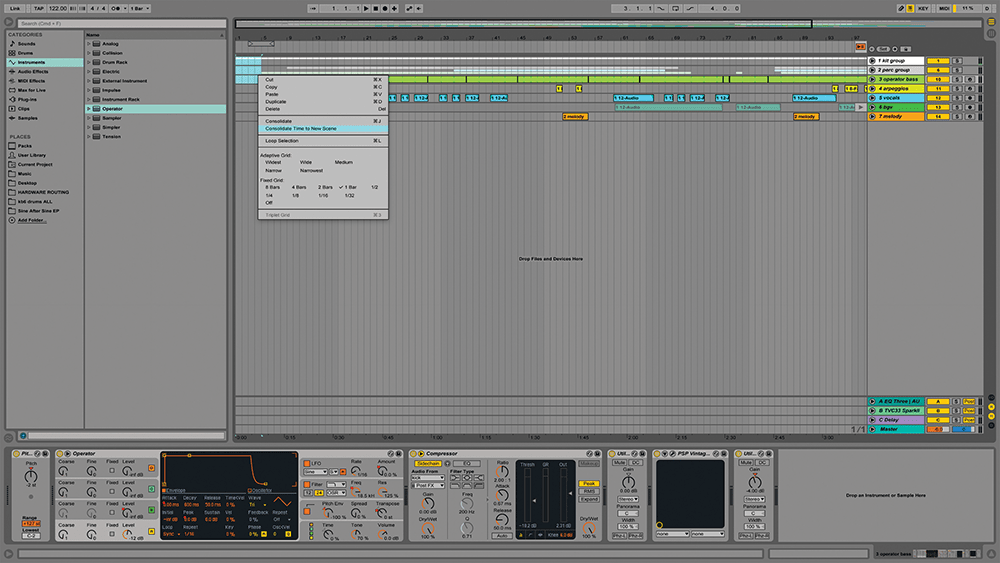
5. Next step is to move content from the Arrangement View to Scenes in Session View. That’s actually quite easy. Click-and-drag to select the first section that you want to isolate, then right/control click and choose ‘Consolidate Time To New Scene’. How many Scenes you create is your call.
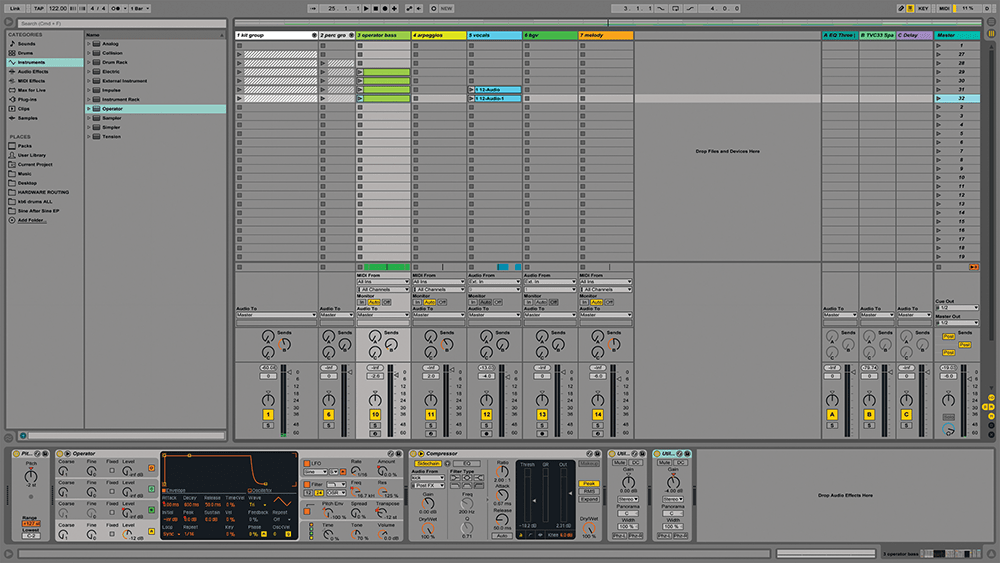
6. Hit tab to see the Session View, and you’ll see that the clips from the selected area have now appeared in a horizontal row – a Scene, which means you can launch them together with just one click from the master track. Structure and flexibility – yes, you can have it all!
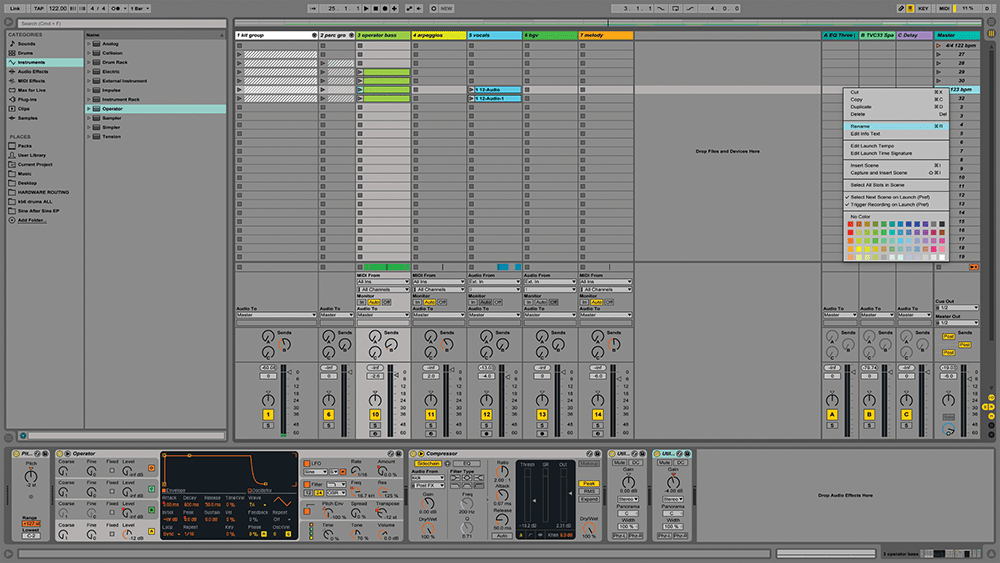
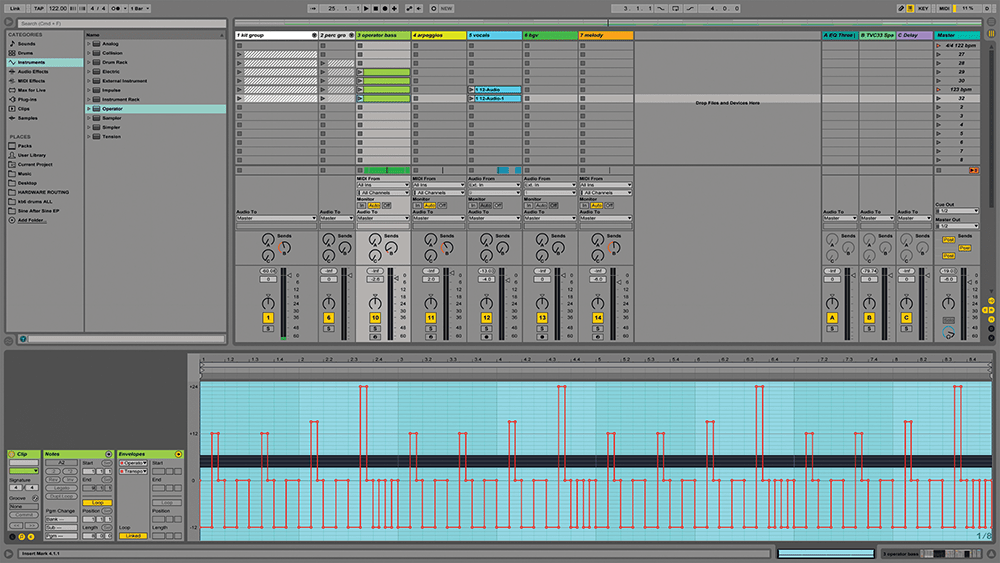
7. If you need tempo or time-signature changes in the set, use Cmd-R to rename the relevant Scene and use a name like ‘5/4 131 BPM’ (doesn’t have to be capital letters) – and when you launch that scene, Live will change to those settings.
8. During this process, any existing track automation is converted to clip automation, which is another great timesaver (this also works the other way round). The last step should be to run ‘File/Collect All And Save’ again, so all of your content is within one project folder.