The Bluffer’s Guide to MIDI
Get your head round MIDI and you’ve got your head round music production. Rob Boffard explains the ins and outs… MIDI can be one of the most mystifying parts of music production. Although its basic purpose can be intuitive with a little bit of practice, unlocking its hidden depths often takes a lot of time, […]

Get your head round MIDI and you’ve got your head round music production. Rob Boffard explains the ins and outs…

MIDI can be one of the most mystifying parts of music production. Although its basic purpose can be intuitive with a little bit of practice, unlocking its hidden depths often takes a lot of time, especially if you’ve never encountered it before. But it is crucially important to know how it works, especially if you want to produce anything involving software instruments.
That’s because all manufacturers of DAWs – from Apple to Avid to Ableton to Propellerheads rely on it. It’s the Rosetta Stone of music production; a common language that enables any device and any software program to talk to each other.
If you can master MIDI, if you can work out how it functions and make it part of your toolkit, then your production will become much faster, and the results will be as slick as they come.
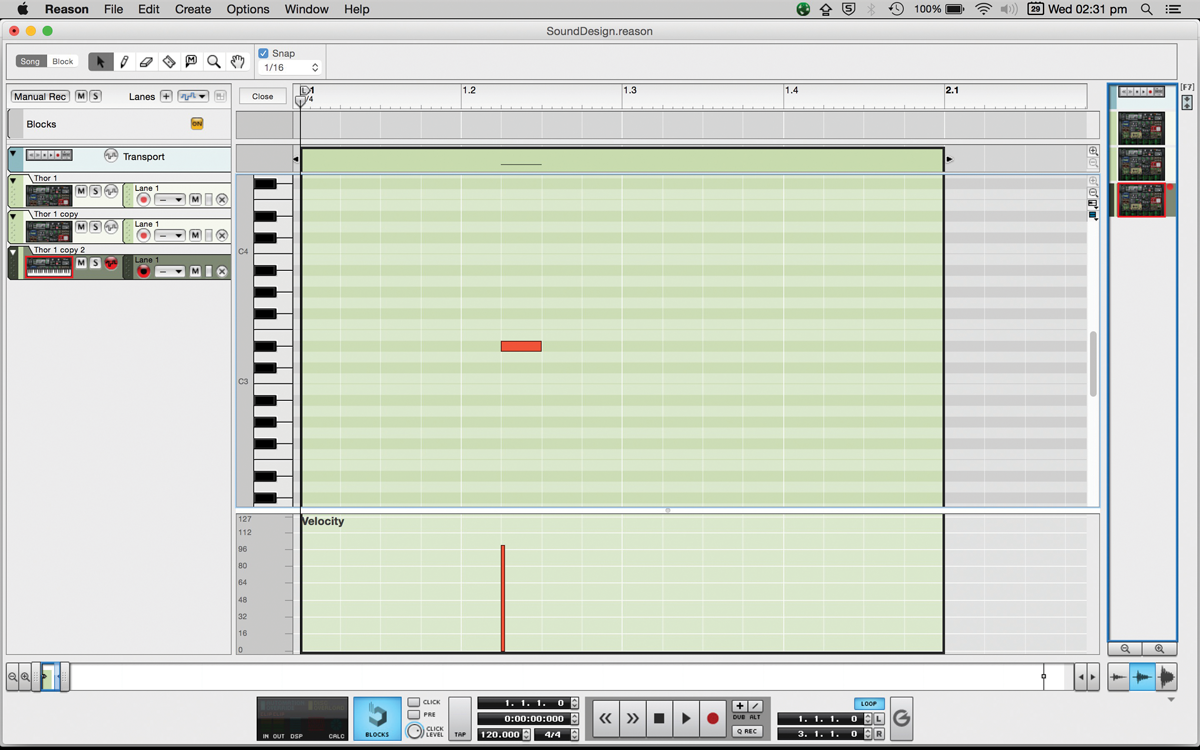
A single MIDI note. This one is perfectly in time – locked in place on the grid
MIDI Magic
Musical Instrument Digital Interface: that’s what MIDI stands for. We don’t really want to go in-depth into its history (there’s plenty online if you’d like to find out more) – this is a Bluffer’s Guide, after all – but what you need to know is that it came to fruition in the early 1980s as part of a collaboration between engineers Dave Smith and Chet Wood, and several synthesiser companies such as Korg, Moog and Roland. Smith and Wood initiated this, because the market had just got far too complicated.
There were too many protocols, and too many devices, and it was becoming increasingly difficult for them to talk to each other. MIDI was the solution.
But forget the history. The best way to understand MIDI is to talk about what it is now. We’ll get to the complicated information that a MIDI sequence can contain in a minute. For now, we’re just going to talk about the basics.
The easiest way to understand this is to pull up your favoured DAW, and load up a software instrument. I’ll use Reason, but you can use any one you like. Once you’ve queued up your instrument, you’ll need to go into the sequencer, where you’ll see a virtual keyboard (or equivalent) running vertically. Running horizontally along from that keyboard should be a line-up of rigid blocks.

Here, we are adjusting the note’s velocity. This will control it’s perceived loudness
Find the pencil tool, which is usually located in the toolbar, and click one of those blocks. You’ll notice it will fill in. There: you’ve just drawn a MIDI note. Now, if you press play, your software instrument will play a sound when the marker reaches the note. You can play these back at any tempo you like, and they will stay in time.
At its most basic, a MIDI note is an indication for an instrument to play a note. A much-used analogy is that of an orchestra. If the instruments are the violins, horns, woodwinds and the like, then the MIDI notes are the sheet music.
They tell the orchestra what to play. By arranging MIDI notes in sequence, running up and down the chords on the keyboard, you can create complex melodies. This is why MIDI notes are so popular in electronic music production.
It’s worth remembering that MIDI notes, beyond just being sheet music, are a way the different instruments are able to communicate with each other.
It enables you to play a note on a physical keyboard (called a MIDI controller) and have it appear as MIDI data on your screen. That’s important, by the way: MIDI is not sound. By itself, it can’t do a damn thing. If you draw a MIDI note without an instrument connected to it, nothing will play. It’s just data, and it relies on the context it’s being used in for the outcome.
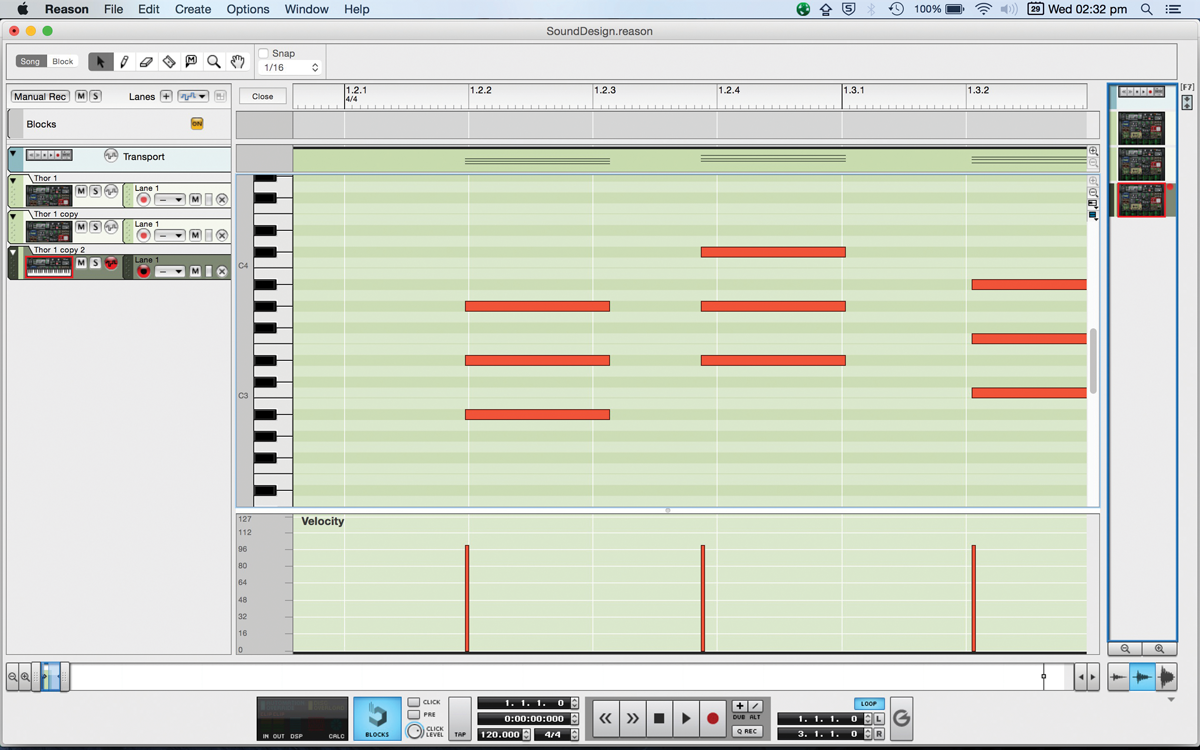
You can layer your MIDI notes to create complex chords
Up a Level
But of course, MIDI programming is a lot more complex than simple instructions for an instrument to play a note.
Let’s start with one of the most common ways of treating a MIDI note: velocity. If you hit a piano key hard, the sound it plays will be much louder than if you just pushed it down gently. MIDI has the same principle encoded in it. The higher the velocity, the louder the note. The advantage of this is that you can tweak the volumes of individual notes on a particular track, instead of having to automate the track fader.
Velocity gives you a hugely versatile way of controlling your sound. You could, for example, set your instrument to only trigger certain effects at certain velocities. Try doing this with a filter that has the MIDI velocity as its source, and get it to activate only when the velocity crosses a certain threshold. Velocity is usually measured from 0 to 127, so it’s easy to set an exact value for it.
This particular trick has endless applications. One we really like is setting different samples to trigger at different velocities, which can really bring some life to a track. At this point, we need to stress that not all techniques will be available on all instruments, and it’s crucial that you spend time getting to know your favoured software instruments before playing around with this.
There are other ways of controlling the character of a MIDI note, but they are largely restricted to the software instruments themselves. You can apply envelopes to the notes, changing their attack, decay, sustain and release settings.
You can apply filters to them. Some DAWs even let you adjust the fine pitch of the MIDI notes, adding a human element to your compositions. But really, once you understand how MIDI notes and their velocities work, you’ll find it extremely easy to start composing.
And since we’ve got onto composing, there is an additional concept it’s worth giving your head around: quantisation. Essentially, all MIDI notes are displayed on a grid – but when they’re being recorded, particularly if you’re using a MIDI controller, perfect timing is often elusive.
By switching on quantisation, you essentially ‘lock’ each note to its closest segment in the grid, resulting in perfect time, every time. Quantisation is always desirable (it can sound a little robotic if applied too heavily) but it’s a real boon when you’re recording.
Fine Tuning
There are a few advanced applications of MIDI that you can use once you’ve got the hang of things. We’re going to go into a few of them now, although we’re not going to spend too much time on the individual steps to pull them off. This is because they’re largely dependent on individual DAWs.
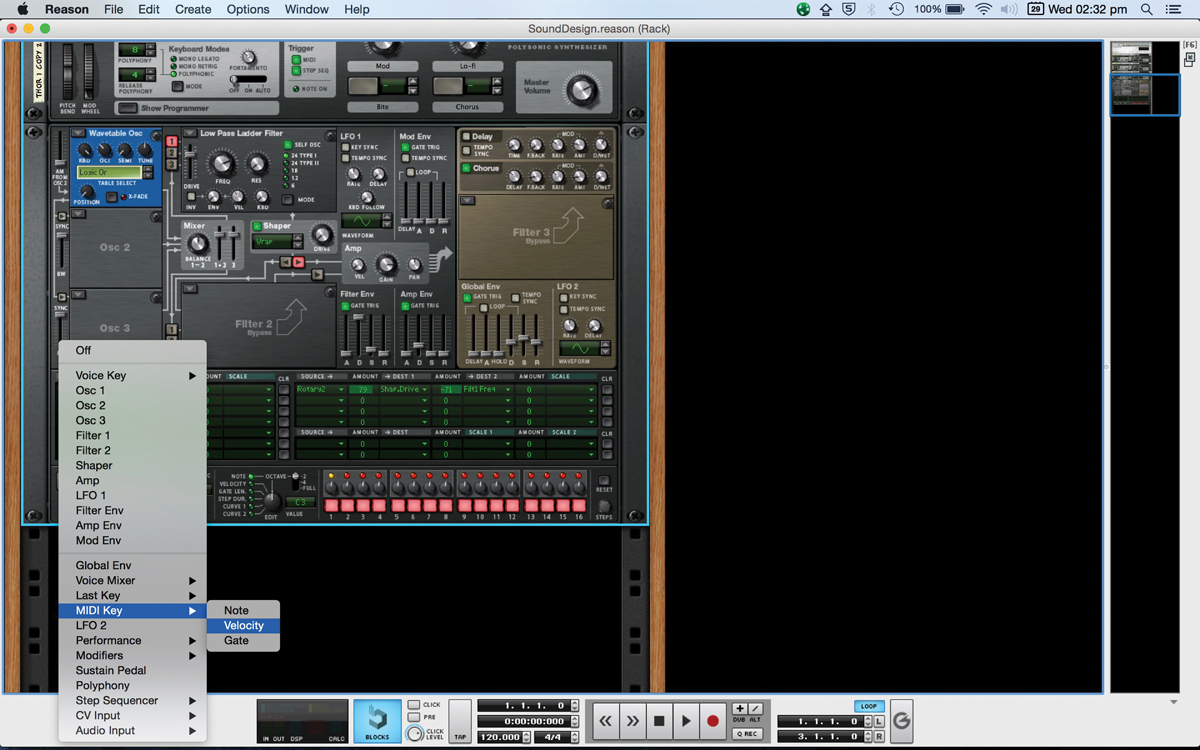
By having your software instruments respond to properties of your MIDI notes you can put together interesting effects.
One of the most fun ways of employing this is using the MIDI notes to trigger external instruments, not just software ones. In this way, you can use the data to get a MIDI controller, like a set of pads, talking to another instrument like a hardware synth, and using one to play the other. It takes a little bit of work to set up, but if you find yourself with a lot of different instruments and one preferred control method, then this is a neat way to streamline your work.
As we mentioned earlier, you can also use MIDI data like velocity and note on/note off to trigger certain aspects of the software instrument.
This gives you very fine grained control, and allows you to come up with some seriously wild effects. Also, because you can draw multiple MIDI notes into one track, including on top of one another at different octaves, it’s easy to create complex chords and layered effects.
One of the lesser-known ways of creating MIDI is to extract it from audio information. DAWs such as Ableton are known for enabling users to do this. Essentially, it means that you can input a piece of recorded audio and extract pitches and note locations from it. This is a great way to create accompanying parts to a recording.
In addition, one of the big pluses of MIDI composition is that it is highly portable. What we mean by this is that because the notes are simply bits of data, and contain no actual audio information themselves, it’s really easy to port them over to another computer and continue working on it there. As long as you’re using the same DAW, and using the same instruments and effects, you will easily be able to move back and forth between the two.
In fairness, this is less important these days now that even the smallest flash drive has multiple gigabytes of space, but it’s a useful tool to illustrate what MIDI is and how it works. It’s data, and nothing more.
Every DAW will treat MIDI slightly differently, display it differently, and enable you to do more with it. So experiment, and switch between them until you’ve found one you like.
Tech Terms
- Note: a single piece of MIDI data, usually expressed as a slim rectangle and displayed on a grid. Instructs an instrument to play audio.
- Velocity: a method of simulating the perceived loudness of a given MIDI note. Measured in units from 0 to 127.
- Quantisation: the process where MIDI notes are snapped to their nearest spot on the grid in order to compensate for human playing, and retain timing.
- Controller: a device that’s used to input and sequence MIDI notes. Usually this is a keyboard, or set of pads.