The Ultimate Guide to Ribbon Mics – Part 2
In Part One Huw Price explained the technology behind ribbon mics and rounded up some of the cheaper sub-£750 options. Now we take a look at their practical usage, and explore some more expensive and vintage options… There was a time when ribbon mics were regarded as ‘do it all’ microphones. To an extent they […]

In Part One Huw Price explained the technology behind ribbon mics and rounded up some of the cheaper sub-£750 options. Now we take a look at their practical usage, and explore some more expensive and vintage options…
There was a time when ribbon mics were regarded as ‘do it all’ microphones. To an extent they still are, but that mantle has probably been taken over by large-capsule condensers. There are several reasons for this, and some of these explain why engineers stopped using ribbon microphones during the 1970s and 1980s.
The limitations of ribbon microphones are easy to pinpoint: they have very low output, the pickup pattern is usually fixed figure-8, and traditional ribbon microphones have very noticeable treble roll-off starting from 15kHz (or even below). Ribbons are also easier to break than moving-coils.
The low output level was of particular concern when high-gain preamps with low noise floors were hard to acquire. Suitable preamps, such as the Siemens/Telefunken V77, were prohibitively expensive, and by the time the mic signal had been cranked up to a usable level using a lesser preamp, the signal-to-noise ratio could render the sound unusable.
Click here for our guide to Upgrades
The low sensitivity of ribbon mics is a non-issue when they’re placed close to loud sources such as electric guitars, brass instruments or drum overheads. However, it may become an issue when recording quieter instruments such as acoustic guitar or instruments like pianos with a wide dynamic range. The obvious solution is to equip ribbon mics with onboard preamps to create an active mic.
Engineers became a tad fixated on cardioid back in the dry-as-dust days of the 1970s. Room ambience and spillage were to be avoided at all costs and cardioid microphones provide the best chance of achieving that. But do not fear the 8!
When placed close to a loud source, the proportion of ambient sound compared to the direct sound should be negligible. You can further reduce ambience by placing drapes or cushions behind the microphone or by using a Reflexion Filter-type product. Alternatively, you can move a ribbon microphone away from the sound source to get a more ambient sound.
Figure-8 can be useful in its own right, too. Aiming the (null) side of the microphone towards an unwanted sound can minimise spill to a surprising degree, and well-placed ribbons can achieve impressive separation with singing acoustic guitarists. Similarly, you might try using a ribbon for drum room ambience. If you aim the side of the microphone towards the drum kit, you’ll get less of the direct drum sound and more of the room.
Click here for our guide to Active versus Passive
You can also exploit both sides of a ribbon mic to record two singers or musicians simultaneously, with both perfectly on-axis. Figure-8 is also essential for stereo recording techniques such as crossed 8s (aka Blumlein) and mid-and-side. Alternatively, use a crossed pair of figure-8s on two vocalists: with both vocalists singing directly into the front of their own microphone, you should achieve excellent separation.
Another thing to be aware of is that figure-8 ribbons display a lot of proximity effect, so you may need to place the mic at a greater than usual distance to stop the bass getting too boomy. Ribbons also pick up way more bass end than most moving-coil mics, so applying a bass-cut filter is often advisable to prevent unwanted low-frequency content from muddying your tracks.
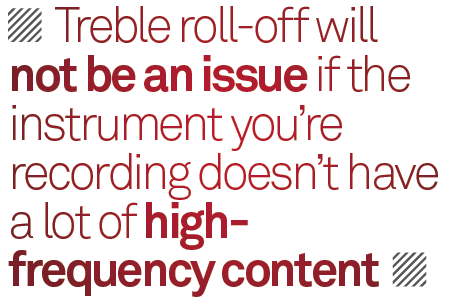
The treble roll-off will not be an issue if the instrument you’re recording doesn’t have a lot of high-frequency content, or capturing the upper frequency range isn’t a priority. Typical examples might include electric guitar, cello and double bass. You might also choose a ribbon if you want to sweeten the treble of trashy-sounding cymbals, a screechy singer or a harsh-sounding fiddle.
On the other hand, since the upper mids of a ribbon may be less prominent than a moving-coil’s, adjustments to your usual placements could be required. For instance, many of us avoid electric guitar harshness by placing condenser and moving-coil microphones on the edge of the speaker’s dust cap. To achieve the same levels of cut and definition, you may need to place a ribbon microphone dead-centre instead.
Ribbons, by their very nature, are different, therefore you may need to adapt your techniques to get the best results from them. Their limitations may not be an issue at all, and they may even work to your advantage in certain scenarios.
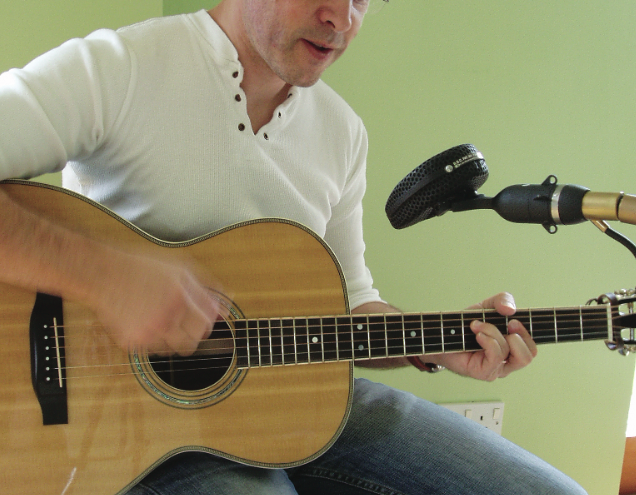
Achieving vocal separation when the singer is playing acoustic guitar is always problematic, but if you aim the deaf side of a figure-8 mic towards the guitar, you can achieve great results.
Survival Guide
The Achilles heel of ribbon microphones has always been the delicate nature of the ribbon itself. It can be damaged by drafts, blasts from vocal plosives or even by wind rushing through the ribbon assembly when a mic is moved around in a room. These things can cause the ribbon to stretch – which compromises frequency response – or even snap the ribbon, thereby rendering the microphone inoperative.
Never allow a vocalist anywhere near a ribbon mic without putting up a popshield. If you’re recording a heavy metal screamer or a rapper who likes to ‘eat’ the mic, then don’t choose a ribbon for the job. Dropping ribbon microphones is also inadvisable.
Loud instruments such as electric bass and guitar or drums can also generate sufficient sound pressure to seriously damage a ribbon. Using a popshield will help to protect your microphone and you should place a small bag over the top when moving ribbon microphones around.
Click here for our guide to Vintage Options
If a ribbon is damaged it’s not the end of the world, but you will have to pay someone to fix it. As a guide price, Coles Electroacoustics will charge you around £150 to re-ribbon a 4038. We know of only one other ribbon-mic specialist based in the UK. Xaudia (www.xaudia.com) will charge between £45 and £65 to install a new ribbon and the company also does transformer repairs and re-winds. They also make output and matching transformers and offer cable and XLR conversions.
When phantom power arrived in the late 1960s it presented new dangers to those ribbon microphones that had survived. A properly functioning phantom power supply will not damage a ribbon mic; however, problems can occur when connecting a ribbon mic with a microphone cable or through a patchbay if phantom power happens to be switched on.
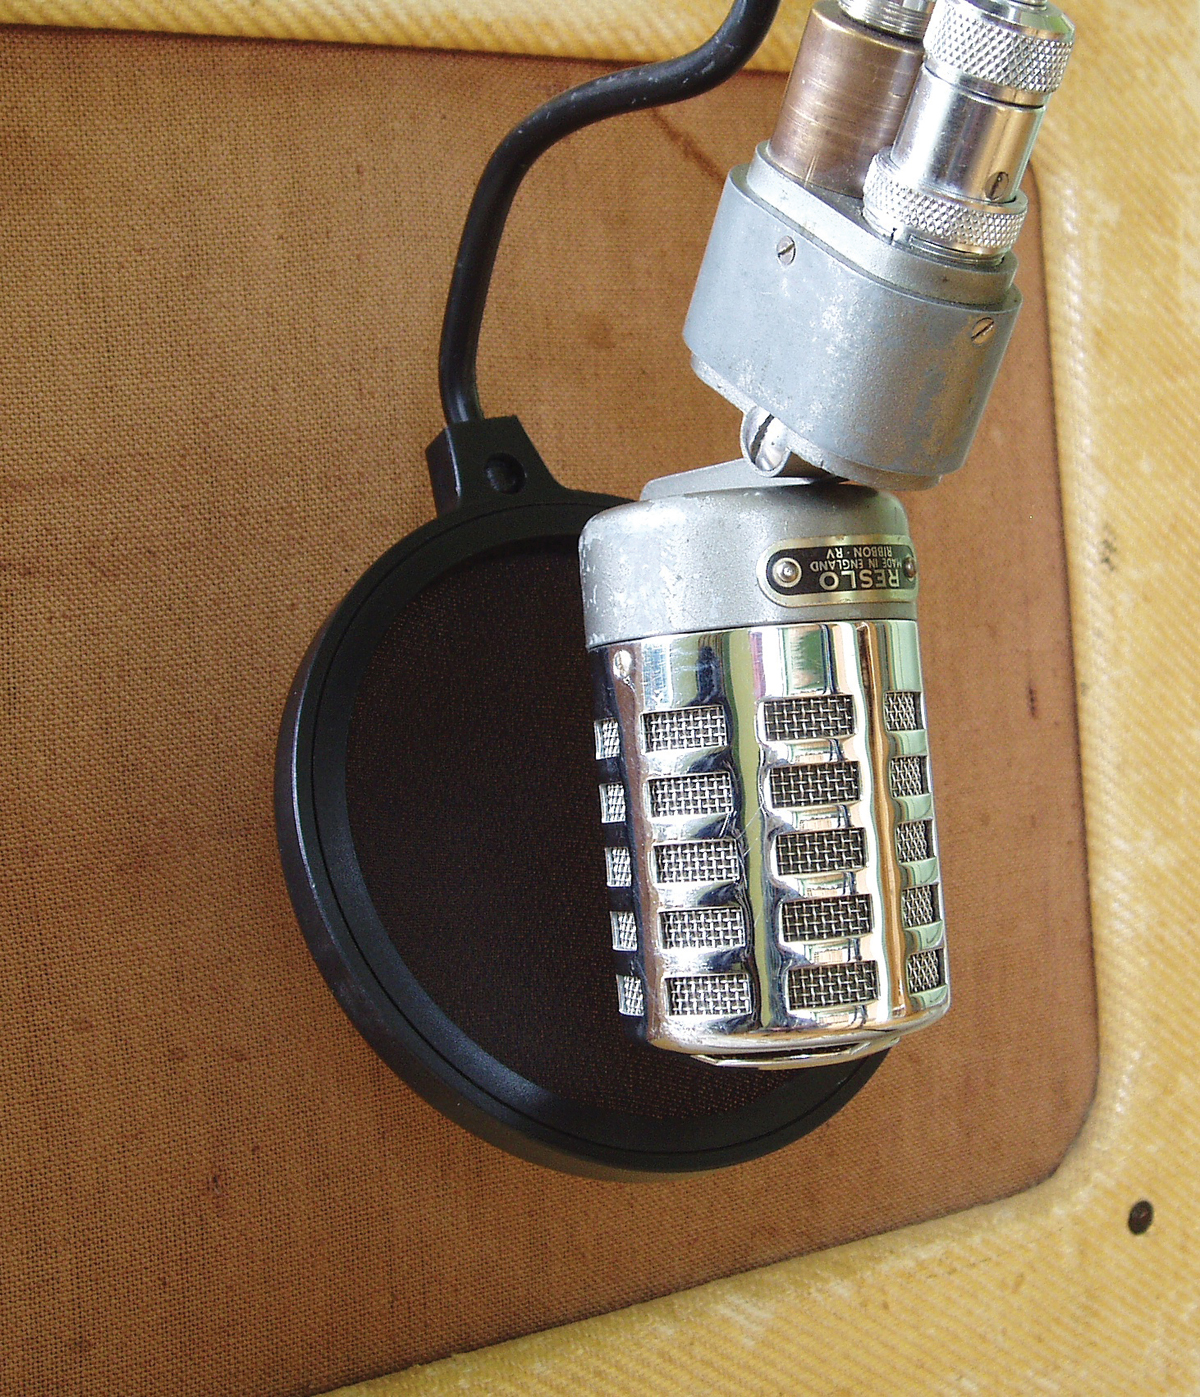
A Reslo mic placed against an electric guitar amp, with the popshield for protection.
If the microphone ‘sees’ only one side of the phantom power supply, the resulting movement of the ribbon may be sufficient to stretch or snap it. Faulty mic cables can cause the same problem. Deactivating phantom power when you’re plugging-in mics is always the best policy regardless of the mic type and you should always wait a few minutes for all the voltage to fully ‘bleed off’. As long as you follow this simple rule, your ribbons and condensers will always ‘play nicely’ together.
In part one we listed the best budget ribbon mics. On the next page, we list the best more expensive options.