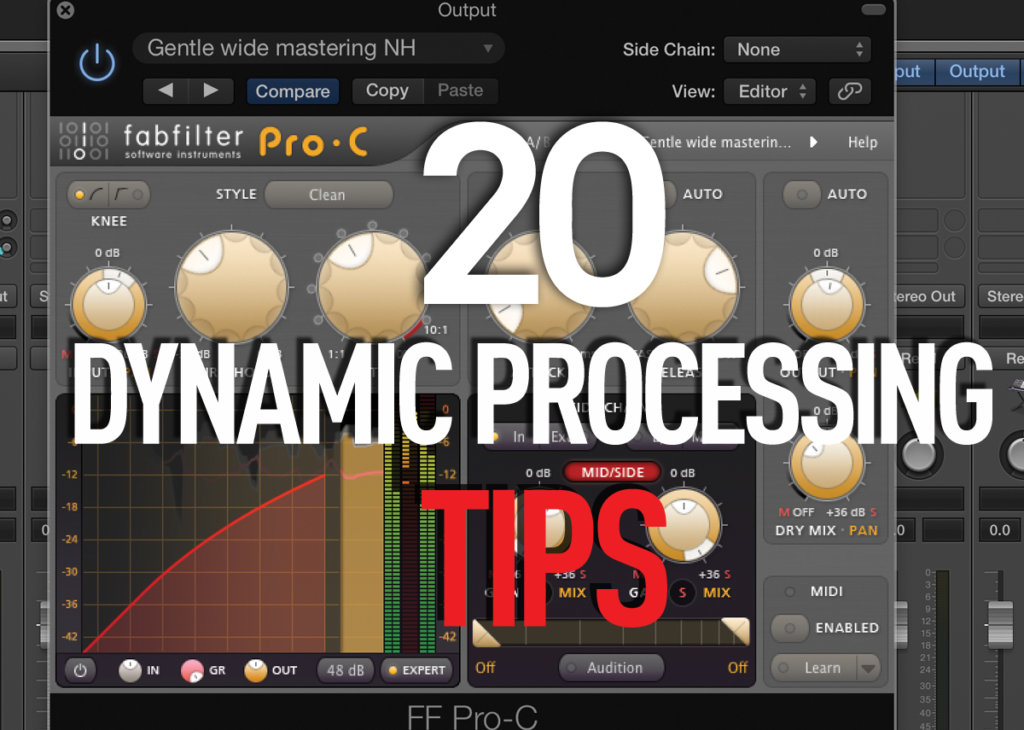
Twenty Dynamic Processing Tips
Master the art of compression and your music will reap dividends. Hollin Jones explains how to compress with success… 1: Think Ahead Stereo buss compression (sometimes called master buss compression) can be useful, but remember that it does affect the whole mix. Producers sometimes add a dB or two of compression when mixing down to […]

Master the art of compression and your music will reap dividends. Hollin Jones explains how to compress with success…
1: Think Ahead
Stereo buss compression (sometimes called master buss compression) can be useful, but remember that it does affect the whole mix. Producers sometimes add a dB or two of compression when mixing down to add some punch or clarity to the mix.
Keep your mastering in mind when compressing
This is fine but how much you add depends on how the track is going to be mastered. Usually, mastering engineers will add compression and limiting to a track during the mastering process, so it may not be necessary to add much at the mixdown. Radio and TV broadcasters also add their own form of volume boosting during transmission, so it can be easy to get a little carried away with compression. The message is: when compressing a whole mix, keep the mastering stage in mind as well. Used carefully, some master buss compression can work brilliantly, giving a gentle ‘glue’ or coherence to the soundstage.
2: Separate Mixing and Mastering
When applying master buss compression when doing a mixdown, stay on the side of caution. The idea during mixdown isn’t to squeeze loads of volume out of the track: that can be done with a limiter at the mastering stage. Instead, aim to make the track gel together properly; to sound like it’s sonically coherent. Also bear in mind that any tracks in the mix that have heavy compression applied to their channel might sound over-compressed when further compression is applied down the line, so take care.
Don’t middle up your mixing and your mastering, create one set of files for each
Although technically possible it’s not a good idea to limit during mixdown. Save limiting for the mastering stage. You should aim for two sets of files: mixdowns that sound sweet and balanced, and masters that are the same but louder and more in-your-face. Having original mixes means you can always re-master later if it becomes necessary.
3: Watch your Ss
De-essing is actually a form of dynamics processing. A de-esser is basically a compressor with a very specific frequency target. You can use the threshold setting to determine how much of the sibilance is removed by being compressed and sometimes there’s also a frequency control that lets you target the precise area you want to hit. De-essing is almost always best used with caution, since applied too heavily it can very quickly start to sound unnatural and squashed.
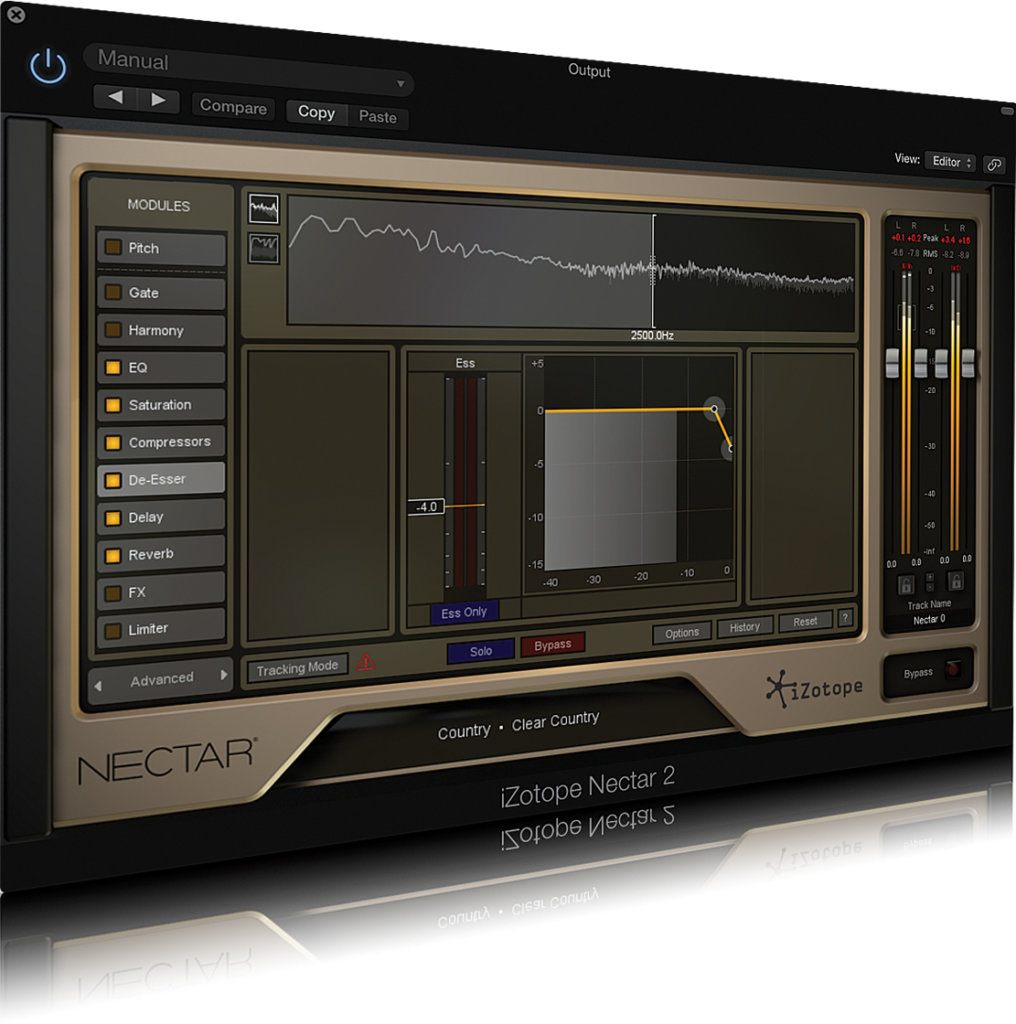
Use a de-esser in combination with a popshield to get the best effect
It’s better to take precautions during recording – using a good popshield, which will also reduce sibilance – than trying to fix problems afterwards. De-essers are also useful for compressing and controlling loud, splashy cymbals such as crash cymbals in rock tracks. Since that kind of sound actually has a very narrow, high frequency range, it can be easier to isolate with a de-esser than with a conventional compressor.
4: Parallel Process
You can take better control of your mixes by blending compressed and uncompressed versions of the same signal. For example, you could try taking the lowest sounds in a track – typically the bass and the kick drum – and sending them to a stereo compressor. Apply a relatively large amount of compression to these so that they’re squeezed – the exact amount will be up to you – then route them back to a new channel and blend that with the uncompressed signal by balancing the two faders.
This can help the bottom end sound controlled while still leaving space for other sound sources such as guitars or vocals. This is possible in most DAWs where routing and mixing is pretty flexible, and in some, including Reason, there’s actually a dedicated feature in the mixer to enable you to create parallel channels for just this kind of task.
5: Capture Compression
If you’re recording live sources such as guitars, drums or vocals, it’s possible to use a little compression between the source and your DAW to control any unexpected peaks in the signal during performance. This works best, however, when the effect is inserted between the source and the input, and as such is rather easier to achieve with hardware effects.
Insert effects in your software may be heard as part of a monitored signal but they’re not recorded as part of the take, at least not unless you do some deliberate routing to make this happen. Some interfaces and hardware mixers do have onboard DSP-powered effects that can be captured as part of a take, or you might want to connect either an outboard unit or perhaps a compression pedal if you’re recording guitar or bass. Remember, though, that any effects recorded in this way are part of the signal and thus cannot be removed post-recording.
6: Go Multiband
Multiband compression is a more versatile but also more complex tool than single band compression. Used correctly, however, it can give you much greater control over the different parts of a sound. It’s great, for example, for controlling sounds with multiple frequencies such as drum loops or music samples. Percussive sounds contain more energy than sounds that occur continuously over time.
![]()
Multiband compression can give you much more sophisticated control over your music
If you’re using a multiband compressor, consider using more gentle compression on the higher frequencies – higher threshold and lower ratio settings – which should have the effect of letting the transients of the percussive sounds through while still keeping a punchy effect on the sustain of the continuous sounds. Experiment with the crossover points of your multiband compressor to suit the characteristics of the track you’re working on. Using gentle crossover curves can also give you more flexibility.
7: Understand the Process
Think of compression as a way to keep everything controlled and smooth within the mix. Getting sounds to ‘sit’ in the mix correctly is your aim, and it doesn’t matter what a sound is like in isolation, only how it works in the context of the whole track. Settings are very project and genre-dependent, but on a typical guitar track you might want to look at using a ratio of around 4:1 for moderate compression or perhaps 8:1 for heavier stuff like lead guitars.
Compress drums individually if possible rather than as a whole, then maybe a little strapped across the whole kit. Bass often requires more compression than other tracks because of the large difference in volume and energy between low and high bass notes. Where you have fewer elements, such as a simple vocal and guitar, you’ll probably use less compression since there’s so much room for the two tracks to breathe. In a busier mix, more compression will be needed to make everything play nicely together.
8: Expand your Horizons
Expanders and gates are also forms of dynamics processors. Expanders actually increase the dynamic range of audio signal, whereas compressors reduce it. Expanders are sort of compressors in reverse, and are able to both increase the gain of the signal above the threshold, and reduce the gain of any signal below the threshold.
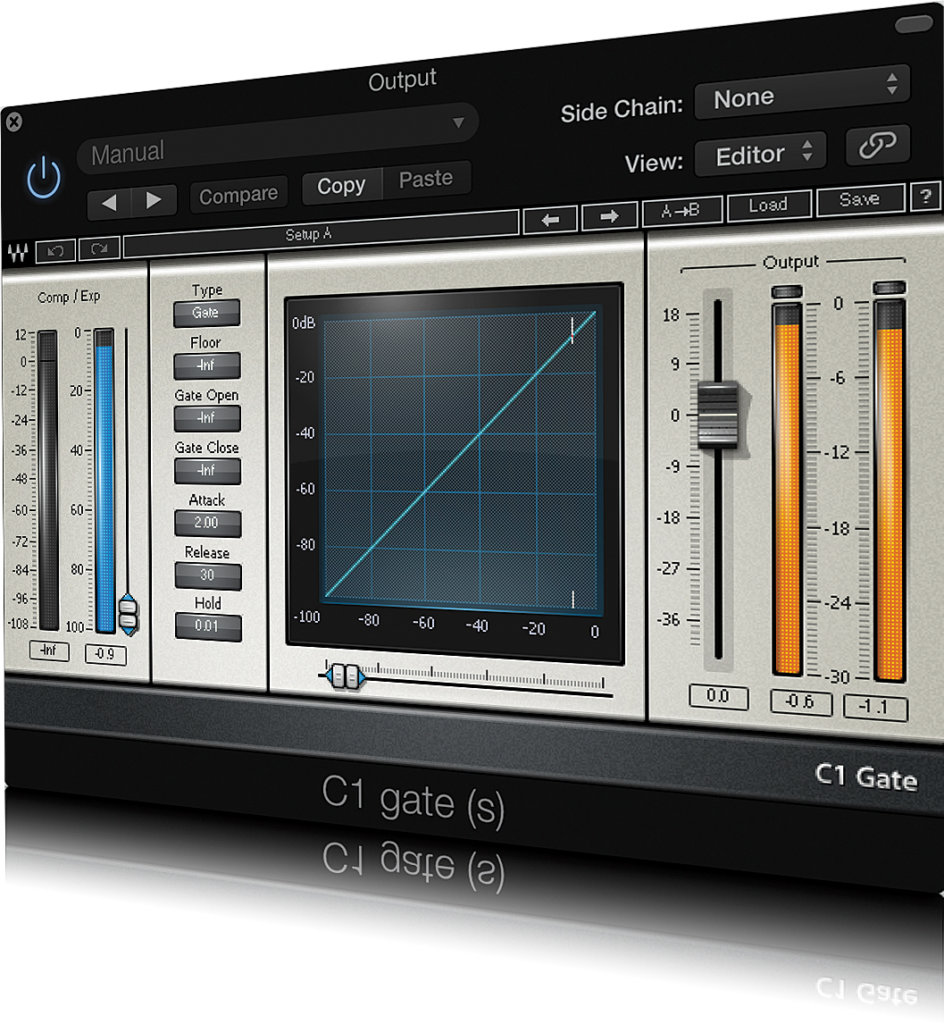
Use an expander to increase the dynamic range of your signal
In the latter mode they’re acting as noise gates: cutting off signal such as hiss or background noise that doesn’t reach the specified threshold level. Gating is a particularly useful tool to have in your arsenal because, when set correctly, a gate can automatically cut out all background noise in a live take without you having to manually chop it out of the audio takes. The key is to set the attack and release controls so that neither the very start or very end of the sounds you want to let through the gate are accidentally truncated.
9: Don’t Get Carried Away
Like most things in music production, dynamics processing is as much an art as it is a science. One thing that can become an issue is a dynamics equivalent of ‘fader creep’ whereby you keep nudging compression or limiting levels higher and higher without realising that it’s starting to have an adverse effect on the sound. The trouble is that when you have been listening to a mix for hours, a heavily compressed sound can actually appear to be good because it can be driven louder, and loud equals good.
You may not actually realise you’ve got to this point until you look at the level meters and everything is being crushed a bit too hard. It’s honestly better to back off on the compression, look at your project and drop everything down a bit. Re-balance the mix and be more sparing with the dynamics, then use the master fader to control overall level. Worry about absolute gain at the mastering stage.
10: Crossover with Care
When using a multiband compressor, be aware of the crossover points. Listen to the track you’re working on and identify where the different frequencies intersect. Admittedly this is easier in dub than in rock but you can use multiband compression to get better control over the overall dynamics of a track, provided the crossover points are correctly set.