20 Mixing Tips
The recording sessions are done and dusted, and it’s time to sculpt your final mix. Make sure it’s the best it can be by following Hollin Jones’s essential mixing tips… Read the Twenty Mic’ing Tips and Twenty Arrangement Tips here 1: Start from the Beginning Whether you are finishing off a working mix or going […]
Featured in this article


The recording sessions are done and dusted, and it’s time to sculpt your final mix. Make sure it’s the best it can be by following Hollin Jones’s essential mixing tips…
Read the Twenty Mic’ing Tips and Twenty Arrangement Tips here
1: Start from the Beginning
Whether you are finishing off a working mix or going to a whole new studio and starting with a bunch of stems loaded into a new system, always begin with the basics and work up from there. By that we mean start with the solo’d drums, if indeed you have used live multi-tracked drums, and balance them properly against each other to get the kit sounding just right. Then unmute the bass and work on its interaction with the drums. From there, start to introduce more and more elements into the mix one at a time.
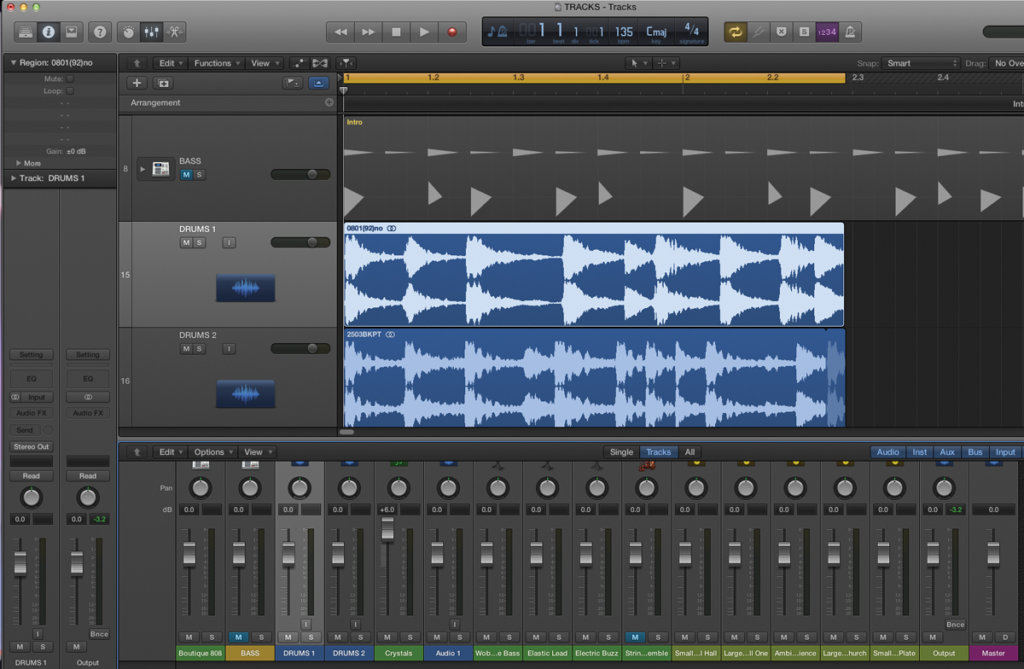
There’s no definite set order in which to do this but you will most likely find it helpful to bring the vocals in much later in the process once the instruments are all playing nicely together. Working this way prevents you from getting overwhelmed by trying to deal with lots and lots of channels from the very start. Begin with the core of the track – the bass and drums – and introduce the rest slowly.
2: Take a Break
It’s possible to go nuts when mixing. Not only have you written, recorded and edited a track, you’re now listening to it tens, perhaps hundreds, of times in loops and on repeat. It’s easy to lose perspective and become convinced that a sound is wrong. Sometimes it will be, but often your ears are just tired and playing tricks on you. This happens to even the most experienced producers, so it’s important to be aware when it might be happening.
If you’ve been working on something for hours and start to doubt the accuracy of the mix, go out of the room, or preferably the studio, for at least half an hour. If you can work it, try to come back the next day. When you come back with fresher ears you will discover if you were right, but it might turn out the sound was fine and you had just lost sight of things temporarily.
3: Spend a Little Money
It’s more realistic than ever before to work in home studios, but the one part of the whole production process that really shows up the deficiencies of bedrooms or attics is mixing. You can close-mic and use isolation solutions to get a great recording, and, of course, arrange and program to a high level using modern DAWs. But when it comes to mixing, your monitors and physical environment really do affect the way you perceive the sound.
Reflections off walls or an overly bass-y response from speakers placed in the corner of the room can seriously colour the way you mix, often for the worse. If you do have a budget for a project it’s worth saving as much of it as you can for the mixing stage. If you are experienced or employ a seasoned engineer you can mix relatively quickly in a good space. The money you spend will be reflected in the quality of the finished mix.
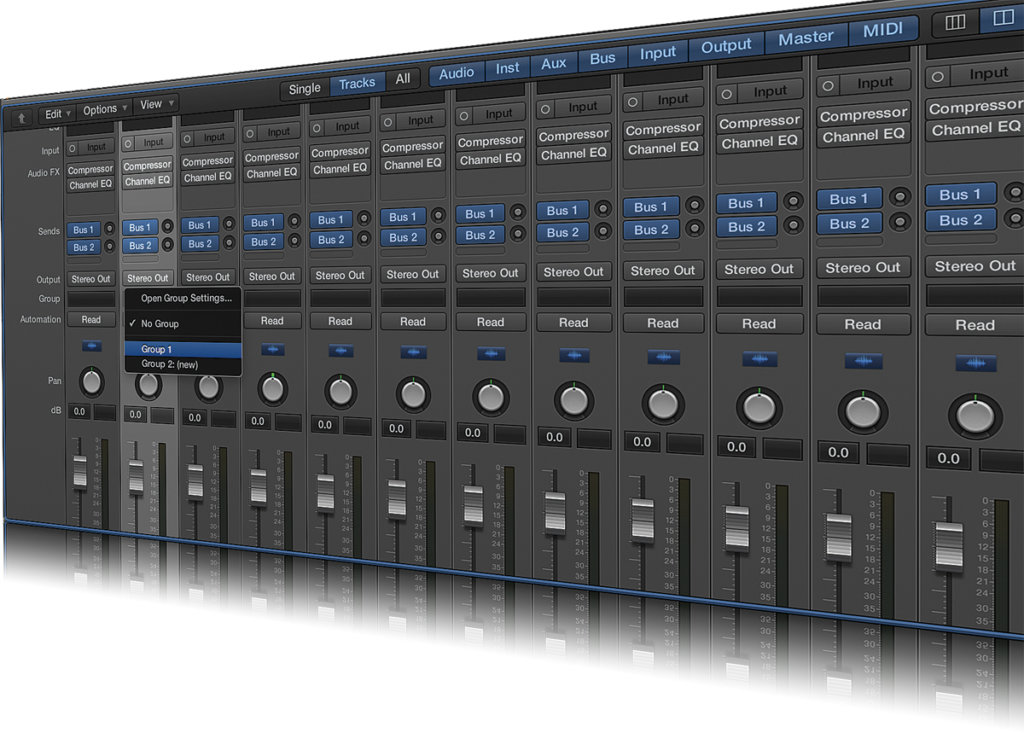
4: Use Groups
Most DAWs and the vast majority of hardware mixers support grouping of audio channels. At its simplest this just involves routing a number of similarly themed channels through to a group channel so that you get control over the summed output of those tracks in just one fader and channel strip. So, for example, you may want to mix your drum kit then route its various channels through to a single group. Or do the same with a horn section or choir, or a bunch of rhythm guitars.
This lets you bring them all up or down in the main mix en masse and you still have individual control over each constituent channel if you need it. Grouping is a good way to tame larger, unwieldy projects and it’s a very simple process to carry out.

5: Playback, Playback, Playback
It’s oft-repeated advice, but you must test your mix on as many systems as possible. It may well sound awesome on the £5000 monitors in the mixing studio, but how does that translate to the kinds of environments where regular people will be listening to it: on phones, headphones, iPads or car stereos, for example?
Most decent studios will have at least one pair of smaller monitors (historically, Yamaha NS10s) to test your mix on; but even if you’re working from a home or project studio you should test mixes on the speakers you own and on headphones, as well as exporting test mixes and playing them back on hi-fi systems, phones and whatever else you have access to.
You might be surprised how much bass disappears on one playback device, for example. Tailor your mix to account for these variations: this is the art and the science of the mixing process.
6: (Temporarily) Pump Up The Volume
Monitoring should generally be done at a reasonable volume, neither particularly loud nor quiet. However there are good reasons to explore both ends of the volume scale at least once during the mixing process. It can be easy to overestimate the weight of the bass, for example, when you have everything pumped up. If a mix is good you should be able to turn it down really quiet and still hear everything, including the bass, and the relative levels shouldn’t change too much.
Similarly, if you whack the volume up you will find out if the top end becomes too harsh and irritating, or the bass too huge, or if the vocals are swamped by the guitars. Dealing with any of these issues is a part of good mixing and you will be grateful you did because the end product will come out stronger and better suited to all kinds of playback scenarios.
7: Export Duties
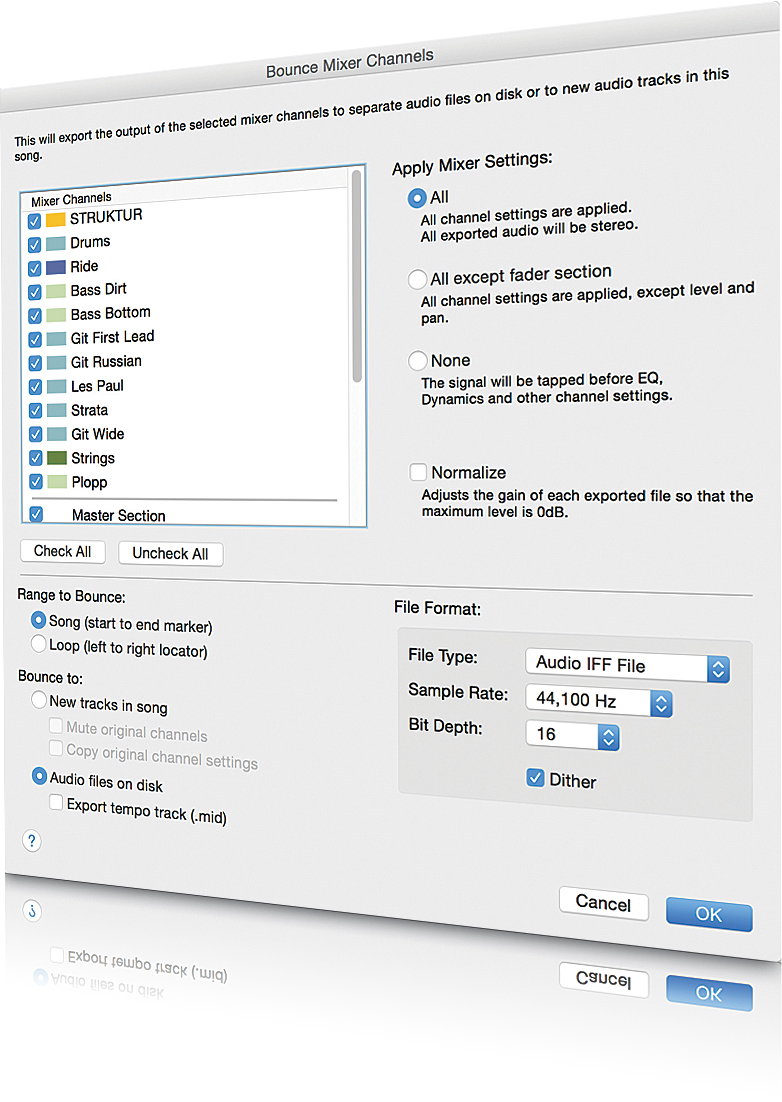
When your final mix is done you will want to export it either to CD or perhaps, as is more likely these days, to an uncompressed WAV file to be taken away for mastering. You should also export stems: an individual copy of every single audio channel printed down as a digital file (or to tape, if you’re working with analogue tech). There are a couple of reasons for this.
Firstly as a backup, you will be getting duplicates of the content of every channel plus all virtual and hardware effects, EQ and level as painstakingly set up by you during the mix, so you have a fallback if there’s some disaster later. Secondly, stems are invaluable for remix purposes. If you decide to get some remixes done, a bunch of properly mixed stems all of identical length and format will make the remixer’s job as easy as possible.
8: Better Together
It’s tempting to solo up individual sounds in a mix and get them sounding as great as possible in isolation. But remember that it’s the ensemble that is important, not any one sound. Of course there will always be some sounds that need to be more prominent, such as vocals, but the key to good mixing is to make everything sit well in the soundstage.
To that end, it doesn’t matter if you need to cut a load of bottom end off, say, a rhythm guitar to make it play nicely, as long as it works in the context of the mix.
It might sound thin when solo’d up but as long as it sounds good when everything else is in, you’re sorted. Of course if there’s a point when the guitar is more prominent and needs to sound weightier you can duplicate the track and apply a different treatment, bringing it in only when required. You can apply this theory to any component track of any project

9: It Might Get Loud
One of the easiest ways to beef up a sound is to just whack its fader up, but that can lead to fader creep. Instead, you can apply compression and use EQ to draw out certain frequencies. Another good trick is to either duplicate parts or use parallel channels where they’re available.
Duplicating a part is easy on any digital system and lets you run both channels at a lower level as there is more signal in the mix. You could also pan each channel if the sound isn’t too bass-y (bass sounds like to be centred). Parallel channels, available in Reason and other DAWs, enable you to quickly create a new channel in the mixer without duplicating any content in the sequencer and process it separately, blending it with the original. You can keep going, adding as many parallel channels as you like for a massive sound
10: Ch-Chain-Chain
Most DAWs and better outboard hardware units support sidechaining of compressors and other effects, and this can be a good technique to use to control errant frequencies only at specific points in a track. Imagine you have a middle-eight where your bass part goes particularly high and starts interfering with other channels, but it’s only at one part of the track that this happens.
Instead of trying to automate effects or perhaps accidentally affecting the rest of the bass by EQ’ing the whole channel, use a sidechain compressor to control the bass part and compress it more heavily only when its frequency crosses over that of another sound. You can apply this to any sound source but it’s used most commonly to prevent a bass and a kick drum fighting and both turning to mush. In fact it’s often a signature of certain styles, like the ‘pumping’ effect found in a lot of EDM.