The Ultimate Guide To Recording Everything – Acoustic Instruments
It’s MusicTech’s ultimate guide to recording every instrument out there. The mics you need, where you place them – everything you need to know, in fact, to record perfect takes, time and time again, while avoiding the quirks and idiosyncracies of a diverse range of instrumentation. Andy Jones explains… In many ways, this is the […]
It’s MusicTech’s ultimate guide to recording every instrument out there. The mics you need, where you place them – everything you need to know, in fact, to record perfect takes, time and time again, while avoiding the quirks and idiosyncracies of a diverse range of instrumentation. Andy Jones explains…
In many ways, this is the ultimate MusicTech guide – and it’s something we’ve been meaning to put together for years. The idea is simple: to detail the microphones and techniques you need to record the main acoustic and electric instruments in a band – but the scope is potentially enormous.
There are a gazillion microphones out there, and probably as many ideas to get the perfect sound, as there are producers and engineers. As such, then, rewind to that word ‘guide’. While we’ll offer mic placement ideas, they are just guidelines. For every measurement, mic distance, angle and principle we suggest, the real detail comes with experimentation.
This is because the main rule when recording something – anything – is that if you think it sounds good, it is good! So we’ll throw in a range of well-researched suggestions, but there are lots of additional contributing factors; not least the room you’re recording in and the way your musician plays, that could (will, even) affect things… so use our suggestions as a starting point and experiment from there. As you get more experienced, you’ll learn which mics are good for what, and which suit certain voices and playing styles.
The overall goal when mic’ing anything up – and to make it sound good – is to strike a good tonal balance. This means that the same principles apply when you’re recording an upright piano as they do when you’re recording an acoustic guitar – indeed, some of the microphone-placement techniques we discuss for both situations are broadly similar.
If you have just one microphone, try and place it between the bass- and treble-sounding areas. If you want to go stereo, then maybe aim one mic at the bass and one at the treble to get the bigger picture. So there are rules – but as we’ll see, there are also a lot of arguments.
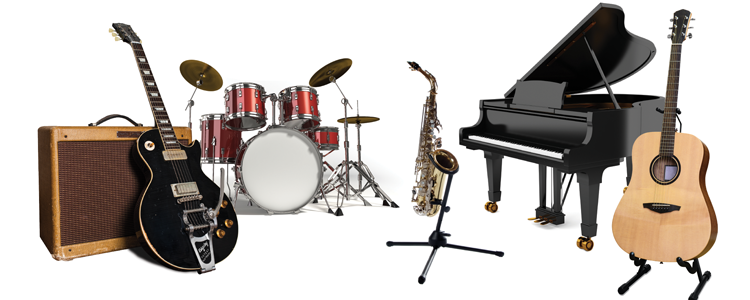
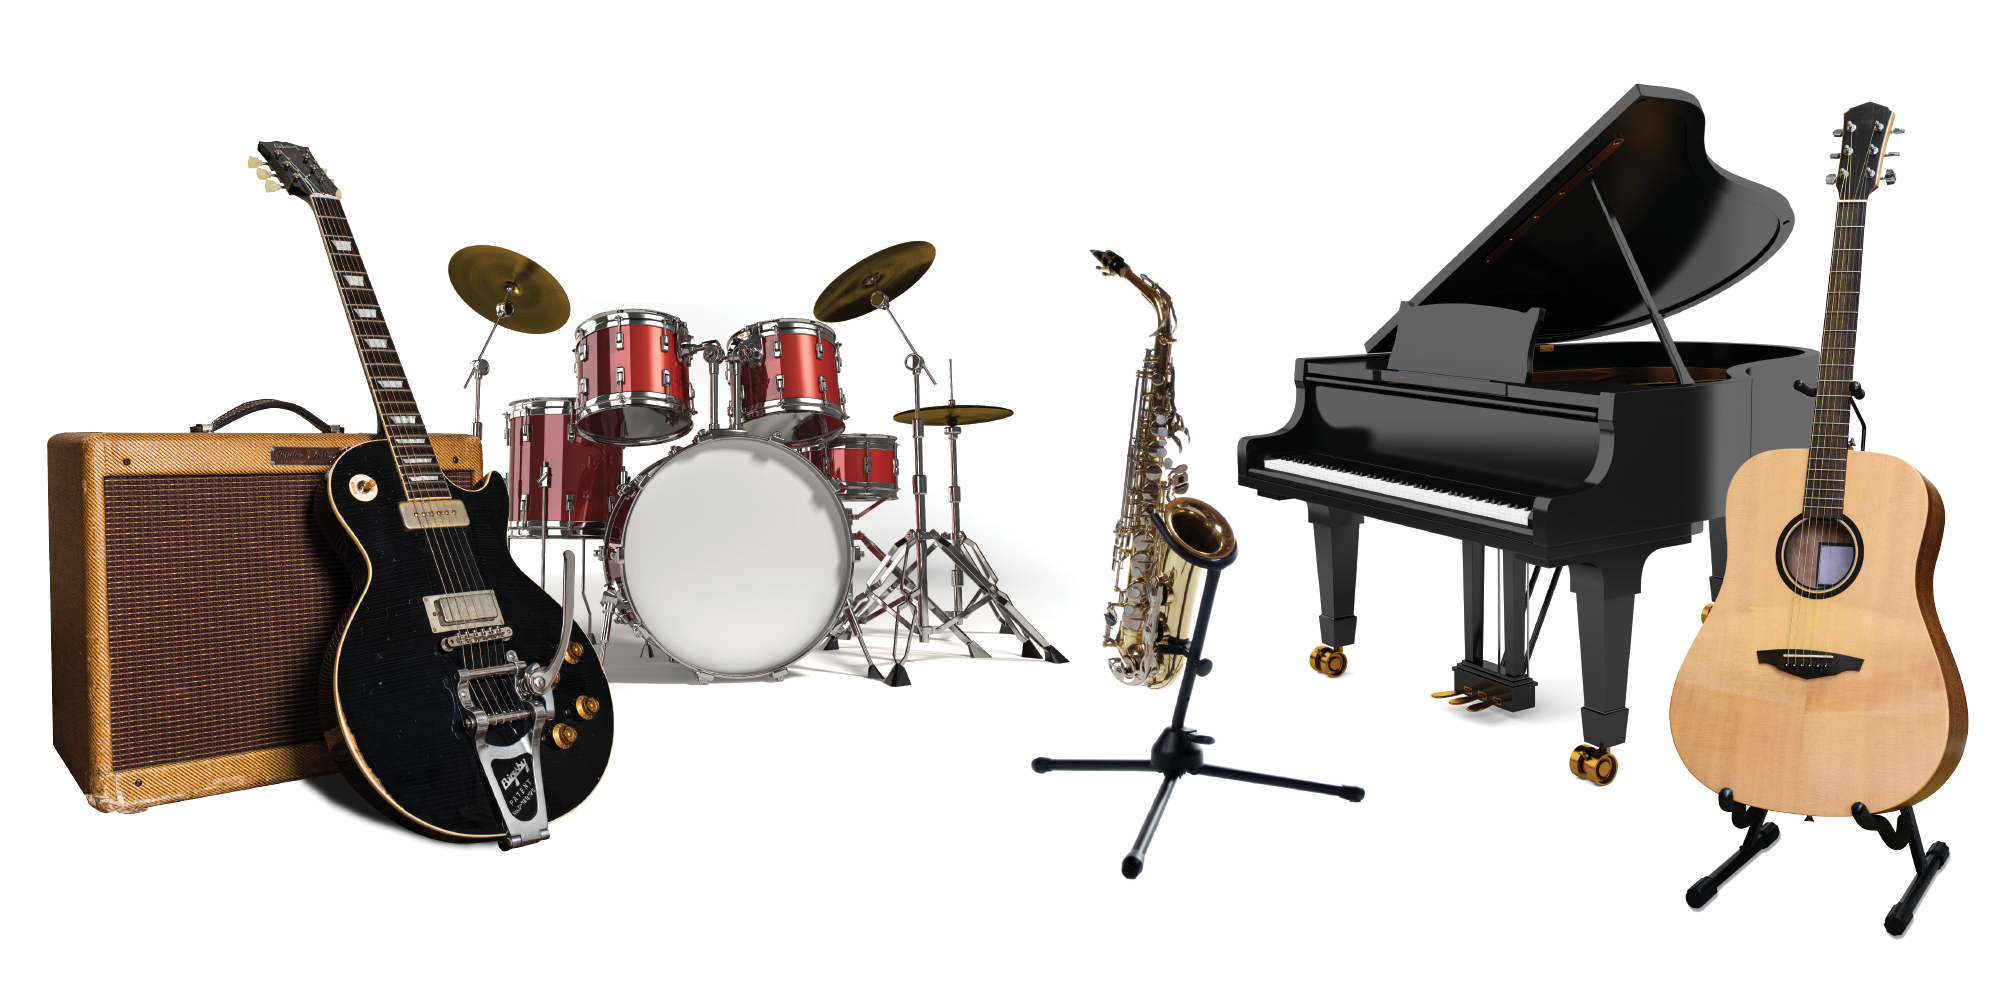
We’ll cover five broad areas – vocals, piano, guitar, electric guitar and drums – but along the way, we’ll spill out into other amplified or acoustic areas, to hopefully cover most instruments.
One caveat: where we suggest actual mic models, these recommendations are based on actual MusicTech reviews, where our experts have tested the microphone in question in a variety of studio situations to conclude what it is best used for. There may be other mics out there that are as good, if not better, but our recommendations here come from what we have reviewed and the wealth of knowledge possessed by the people who wrote the reviews.
So, read on, as we cut through the discussion to bring you the definitive mic’ing up and recording guide for all instruments…
The Room
A very general rule when recording anything is that the closer to the source you are – be that voice, instrument or amp cabinet – the more of that source sound, and the less of the room, you will record. Move further away and the effect of the room is increased, while the source decreases in volume.
We’ll also see that the closer you are to the subject, the bassier the results. Both of these factors mean that, very often, people like to set up a separate microphone to record the room ambience and mix it in later.
With drums and grand pianos in particular, this can be hugely important. There’s a separate feature on room acoustics and how it impacts with recording with different instruments, so in this feature, we’ll look at closer mic’ing techniques, but if you have a spare mic and channel, if you can, it’s often worth throwing it up and capturing the sound of the room.
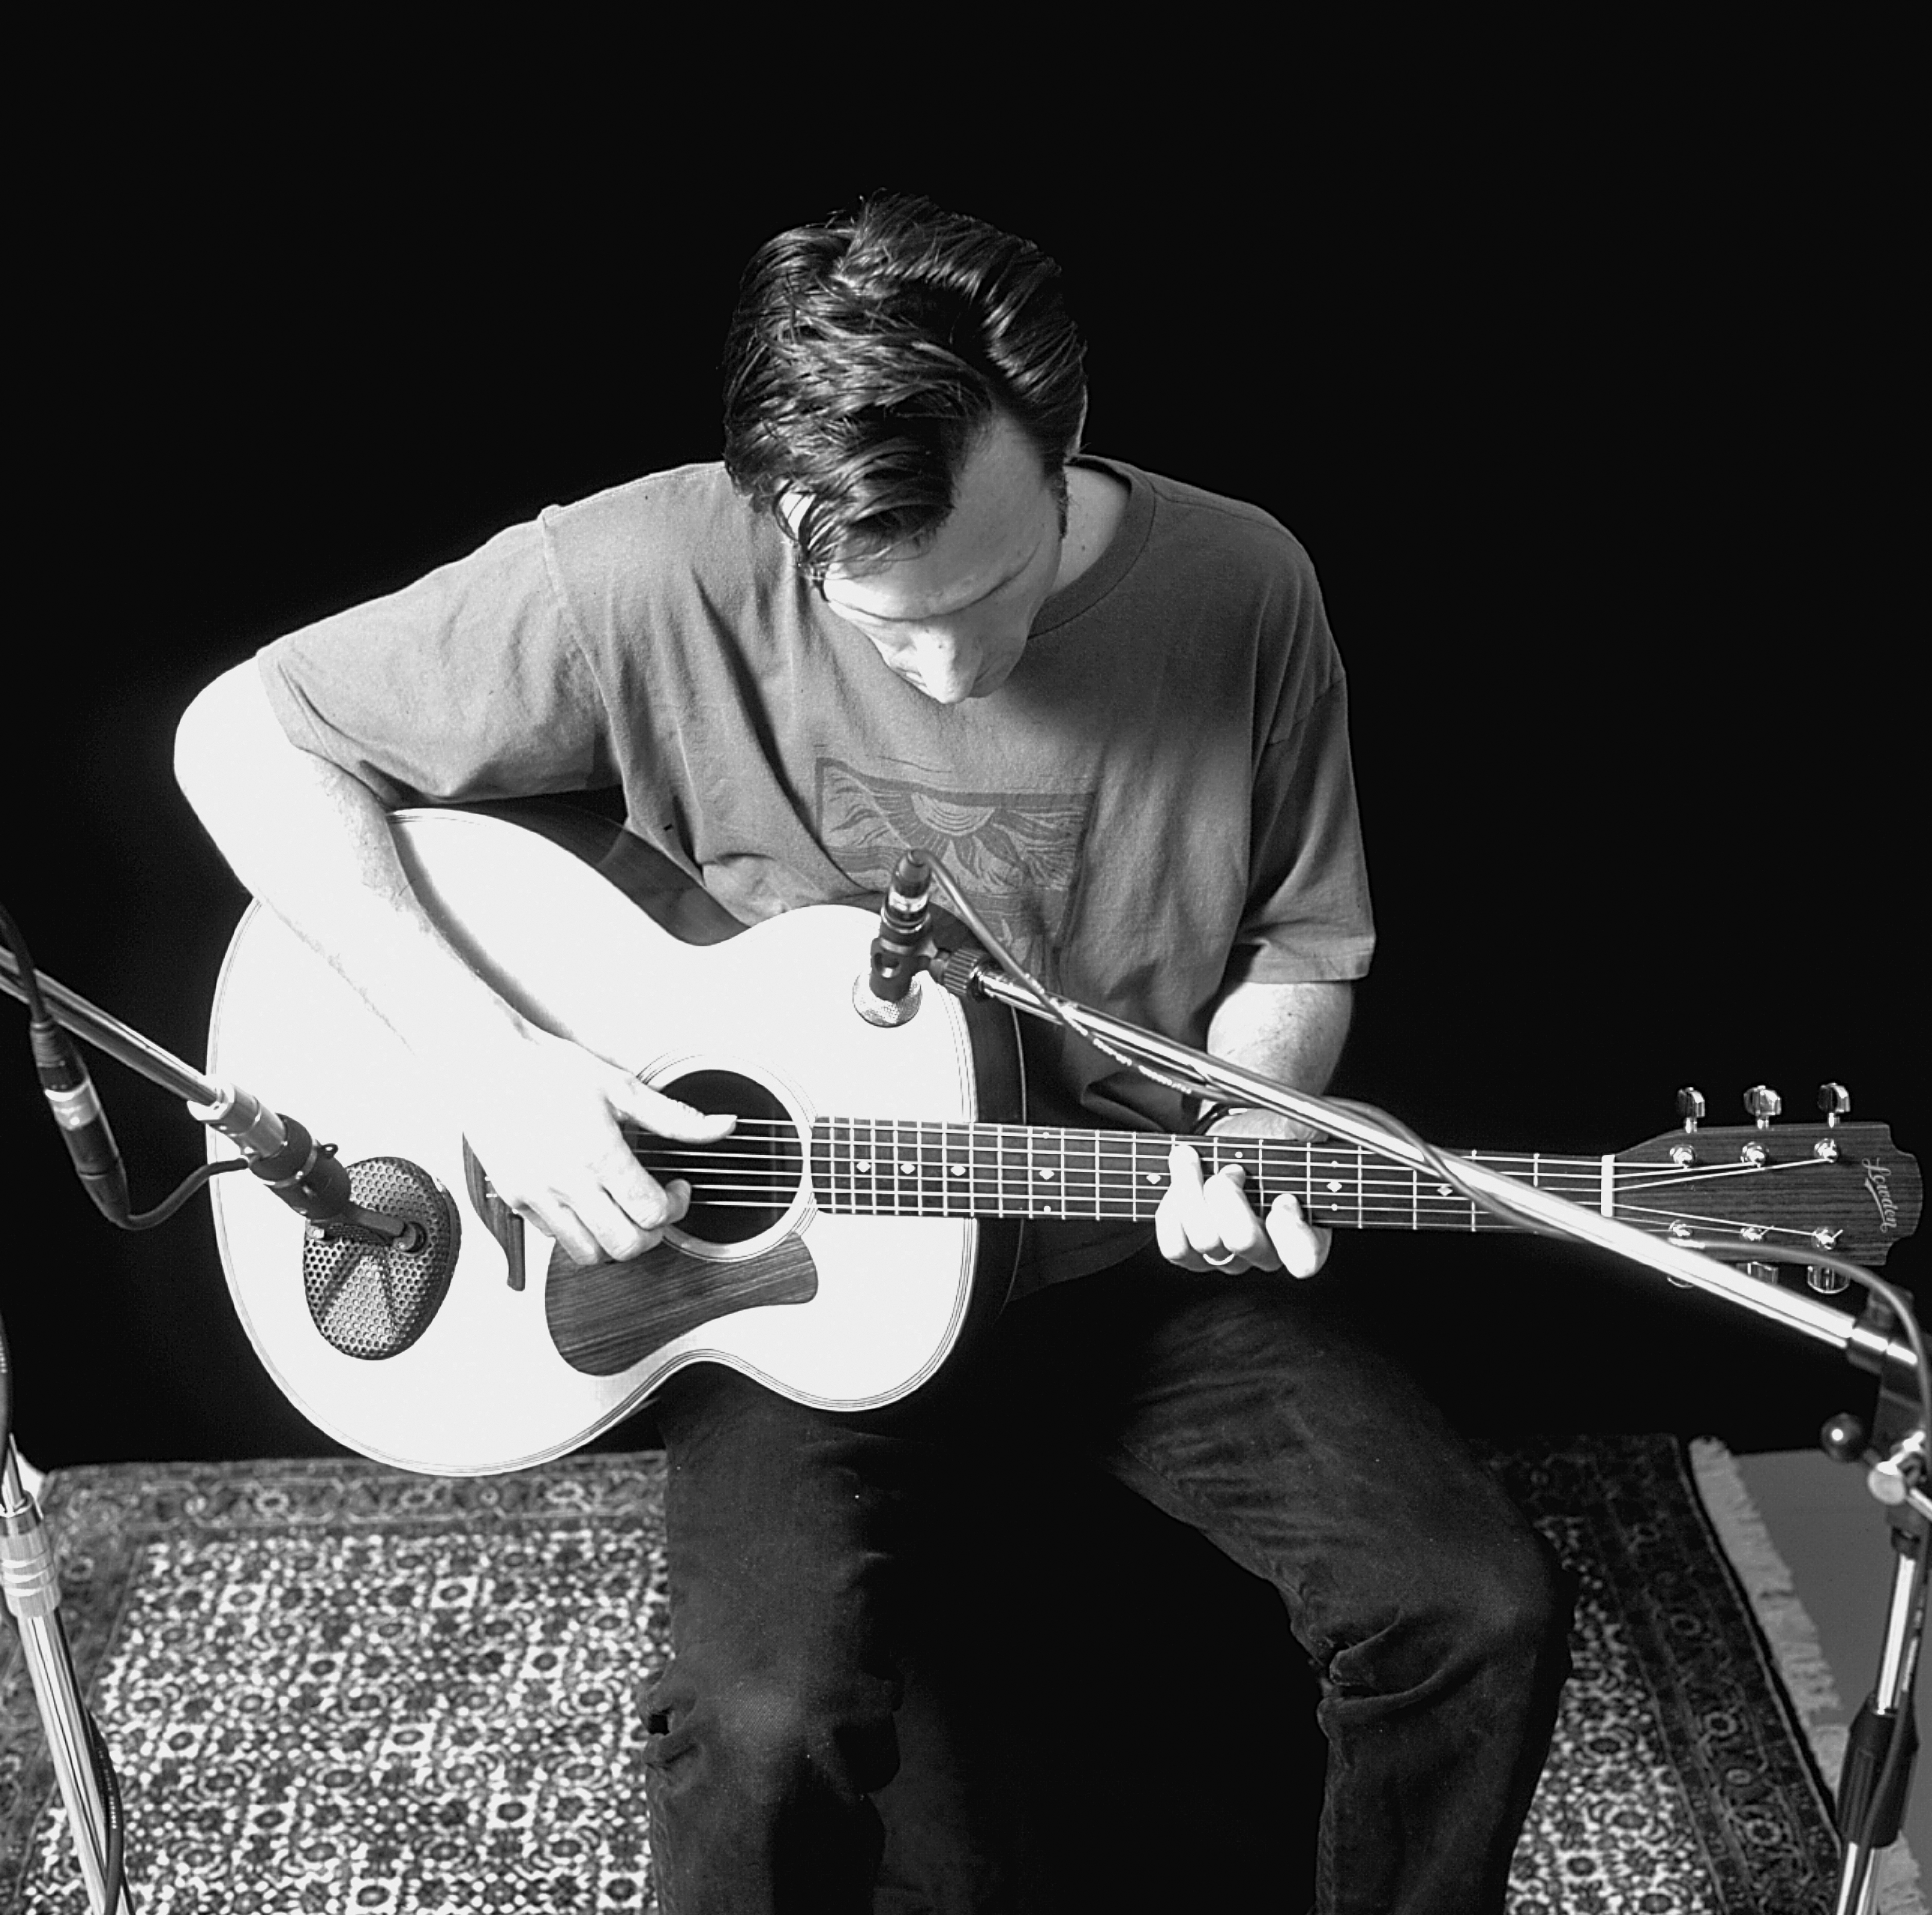
Acoustic Guitar
This is surely the most common mic’ing scenario of the moment, thanks to the proliferation of singer/songwriters out there. It also means there are a host of different mic’ing techniques: from throwing up a single dynamic microphone that will take less than a minute to set up, to placing a couple of condensers at right angles, either horizontally or vertically, to offer both wider stereo experience and more depth in your mix. Indeed, condensers are generally the favourite choice, as they can pick up more subtle aspects of the acoustic sound.
Likewise, you’ll have as many arguments about recording in stereo or mono and which polar position to use. With stereo, the ‘for’ argument is that you get a wider and more ‘full’ sound, but those against it argue that you can simply double up a mono track and add a touch of reverb for much the same effect.

As far as polar patterns go, well, omni offers you a more natural sound, whereas cardioid is truer, but perhaps less subtle. More people do seem to favour a cardioid pattern, but the truth is that no one is wrong if – guess what? It sounds good. We’ll try and give you a flavour of the simplest and most common techniques for all of the above…
Mono methods
Microphone type Small- or large-diaphragm condenser with cardioid pattern
The soundhole might be the obvious place to aim a microphone at, but as this is the bassier part of the guitar, you’ll end up with a boomy sound. Actually, the shared wisdom among many recordists (not least microphone experts Neumann) is placing the microphone – a large-diaphragm condenser – at the 12th fret will give you a more balanced tone overall. Distance-wise, some will say to place it as close as three-to-six inches from the guitar. But again, this tends to give you a boomy or bass-heavy sound.
Eight-to-12 inches away is a good starting point, as the argument
is that it is the more natural listening position. Choose a cardioid pattern to focus the pickup a little more, and aim the pattern at the playing hand if you want to capture more of the attack and pick sound.
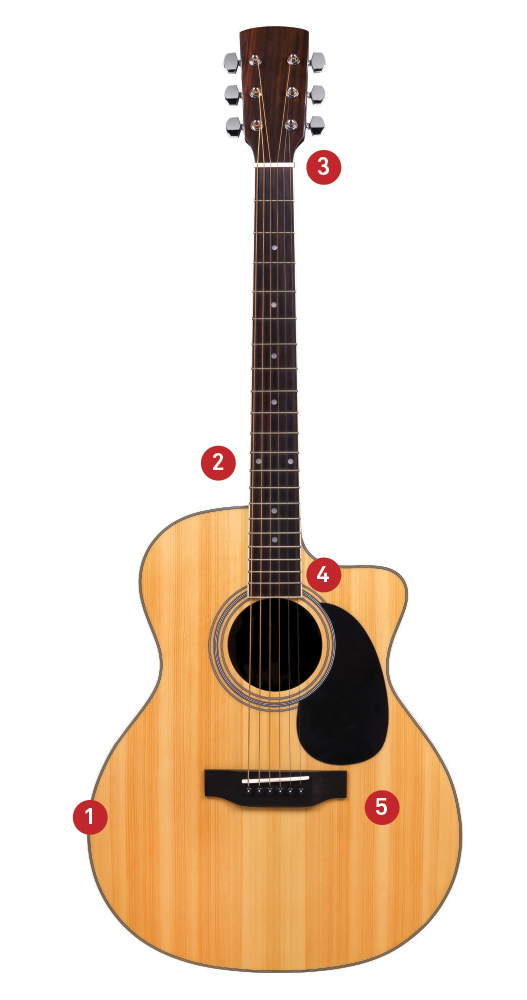
1. Positioned behind – Deep bass sound
2. The ‘Sweet Spot’
3. Internal Resonance – Bassy sound
4. String brilliance
5. Fullness of the body, vibration of the strings
Stereo methods
Microphone type Small-diaphragm and large-diaphragm condensers
A very easy way to enhance the above to create a stereo recording would be to place the large-diaphragm condenser at the bridge, to capture the bass notes and add a second, small-diaphragm condenser to capture the higher-end tones – but place this one around the 12th fret or further out. To avoid phase issues, use the ‘3:1 rule’ – so keep the larger mic three times the distance that it is positioned from the guitar away from the smaller mic (they both stay the same distance away from the guitar). So if you are nine inches away from the guitar, the microphones are 27 inches apart.
A slight variation to this dual microphone approach, and a common one that you’ll see, is to point the larger microphone down at the bridge, which results in a more open sound. One of the most common recording positions is X-Y, or ‘coincident pair’, where two small-diaphragm condensers are placed at least 90 degrees to one another with their capsules close to one another and pointing at anywhere along the guitar between the soundhole and 12th fret.
Again, you get a more bassy response at one end and a more trebly one at the other, so you’ll find your ‘sweet spot’ – where you get perfect balance – somewhere between the two. This method also avoids any phase issues you might encounter with a spaced pair, where the mics can be placed anywhere up to three feet apart. That’s because, with the X-Y technique, the sound arrives at the capsules at the same time, thus avoiding those phase anomalies.
Acoustic-Guitar microphone recommendations

Aston Origin
Price £249
On guitars, it sounded instantly usable.
Aston Starlight
Price £349 each
Used as a single mic or stereo pair. Bright and lively. The bottom end was present, but not flabby.
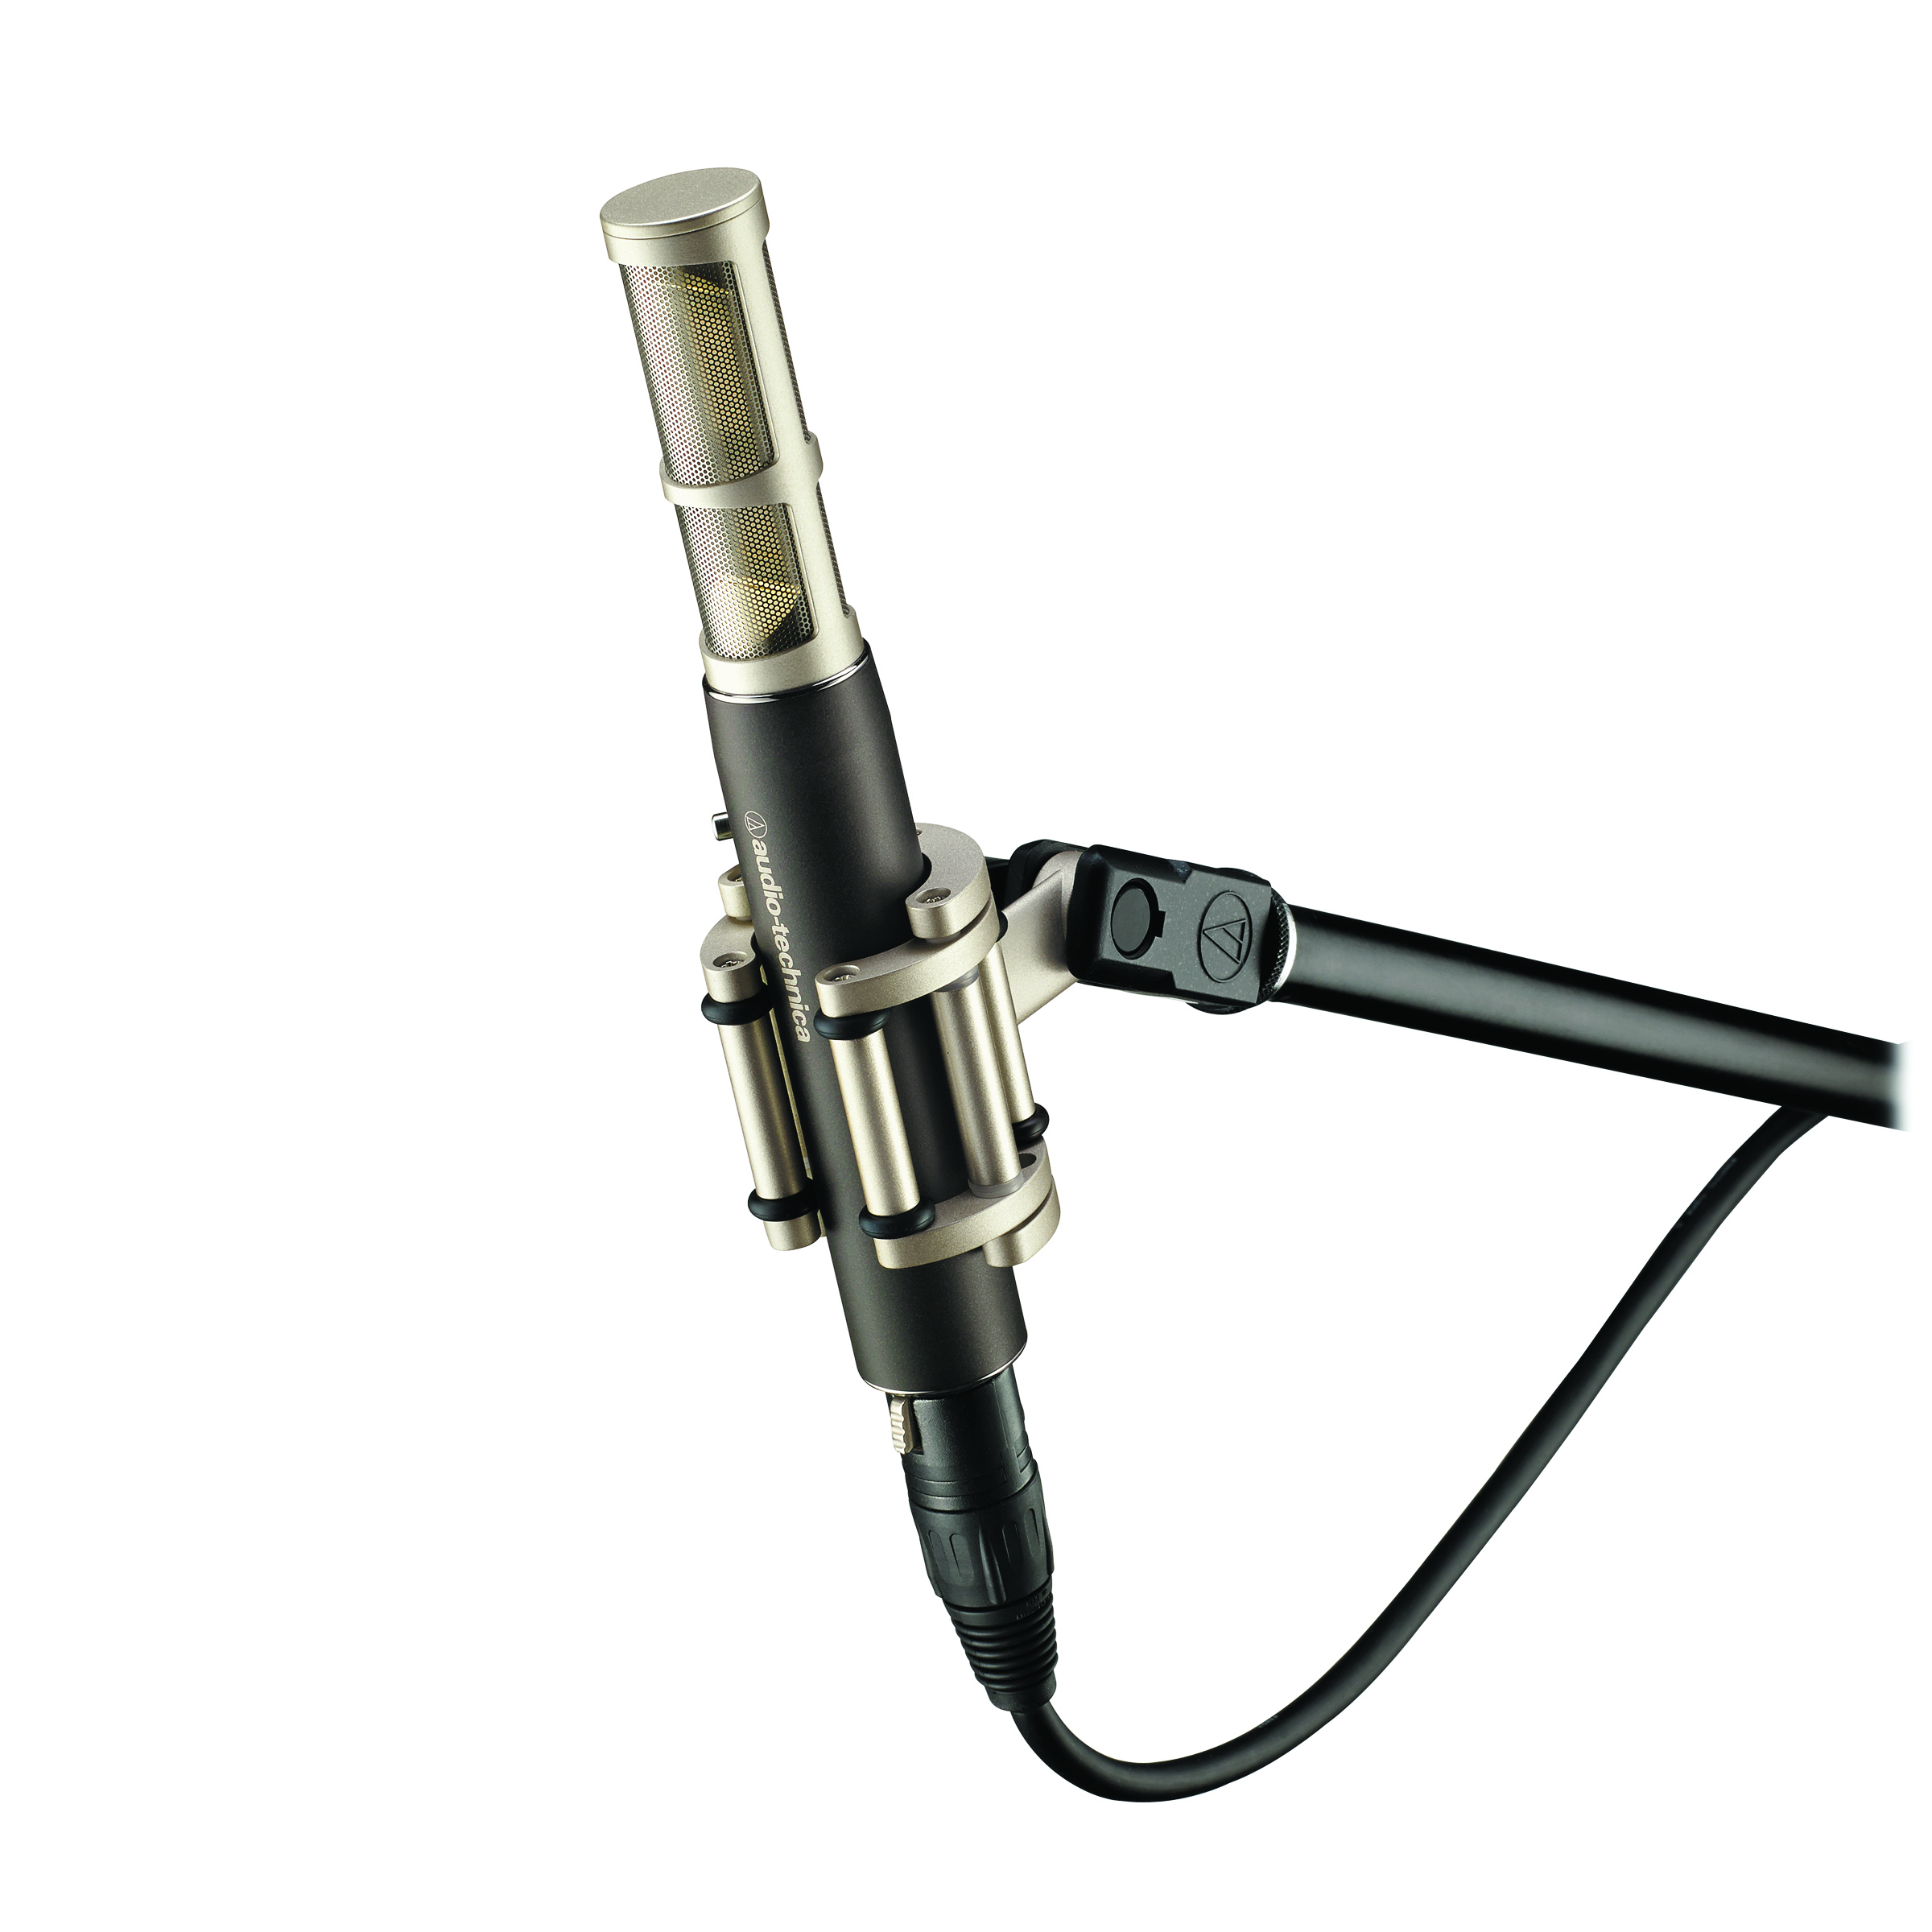
Audio-Technica AT5045
Price £1,299
Excels on acoustic instruments and vocals and is an outstanding all-round instrument recording mic option.
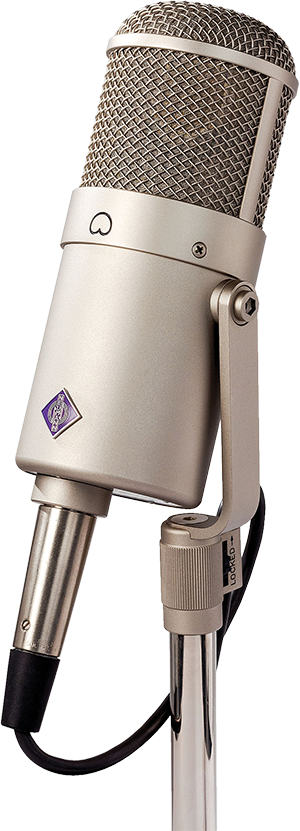
Neumann U 47 FET
Price £2,928
Using the Neumann individual notes in a chord were easy to distinguish, with a clear front end to each and every one.
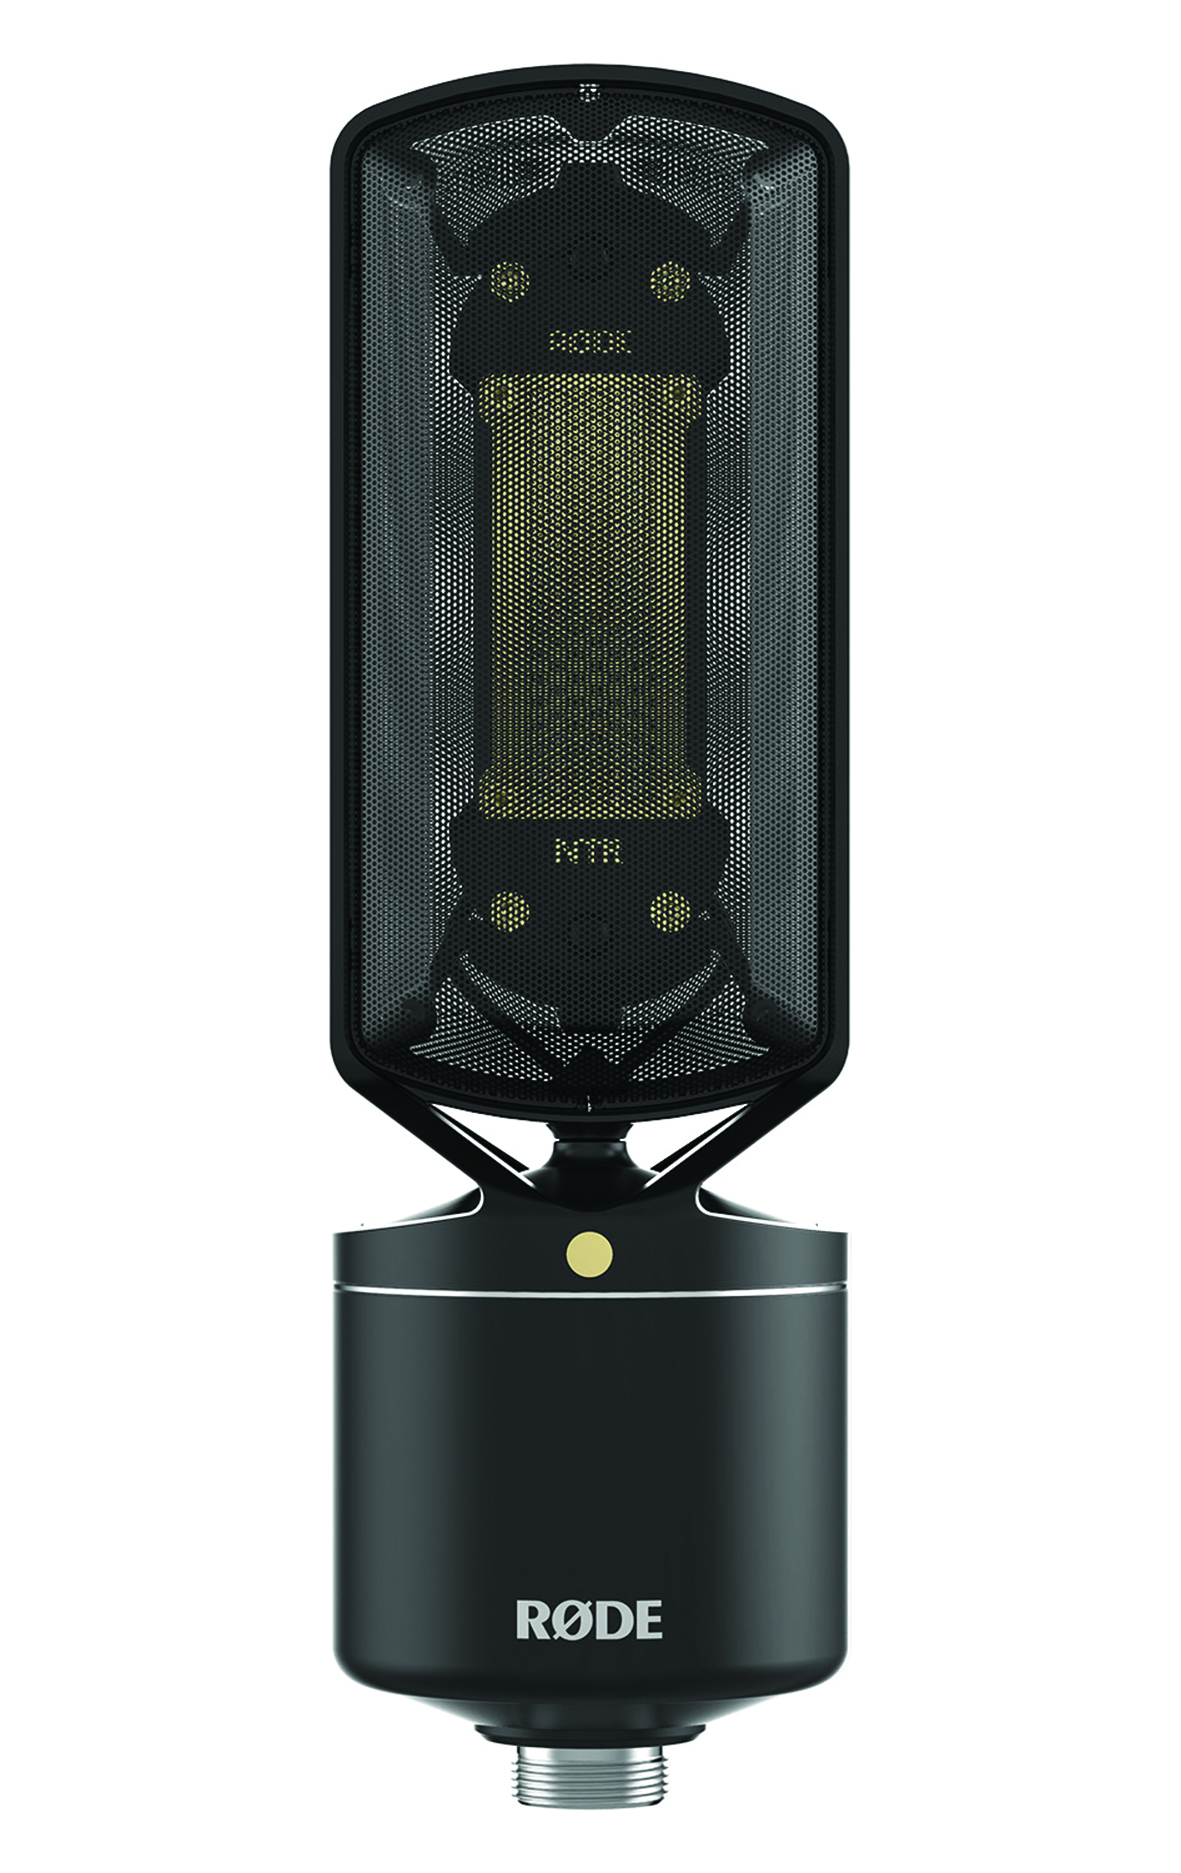
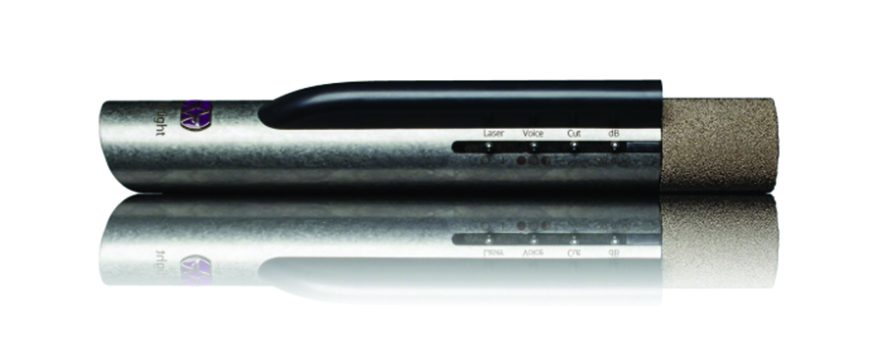
RØde NTR
Price £899
Recording acoustic instruments presents no difficulties…
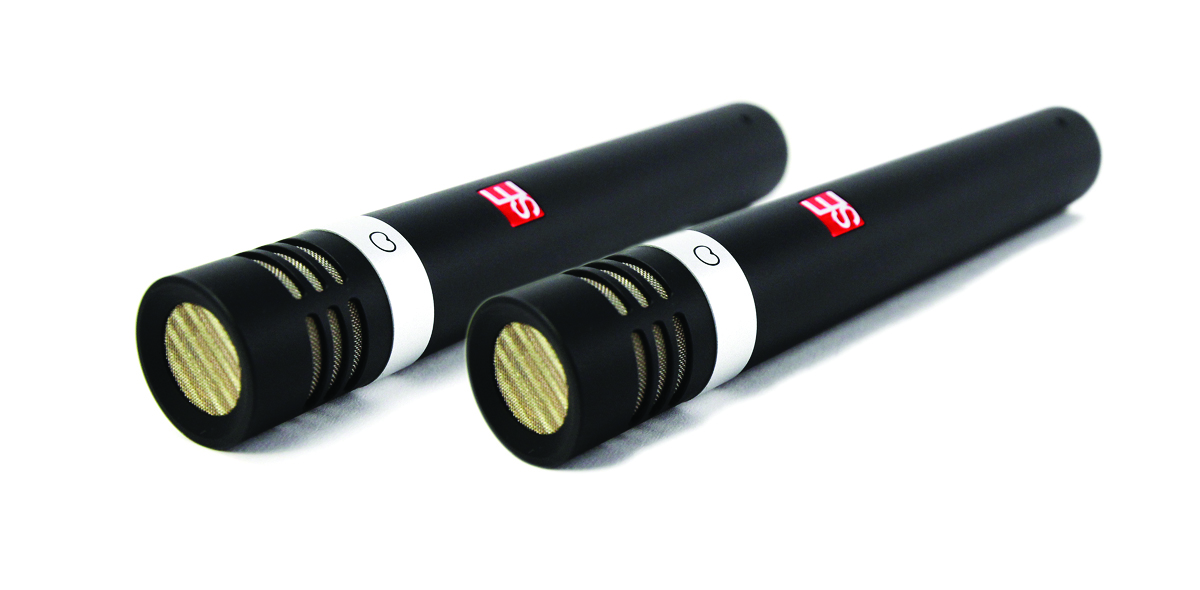
sE Electronics Se5
Price £399 each
The sE5s captured plenty of detail, presenting a natural-sounding guitar with plenty of body and detail.

Sennheiser MK 8
Price £690
Ably held its own against more expensive makes.
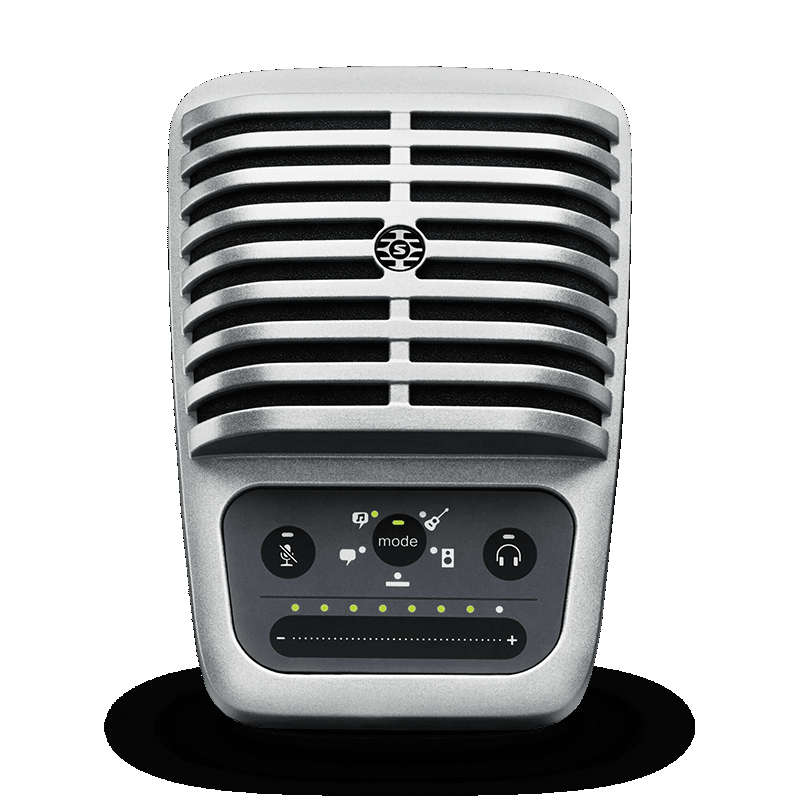
Shure MV51
Price £189
A more natural and realistic tone on acoustic instruments.
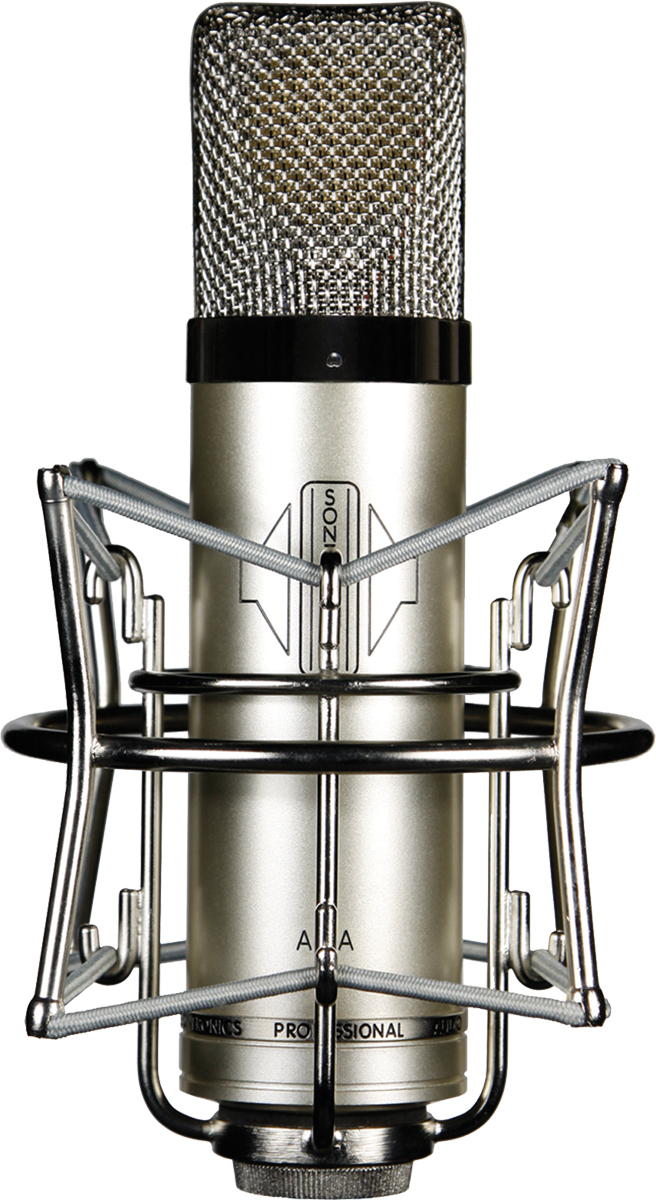
Sontronics Aria
Price £1,049
Impressive detail resolution for capturing delicate acoustic-guitar picking.
Other recommendations
Audio-Technica AT2020
Price £89
A very impressive and flexible mic for the price.
AKG C214
Price £275
A great workhorse mic for a variety of situations.
Neumann TLM 102
Price £499
One of Neumann’s own recommendations for recording acoustic guitar.
RØde NT4
Price £378
An easy and relatively cheap way to get a great stereo recording.
Shure PGA27
Price £179
One of Shure’s own recommendations, specific to acoustic guitar.
Other acoustic instruments – from Uke to Violin
When mic’ing up other acoustic instruments, you can get away with using similar one- and two-microphone techniques to acoustic guitar, using condensers with cardioid or omni patterns (mostly cardioid for more of the direct sound). So use those techniques for a ukulele, mandolin and dulcimer.
With a violin, you need to go above the instrument with your mic placement. A condenser, placed a couple of feet over and to the side of the player, should capture all you need aimed between the body and the neck. Wth a cello, the room starts to make a much bigger impact. Many prefer mic’ing further away – eight to 10 feet – with a condenser pair. For a more direct sound with less of the room, place a mic a foot away from the bridge.
Closer still, and for the cello, violin and other string instruments (and even the banjo), some advocate clipping smaller condensers to the body between the bridge and tailpiece, or aimed at the the f-hole. This will get a more direct but also bass-heavy sound, and less of the room.
Click here to learn how to record electric guitars and more