10 Tips For Recording Better Vocals
Vocalists can have fragile egos and might only do their best work over shorter sessions. It’s important, then, to get everything right before a session and have everything running as smoothly as possible during it. Try out our top 10 tips and you’ll be recording better vocals in no time… 1. Relax Create a relaxed […]
Vocalists can have fragile egos and might only do their best work over shorter sessions. It’s important, then, to get everything right before a session and have everything running as smoothly as possible during it. Try out our top 10 tips and you’ll be recording better vocals in no time…
1. Relax
Create a relaxed atmosphere in your studio before any vocal recording. Remember that the vocalist is hopefully pouring their heart and soul into your recording, so needs to feel as comfortable as possible. A nice glass of water? Relaxing music? A comfy sofa? All of the above, please. No loud noises, no fumbling with gear. Have everything set up before they arrive, so they’re not hanging around while you mess around with your wires.
2. That was good… no, really, it was
During the recording process, gently encourage the singer. Be constructive with your feedback, make the odd suggestion so they know you’re paying attention, or if you have nothing positive to say, then just keep quiet. There’s nothing worse than a producer or engineer sticking their oar in with too many opinions during what can be such a personal process.
3. Level up… and down

Get your levels right at the start of the recording and you won’t have to worry (too much) about constant monitoring later during the recording. Always get your vocalist to practise a loud segment at the start of a recording, so you can see just how hot the signal will get and adjust accordingly. Keep it on the low side as you can boost a low signal, but you can’t reduce a clipped one.
4. And talking or practice? record that, too
Record everything. Sometimes, a vocalist will sing their best effort when they’re just warming up or practising, as when they know they’re being recorded,it may put added pressure on them. If they don’t know you’re recording them, that pressure is lessened and they do their best work. Yes, it sounds a bit creepy – recording them when they don’t know it – but it works, okay?
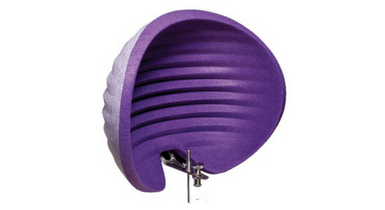
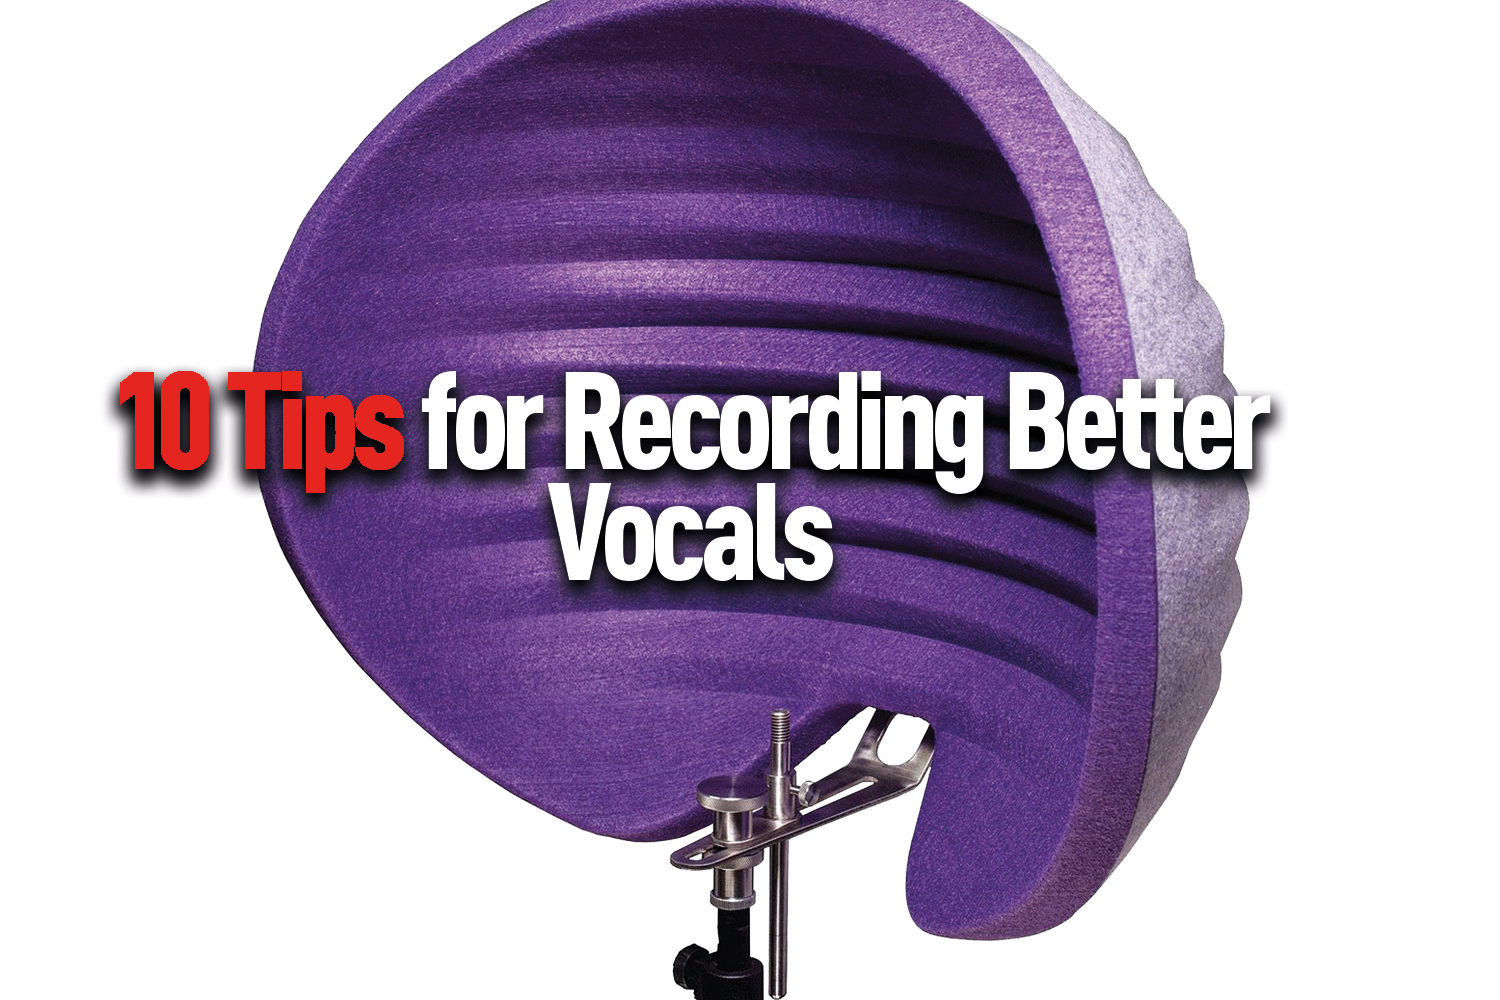
5. Record it dry

Like any good recording, don’t swamp it with effects at source. Keep it dry and you can add effects later. Record with effects and you can’t get rid of them later [unless you’re using one of those fancy reversing effects from the likes of Zynaptic, that is, but you know what we mean – Ed]. In order to help you get a dry recording, you’ll need to lessen reflections from your room, so consider vocal filters from the likes of sE (Reflexion Filter) and Aston (the Halo).
6. Use a p-p-p-pop shield

You’ll need to avoid excessive plosive sounds in your vocal recording – that is, the ‘b’ and the ‘p’ sounds in words – and the best way to do this is with a pop shield. Many mics come with their own and you’ll need to place it directly inbetween the mic and vocalist, about 8-10cm away from the mic (and the vocalist the same distance the other side). Back in the day, they used to make pop shields with a pair of lady’s tights and a wire coat hanger but, come on, new pop shields are as cheap as chips these days – do you really want to try and impress a singer with your studio setup by having a pair of your mum’s tights on show?
7. Know your mics
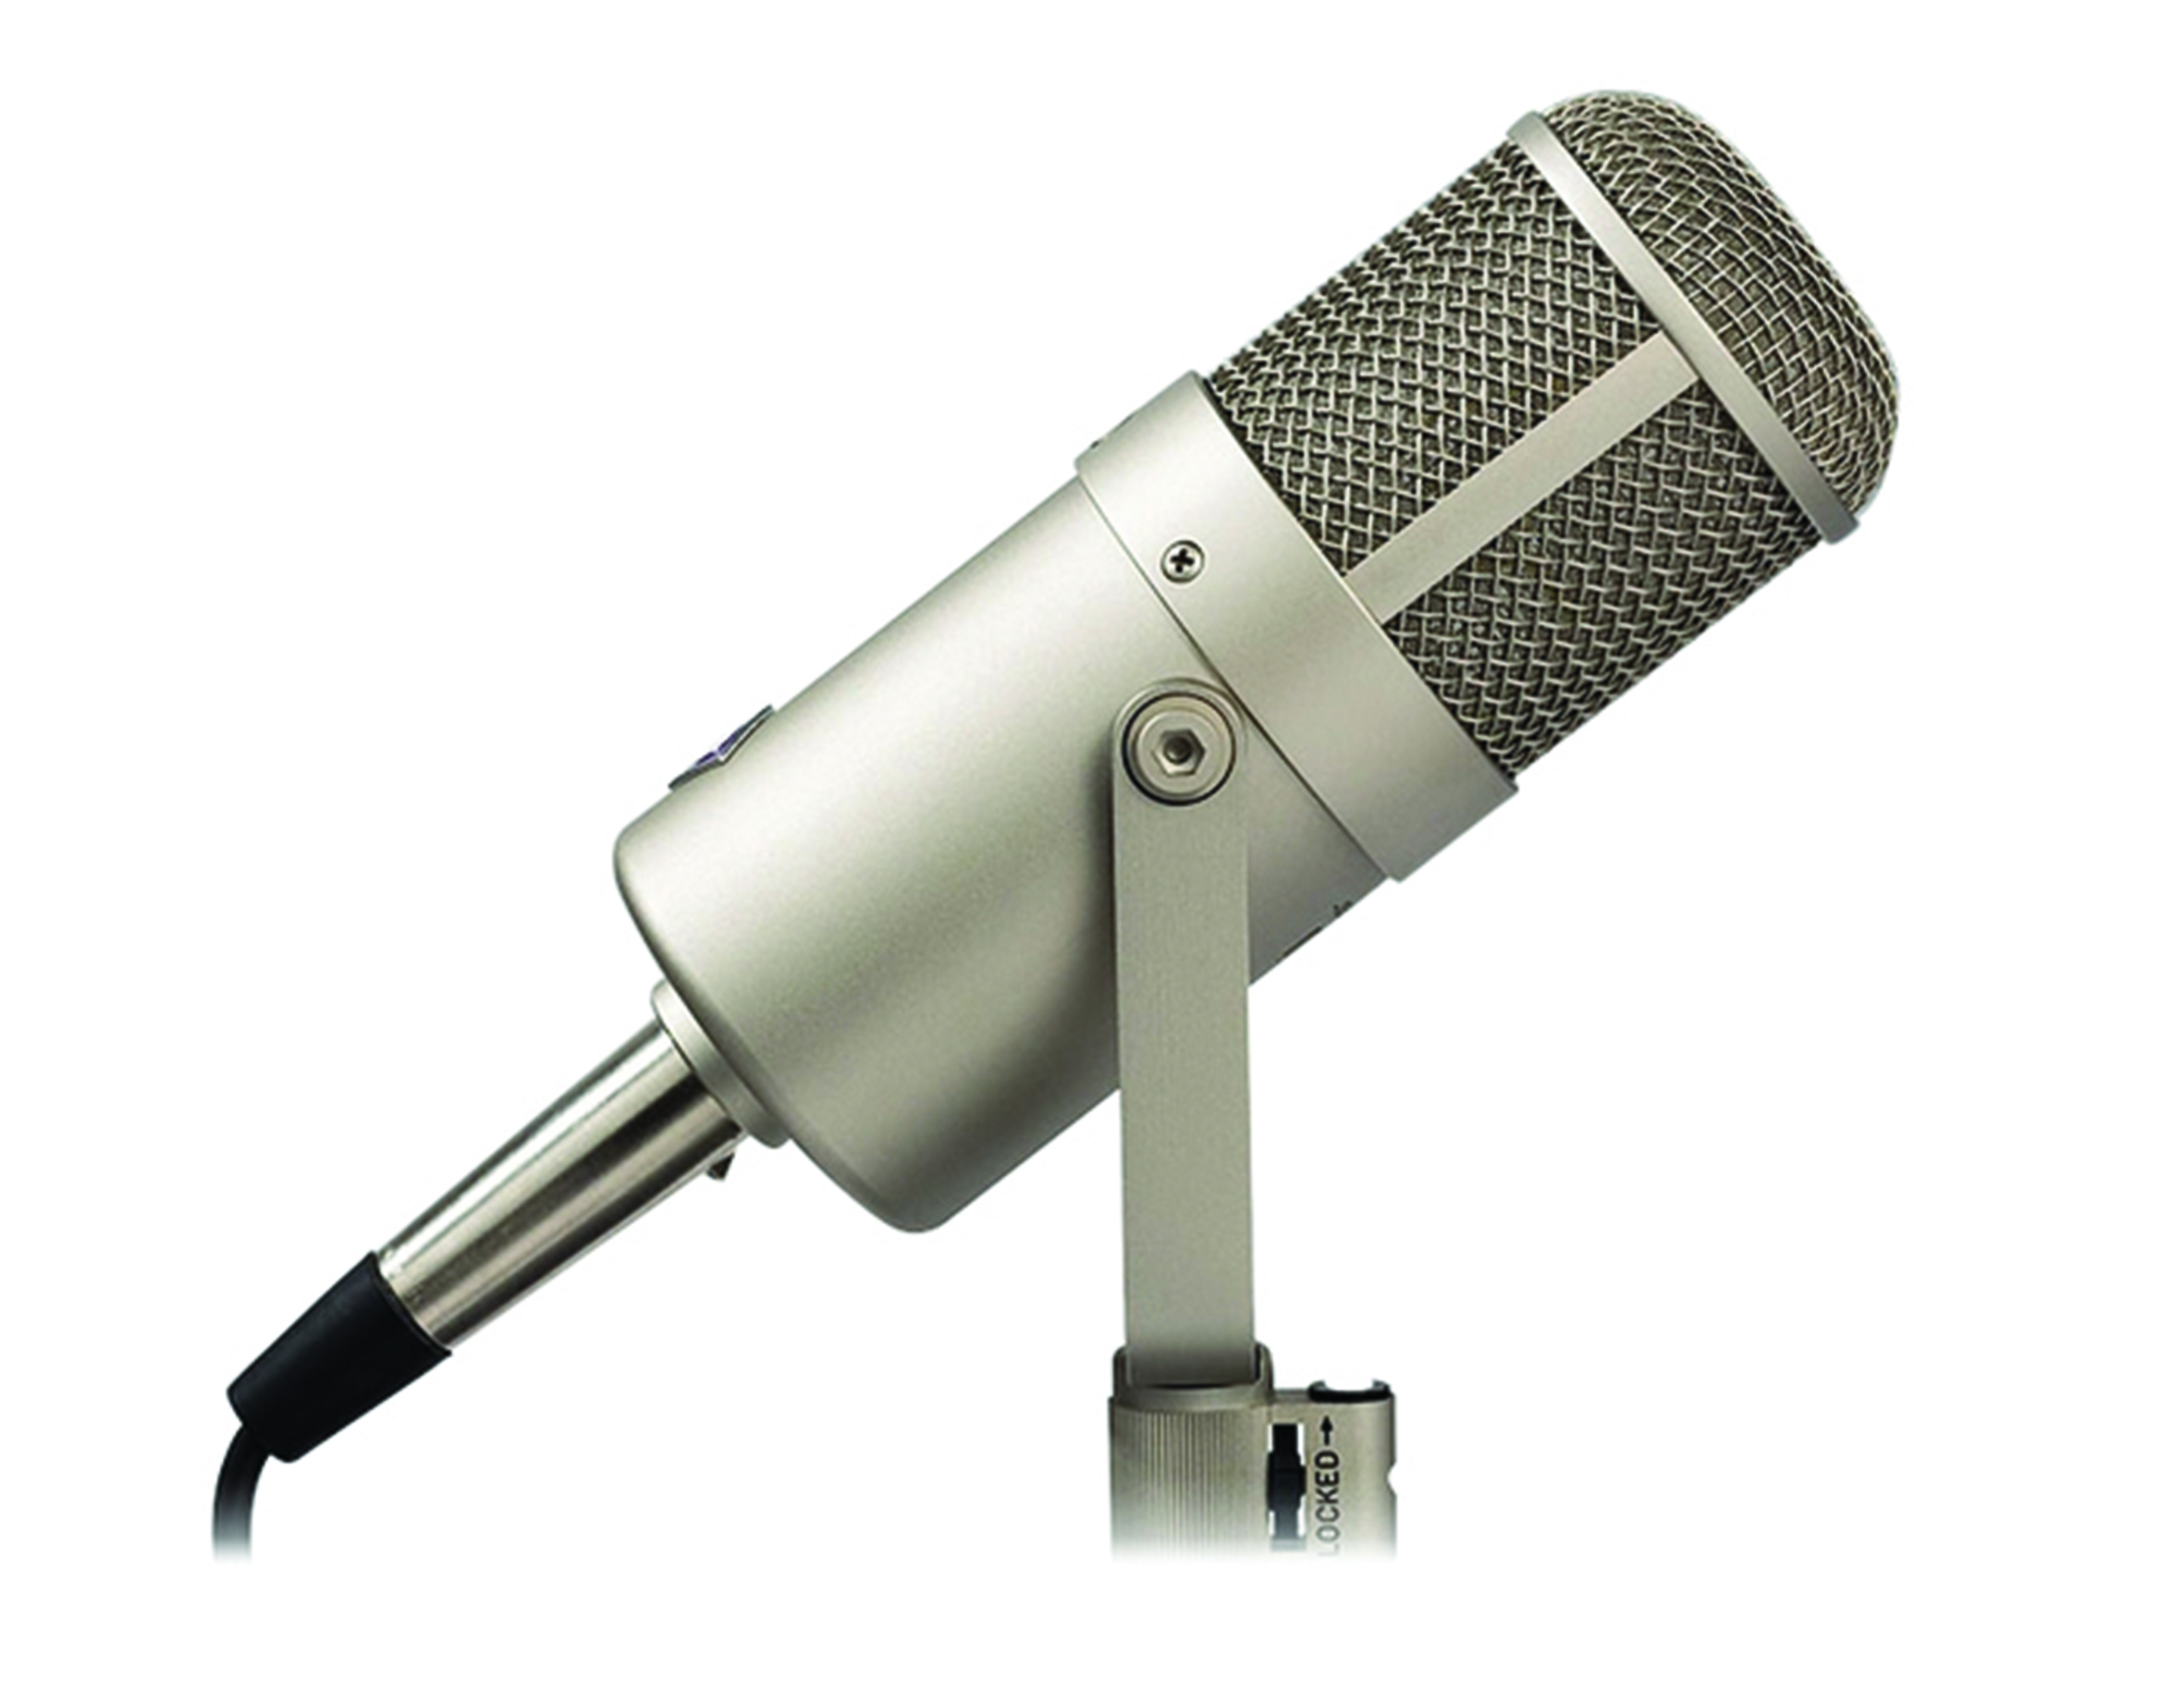
You should know your mics well, and which one is suited to which type of vocalist. Many engineers will have a small but perfectly formed collection of mics suited to different singers and will know which one to use in advance of a recording. Consider using different mics during a recording if there’s a lot of dynamic change in the song – it’s a good idea to use a condenser mic for quieter parts of a song, and to allow the singer to experiment with a dynamic mic for the louder parts.
8. Get personal with your monitoring
Vocalists will want to sing along to a mix of the song through headphones – and you’ll want them to do this, so they sing in tune – so make sure you have different options available, and that they’re ones that allow the vocalists to just listen through one of the cans, so they can also hear themselves at the same time. You’re best off choosing closed-back headphones that don’t allow the music from the song to bleed through the headphones and get picked up by the mic. Make sure the monitor mix level is set up correctly for the vocalist at the start of the recording, so they’re singing at the right level – if it’s too loud, then they’ll sing too loud to compensate.
9. Learn how to record takes and comp
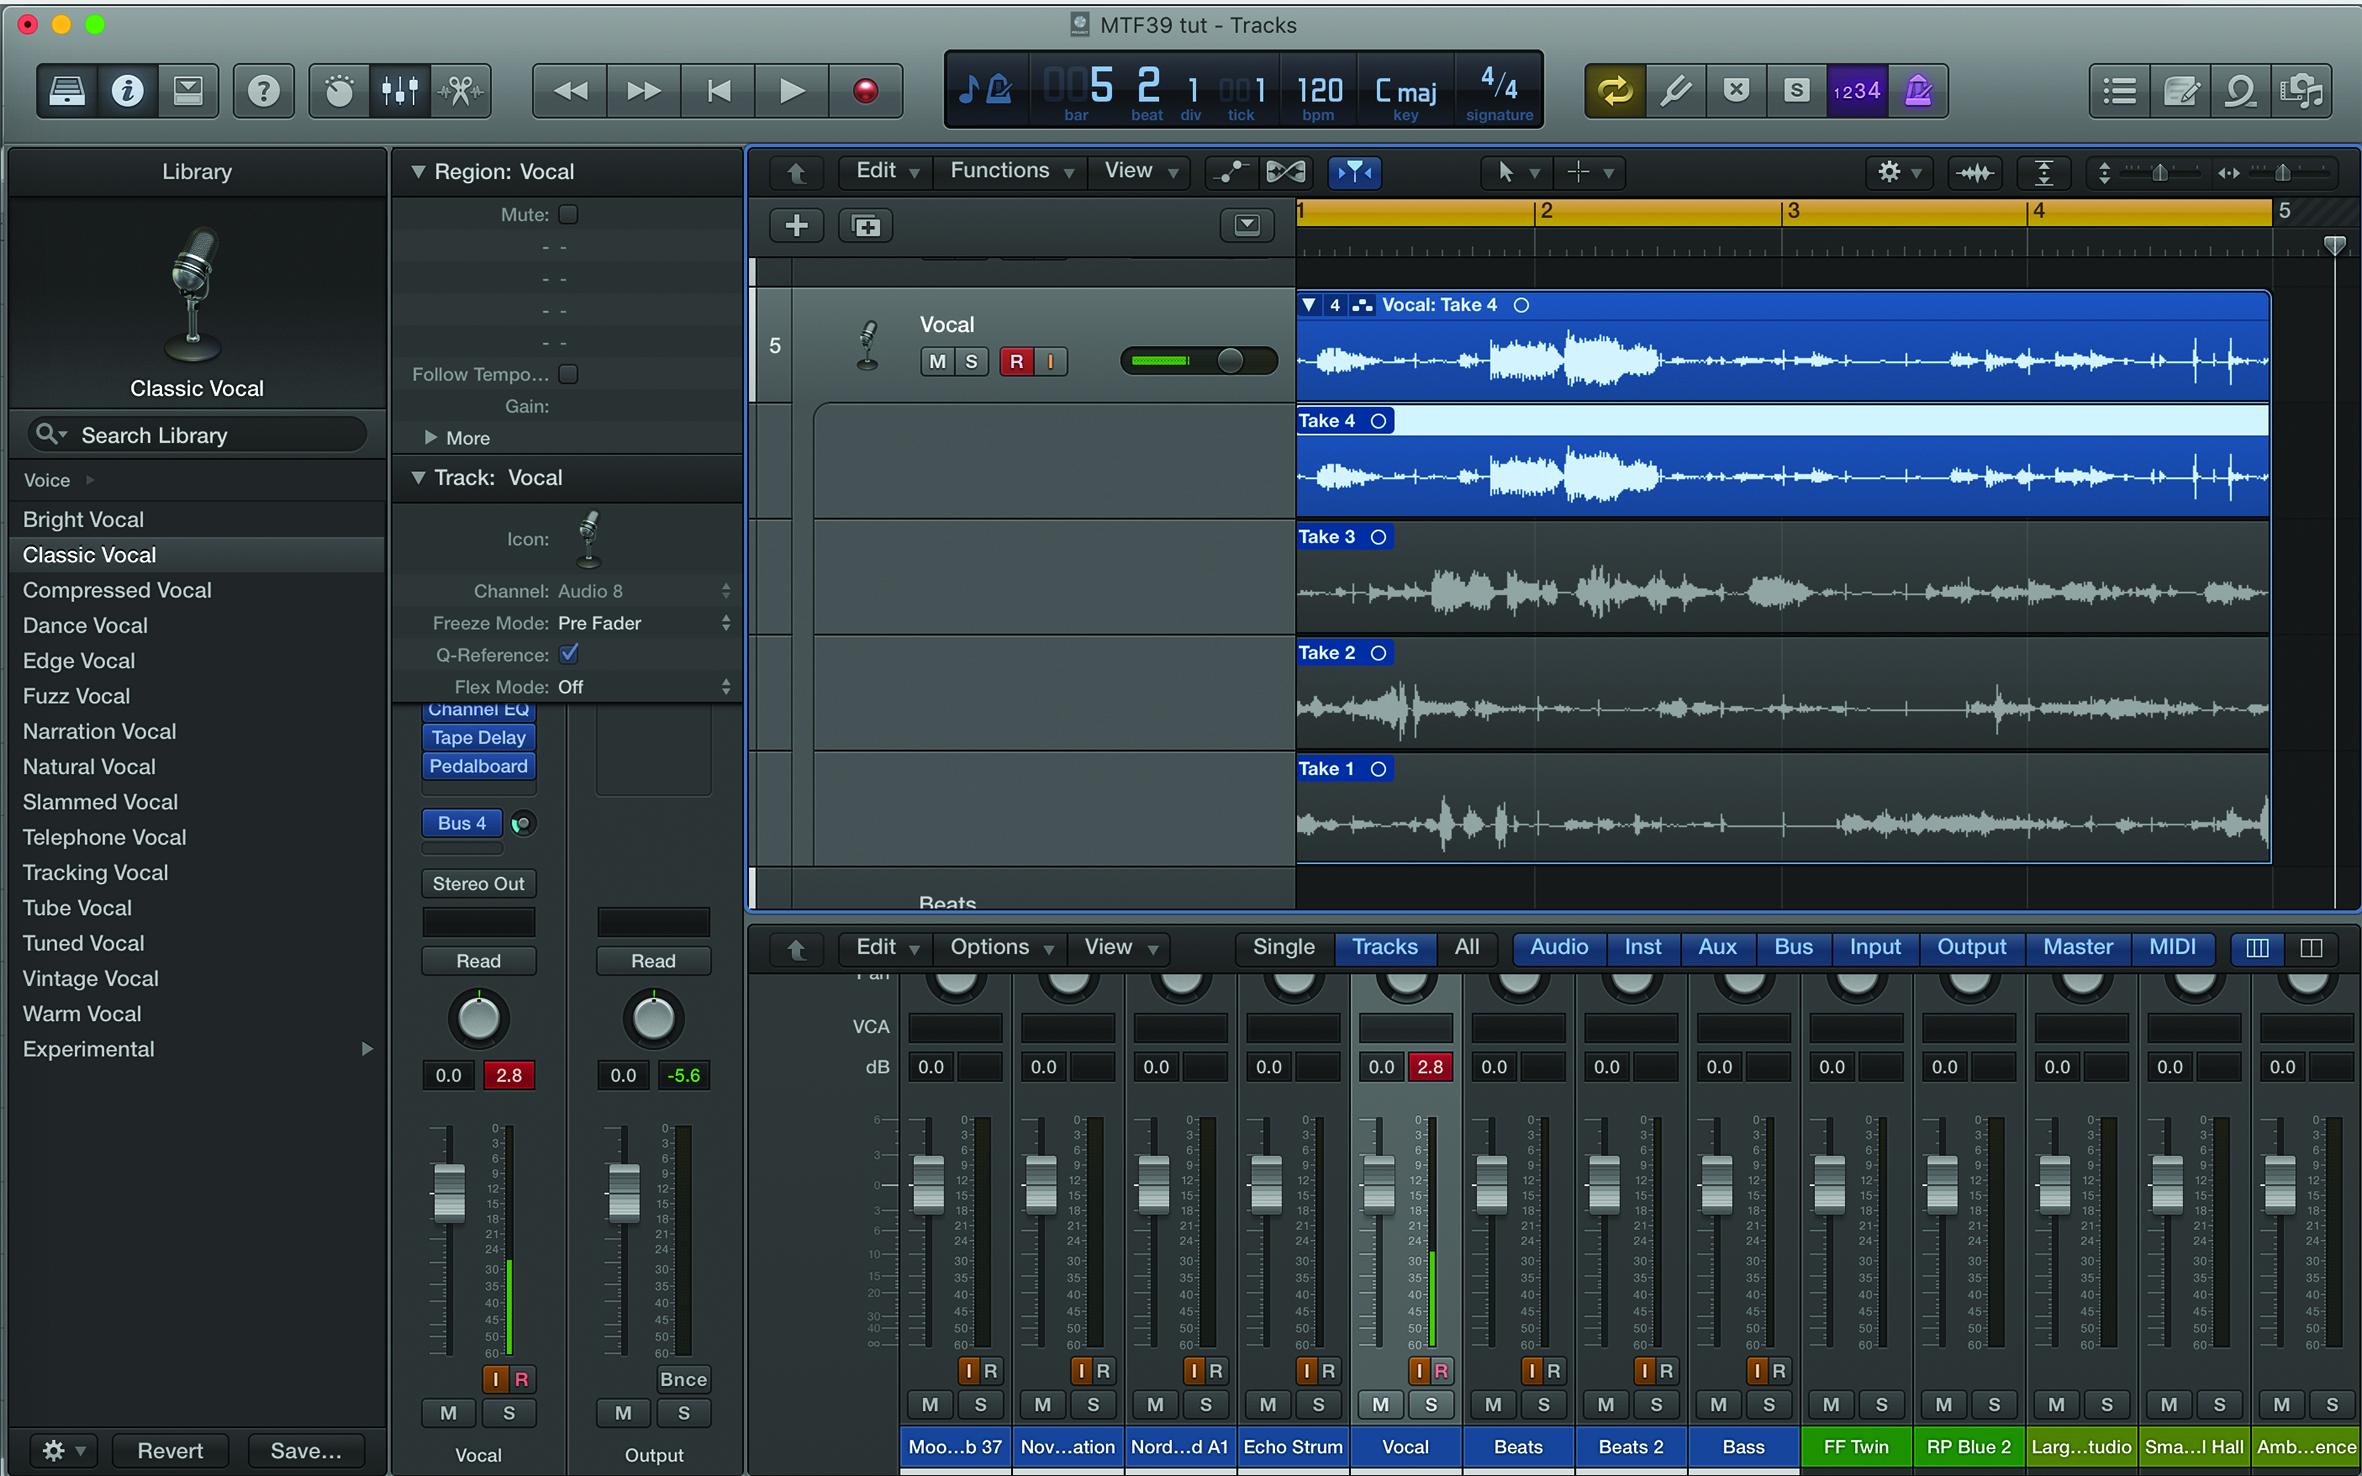
Unless Adele turns up for your session, or you only have five minutes to do a recording, then you should make multiple takes of a recording by looping the recording around a certain section within the song. Also, try to run through a complete song as many times as you can. In most DAWs, recording like this is easy to set up, so you can comp the best bits of your multiple takes together to get the best results. Learn how to set this up with minimum fuss in your DAW way in advance of your session, and the extra takes you recorded may come to your rescue when it comes to arranging the vocal later – as you’ll be able to comp the good bits from different takes together to get one great result.
10. Ignore the technology
Of course, we don’t quite mean that. What we mean is that you need to get to the stage with your recording setup so that the actual vocal recording is fairly painless… and quick (there’s nothing more boring sounding than a bored vocal recording). So get everything running smoothly, so you can actually concentrate on how good the vocal sounds. Can you hear the words and the emotion… and is it actually in tune? Get the tech running right, so you can think about the bigger picture, and you’ll get better vocals each time.