Ableton Live Tutorial: Working With Audio Effects – Step-by-Step
Martin Delaney continues his guide to using audio effects in Ableton Live in this step-by-step… You’ll need the example set for this step-by-step – Download Here 1: Let’s find some effects to add to our tracks, ideally a combination of ‘helper’ and more ‘showy’ effects. Open the example set on the disc, TUGTAL7. This’ll keep […]
Martin Delaney continues his guide to using audio effects in Ableton Live in this step-by-step…
You’ll need the example set for this step-by-step – Download Here
1: Let’s find some effects to add to our tracks, ideally a combination of ‘helper’ and more ‘showy’ effects. Open the example set on the disc, TUGTAL7. This’ll keep you up to date with our progress.
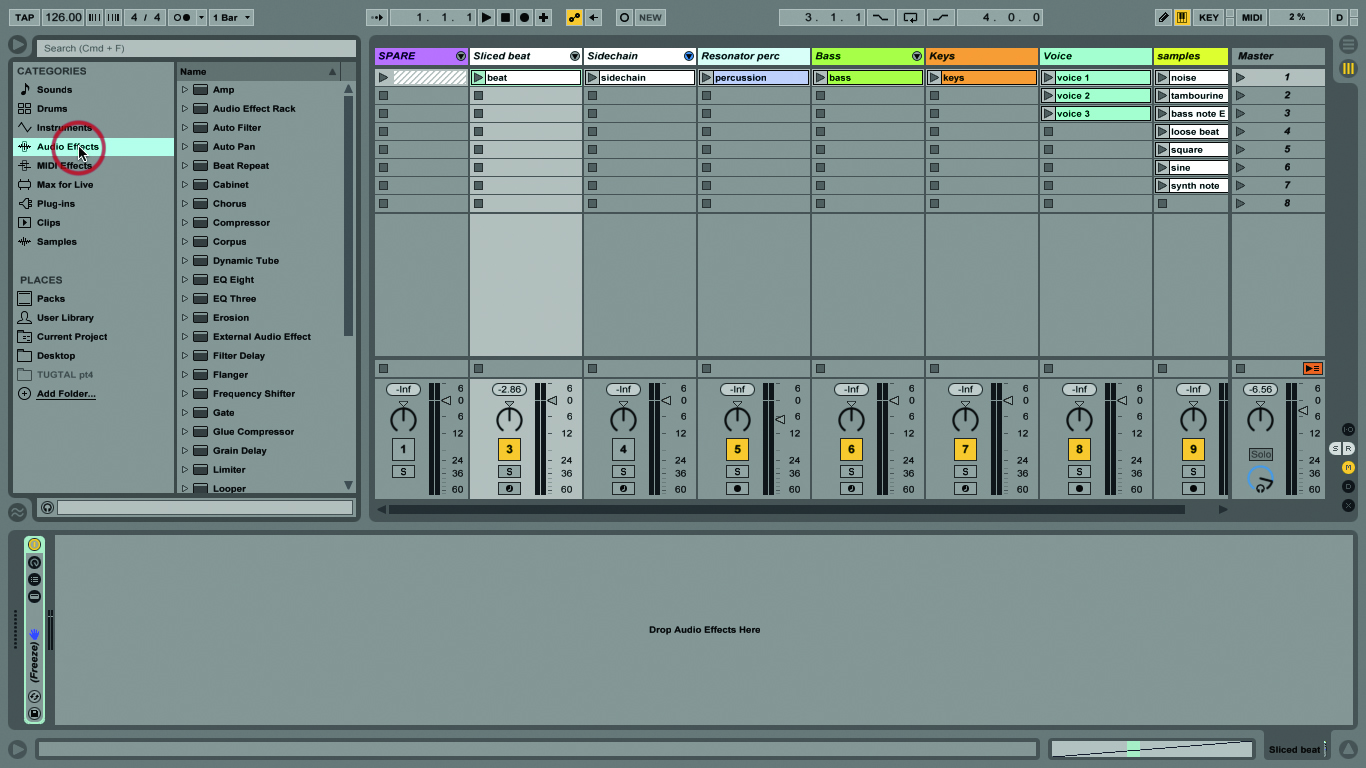
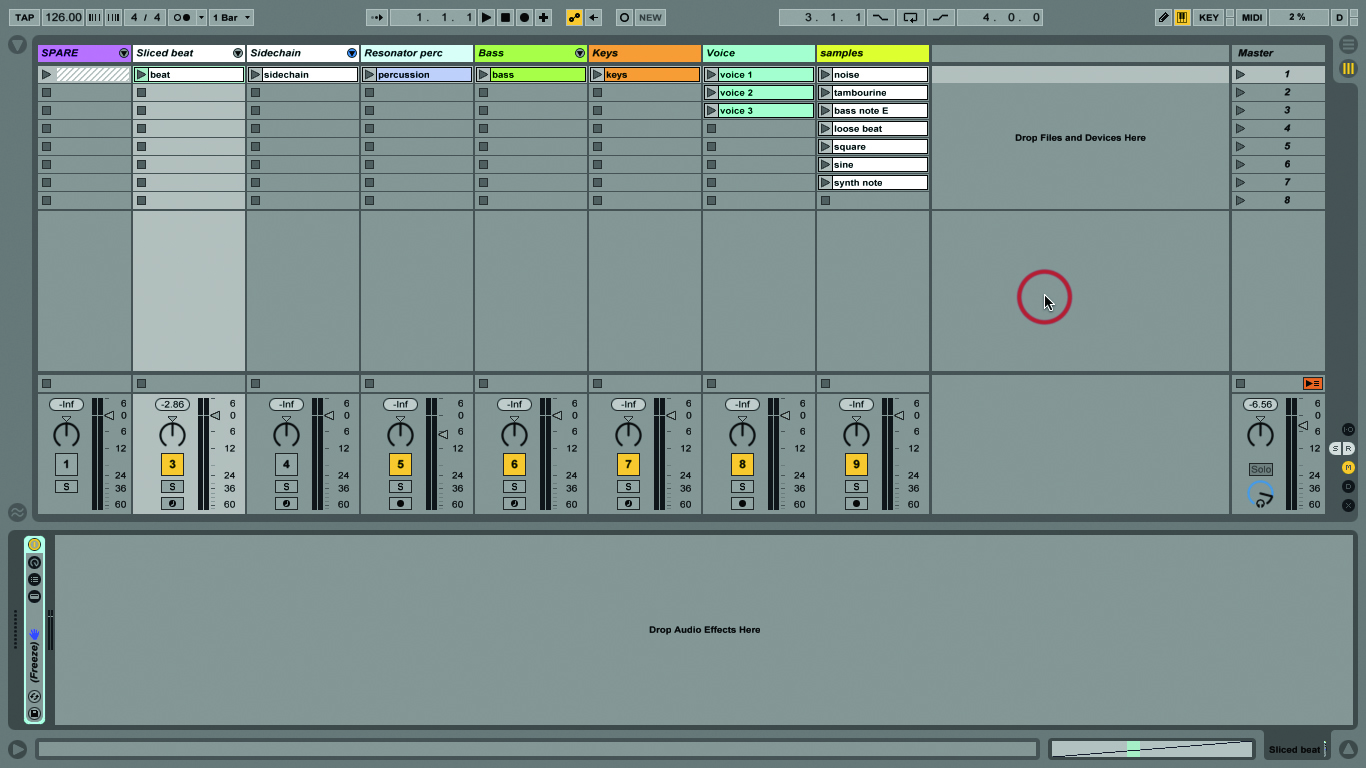
2: Open the Browser. Don’t forget to use the keyboard shortcut: Alt>Cmd>B. Click on ‘Audio Effects’ in the left-hand column, but from then on use your computer Arrow keys to navigate the presets.
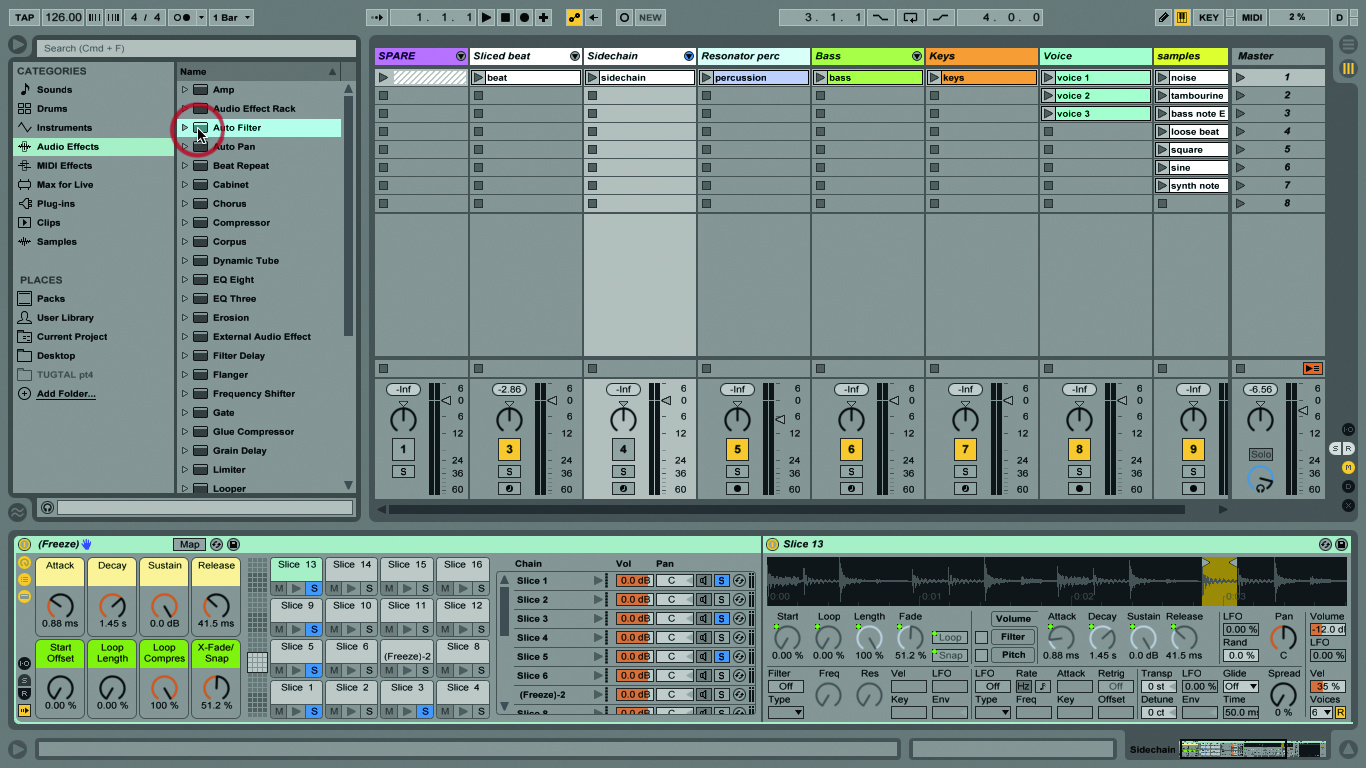
3: We can load effects in different ways. If you’re using the Arrow keys to navigate, hit Enter when you’re on the device or preset that you want, to load it into the currently highlighted track.
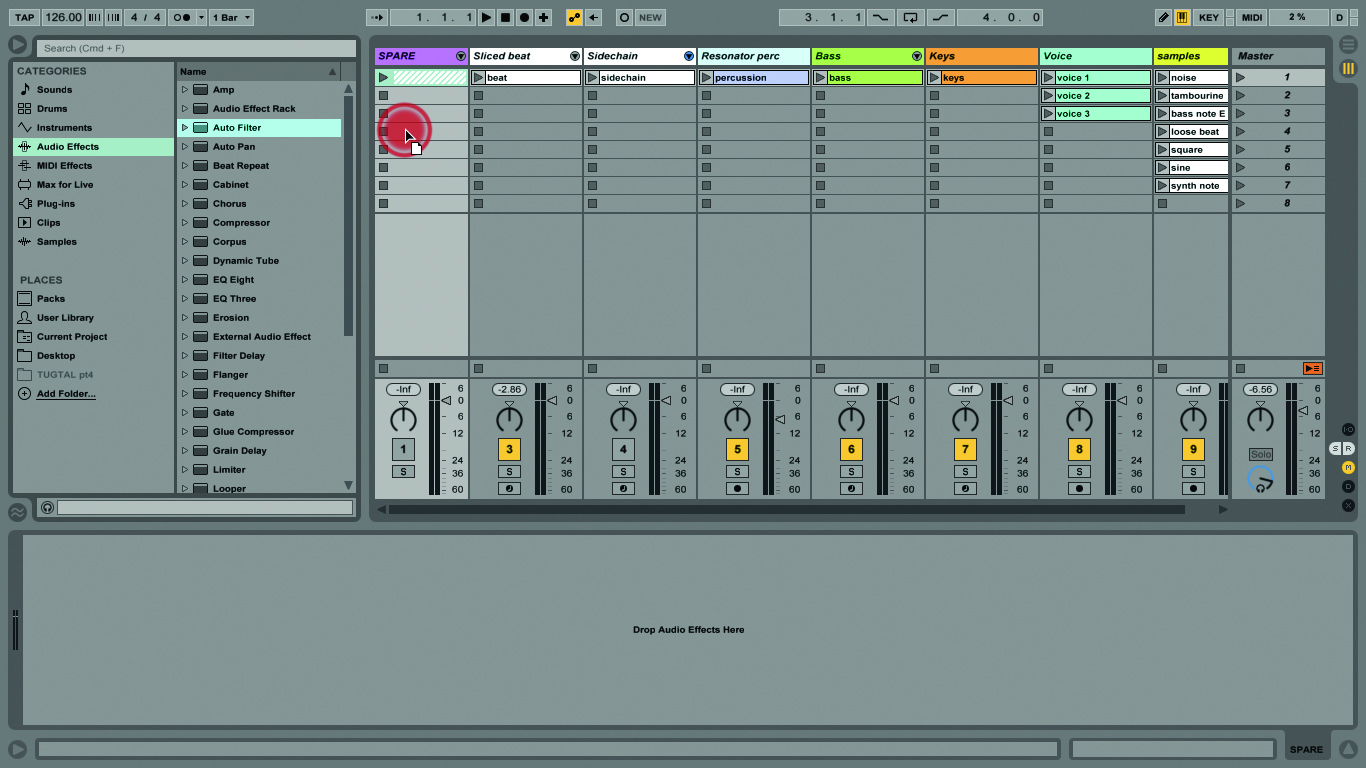
4: Alternately you can use your mouse to drag the effect across to the target track. We’re going to use a combination of some factory presets and our own tweaks to the ‘vanilla’ default settings.
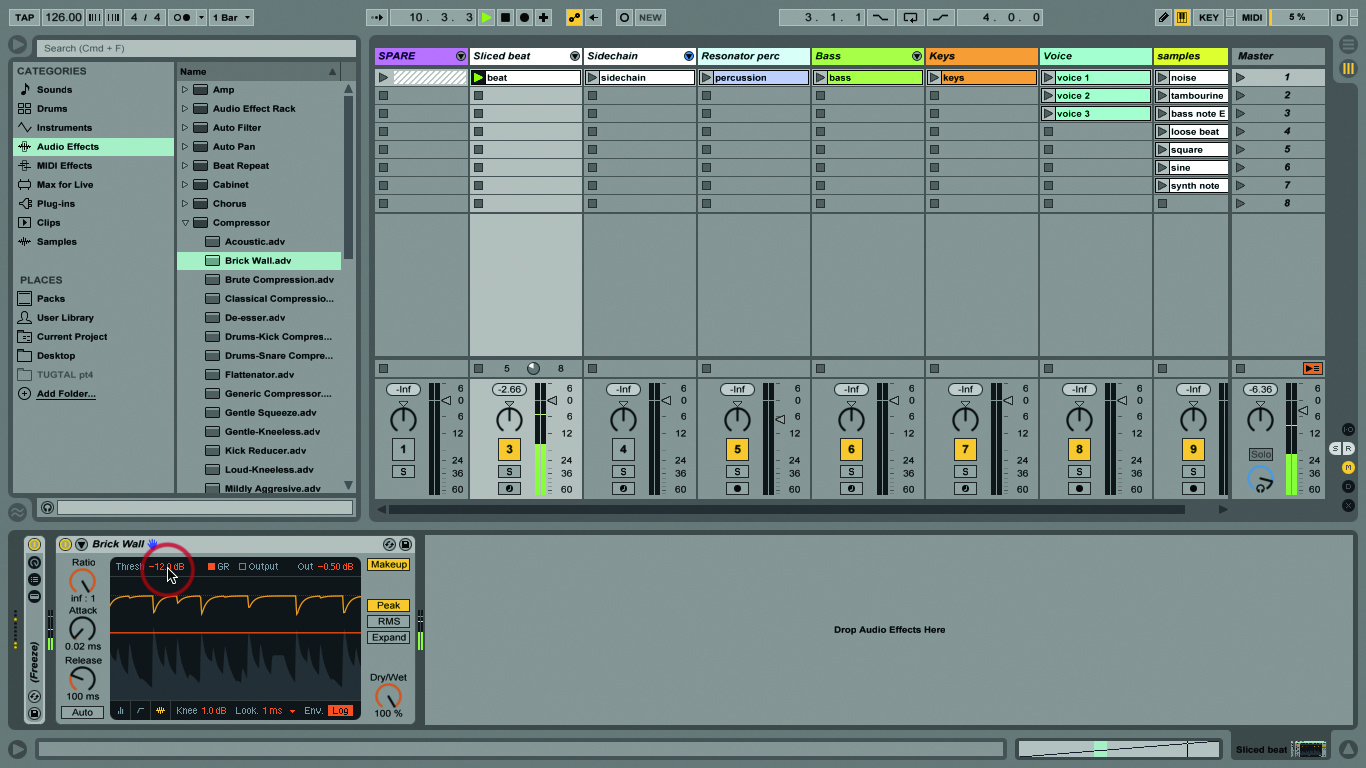
5: Let’s compress the drums. Load the Compressor/Brick Wall preset. Lower the Threshold to -12.0dB. Lower it further if you want to hear some drum smashing sounds, but put it back when you’ve finished!
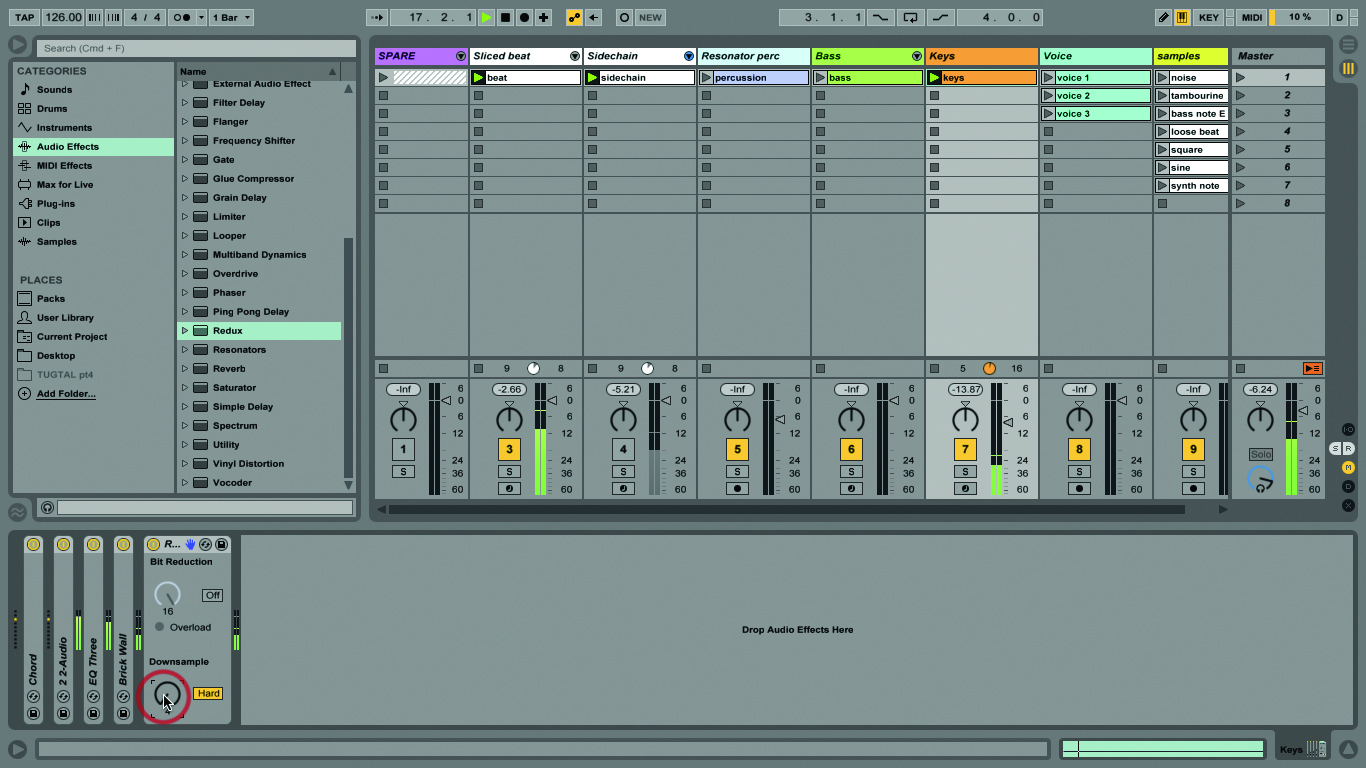
6: Add Redux to the keyboard track, and set Downsample to 4. This gives the sound a slight edge without pushing it too far. Redux is great at extreme settings if you like chip tune sounds.
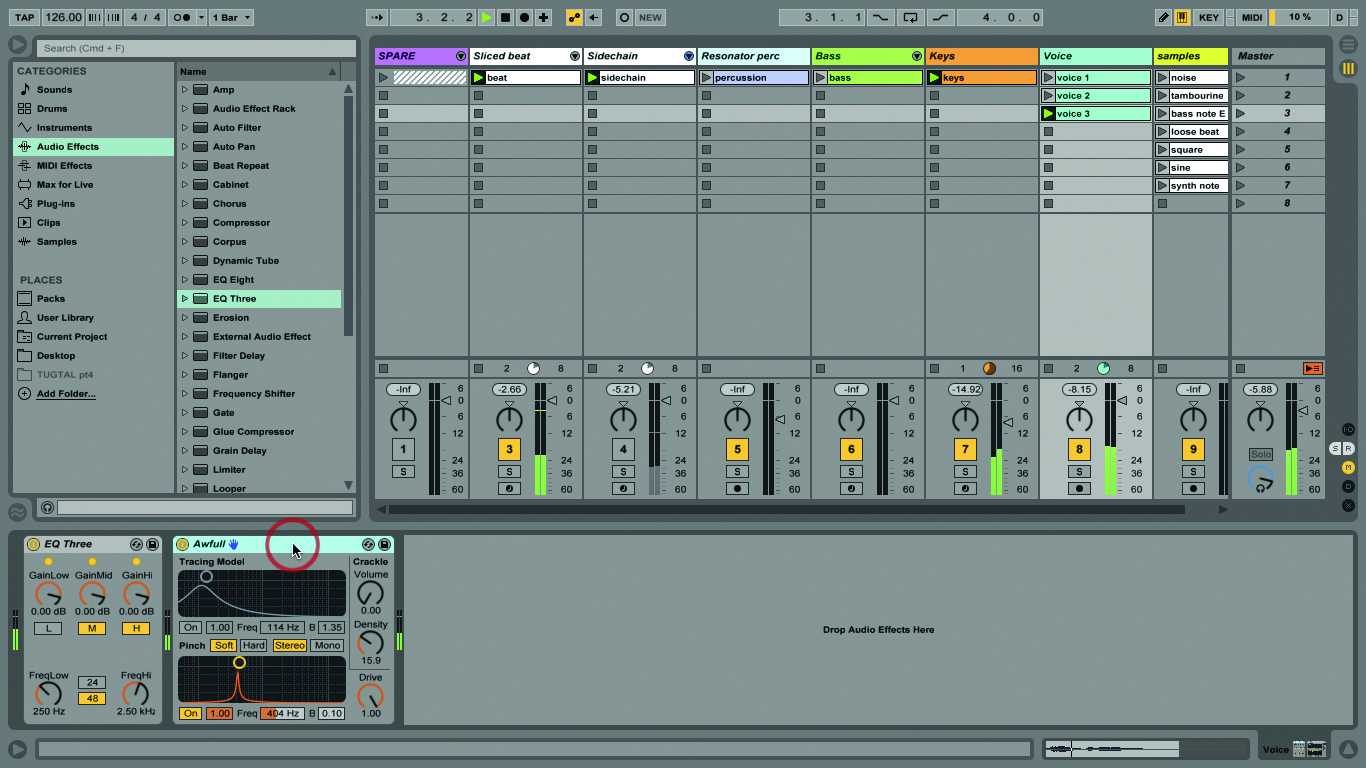
7: On the voice track, add EQ Three and click the L switch, killing the low frequencies. Then add the Vinyl Distortion/Awfull preset – you’ll hear it does a funny pitch thing as well as adding grunge.
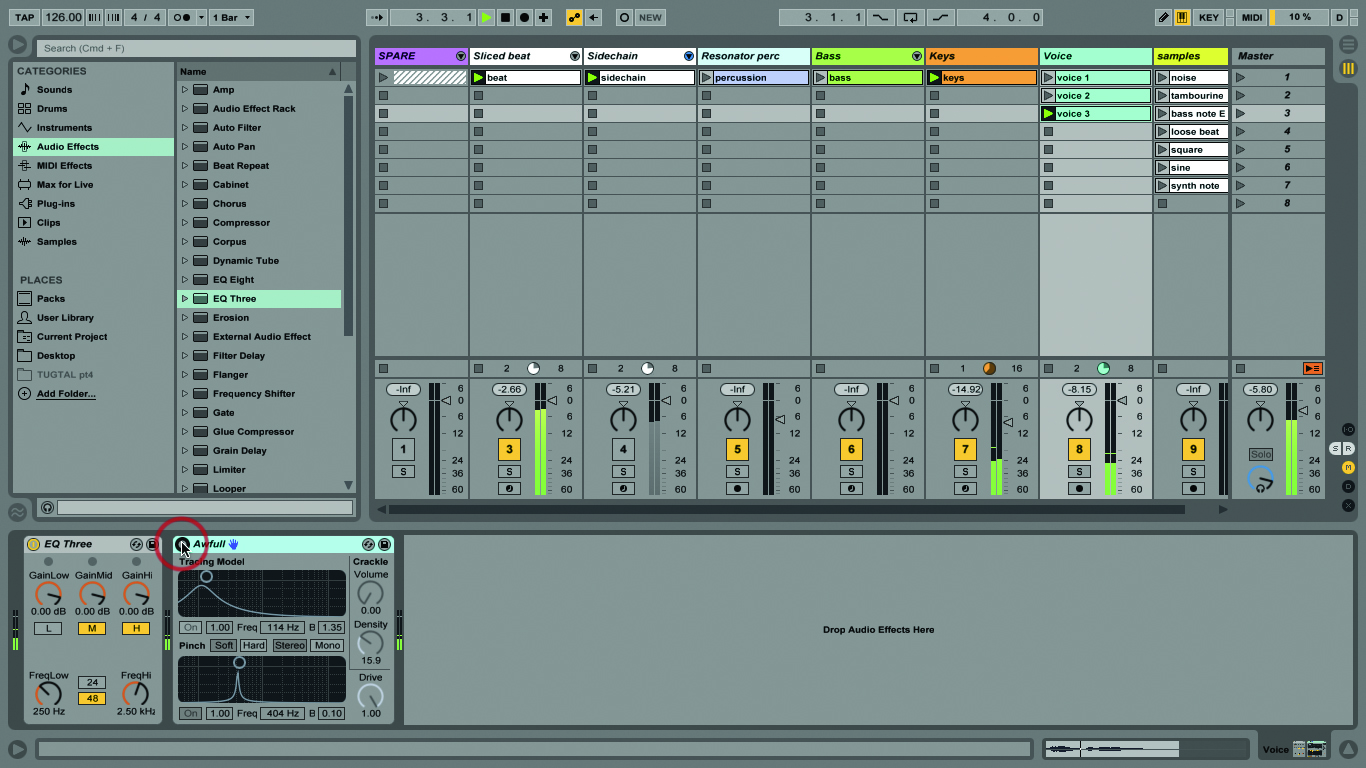
8: Effects can be toggled on and off with the Power buttons left of their names. You can remove an effect from a track using your Delete key, and they can be copied and pasted
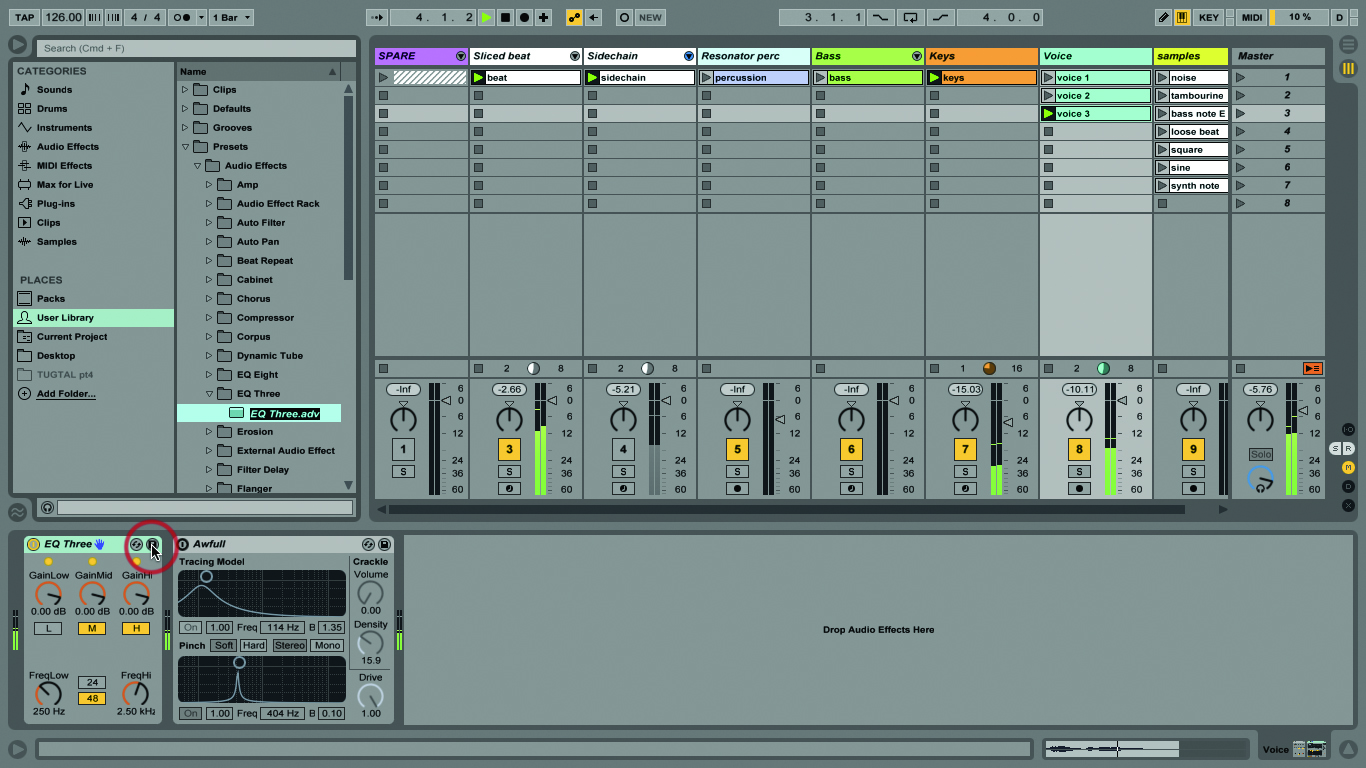
9: If you’ve created a sound you want to keep and reuse, save it as a preset using the Save Preset button (disk icon). Live automatically locates it in the correct place and lets you name it.
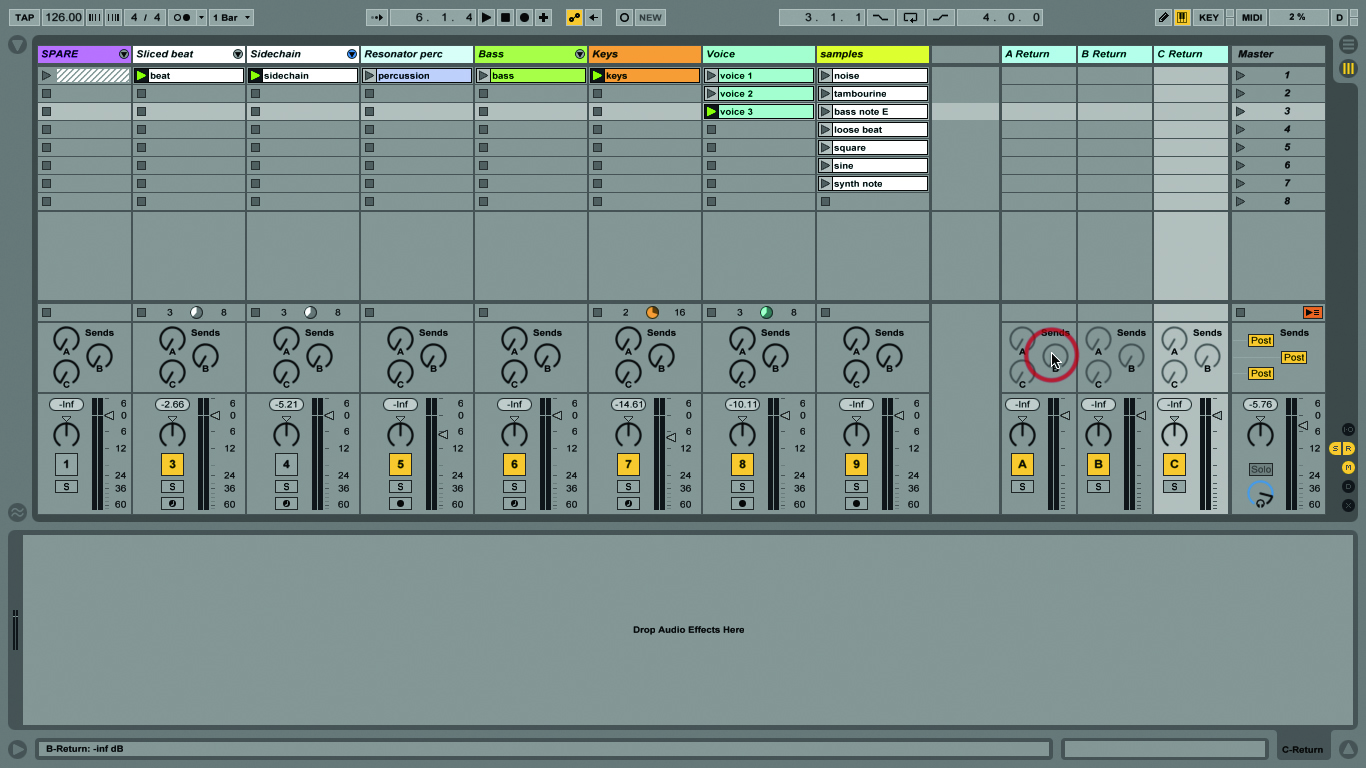
10: We can also use effects on Return tracks. These let us share a common audio effect over many tracks, while the Send controls let us mix the amount of the effect applied to each track.
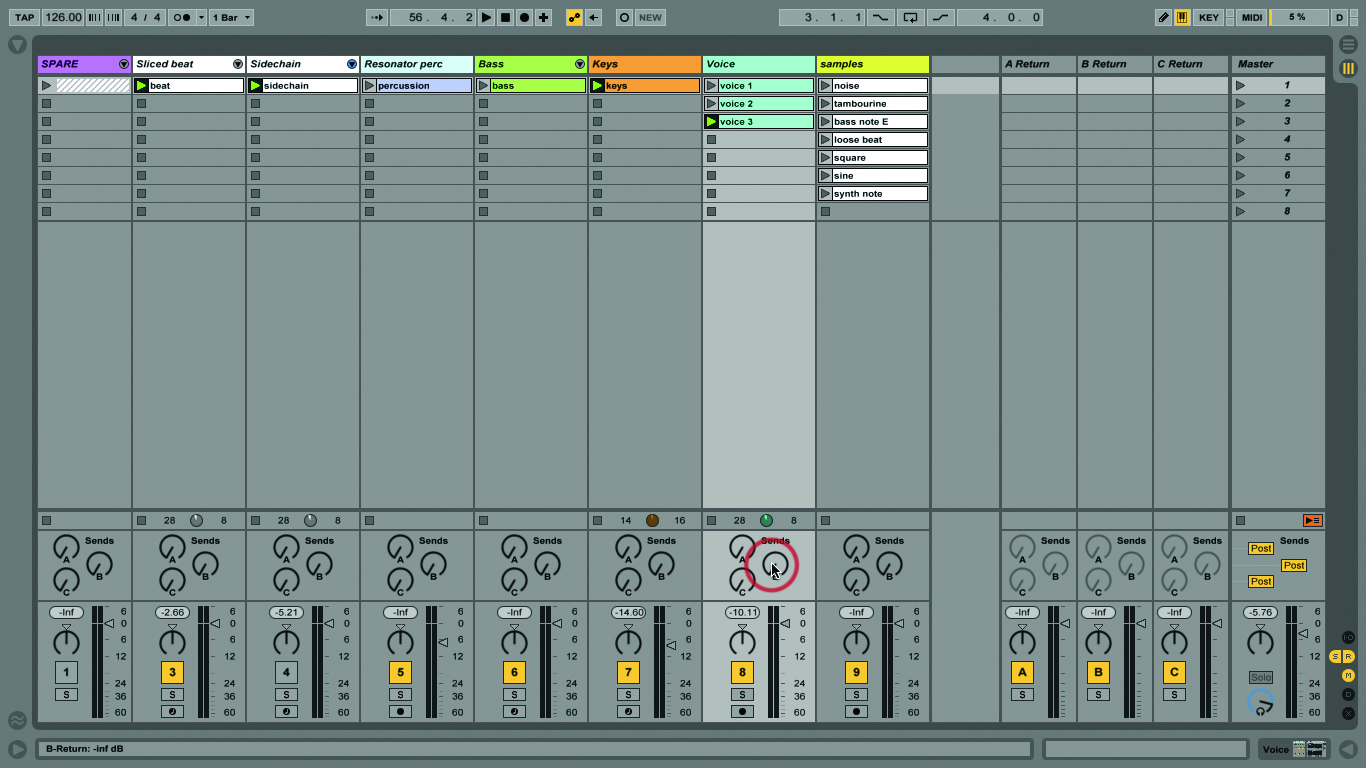
11: Use Alt>Cmd>R to view Return tracks, and Alt>Cmd>T to create them. If you can’t see any, it’s because you haven’t made any yet! Use Alt>Cmd>S to show/hide the sends.
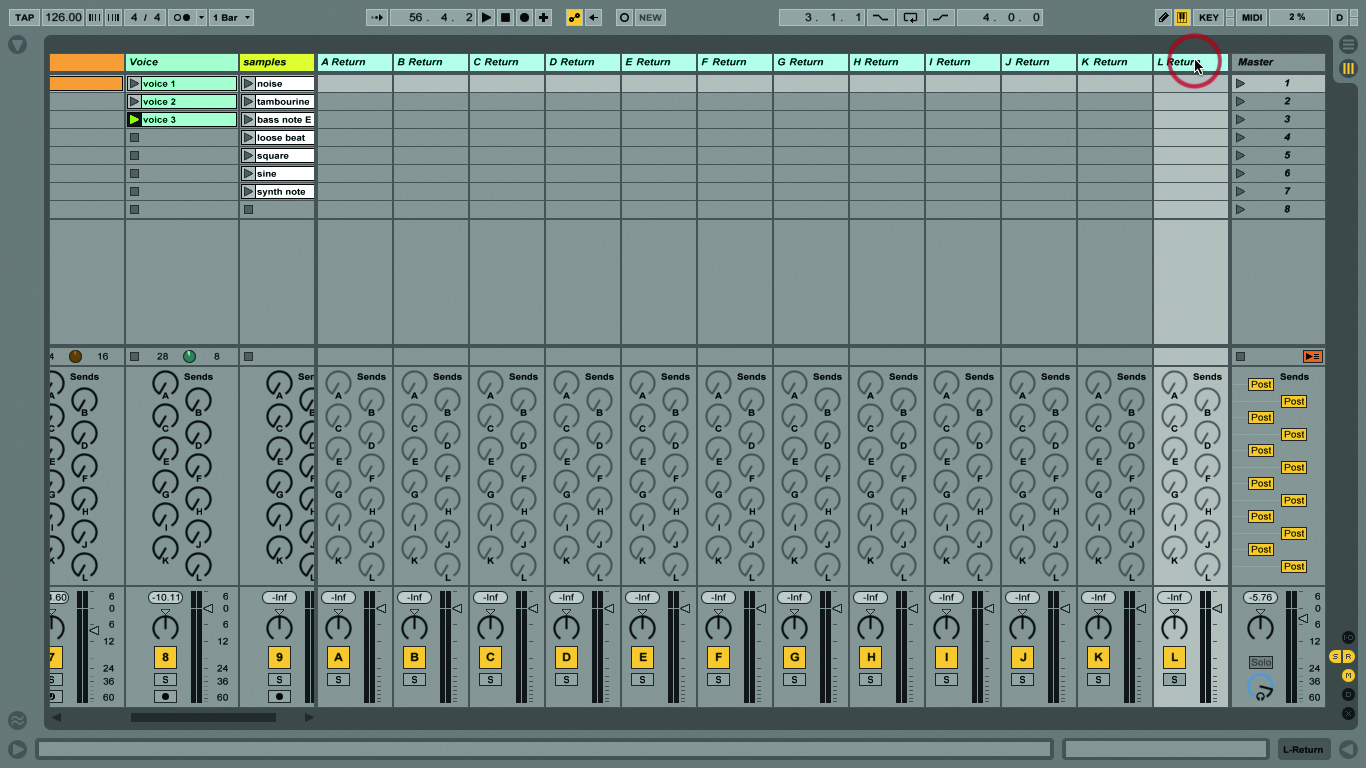
12: You can have up to 12 Returns in Live 9 Standard and Suite, although Live Intro is limited to just two. A new Send control is added automatically when you create a new Return.
Click Here to Continue
