Ableton Live Tutorial: Creative Clip Management With Push 2 – Step-by-Step
In this step-by-step guide Martin Delaney continues his examination of managing your clips creatively using the versatile Push 2… For this tutorial you will need the project files – and to have read part one 7: Although audio and MIDI clips are different to work with in some ways, when it comes to launching them […]
In this step-by-step guide Martin Delaney continues his examination of managing your clips creatively using the versatile Push 2…
For this tutorial you will need the project files – and to have read part one
7: Although audio and MIDI clips are different to work with in some ways, when it comes to launching them from Push, they’re the same. But that’s just like with Live itself, so you knew that already!
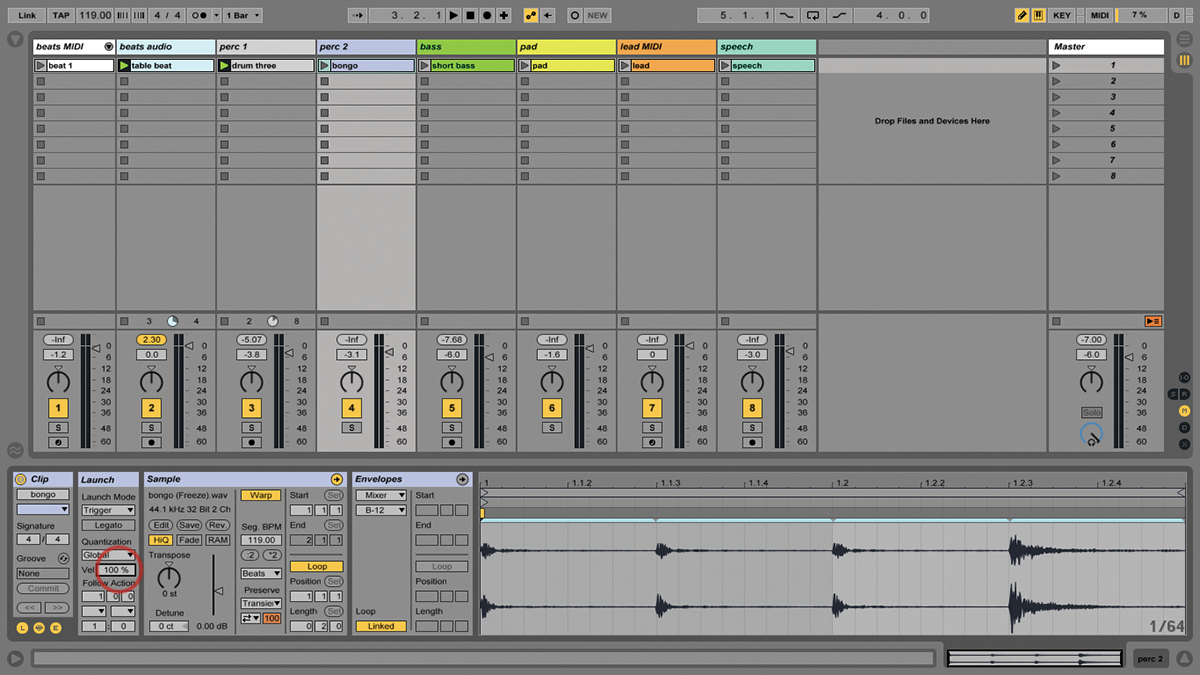
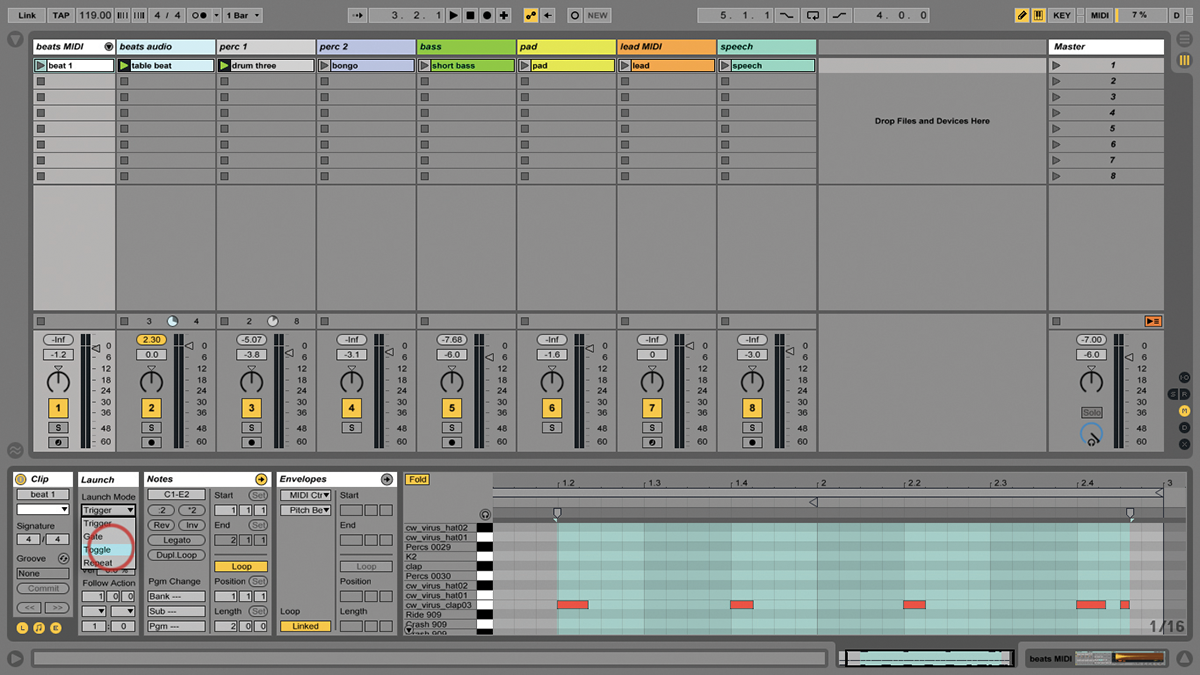
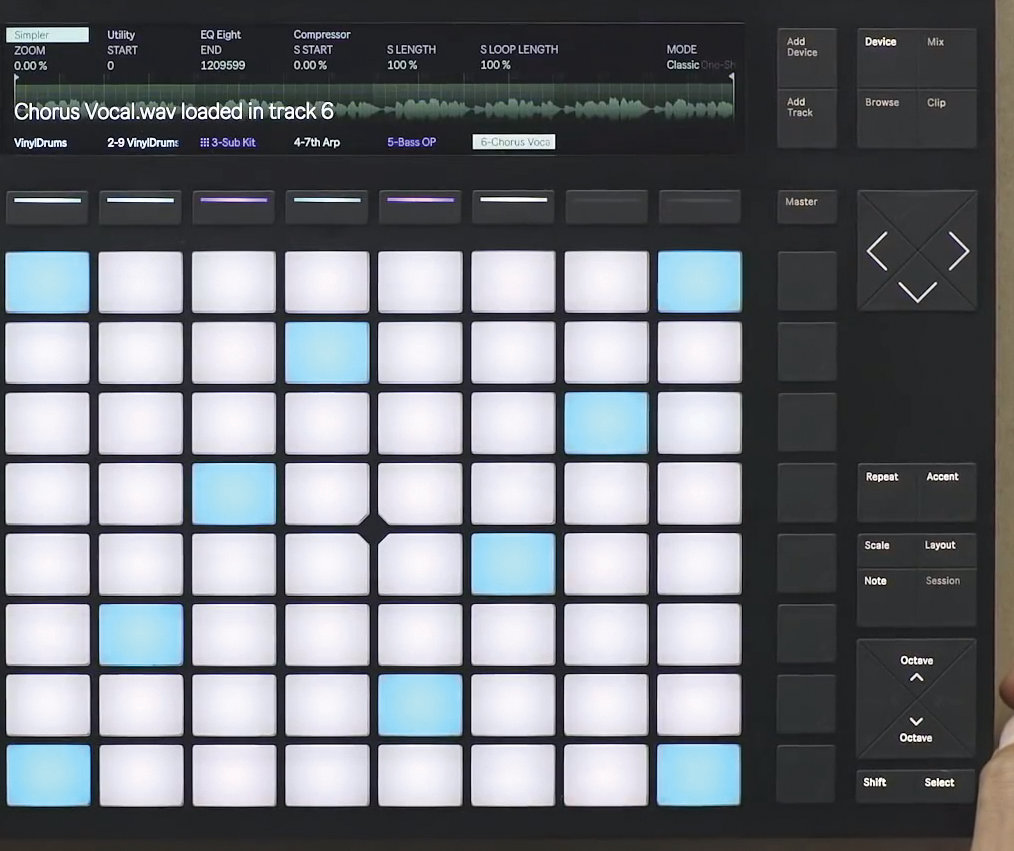
8: Push doesn’t offer a relationship between pad velocity and clip volume, something that some hardware can do. The work around is to load samples into Simpler; then you can apply velocity to it.
9: You can select a clip without launching it by holding down Select as you tap on it. This also works with other things such as tracks and pads in drum racks, very useful, and no noise!
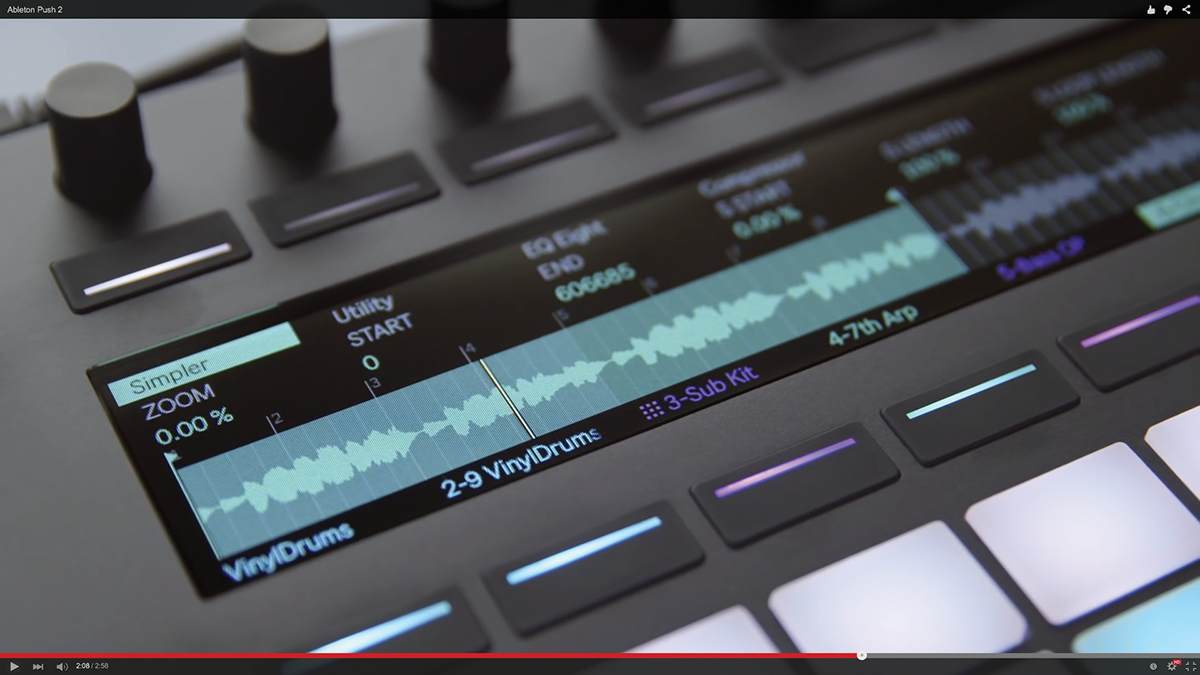
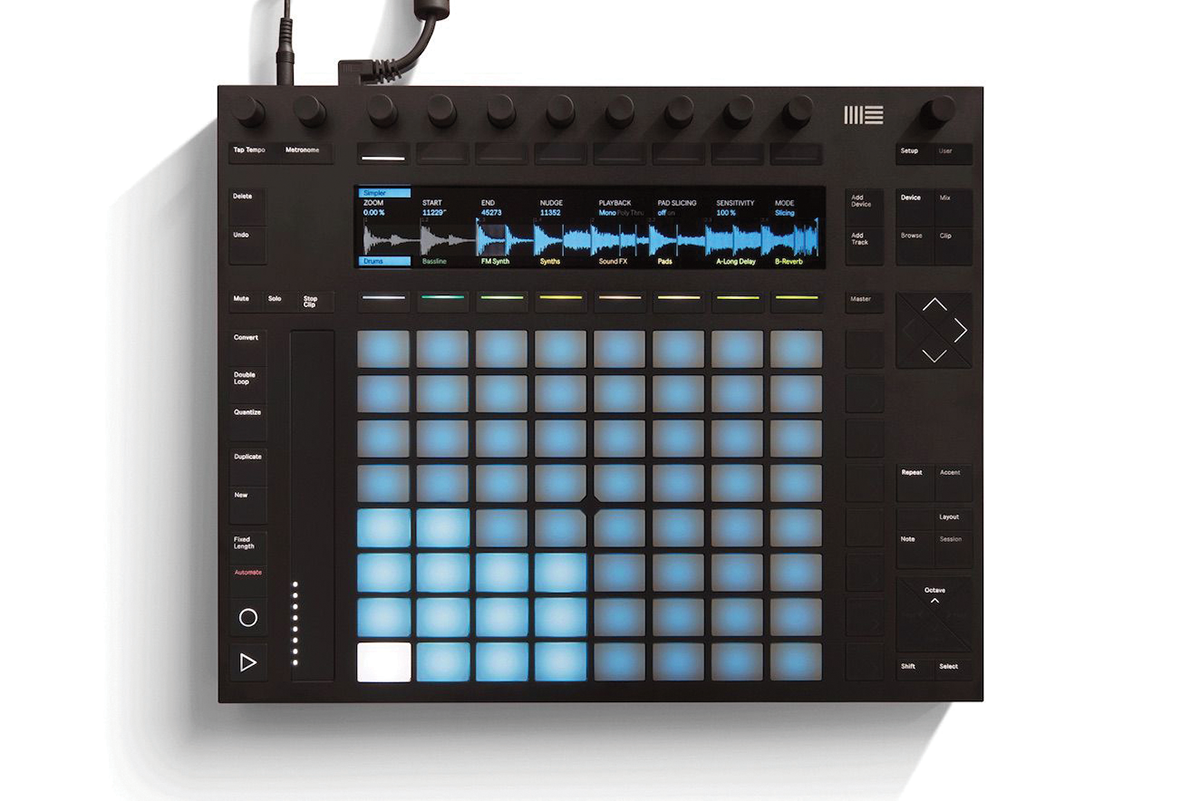
10: When you’re viewing the clip details, including waveform for audio clips, you can change the clip’s loop length, start position, gain, and Warp modes (that’ll be audio only, of course).
11: With Live 9.7 – in Public Beta as I’m writing this – you can change clip colours from Push. Hold Select and press the clip, then press and hold Shift and select a colour from the grid.
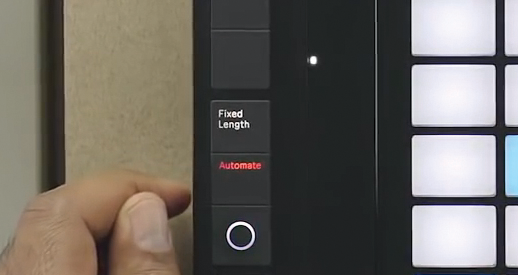
12: When you’re recording MIDI notes via Push, you can leave your clip lengths open ended, so they just keep on going as you play, or use the Fixed Length button to set a bar value.
13: Once the recording reaches the limit of that bar value, the clip goes straight into playback, without interruption. This works with audio clips as well, which is great for live loopers and beatboxers.

14: It’s possible to copy and paste clips from Push. All you have to do is press and hold Duplicate and tap the pad you want to copy, then tap where you want it to go.

15: Likewise, you can delete clips by pressing the Delete button, and then the clip you want to dump. Use Undo to bring it back if necessary! Delete also works with tracks, scenes, and devices.
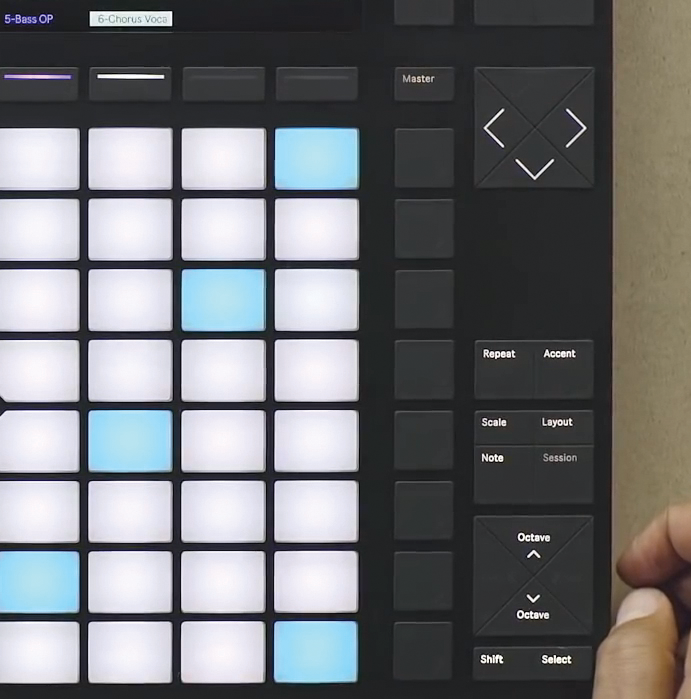
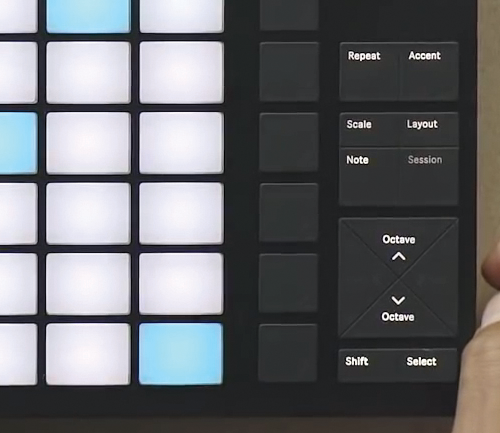
16: We’re allowed to mention scenes, because they’re rows of clips! Launch them by tapping the Note Value buttons at the right of the pad grid. Press the New button to create a new scene.
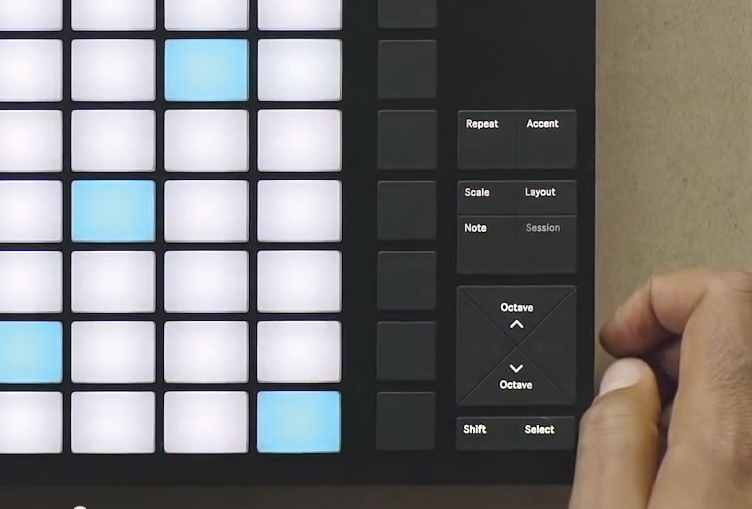
17: As with individual clips, we can select and view some scene info without launching it. Press Select and then the Note Value button corresponding to the desired scene: you’ll see the scene name.
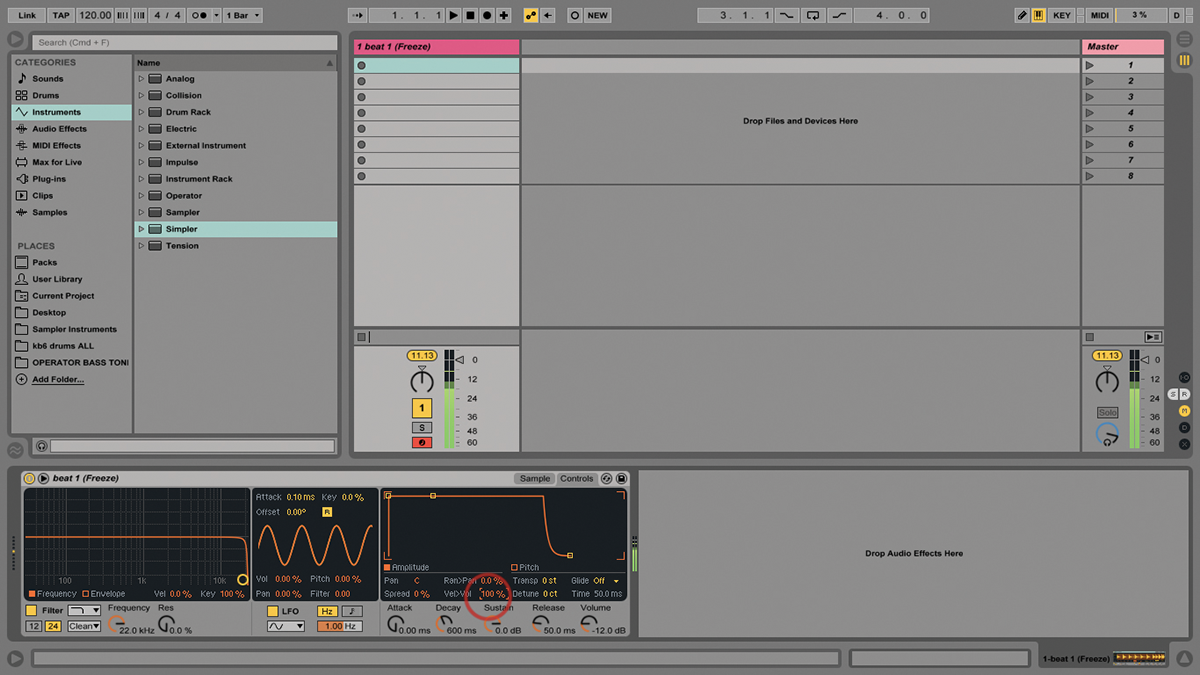
18: As I mentioned earlier, for velocity-sensitive loop launching, put your sample into Simpler and trigger it from the Notes Mode. You could build a set using Simpler for content instead of audio clips!
