Ableton Live Tutorial: Beginning a Live Project With Drums Part 2
Martin Delaney continues his tutorial explaining how to begin an Ableton Live project with drums… 7: You should now be viewing the MIDI Note Editor grid. If not, click the device view selector at the bottom right. Time to draw the beat. Enter the notes by double clicking in the grid 8: As the clip […]
Martin Delaney continues his tutorial explaining how to begin an Ableton Live project with drums…

7: You should now be viewing the MIDI Note Editor grid. If not, click the device view selector at the bottom right. Time to draw the beat. Enter the notes by double clicking in the grid

8: As the clip loops around, draw kicks at 1, 1.1.3, 1.3, and 1.3.3. Refer to our screenshot – draw the hi hats, noise and snare as you see there. That’s a 1/16th note grid

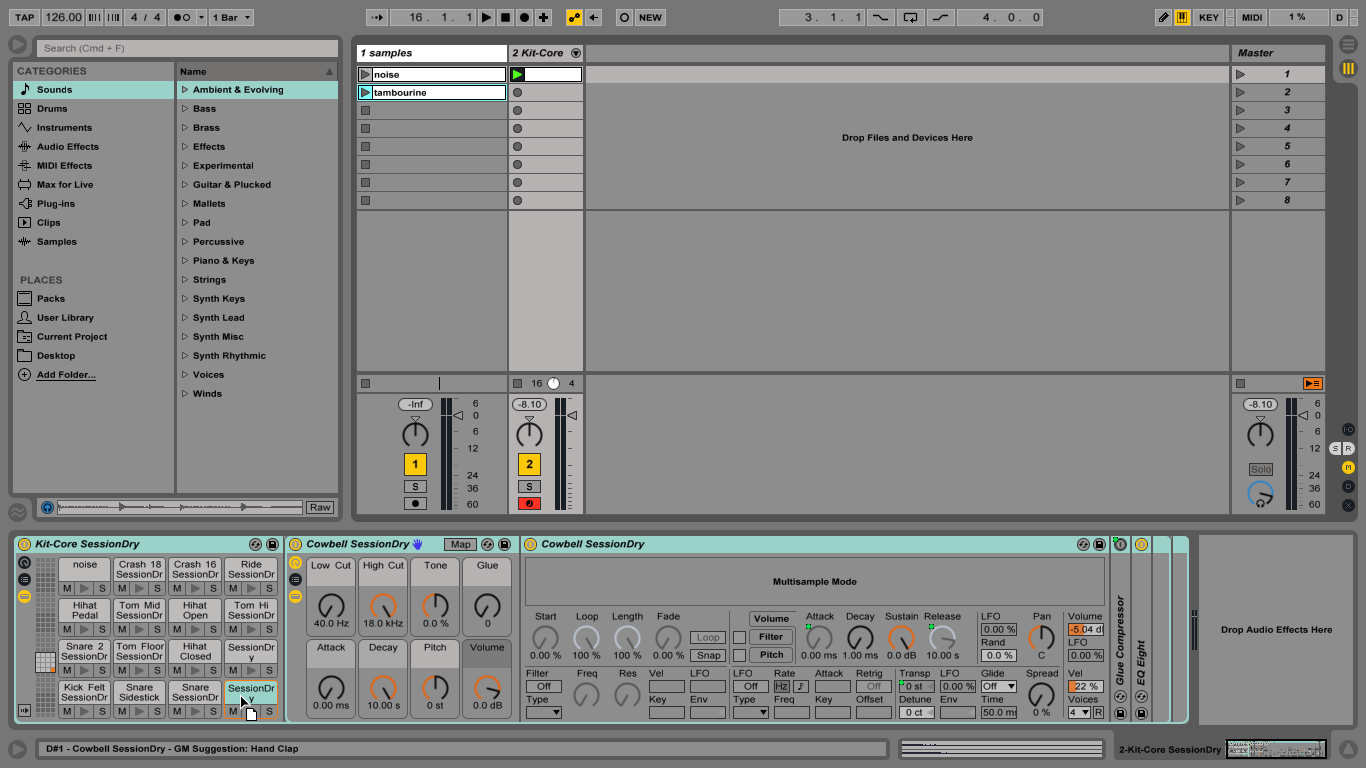
9: Now we have enough activity, we don’t need the metronome – turn it off. Drag our ‘Tambourine’ clip onto the Cowbell cell in the rack. Let’s record the tambourine in real-time, just for the practice

10: Go to the Edit menu and find Record Quantization. Set it to Sixteenth-Note Quantization. This will tighten up the timing when we play in our live tambourine part – it saves editing time later!

11: Arm the track (the red button lit at bottom), then find the key or pad for the tambourine. Click the Session Record button in the Control Bar, and playback begins; the clip play button is red.

12: Now you’re recording! As the loop plays, add a tambourine hit on each beat. They’re overdubbed over the other parts, nothing’s overwritten. Because Record Quantization is on, the timing of your tambourine is corrected automatically.

13: Press Stop or the spacebar. Now we have a 1-bar beat, but if you click the Dupl Loop button in the Loop Box, you get an instant two bars! Add some more kicks at the end of bar 2.

14: For live-sounding drums you need velocity changes. Find the MIDI Effect preset Velocity/Add Some Random, and drag to the drum track. These variations are too extreme, so raise Out Low to 110

15: We can tweak the beat’s timing, to take the edge off the tempo. Drag the snare hits to the right, but only a tiny bit, so they sound like they’re dragging behind the beat

16: Drag the SimpleDelay from the Audio Effects Browser straight on to the drum cell that contains the ‘noise’ sample. Set the Dry/Wet to 20% – this gives a little extra rhythmic value to that sound!

17: Drums sound flat unless they’re located in some kind of room space, so add the Audio Effect preset Reverb/Room/Ambience to the track after the rack. Set the Dry/Wet mix to 30%.

18: We can use a compressor to fatten up our beat (we’ll be coming back to compressors later). Find the preset Compressor/Mildly Aggressive and drag it on to your track. It should sound punchier…

