Ableton Live Tutorial: Envelopes and Automation – Part Two
In the second part of his tutorial looking at envelopes and automation, Martin Delaney assesses the best methods to create and construct… 7: If you want something that changes in a more blocky rhythmic way, tap ‘b’ on the computer keyboard for a pencil, which you can use to draw in values defined by your […]
In the second part of his tutorial looking at envelopes and automation, Martin Delaney assesses the best methods to create and construct…
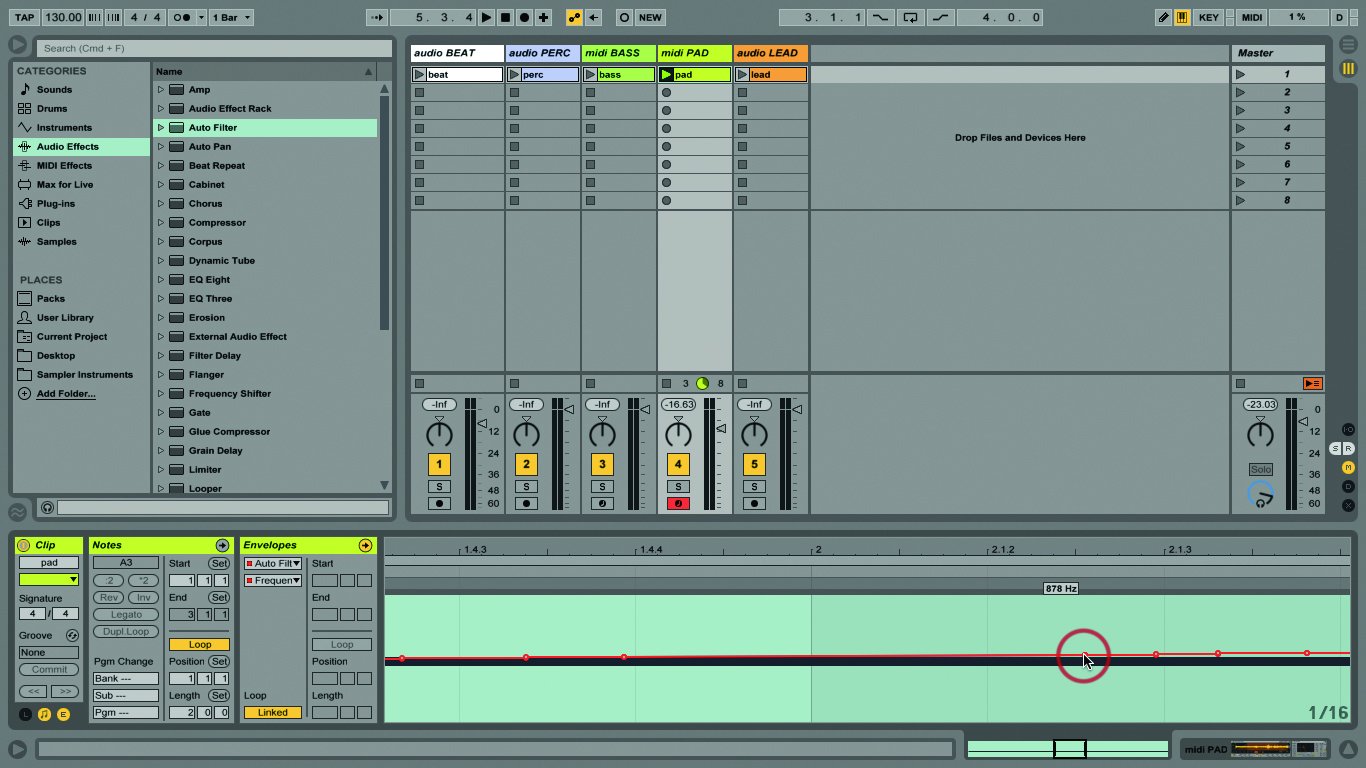
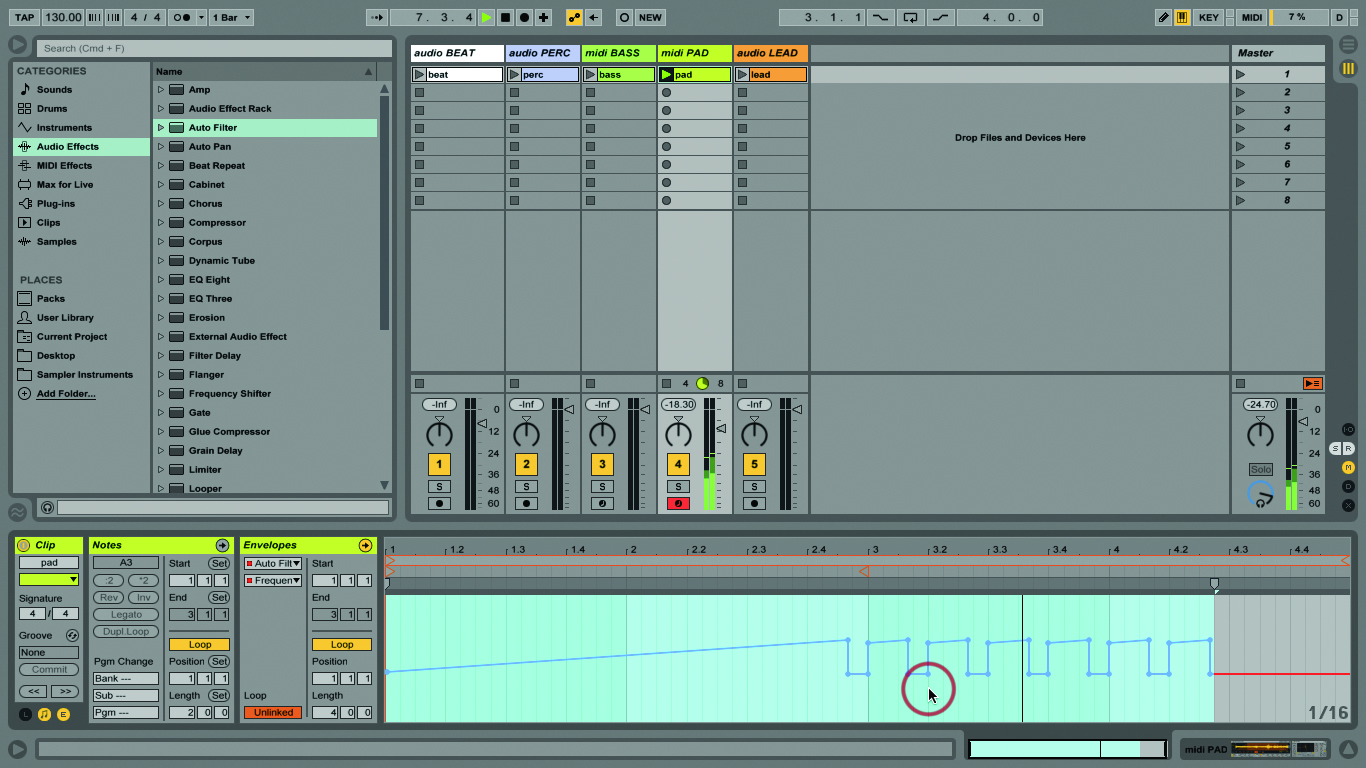
7: If you want something that changes in a more blocky rhythmic way, tap ‘b’ on the computer keyboard for a pencil, which you can use to draw in values defined by your current grid settings.
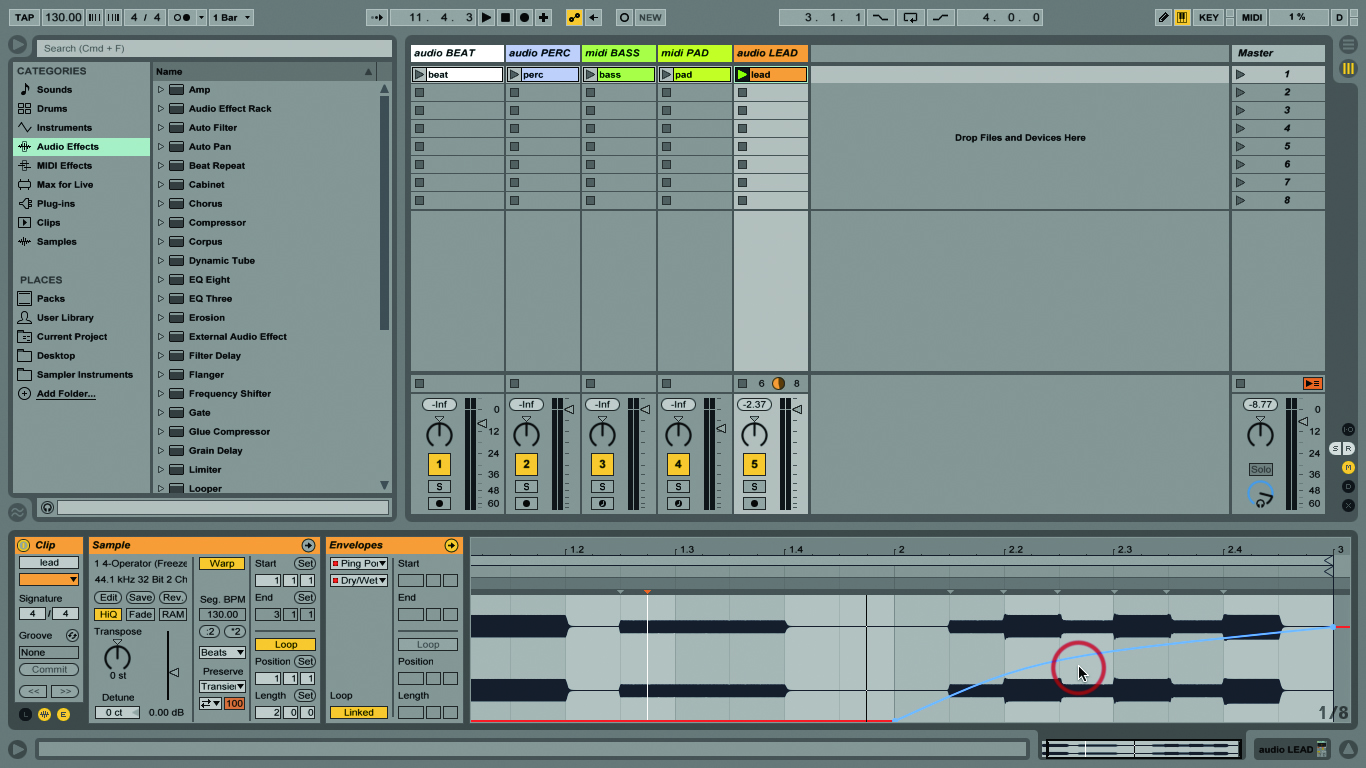
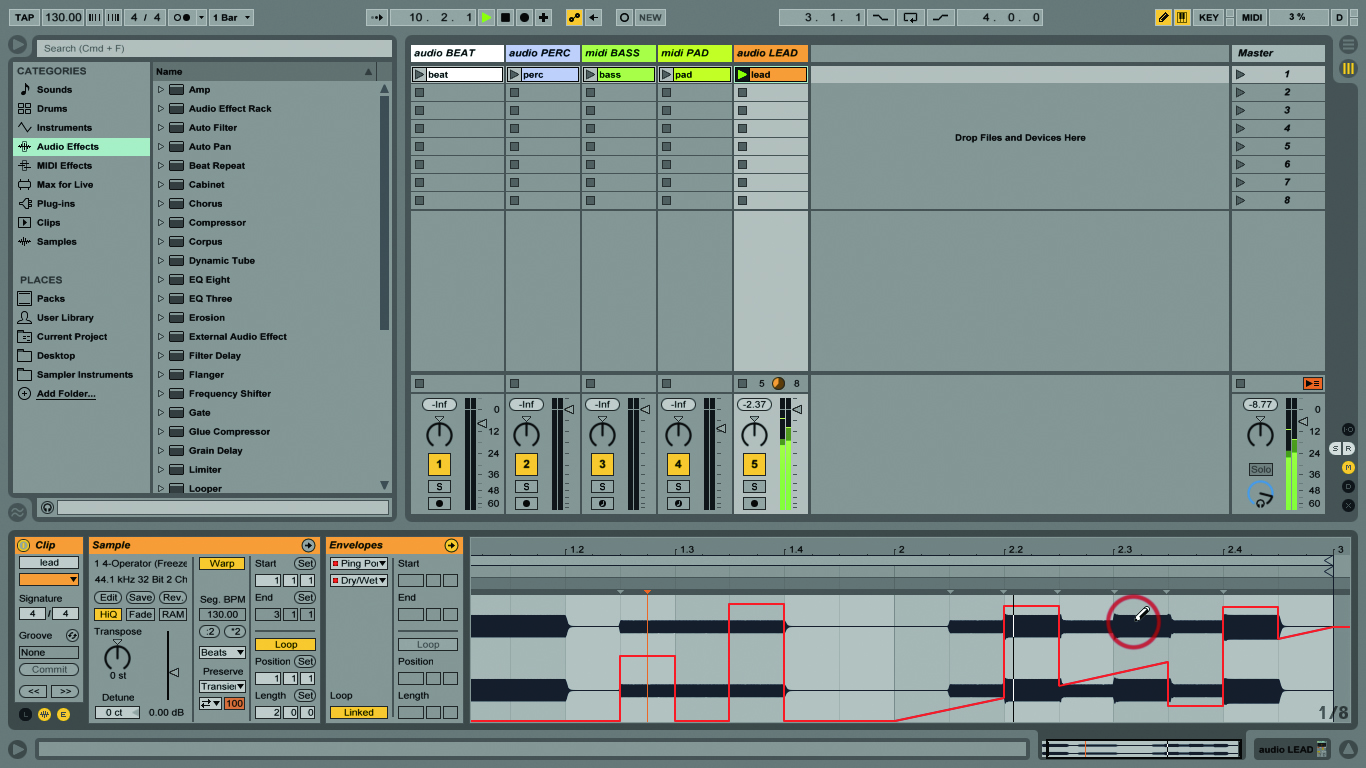
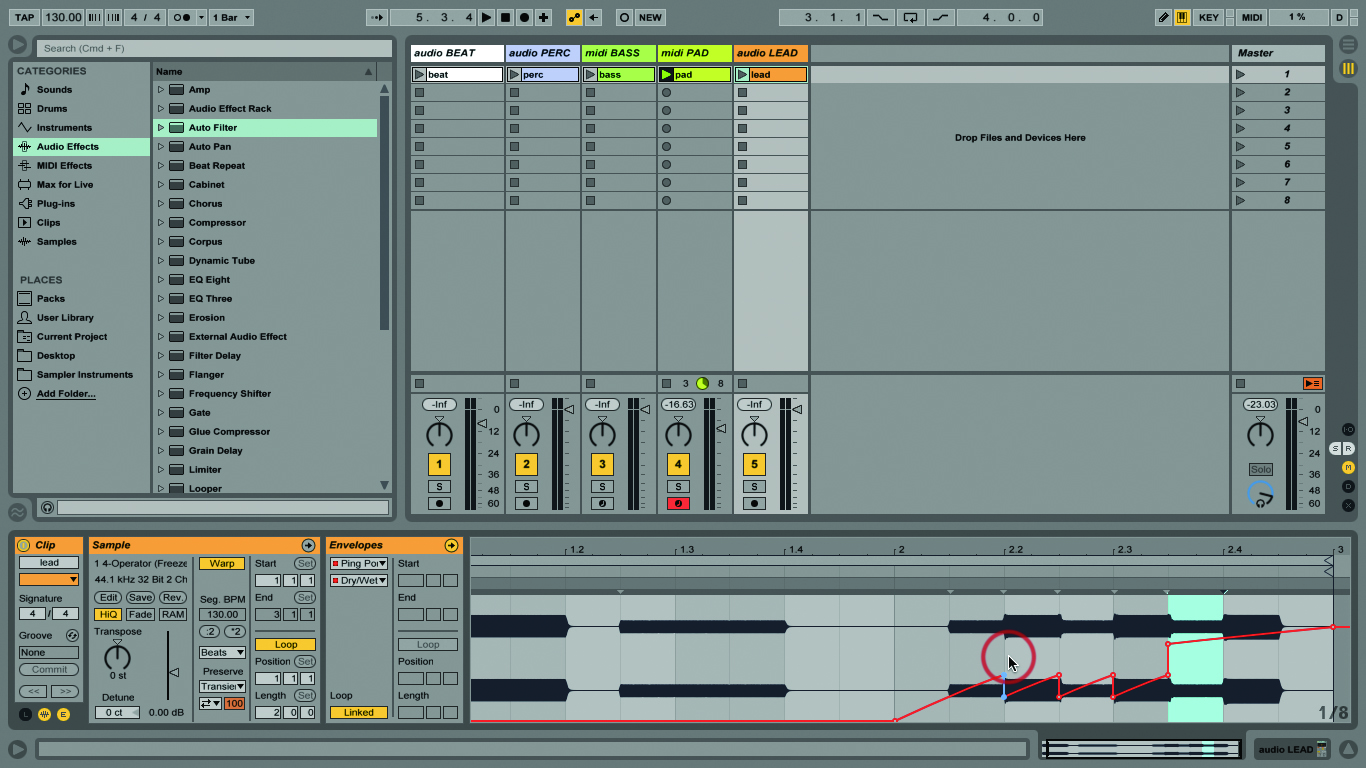
8: Another variation: you don’t always want a flat line progressing from one point to another, so we’ve got curves! Mouse near a section of an envelope, hold ‘Alt’, and drag that into a curve.
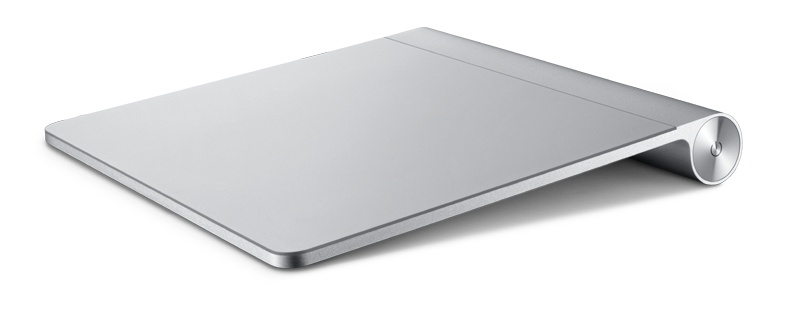
9: If drawing red lines doesn’t do it for you, relax, you can record envelopes instead. This works from any input, whether you’re dragging your mouse or trackpad, or using a MIDI keyboard, or Push.
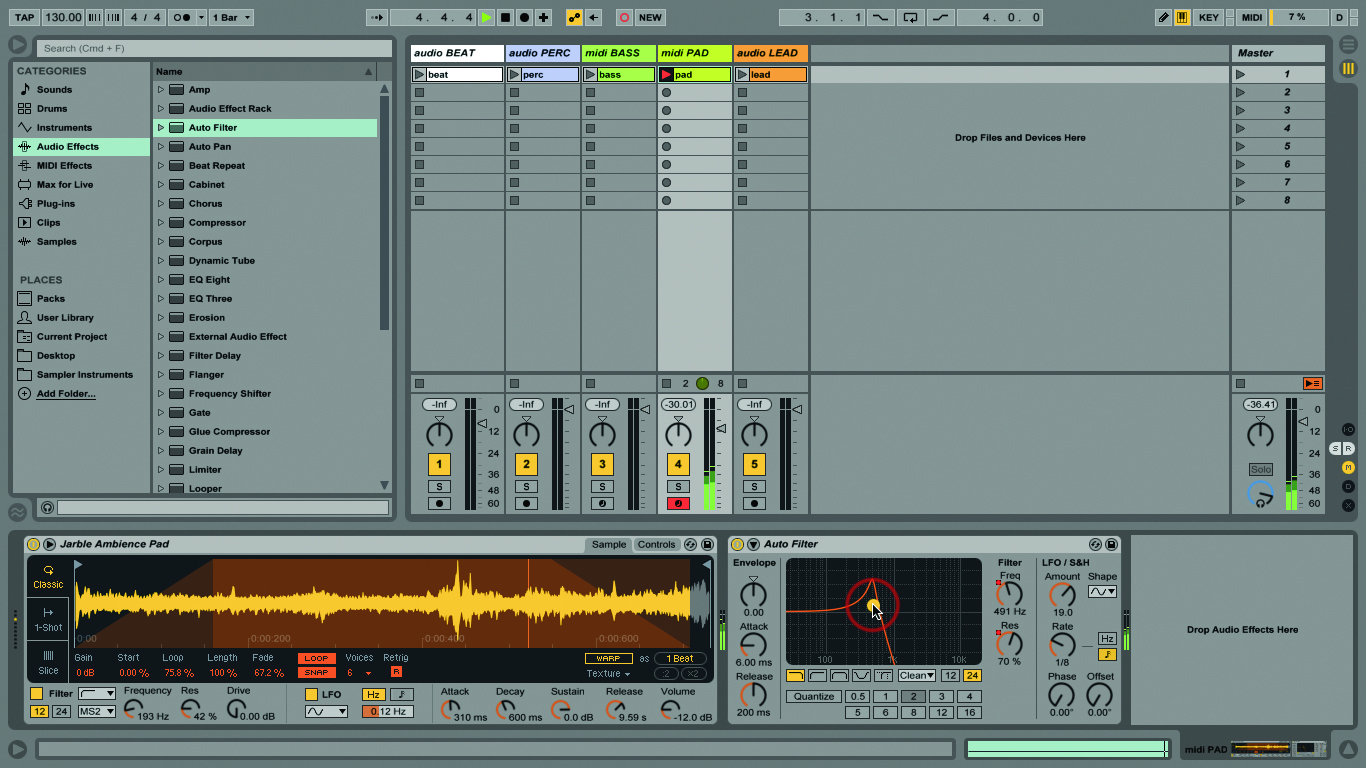
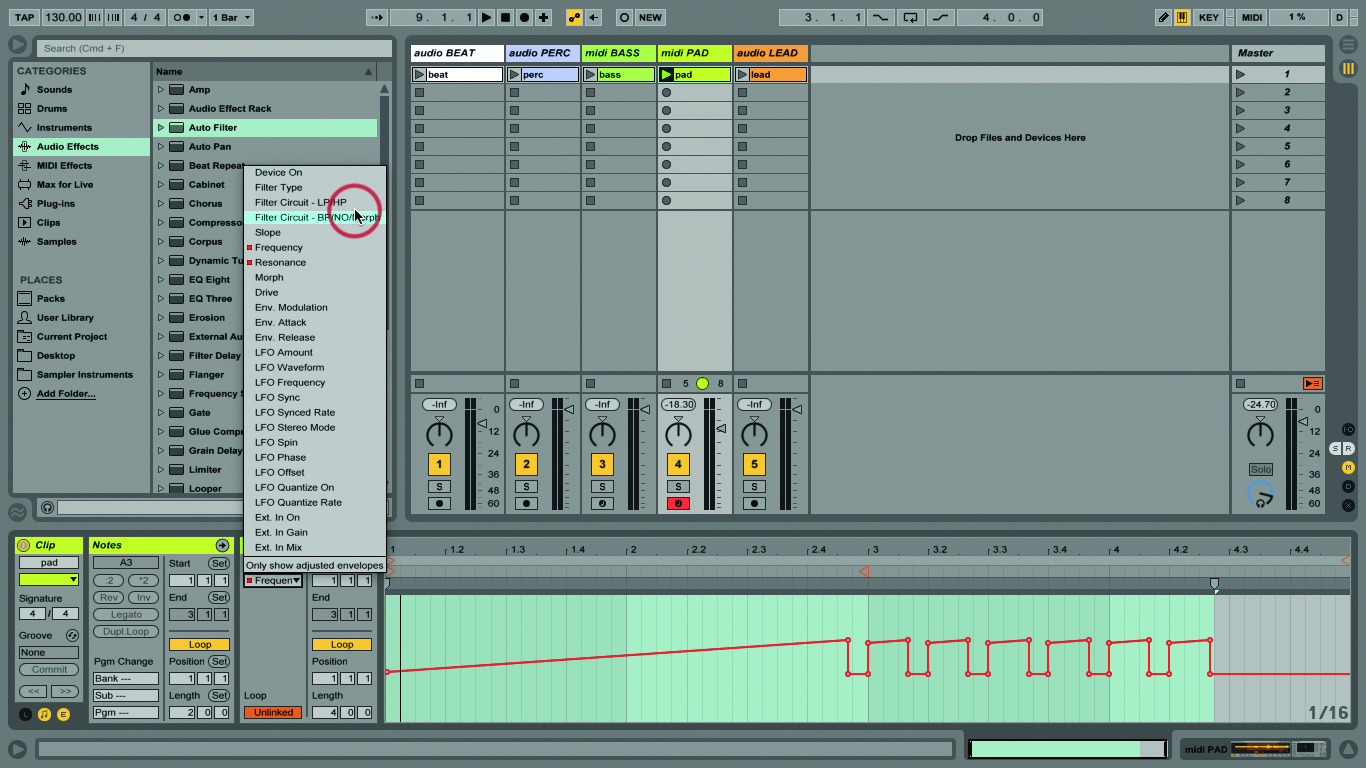
10: Try it. Click the Automation Arm and Session Record buttons, arm the Pad track, then launch the clip. View the Auto Filter and move the frequency and resonance controls as the clip loops.
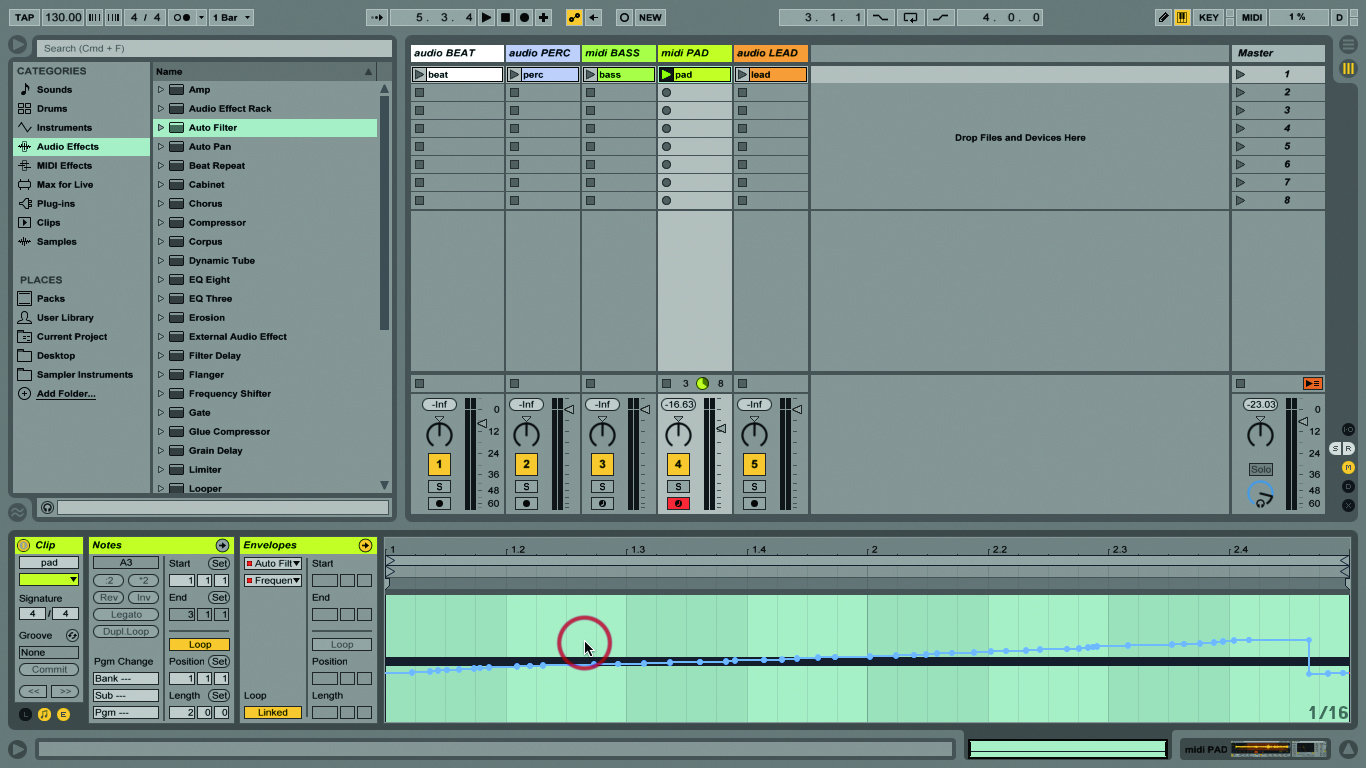
11: Red dots will appear on the cutoff and resonance values on the Auto Filter, and you’ll see the controls move on subsequent passes. Double-click on the clip to see the envelopes you’ve added.
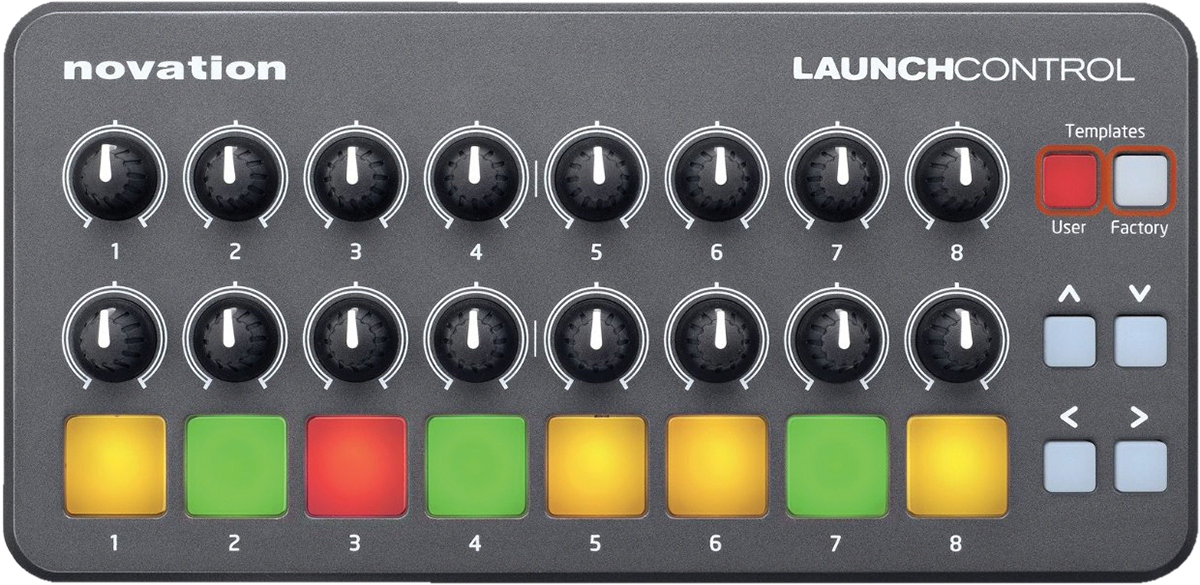
12: Using a hardware controller is great, as you can do more than one thing at once, so you could be recording two types of automation simultaneously. But you can also overdub more passes, if you like.
13: After drawing or recording, you might want to change or tidy your envelopes. Practise with the ones you’ve recorded today. Move breakpoints by dragging them. Click a breakpoint to delete it.
14: Change straight lines to curves as mentioned. Delete entire sections of an envelope by clicking and dragging to highlight it, then typing Delete. This is a great way to straighten out ragged fades.
15: A highlighted section can also be copied and pasted to the same or another envelope, or even another track. It’s a tool you can use to apply envelopes to different parameters than originally intended.
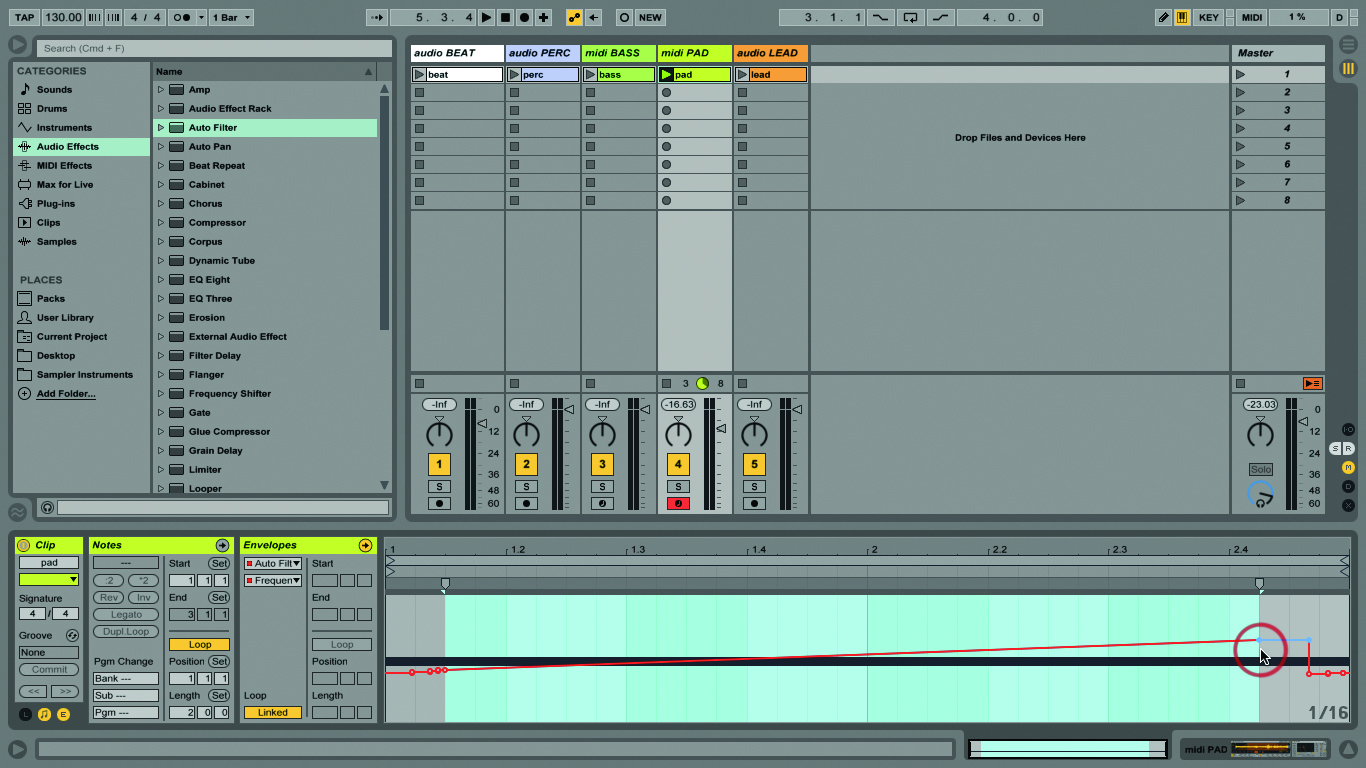
16: You can also separate envelope length from the length of the loop, so a one-bar clip can have a four-bar envelope, for example. This makes a huge difference to the organic nature of using clips.
17: Click the Linked button to unlink the envelope and enter a new length for it. Be aware that this applies to each envelope – they can all be different, which can lead to some deep textures!
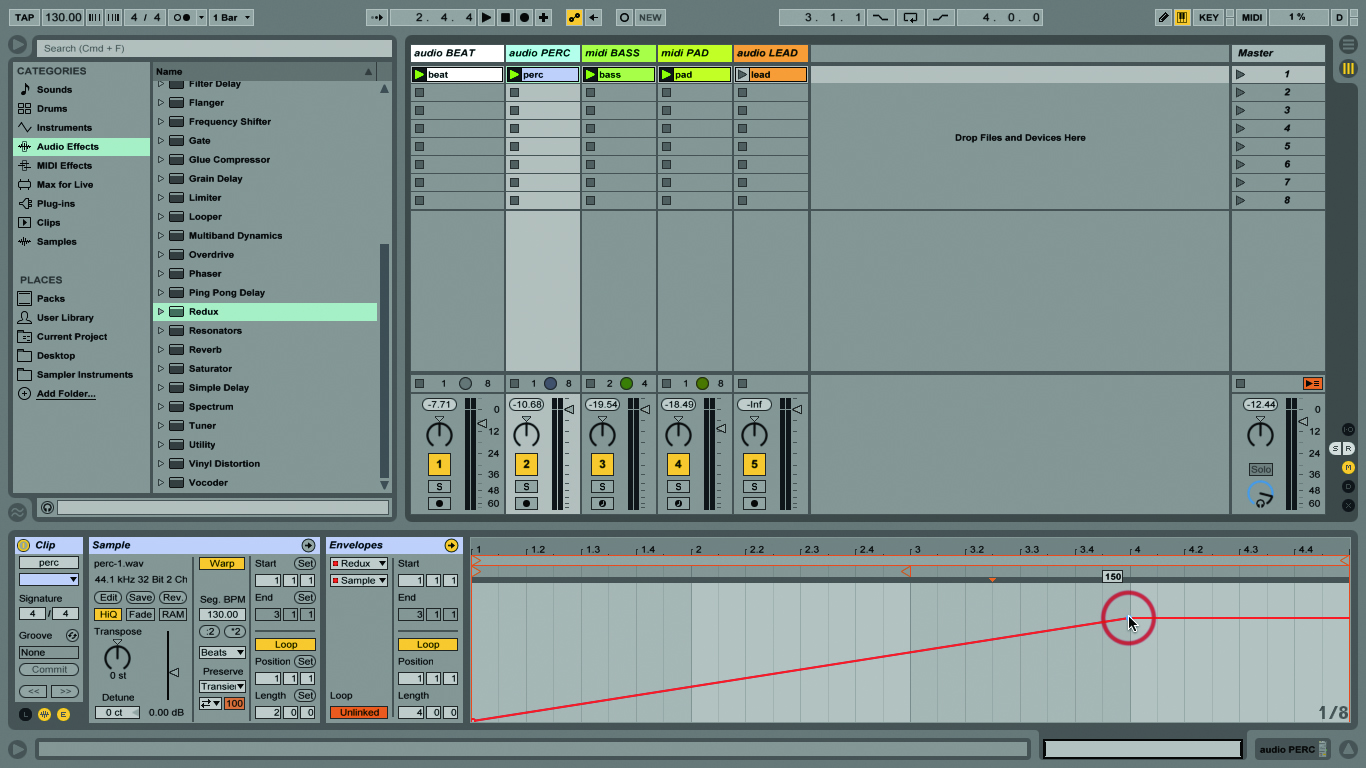
18: Add Redux to the percussion track, and automate ‘Sample Hard’ so it goes from 0 to 150 over four bars, so you can hear that crunch come in over several repeats of the looping clip.
