Ableton Live Tutorial: Ins and Outs – Step-by-Step
Our Ableton Live tutorial looking at audio ins and outs continues with a step by step covering aggregate audio devices…. 7: In the panel at the right of that, you should see a list of all available audio inputs and outputs, including Built-in Microphone and Built-in Output – which are the Mac’s own hardware connections […]
Our Ableton Live tutorial looking at audio ins and outs continues with a step by step covering aggregate audio devices….

7: In the panel at the right of that, you should see a list of all available audio inputs and outputs, including Built-in Microphone and Built-in Output – which are the Mac’s own hardware connections
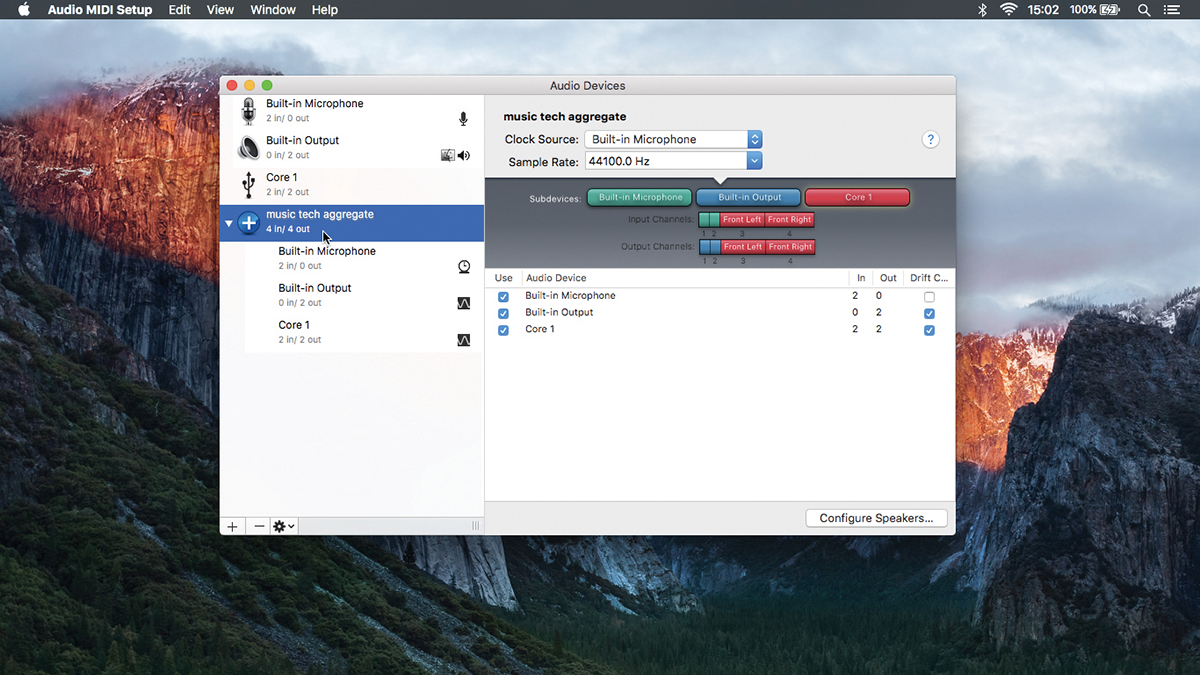
8: Tick all of them – you might as well include the inputs as you’re not adding many, anyway. Quit Audio MIDI Setup. You can return here whenever you need to manage your aggregate audio devices.
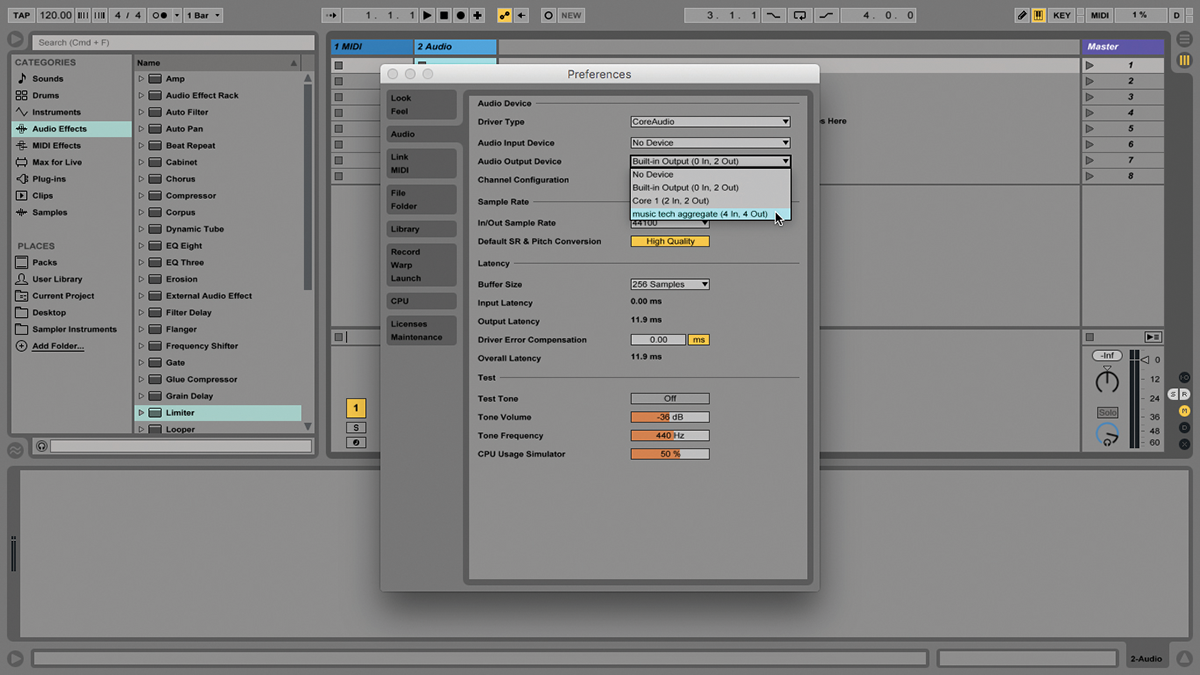
9: Now when you open Live, go to the Audio tab in Preferences. Where you choose Audio Input Device and Audio Output Device, you can view and select your new Aggregate Audio Device.
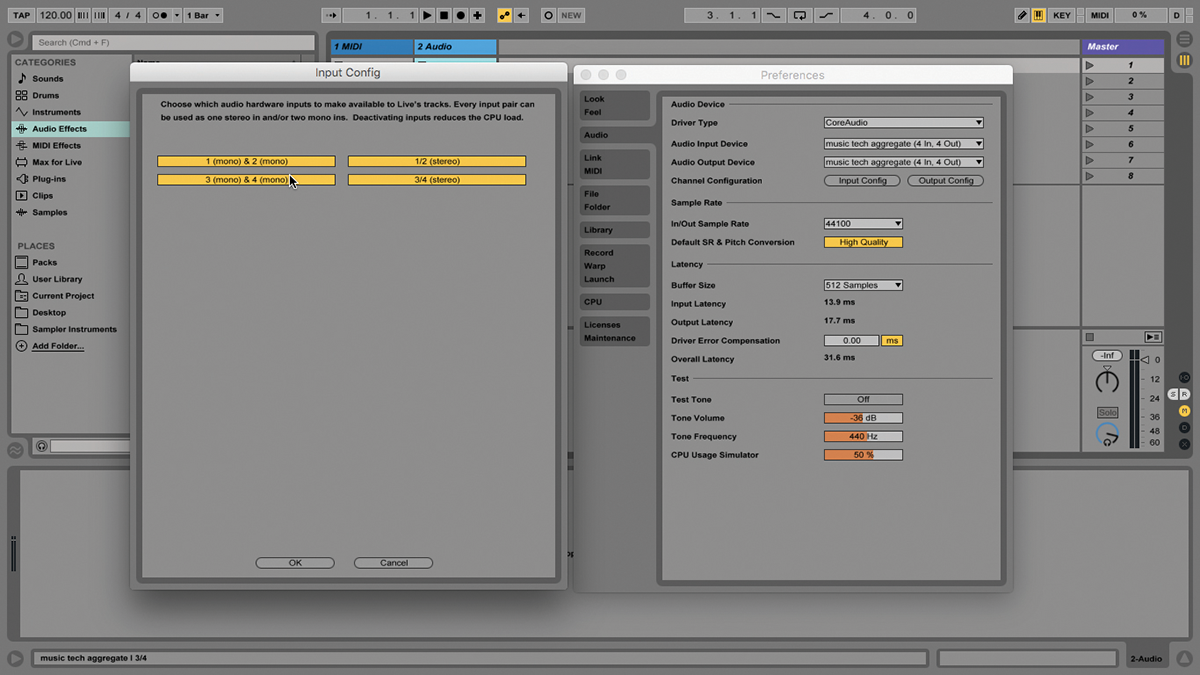
10: Click the Input and Output Config buttons and you can enable all of the inputs and outputs in the device. From now on, Live will treat this as one device, just like any other. Close Preferences.
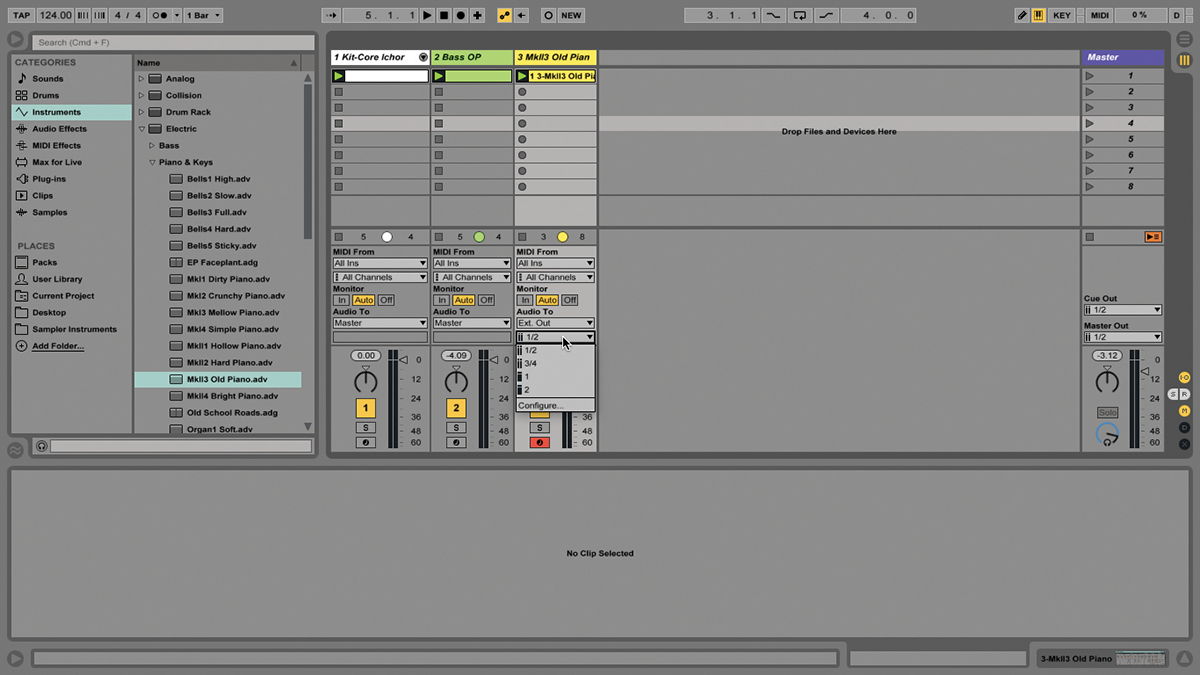
11: Open a Live set. Anything with some clips in Session or Arrangement View will do, though it’s easier to view routings in Session. Open the In/Out View to see all four outputs available.
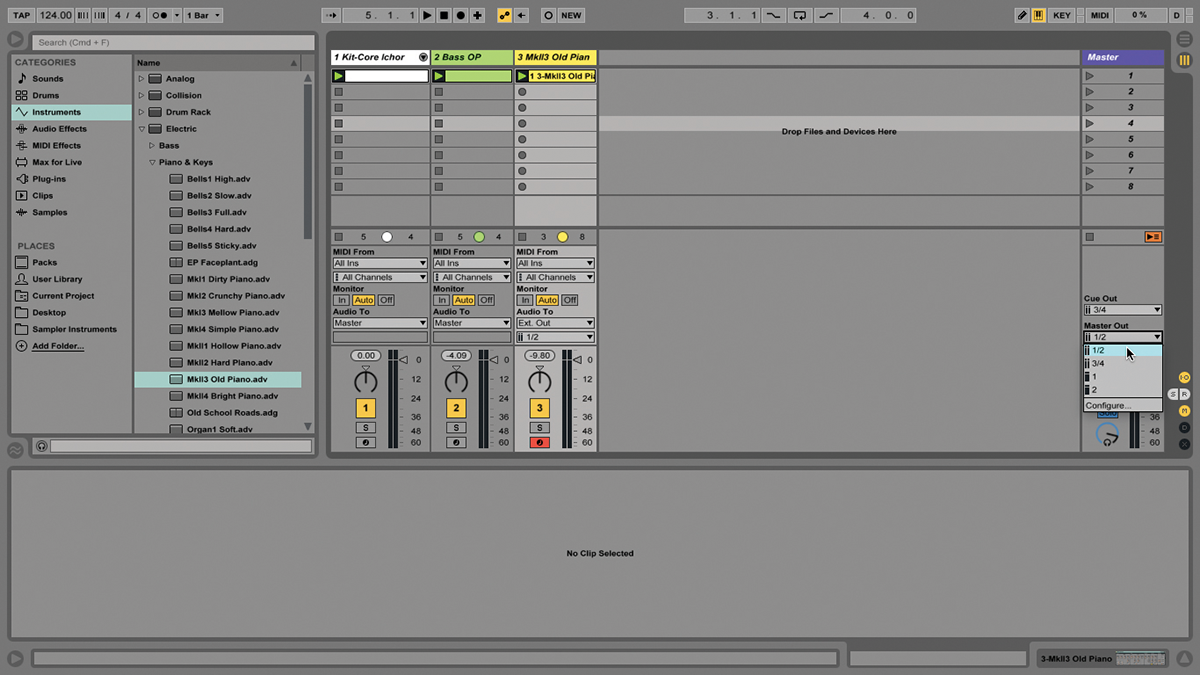
12: Under the Master Track, you can define the Master Out and Cue Out destinations – the one that will go to your headphones. By default, all tracks will go to the Master Output.
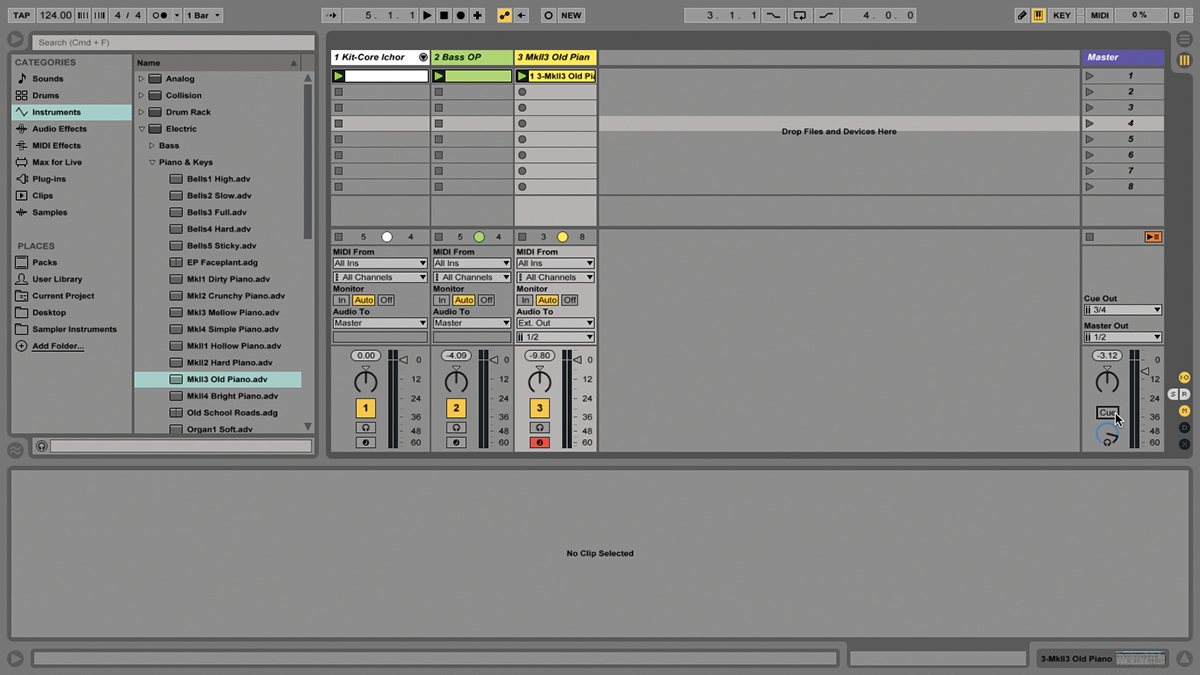
13: Click the solo/cue switch in the Master track, and the solo button in every track becomes a headphone-cue icon. Now you can use these to direct a track’s audio to the cue output.
14: You may need to experiment with the In/Out View settings to find the right stereo output, and don’t forget there’s a cue volume control below the switch, which you could assign to a MIDI controller.
15: Useful, right? Saved yourself from buying a new interface, maybe. As I said, this scales up, so let’s try with two audio interfaces. I’m using the Native Instruments Komplete Audio 6 and Alesis Core 1.

16: The procedure is similar, it’s just a matter of more connections. Connect the interfaces, and use Audio MIDI Setup to configure those inputs and outputs, adding NI to the existing aggregate device.

17: View it in Live’s Preferences – whoo, that’s a lot of connections! Enable them all. In theory, having more enabled ins and outs here can increase CPU usage, but I’ve never had an issue with it.
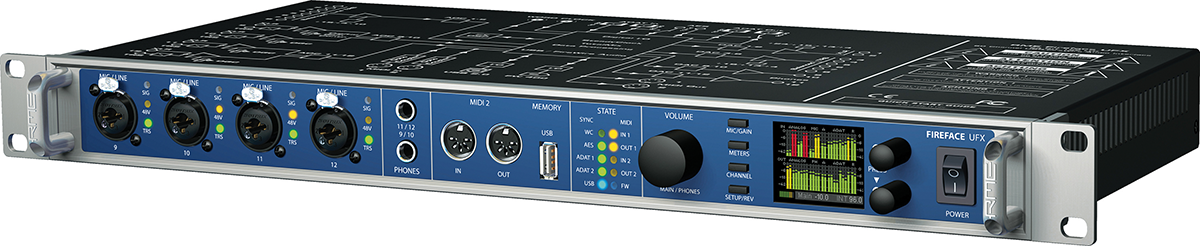
18: If you own an interface with ADAT connections, you may not need an aggregate interface. I’ve got a Ferrofish A16 adding 16 inputs to an RME Fireface UFX – it simply appears as one unit.
