Ableton Live Tutorial: The Inside Track Part Two
Our new Ableton Live Tutorial continues with a look at the basics of launching clips and how to program a simple beat The Basics of Launching Clips 1: Open the example Live set from the project files – it’s called TUGTAL1. Make sure you’re looking at the Session View with the grid – use the […]

Our new Ableton Live Tutorial continues with a look at the basics of launching clips and how to program a simple beat
The Basics of Launching Clips
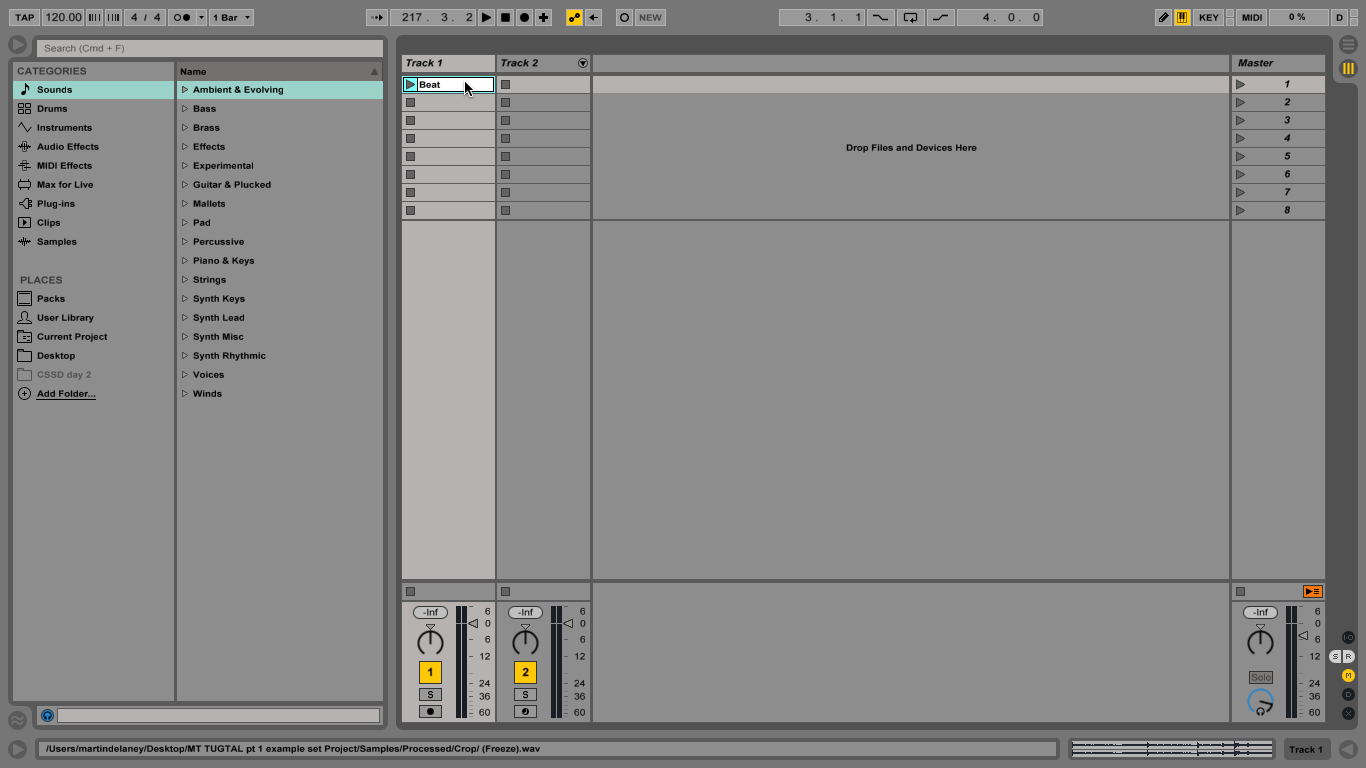
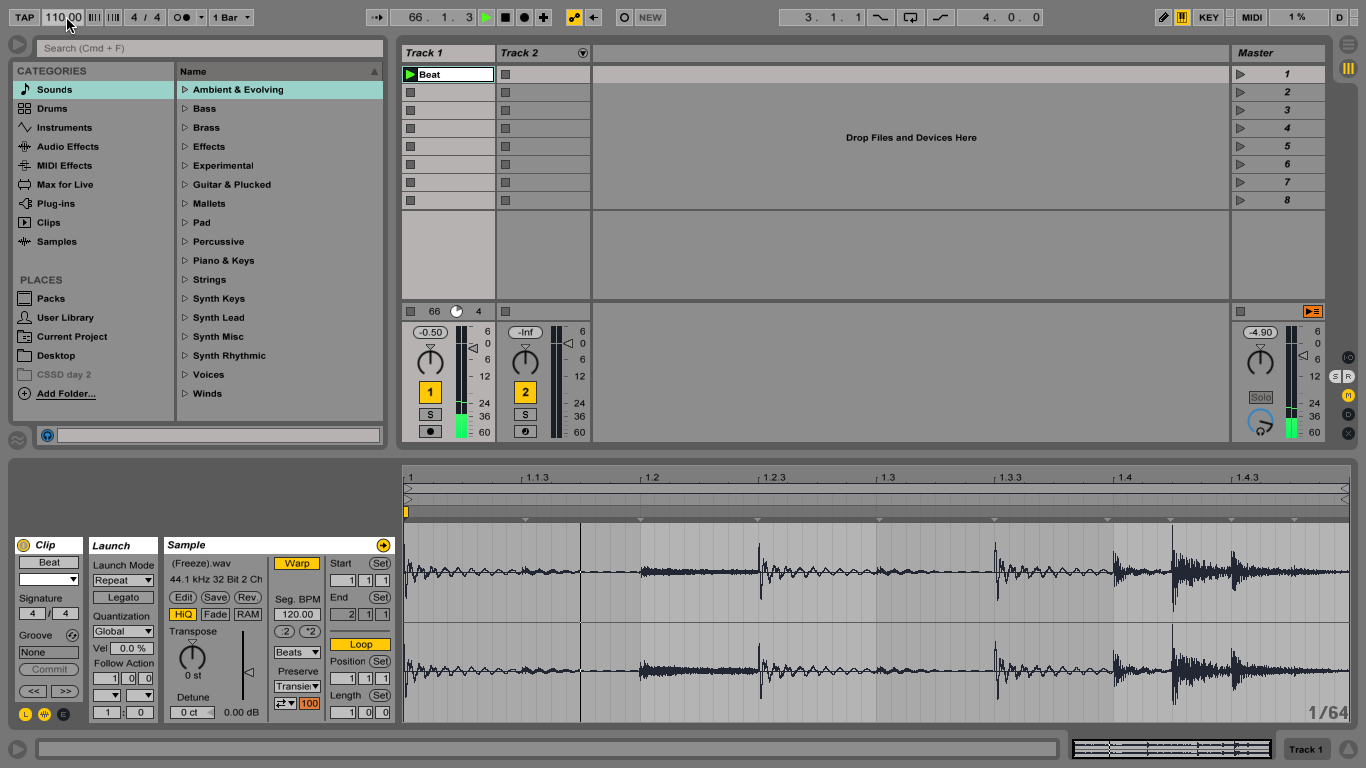
1: Open the example Live set from the project files – it’s called TUGTAL1. Make sure you’re looking at the Session View with the grid – use the tab key to move between Views

2: Track 1 contains a white clip called Beat, which is a drum loop. Click on the small triangle at the left of the clip to launch it. Now it’ll loop forever unless you stop it!
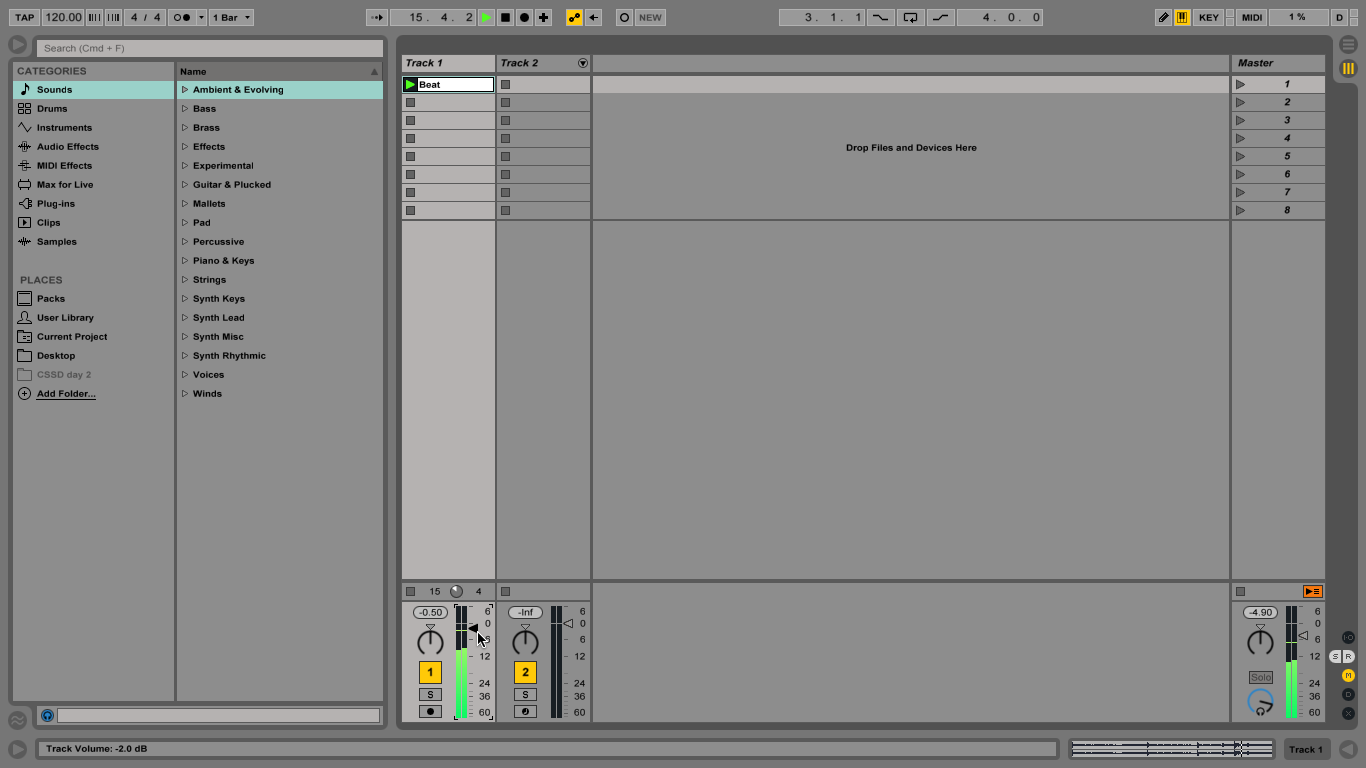
3: Stop it by clicking the square in any empty slot below that clip, or on the track stop button at the bottom of the track. Control the volume by moving the volume fader up and down.
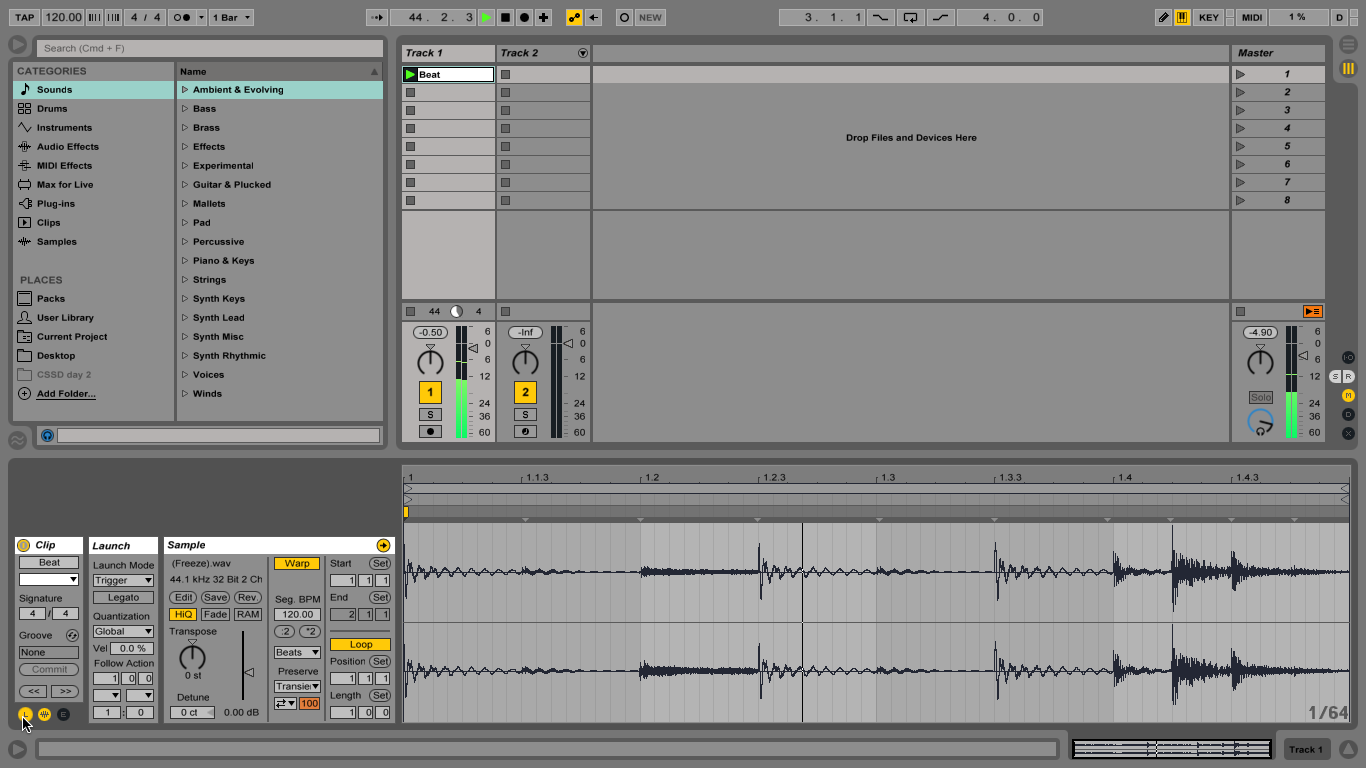
4: You can change the clip’s launch behaviour from the Launch box. If you can’t see it, double-click on the clip and click the small black L button near the lower left of the screen.
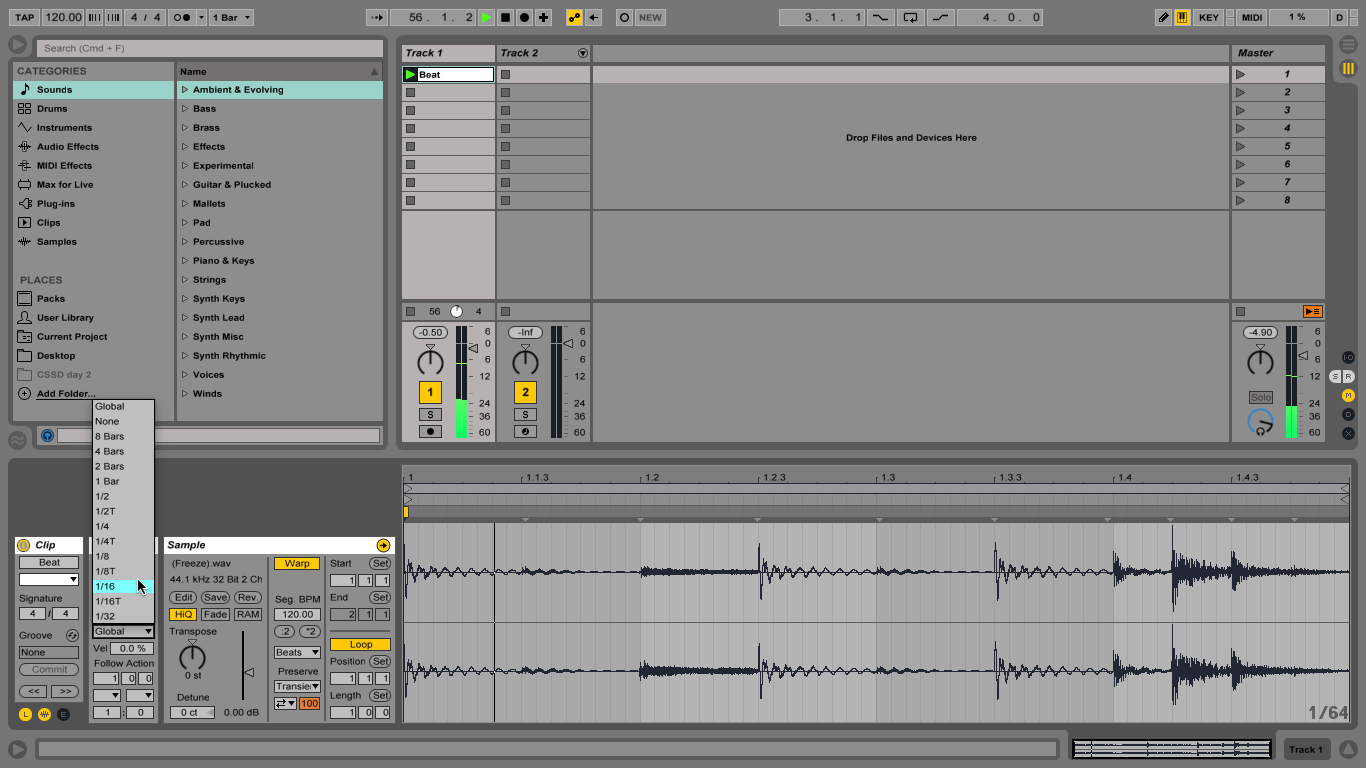
5: Experiment with different Launch Modes as you launch and re-launch the clip. Mix and match with different quantization settings from the box below that and you start to see how clips can be quite organic!
6: Change the project bpm at the top left of the screen, and your loop speeds up or slows down without changing pitch or tripping over itself as it loops round. This is warping (timestretching) at work.
How to Program a Simple Beat
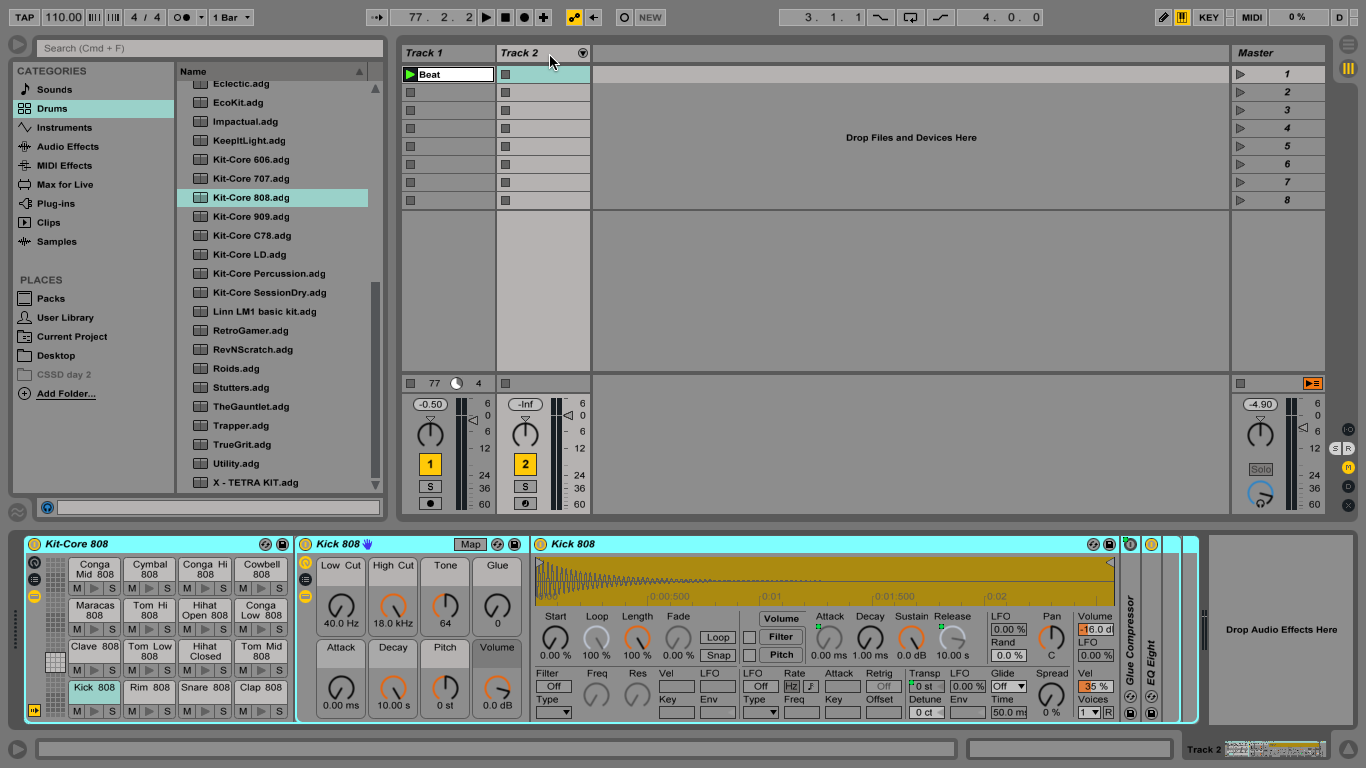
1: Live also enables us to work with MIDI, programming our own parts as well as using audio from other sources. Let’s add some more electronic-sounding drums. Track 2 contains Live’s Core 808 drum kit.
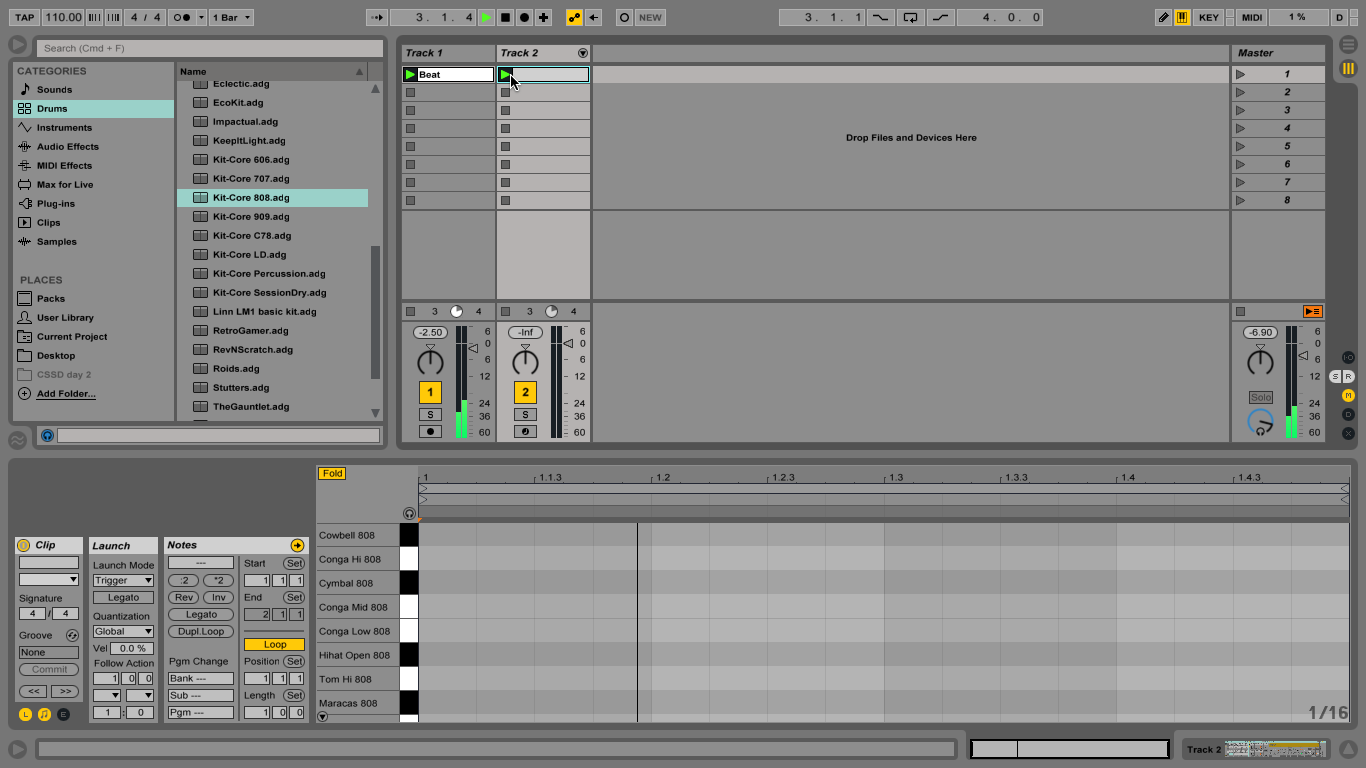
2: Double-click the clip slot at the top of the track to create an empty one-bar clip. Launch this, even though it’s empty. Your Track 1 clip will play too, unless you stop it.

3: Double-click the clip to view the MIDI Editor. The left side of the editor displays the names of the sounds in the kit. The grid is numbered with beats and 16th notes.
4: Preview the 808 kit sounds by clicking the preview button (headphone icon) at the top of the list, and clicking in the boxes next to each sound. Turn off preview when you’ve done this, though.
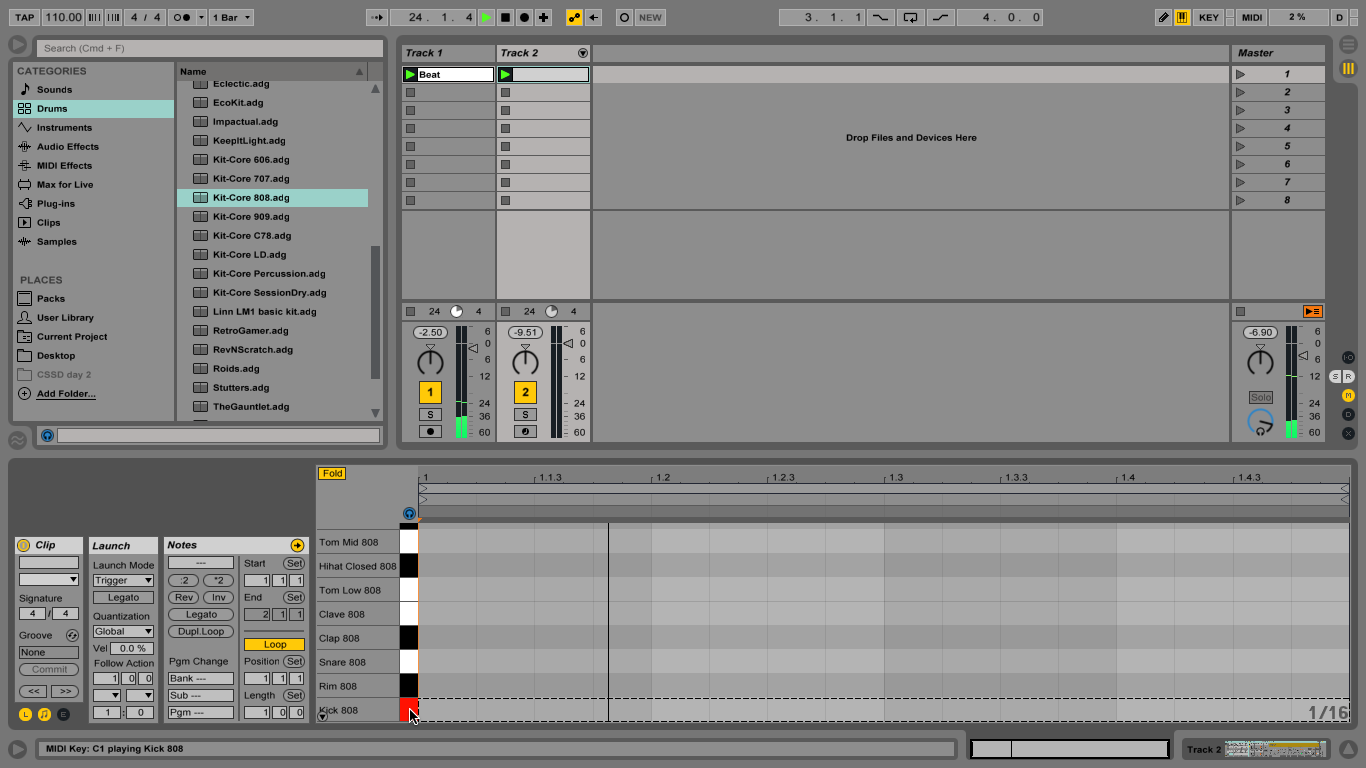
5: Let’s add a kick part. While the clip’s playing, double-click in the grid on 1.1, 1.2, 1.3 and 1.4 in alignment with the kick on the left. The notes will trigger as the clip loops.
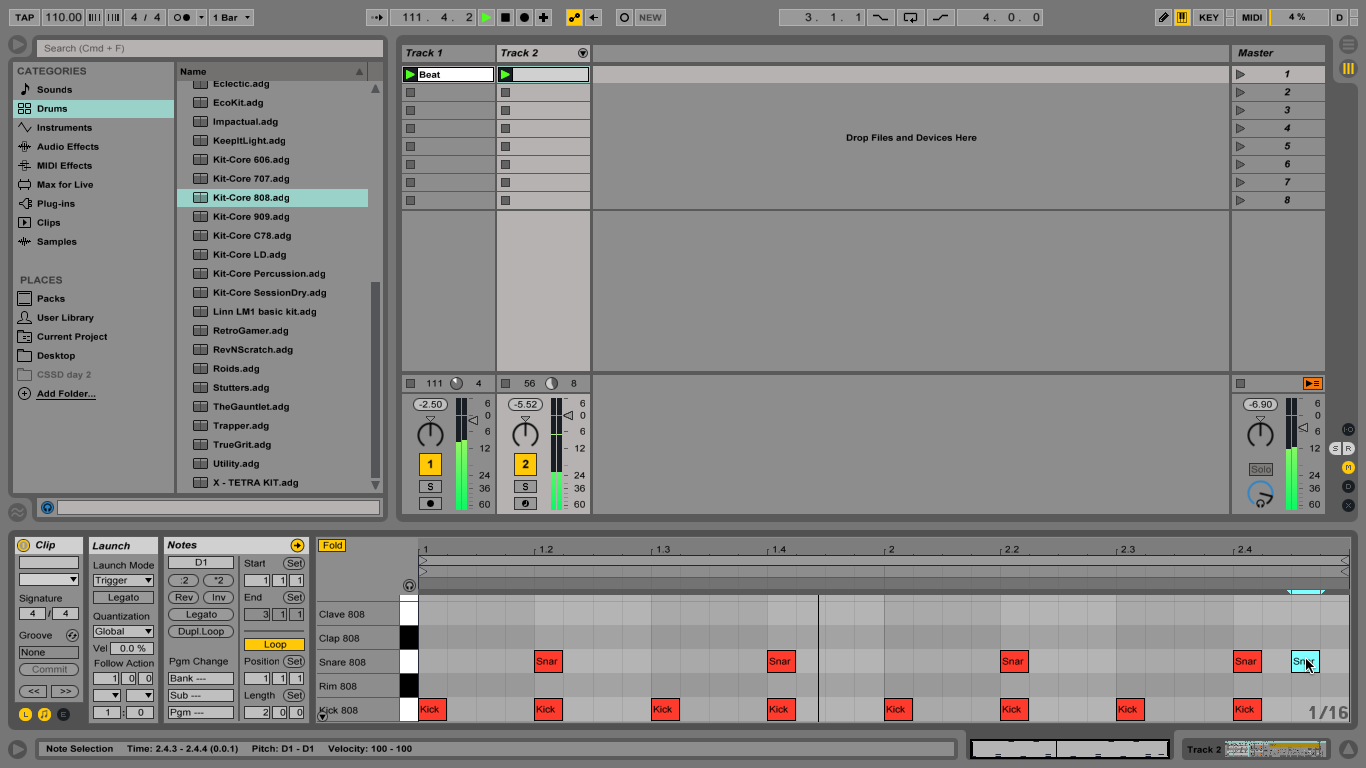
6: Draw a snare at 1.2 and 1.4, and cowbells at 1.2.3 and 1.3.3. Scroll if you can’t see the entire kit. Click the Dupl Loop button in the Notes box, then draw another snare at 2.4.3.

