Ableton Live Tutorial: Final Tweaks Step-by-Step 2
Martin Delaney concludes his pre-mastering final tweaks step-by-step guide… 13: If you’re working on a project with many tracks, group common types of instrument, like drums and percussion. Select the tracks (they don’t need to be adjoining), and type Cmd>G. 14: Then apply the compression to the group instead of individual tracks. To my ears, […]
Martin Delaney concludes his pre-mastering final tweaks step-by-step guide…
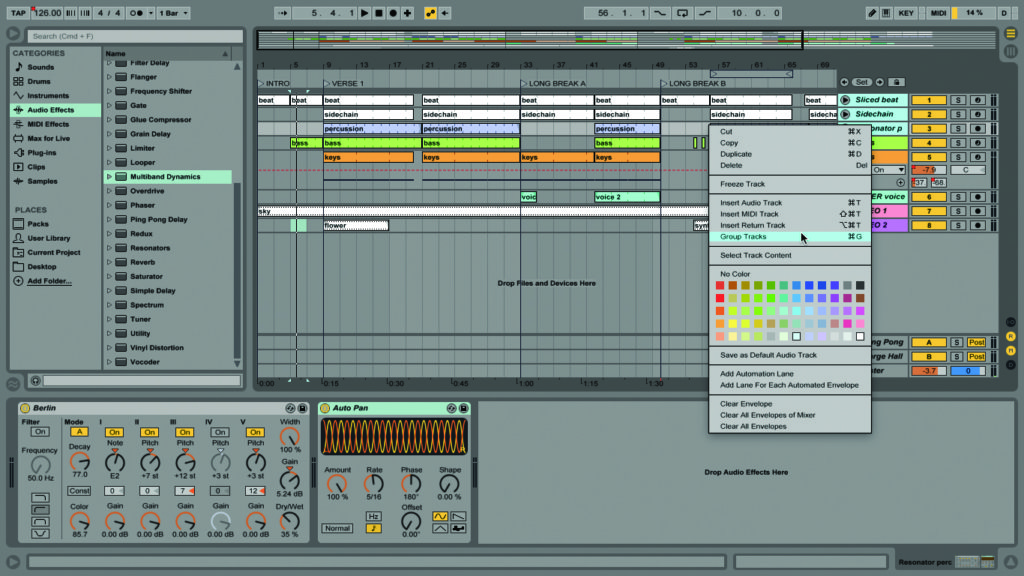
13: If you’re working on a project with many tracks, group common types of instrument, like drums and percussion. Select the tracks (they don’t need to be adjoining), and type Cmd>G.
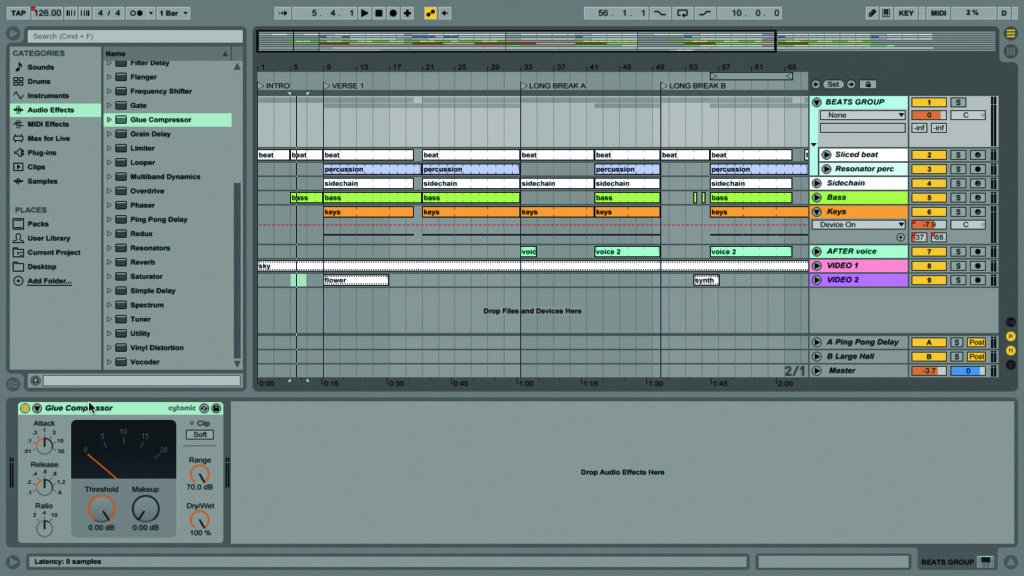
14: Then apply the compression to the group instead of individual tracks. To my ears, this helps bind the sounds together, and takes the heat off using too much processing on the master track.
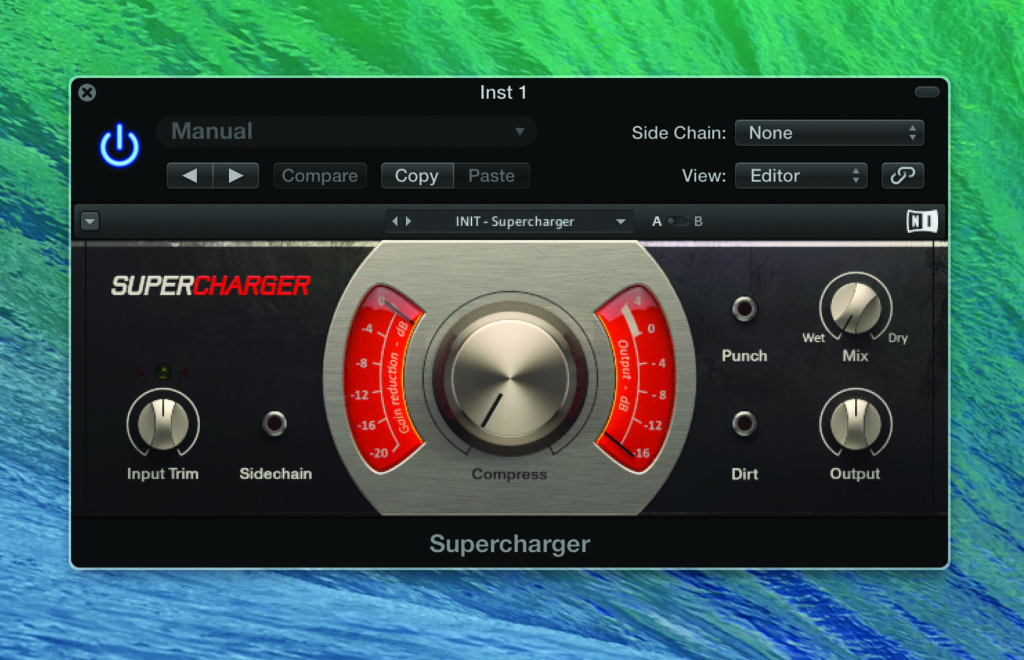
15: If you want more characterful compression – an opportunity to change the tone of your production – you will benefit from third-party plug-ins from people like Waves, PSP, Softube and NI.
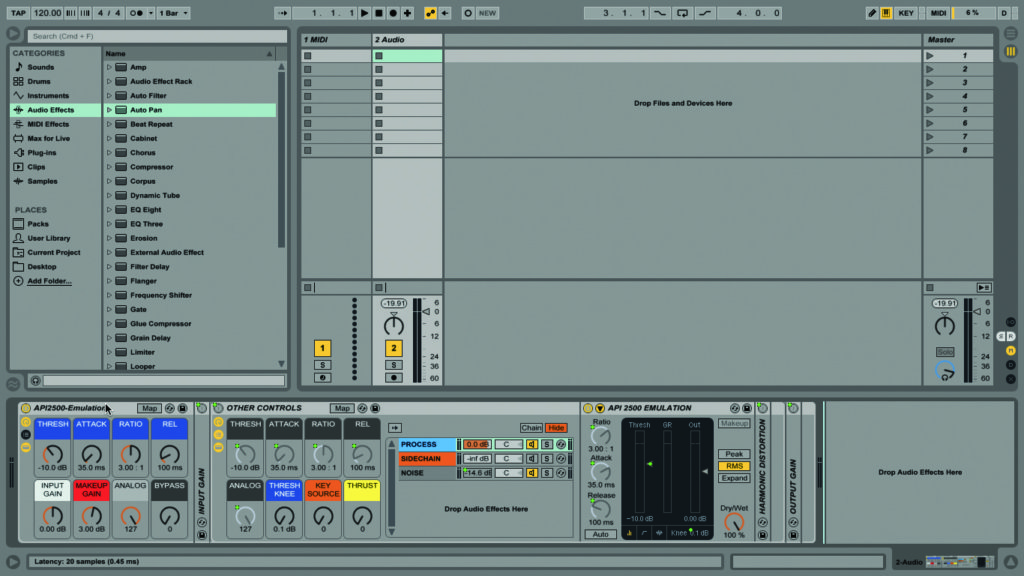
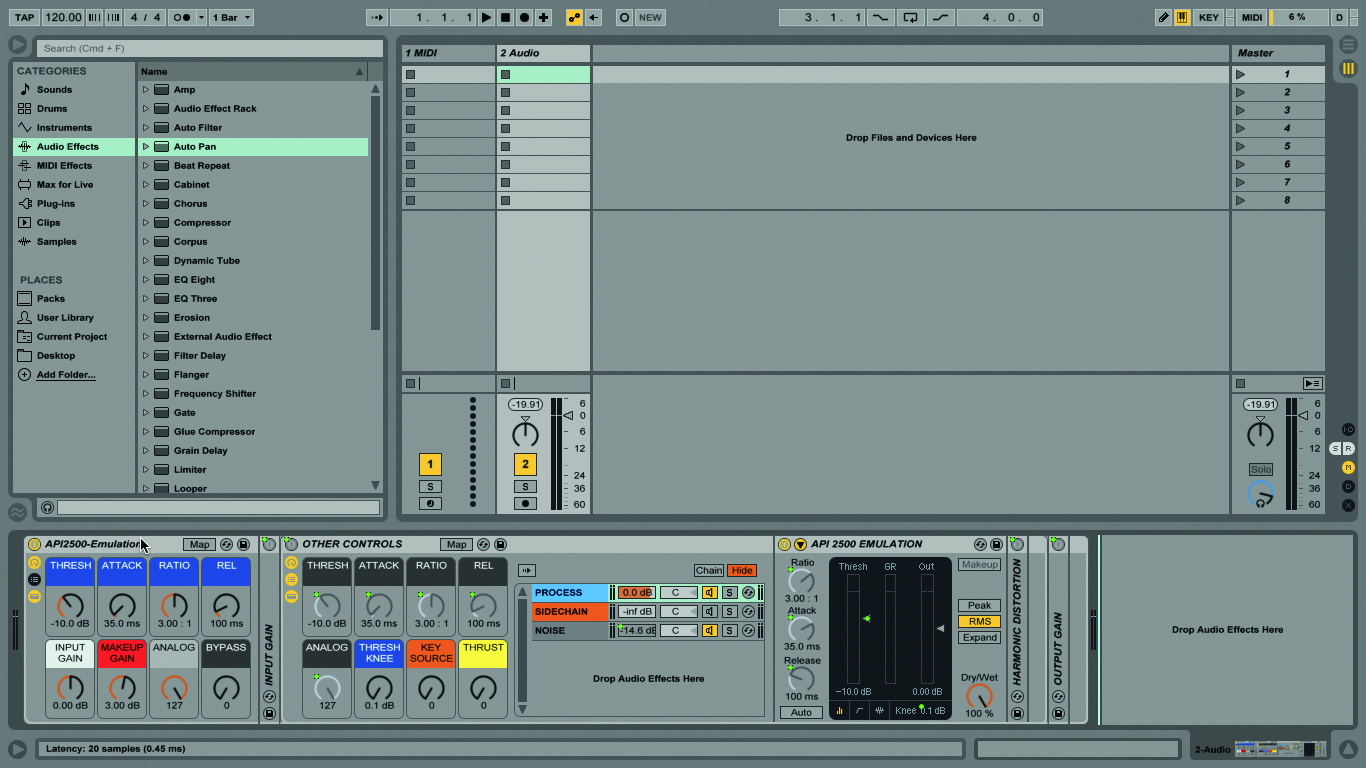
16: If you can’t afford more plug-ins, you might find some free Live presets online that’ll step in for now; there’s a good API 2500 simulation available. Otherwise, take the time to build your own racks.
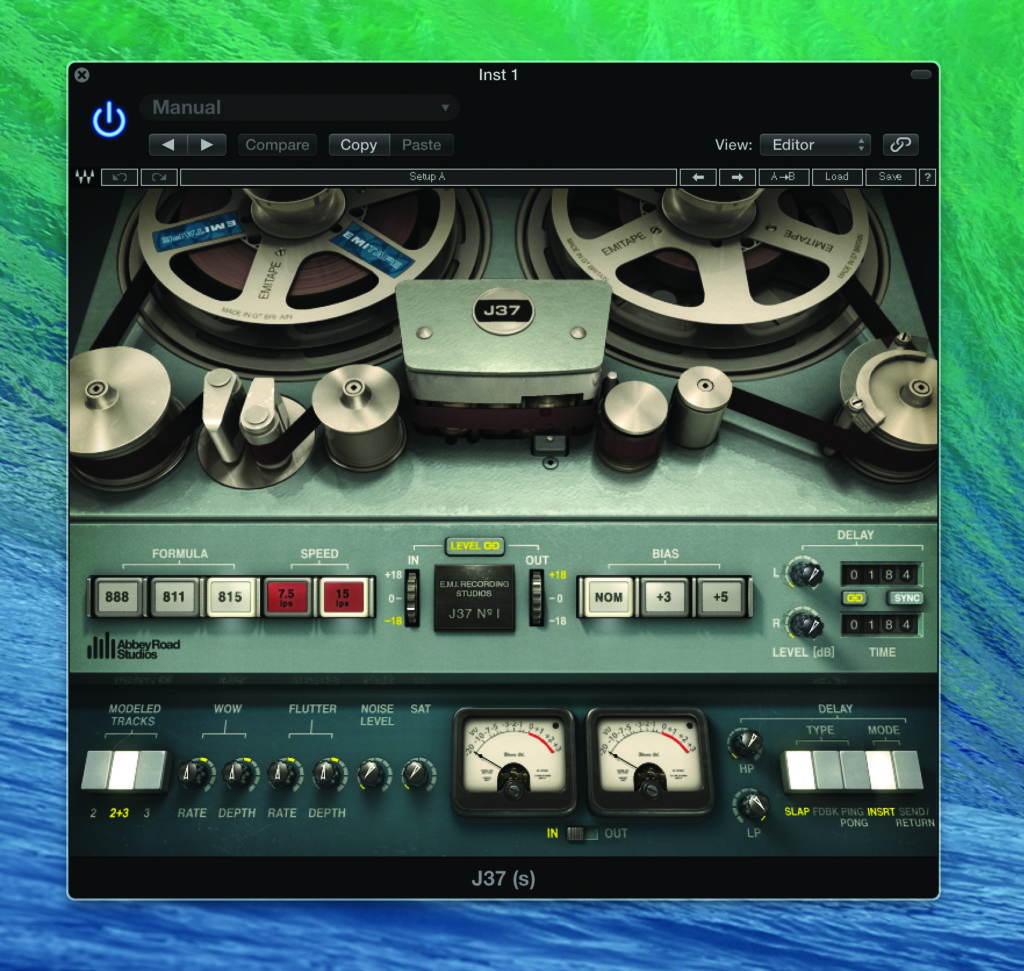
17: I’ll use tape simulators such as Waves Abbey Road J37, on specific instrument tracks. For guitar projects, or anything retro, I’ll use them more, usually on every track or track group, in the project.
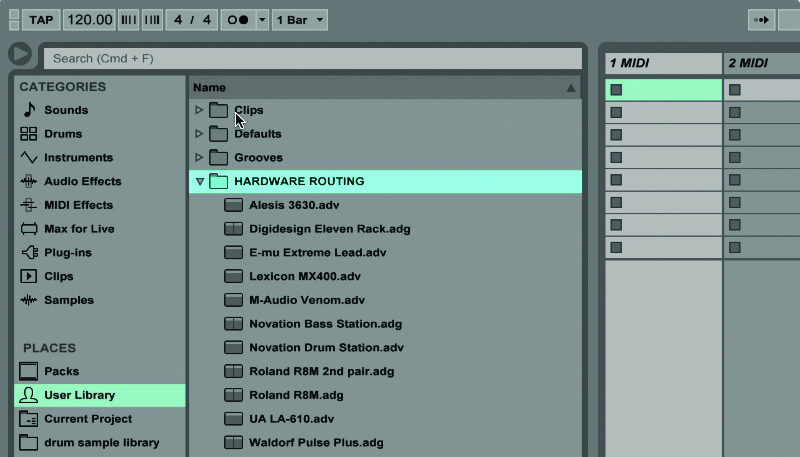
18: Got hardware compressors? Wire them into Live with an External Audio Effect device, and save it as a preset for future recall. I have presets for the UA LA610, Alesis 3632, and EL Fatso Jr.