Ableton Live Tutorial: Recording & Manipulating Speech – Step-by-Step 2
Martin Delaney continues his step-by-step guide to recording and editing speech with Ableton Live…. 13: The Loop Brace is that bar above the audio waveform. You can drag to reposition it and grab either end to change the length. FYI the Loop Brace dimensions and coordinates are MIDI-mappable. 14: Make sure the Loop Brace is […]
Martin Delaney continues his step-by-step guide to recording and editing speech with Ableton Live….
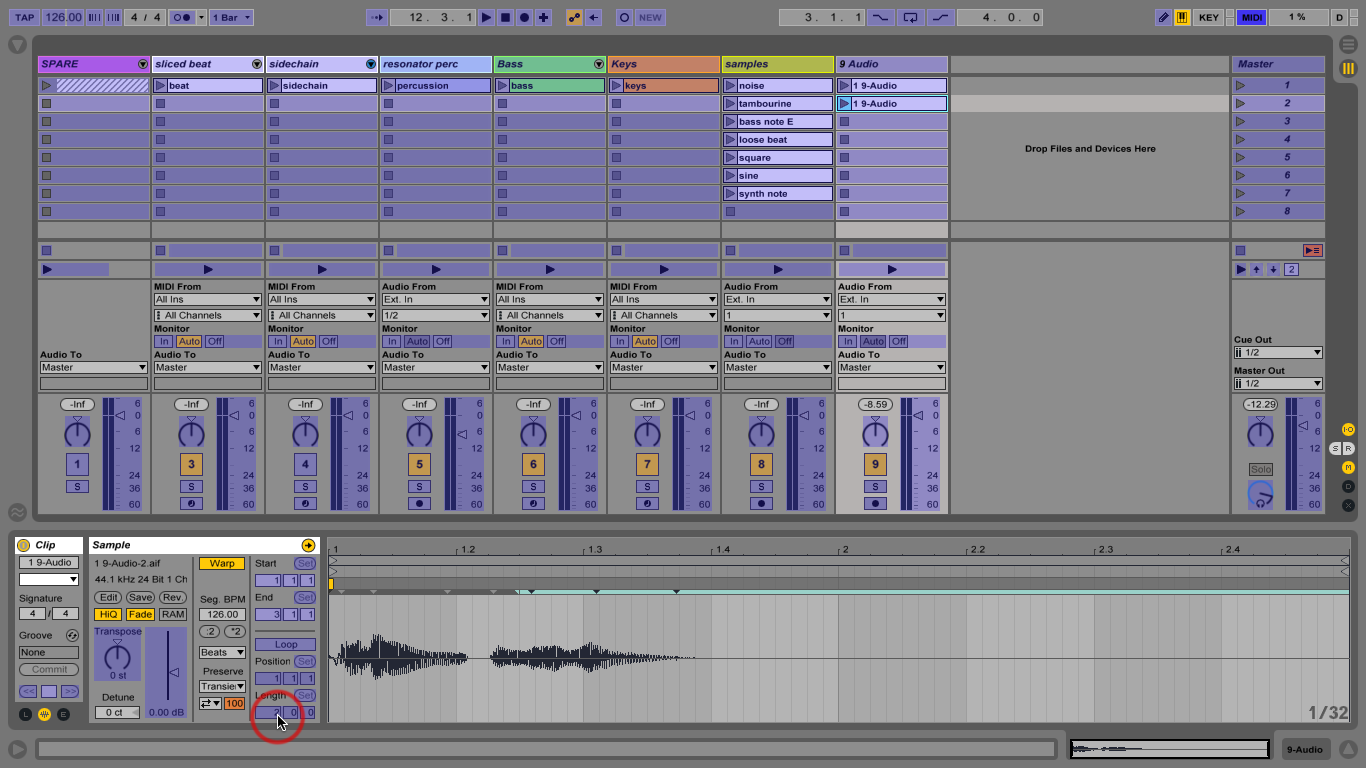
13: The Loop Brace is that bar above the audio waveform. You can drag to reposition it and grab either end to change the length. FYI the Loop Brace dimensions and coordinates are MIDI-mappable.
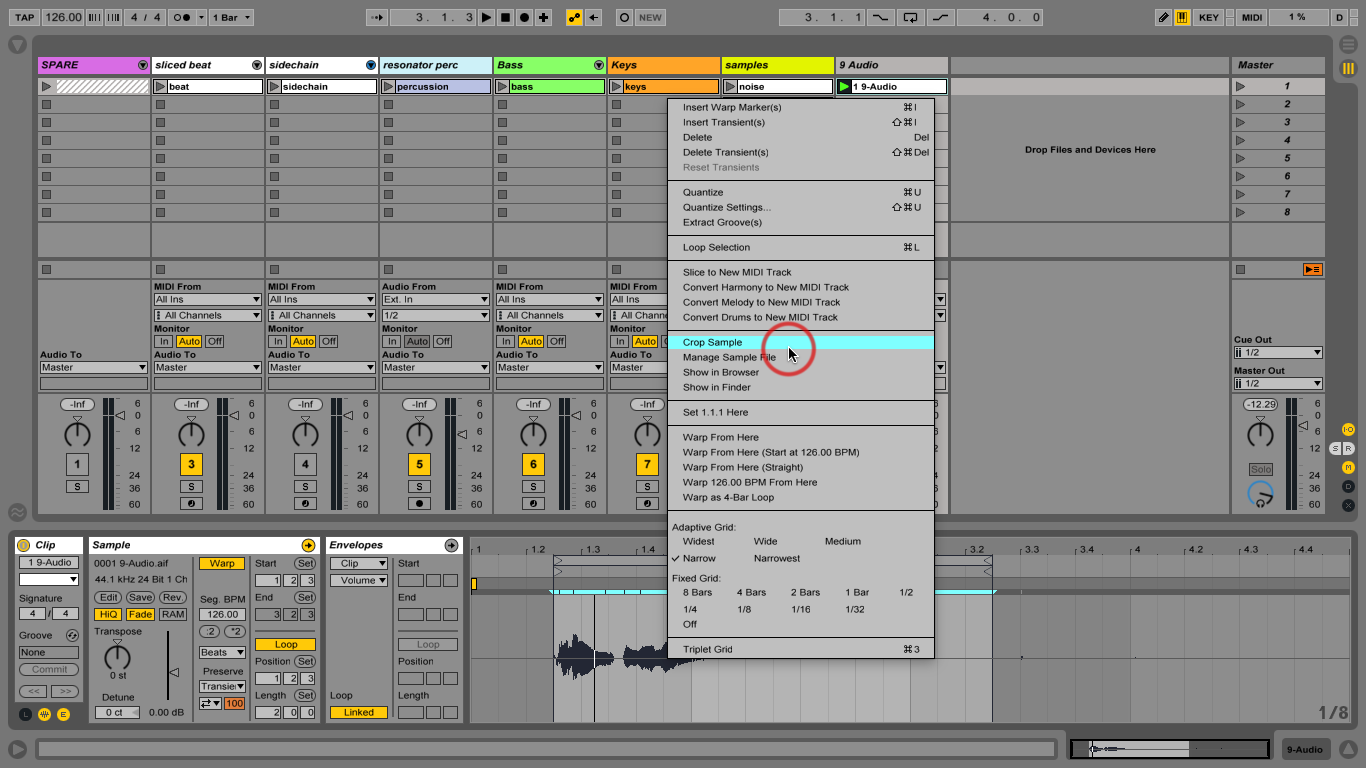
14: Make sure the Loop Brace is an even bar length, though. Right-Click inside the area contained by the loop brace and choose Crop Sample. Duplicate this clip to the slot below using Cmd-D.
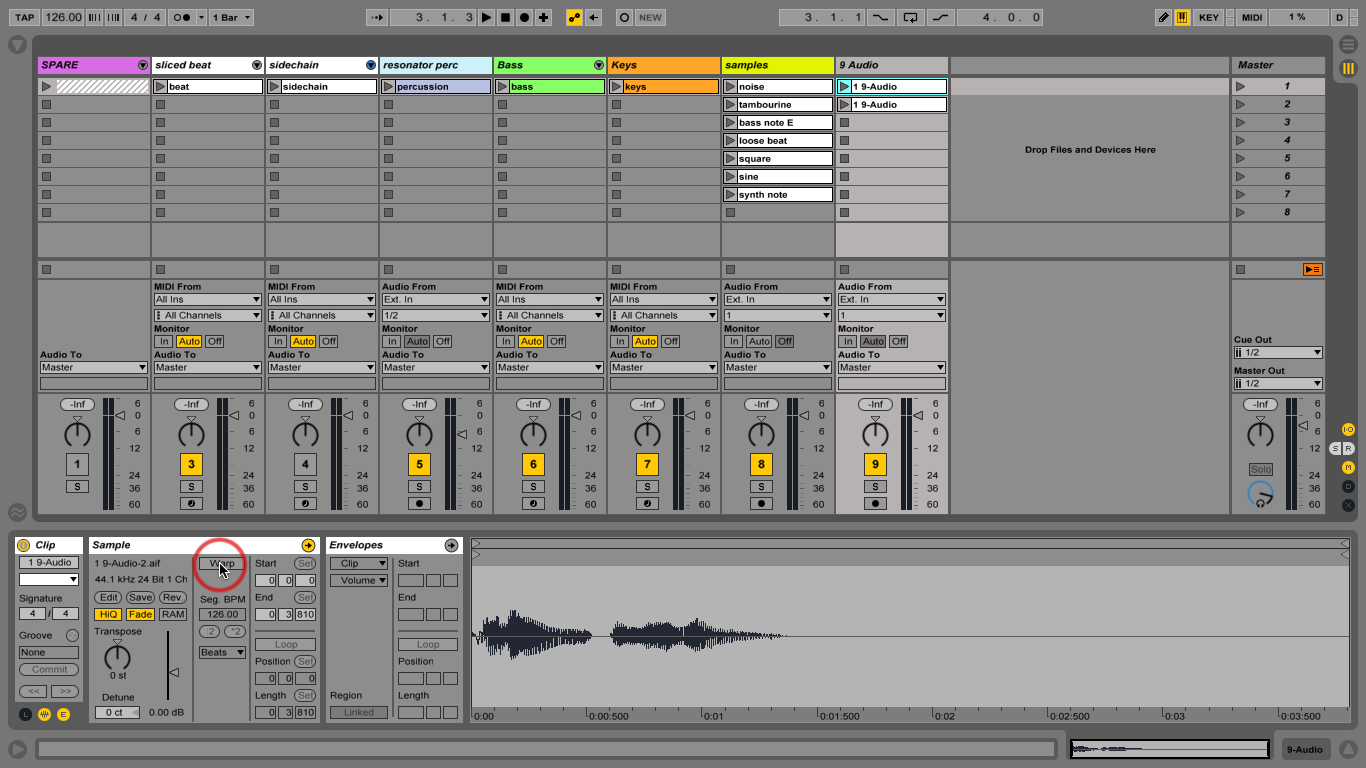
15: Select the first clip. From the Sample View at the bottom of the screen, deactivate Warp so it’ll play just once at its original speed. Now you have a one-shot, plus a looping version.
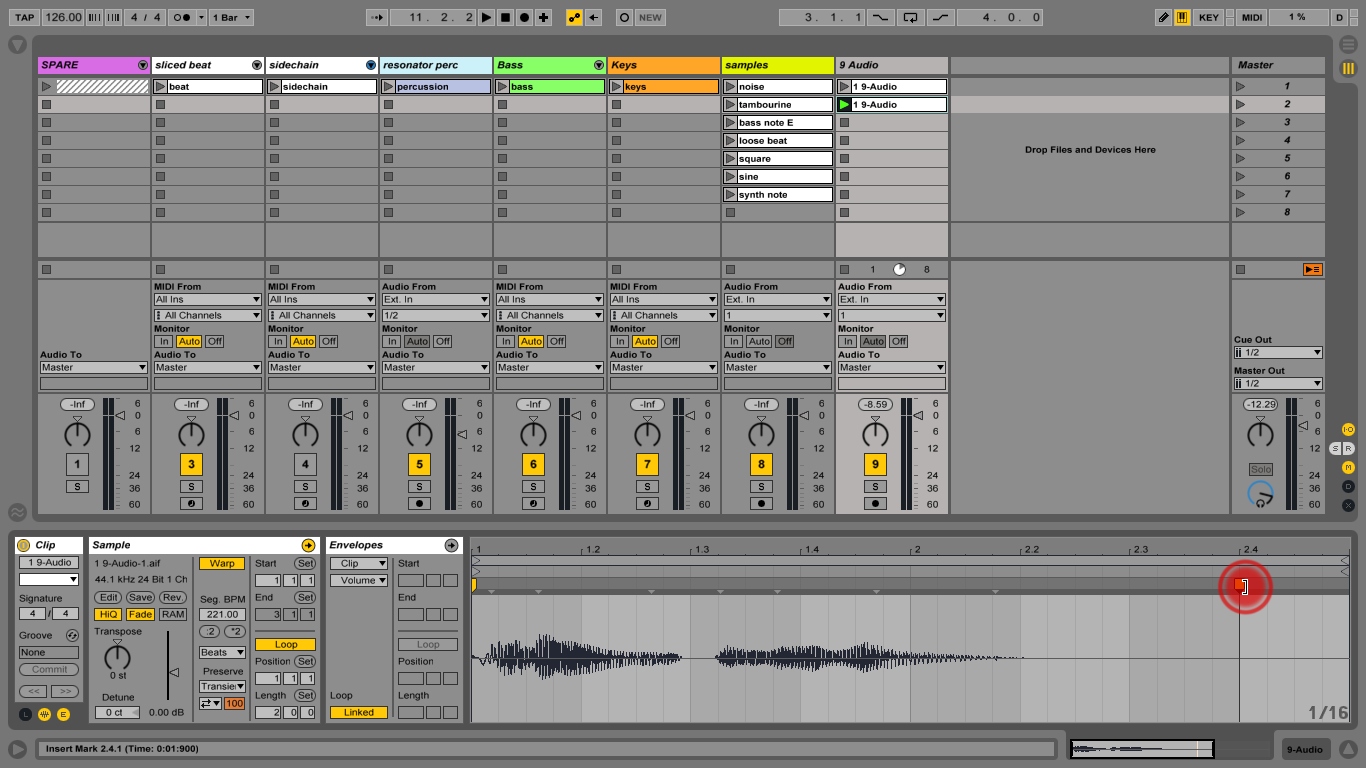
16: Use Cmd-D to duplicate the second clip. Double-click above the right end of the waveform to add a Warp marker. Grab it and drag to the right, doubling the length of your original sample.
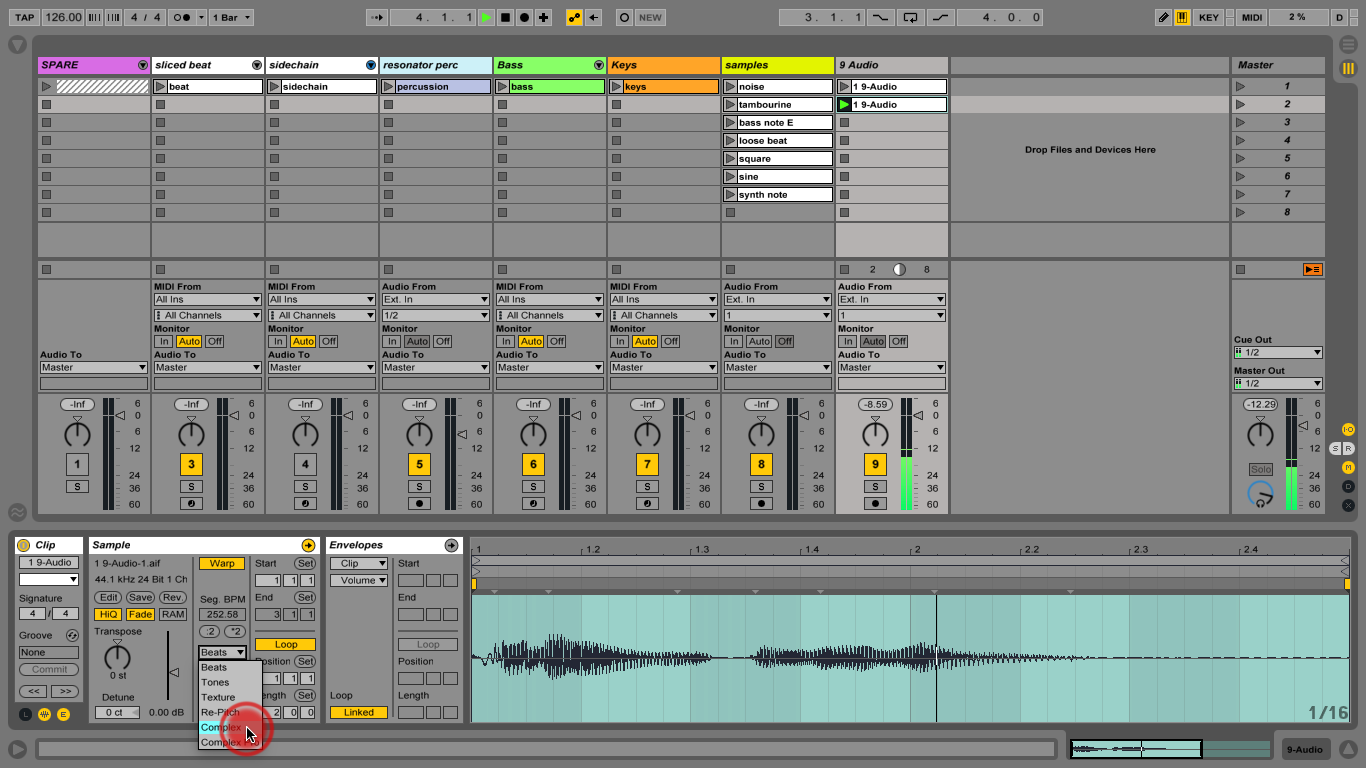
17: Make sure you adjust the length of the Loop Brace to accommodate the stretched waveform. Experiment with Warp modes – the difference between Beats and Complex is very noticeable (but let’s stick with Beats).
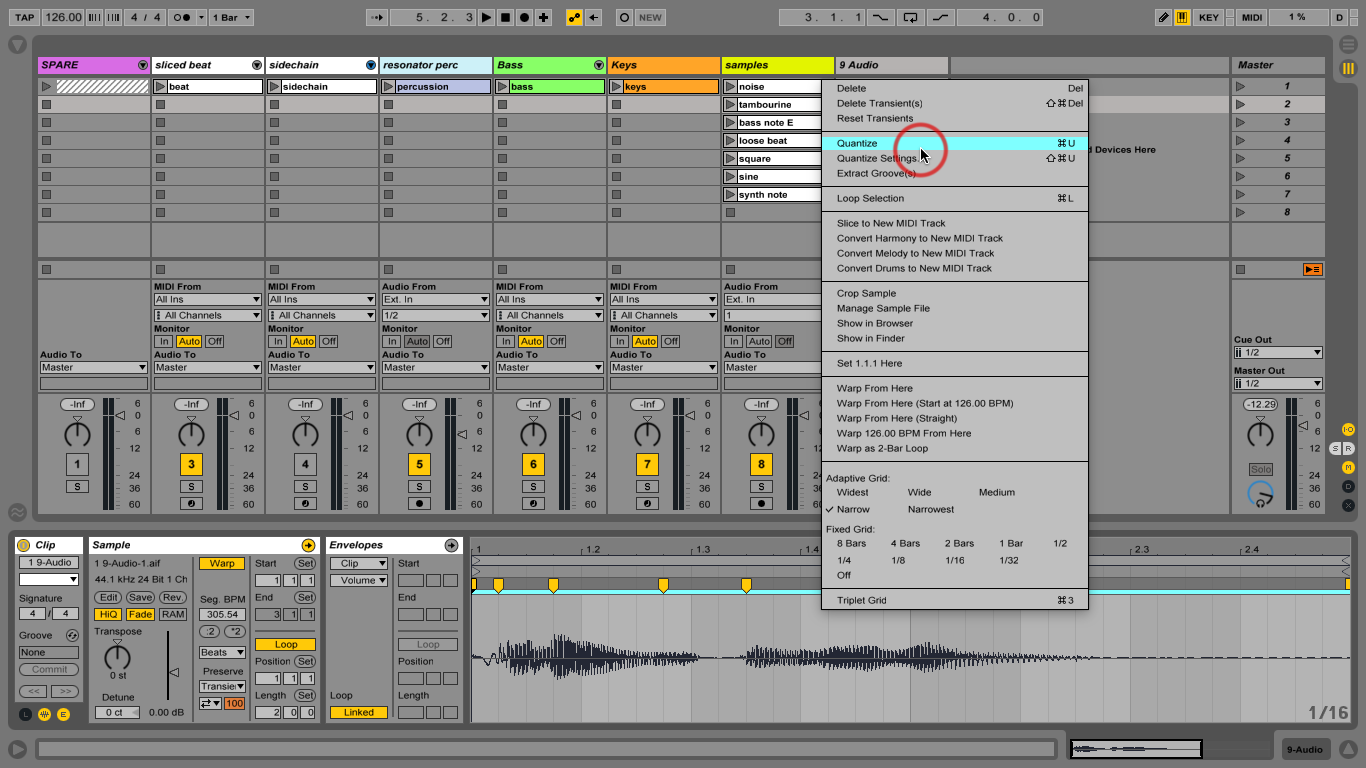
18: Quantize the audio-click inside the waveform and type Cmd-U. Watch the waveform peaks snap to the grid; you’ll see Live inserts yellow Warp markers to achieve this.
