Ableton Live Tutorial: 25 Pro-Tips
An open-format DAW, Live is easily set up for use as both a live performance and studio tool. Liam O’Mullane shares various working tips for his DAW of choice.
An open-format DAW. Live is easily set up for use as both a live performance and studio tool. Liam O’Mullane shares his working tips for his DAW of choice in this Ableton Live Tutorial

Save For The Future
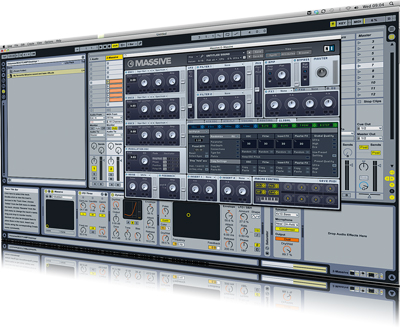
If you’re creating sounds to use in future projects there are two ways to make them easy to fully recall. To save the instrument and its associated audio plug-ins, highlight all of the devices and select Group from the right-click (PC) or [Ctrl]-click (Mac) menu. Now click the Save Preset icon in the bottom left of the new Instrument Rack to save the elements as one. If you want to save everything for a channel, including MIDI parts or audio loops, left-click and drag the top of the channel in Session View to the Live Browser; it will be saved in a location of your choice. This will create a Live .als file for MIDI tracks and a folder for audio tracks to hold the copied audio. Simply drag this into any open project in the future.
Instant Favourite Settings
As you spend more time using Live’s plug-ins you’ll find that the first 30–60 seconds after loading each one are spent setting it up. EQ Eight is a good example of this: you may find the first two EQs are better set to a low than high cut for the obligatory initial house-keeping work. To save time, set up a plug-in as you prefer, right- or [Ctrl]-click the device title bar and select Save As Default Preset. EQ Eight also defaults to a lower-quality setting, so after selecting Hi Quality from the same menu, re-save the default preset.
Clever MIDI Clip Extension
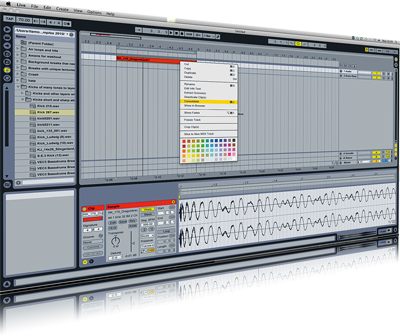
Extending a MIDI clip will expose more looped data by default, a behaviour that may or may not suit your preferred method of working. Instead of turning off loop in Clip View each time you want to create a longer section to add to, highlight the part by left-clicking it and press [Ctrl]+[J] to consolidate. This technique is a lot faster and saves additional mouse movements. Another approach is extend it first, then consolidate it so that you have a single new independent clip to alter for variation.
Drum Auditioning In Context
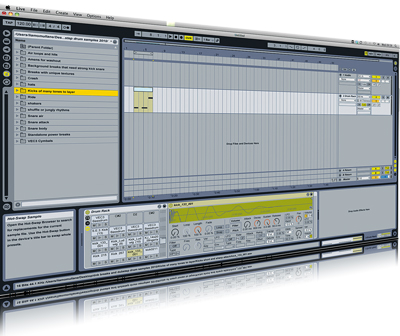
If you are working with Drum Racks with programmed MIDI parts and Simplers set up as you like them for shaping the sound, use the Hot-Swap button on the Simpler waveform in the bottom right corner instead of on the drum pad or Simpler title bar to retain your ADSR, filter, pitch settings and so on. This lets you audition new drum sounds in the context of your existing settings.
Sample Magic
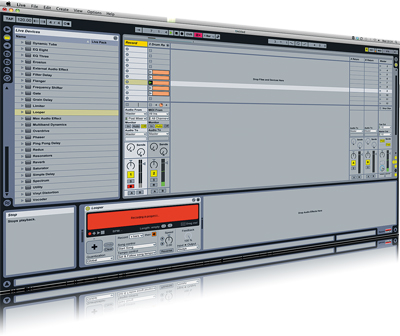
Sometimes it’s handy to record parts from another audio channel to create new loops or sample material to load into instruments or perform all sorts of audio-manipulation on. Rather than set up an audio track each time you need to do this, set up a dedicated track for recording, set its input to be the master buss and switch monitor to off to avoid feedback. Now you can capture any magic moments and use them within a project as audio straight away or drag them to the Live Browser for later use. Having a Looper plug-in on this channel will also let you record audio when Live’s transport isn’t active. This is useful for capturing elements of plug-ins that behave differently when the transport is active.
Auxiliary Cannibalism
When using Return tracks for auxiliary send effects you can also enable them to send to each other for CPU-efficient sonic creativity. Right- or [Ctrl]-click the greyed-out auxiliary send you wish to use on the return track and select one or all to be enabled. Try sending a delay return to a reverb to defuse those separate delayed parts (or vice versa to add a more decipherable rhythm to a reverb effect). You can also try sending the Return track to itself, but make sure that you turn down your speaker volume first as things can get loud very quickly. Small amounts can extend a delay’s max feedback time; full amounts will create a strong feedback loop that you can shape with filters and distortion while recording to create lots of sample material.
Heavy In The Middle, Light On The Sides
Live’s EQ can work in either stereo, independent left and right or mid and side modes. By setting Mode to M/S the button to the right will now let you flick between mid and side EQ settings. To make a stereo sound more focused in the mix try rolling off the low to mids from the side signal so the stereo element is left only in the higher frequency range. This is also useful to be 100% sure you don’t have any low-end phase in the stereo field. To hear either the mid or the side in solo add a Utility plug-in and set the Width setting to 200% for just side and 0% for mid.
Start As You Mean To Go On
As with effect default settings, you can create a personalised starting point by setting up a template – this could contain Drum Racks with your favourite drum samples already loaded, a collection of Return tracks set to the types of ambience you always use in your work and more. Once you have your project set up, open Live’s Preferences by pressing [Ctrl]+[,] (PC) or [Cmd]+[,] (Mac) then click on the File Folder tab. At the top press to store the template as the default project when opening Live. If there are any audio files used in the template they will still be located in their original place so make sure that you know where they are so you don’t accidentally delete them in the future.
Group Strength
Live has one of the simplest ways to process sounds in parallel for audio tracks or instruments – the Group function in the Track View Selector window. After creating your first plug-in to use alongside the original signal, click the Show/Hide Chain List button (the third round button down on the very left-hand side of the rack). All audio is currently passing through the channel named ‘chain’; by right- or [Ctrl]-clicking underneath it you can create a new, clean channel. This can be continued if you want more channels to add different processing treatments to.
Time For Action
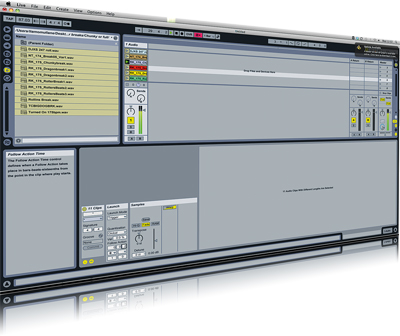
There’s nothing like randomness to help you out of a creative rut – Follow Actions are useful for this. Slice up a piece of audio already in your project or grab random loops from the Live Browser and drop them into a single track in Session View. Highlight all the loops and open the Launch button in the bottom left-hand side of the Clip View window (it’s an L in a small circle). Now select the left-hand dropdown menu under Follow Action and select Any. This will now randomly play any clips in the track; reducing the Time Control values directly under Follow Action will let you dictate how soon the clips follow on from each other. Enable Legato mode to let the play position continue around the loops as they switch for more variations.
Hot-Swap For Audio Tracks
The Hot-Swap feature in Simpler, Sampler, Impulse and Drum Racks makes for very quick auditioning with MIDI work. But if you prefer to work with audio loops in Session View or sequence audio events in Arrangement View, there is a hidden way to use Hot-Swap. In Clip View, right- or [Ctrl]-click the audio file’s name (just below the top of the Sample box) and select Manage Sample File. Now the Replace Files browser will appear on the right and you can click the Hot-Swap button to the left of the filename to audition replacement audio.
Effective Pitching
When working with audio files you can quickly re-pitch one or a collection of highlighted audio clips by changing the Transpose control and Detune for finer tuning. All Warp modes except Re-pitch keep loops the same length while changing the pitch. Switching to Re-pitch mode will disable the use of transpose until you turn off Warp mode, which then locks pitch and length together in a classic vari-speed-behaviour like most samplers. The Frequency Shifter audio effect is another option that has a different tone from normal pitch-shifting algorithms. This can be useful for tuning elements of drum hits with a balance of the original by adjusting the dry/wet balance.
From Exciter To Reverb
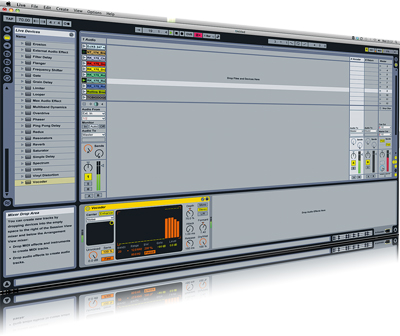
The Vocoder effect makes an excellent noise-shaping tool when added to a Return track. With the carrier set to noise, a noise-based imprint of any sounds being sent to it is created. For more reverb-like sounds you can extend the Release time so the noise lasts longer than the source signal. The Formant control will let you tune the output; Depth controls how much of the modulator will shape the carrier signal. Drawing out low and mid frequencies in the Filter Bank section (central) can add a thin layer of noise along with the source sound, acting as a frequency exciter.
Mouse-Free Editing
When you’re programming melody or drum parts in MIDI, it’s possible to use key commands to create all MIDI notes after you’ve created the first one by double-clicking in the MIDI Editor. You can move the first note up, down, left or right using the arrow keys. Holding down [Shift] while using the left or right arrows resizes the note (shorter or longer respectively). Press [Ctrl]+[D] (PC) or [Cmd]+[D] (Mac) to duplicate this first note; [Ctrl] or [Cmd] along with the arrow keys will let you move between notes to manipulate; holding down [Shift] at the same time will let you highlight neighbouring notes. [Shift]+up/down lets you move notes by an octave instead of a semitone.
Slice And Dice
Although Slice To New MIDI Track from the right-/[Ctrl]-click menu is an incredibly fast way to program or take slices from drum loops, its function and available presets can be used over any audio as an experimental tool. Try slicing instrument melodies or vocal parts and experiment with the Create One Slice Per settings for transients or lots of small slices such as 1/16 notes. Then you can apply MIDI effects like Random or Arpeggiator to create re-ordering of these slices for instant mashed-up audio. With Random it may be worth recording the output of the device so any happy randomness can be captured and re-used.
Drag, Drop And Prepare
You can change how files will lay out when importing multiple files from the Live Browser or another window. Holding down [Ctrl] (PC) or [Cmd] (Mac) before you let go of them into Live will make them stack vertically in Arrangement View (or vice versa in Session View). If you have any particular plans for this audio it’s worth setting their preferences in Clip View while they are all still highlighted (don’t double-click them to get Clip View as this un-highlights them; press [Shift]+[Tab] to flick between Clip and Track View instead). Now you can play with Tranpose/Warp modes as well as colour-coding them and re-naming them.
Play Your Parameters
Live has one of the easiest click-and-assign tools of all DAWs, which makes it very easy to instantly control anything with a MIDI controller or computer keyboard. MIDI Map mode (the MIDI symbol in the top right of the screen) also lets you spread a selected parameter range over MIDI notes on a keyboard by clicking the parameter then pressing the notes you want it spread over. You can then define the range of the control via the MIDI Mapping box to the left. This could be for LFO speeds or filter cutoff; by using it with notes instead of faders or dials you will get stepped, repeatable results.
 Impulsive Drumming
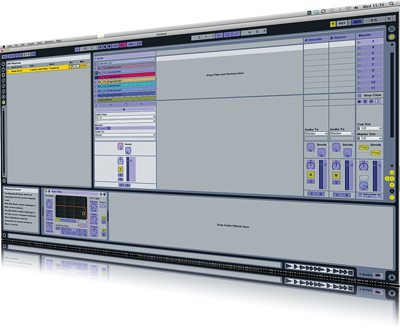
After Drum Racks appeared in Live it became quite easy to overlook the original Impulse drum machine. Although Drum Racks use a Simpler in each drum pad by default, it is possible to create Impulse instances on any pads that you wish to use. The main advantage of this is that Impulse can time-stretch, so you can use the Stretch and Overall Time control to stretch-out sounds or shorten them as an expressive audio tool. If you create a Drum Rack containing Impulse devices on each drum pad you can then click Save Preset on the Drum Rack for recall later. It is also worth assigning commands such as Stretch to a Macro via the right-/[Ctrl]-click menu so you can time-stretch the entire drum kit at any moment.
Stretched Beyond Recognition
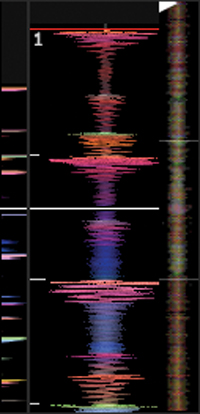
Warp modes enable you to preserve optimum audio fidelity when dealing with time-stretch and compression, but they can also prove to be superb sound-mangling tools when pushed to extremes. If you use any Warp mode (bar Re-Pitch) you can explore the Double Original Tempo button above the Warp menu to the right to stretch out audio. Here you can type in higher numbers (to 999BPM). If you want to stretch further you can click on the audio clip itself and select Consolidate from the right-/[Ctrl]-click menu and repeat the process.
Additional Harmonics
If you want to create accompanying notes for a melody line to make chords or harmonies, select them all and then hold down [Alt] while you drag to make a copy for a higher or lower melody line. If you want the original lead melody to remain prominent, hold down [Ctrl]/[Cmd] while hovering the mouse cursor over one of the newly created notes and drag to change the velocity of all selected notes.
Quantize And Note Control
Although Record Quantization is available from the Edit menu – letting you have your performances cleaned up as they get recorded into a MIDI track – it doesn’t cater for the end positions of each note. Quantize Settings (from the Edit menu) enables you to choose how the manual Quantize command will behave; here you can specify quantizing end points. If you want all of the notes to be the same length, the simplest way to do it is to highlight them all and drag the longest note to its smallest possible size. When you expand them, they will all be the same length.
 Dummy Groups
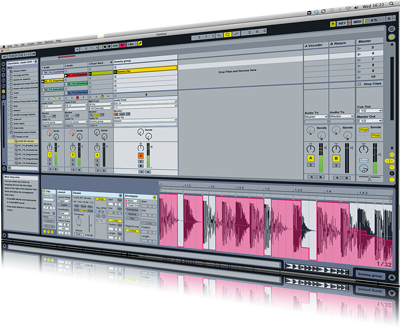
Group tracks are a simple way to route a collection of tracks or instruments through one audio channel, but manually setting up this routing has the advantage of allowing for dummy clips. After creating an audio track, set Monitor to In and select No Input from the Audio From menu. Now set all other tracks’ Audio To settings to route to this new audio channel. Now you can drag any audio loop to the new channel; it won’t be heard due to the Channel Monitor settings, but you can open up the clip’s Envelope properties in Session View and use the audio clip to control parameters such as channel volume for rhythmic volume patterns, filter cutoffs or effect sends.
Neighbour Friendly
Your neighbours will like this tip – and you might just avoid any noise pollution lawsuits at the same time… If you work on any genres of music with a fairly large amount of bass you can add an EQ Three to the master output to temporarily remove the bottom end when you’re not working on bass-essential sections. Use Key Map mode to assign the Low On/Off button to a handy key to flick the bass cut on/off while you work. Set the FreqLow dial high enough so that you don’t feel the bass through the floor or the walls when touching them with your hand.
Large And Quick Instrument Sounds
If you want to create massive-sounding lead or bass synthesizer parts, Instrument Racks will help you to achieve them very quickly. After you have created your first synth sound, click on its title bar to select it and choose Group from the Edit menu. Next, click on the Show/Hide Chain List button (this is the third round button down on the very left-hand side of the rack) and drag your next instrument to the empty space underneath the existing instrument. Now drag a Pitch MIDI effect to this instrument so that you can experiment with the best octave to use this next instrument in. You can continue to repeat this process to stack up synths to fill out various frequency areas and then control them in unison by dragging filter and other effects to the end of the Rack chain.
Grid And Automation Tricks
The automation/envelope tools in Live are arguably relatively simple by comparison to super-DAWs such as Cubase and the like, but they certainly have a strength in terms of their simplicity. The Pencil/Pointer input mode can be quickly switched between by using the [Ctrl]+[B] (PC) or [Cmd]+[B] (Mac) key command. In Pointer mode, double-click to add or remove points or click on a line and drag to raise or lower its position. Using Pencil mode relates directly to the quantize grid; using [Ctrl]/[Cmd]+[1] or [2] lets you quickly re-size the current grid size, making it very quick to make stepped automation parts.