Ableton Live Tutorial: Working with Audio Effects
Things can sound a bit dry without audio effects. For stage or studio, Martin Delaney shows you how to add some ear candy to your Live projects… For this tutorial you’ll need our example set – download here You are probably at the stage where you have recorded or used audio in Live. In this […]
Things can sound a bit dry without audio effects. For stage or studio, Martin Delaney shows you how to add some ear candy to your Live projects…
For this tutorial you’ll need our example set – download here
You are probably at the stage where you have recorded or used audio in Live. In this series we specifically use a voice sample to use in our project. That’s the last clip element we’ll be adding; in this tutorial we’ll add some audio effects to our audio and MIDI tracks, return tracks, and the Master Track itself. Don’t worry if you don’t have the last tutorial as you can make sure you’re using the latest version of our example set
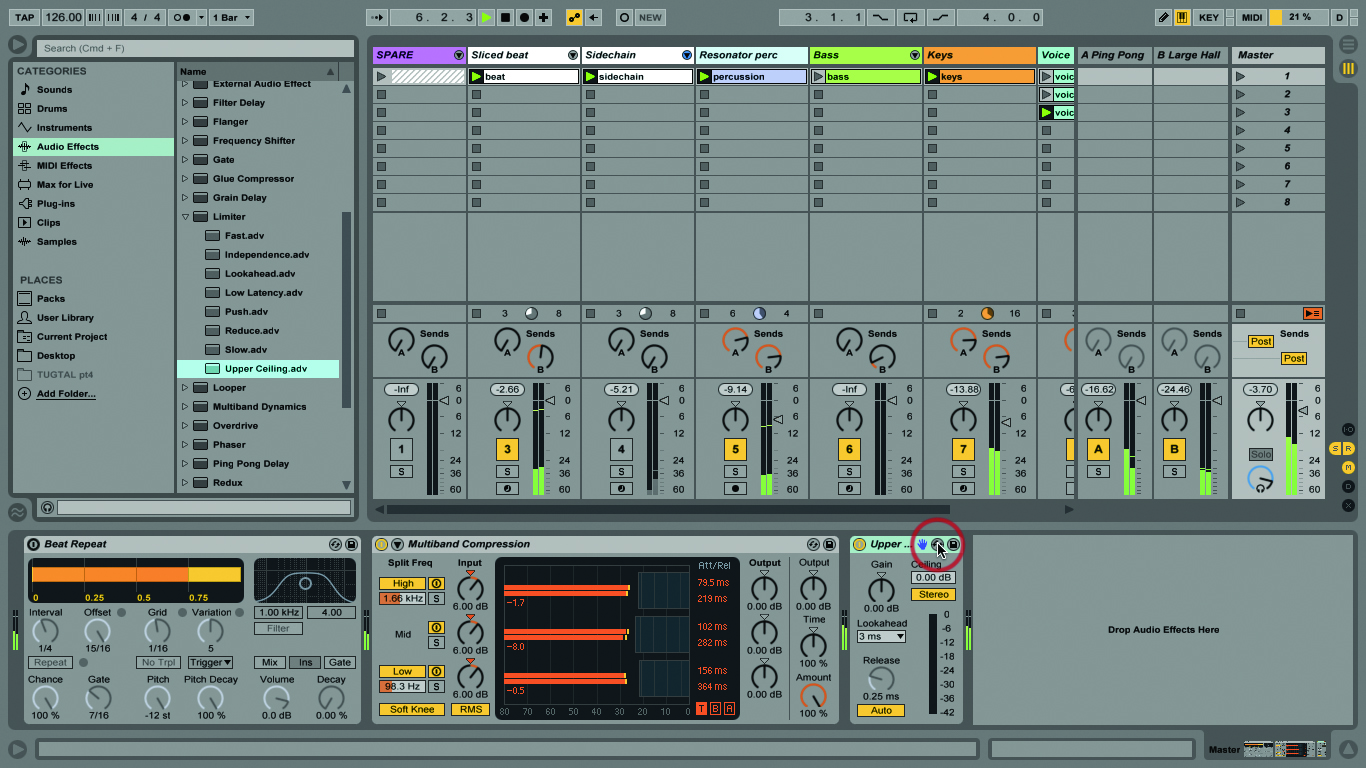
When it comes to browsing and loading devices, it pays to be keyboard-friendly. Sure you can mouse around, but it’s faster to use your computer Arrow keys. Inside the Browser, Left and Right Arrows move between columns, while Up and Down will scroll, obviously, up and down through the listed items. If you’re on a folder in the right-hand column, a Right-Arrow will open the folder so you can keep moving down through its contents, while a Left-Arrow will close the folder.
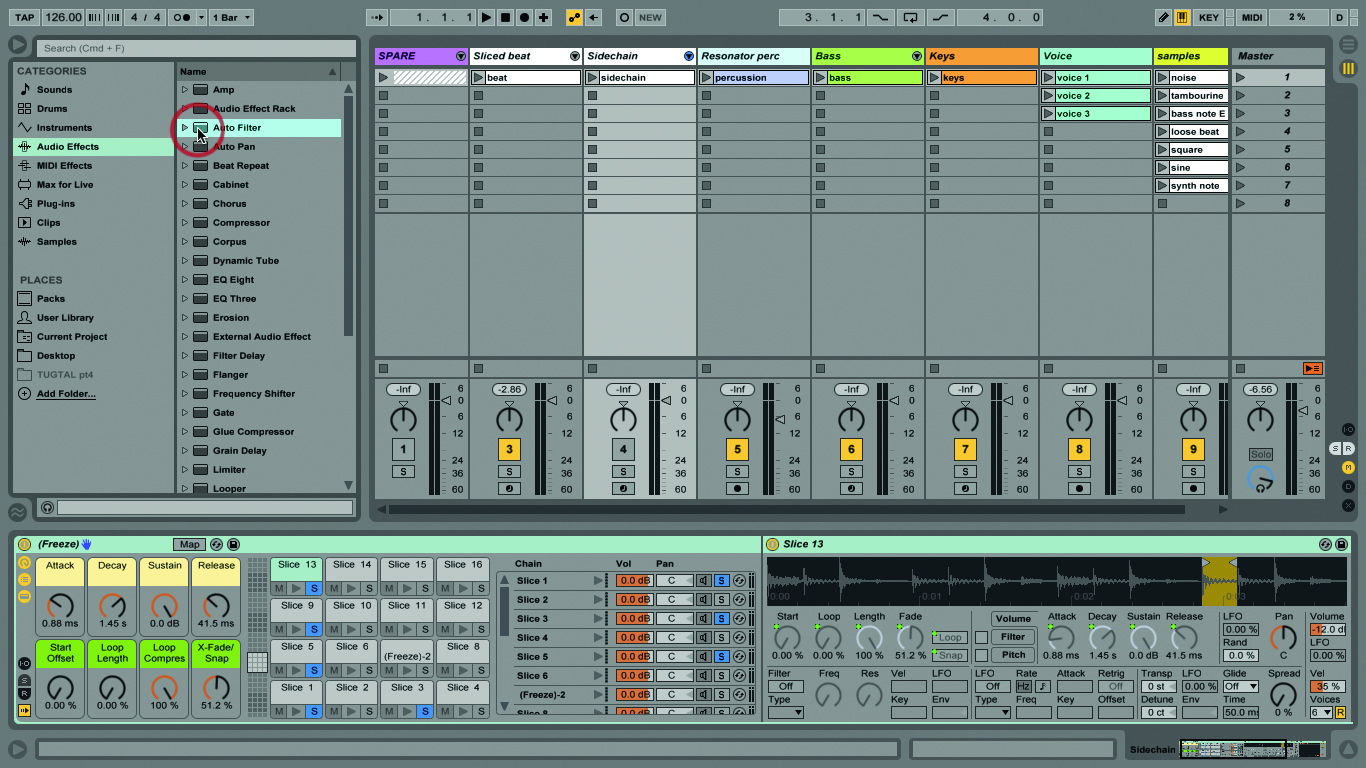
When you’re on a device or a preset, tapping the Enter key will load it into the currently selected track. When you load an effect name, like Auto Filter, you’re loading the default settings for that effect device (actually that’s true of all Ableton devices), and when you go below that effect name in the Browser, inside what appears to be a folder, and load something like ‘Cut-O-Move H’ or ‘Elastic Band’, you’re loading a preset for the relevant device. There’s also the Hot Swap button on each device – the little circle next to the Save File button.
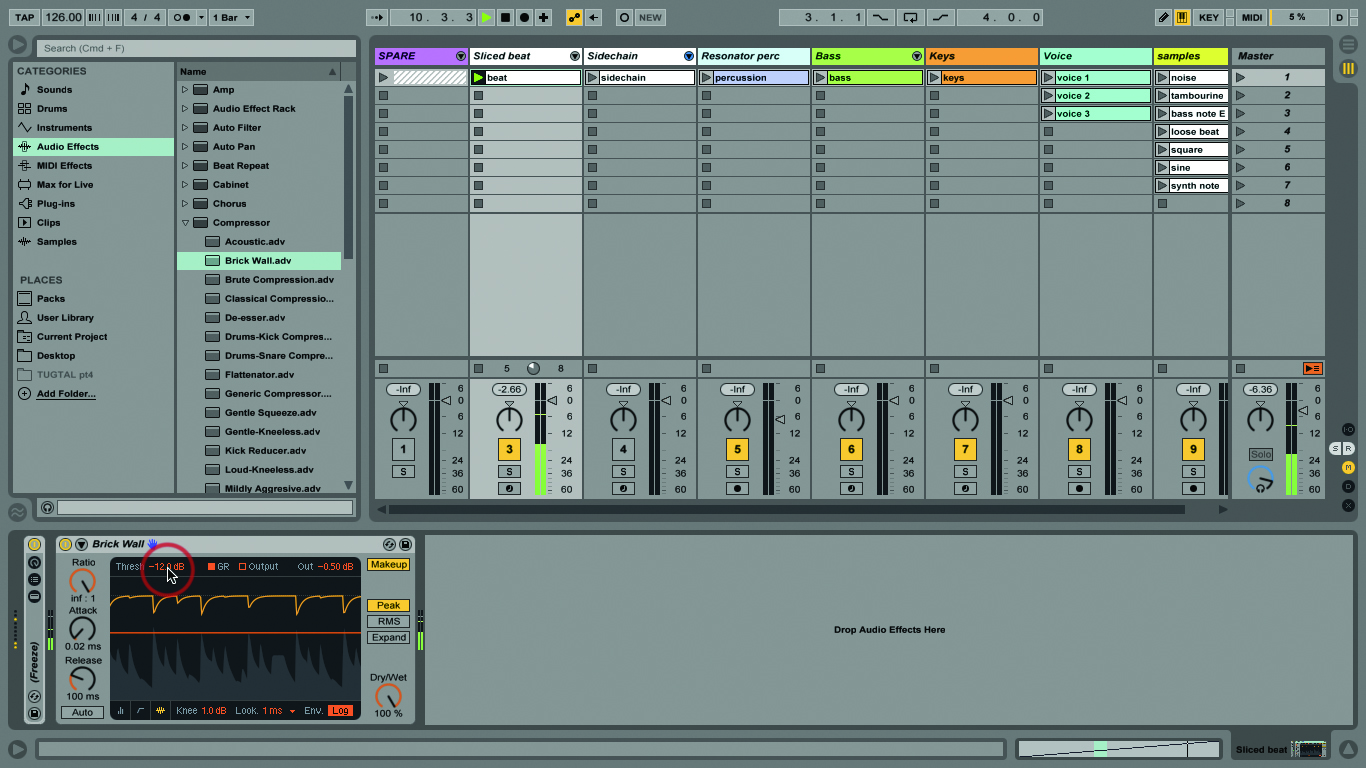
Click that to jump straight to the relevant Browser section for your current device, and remember to use the Arrow keys to navigate and load fast. Your saved presets go directly into the relevant category in your Library, although you are free to move these and create new folders to contain them.
You might be wondering about which effects go where. Generally, if you want to process something that only occurs in one track, you add the effect to that track (I should state explicitly that you can use audio effects on MIDI and audio tracks, but only MIDI effects on MIDI tracks). If you want the same effect to apply to a selection of tracks, group them and put the effect on the group.
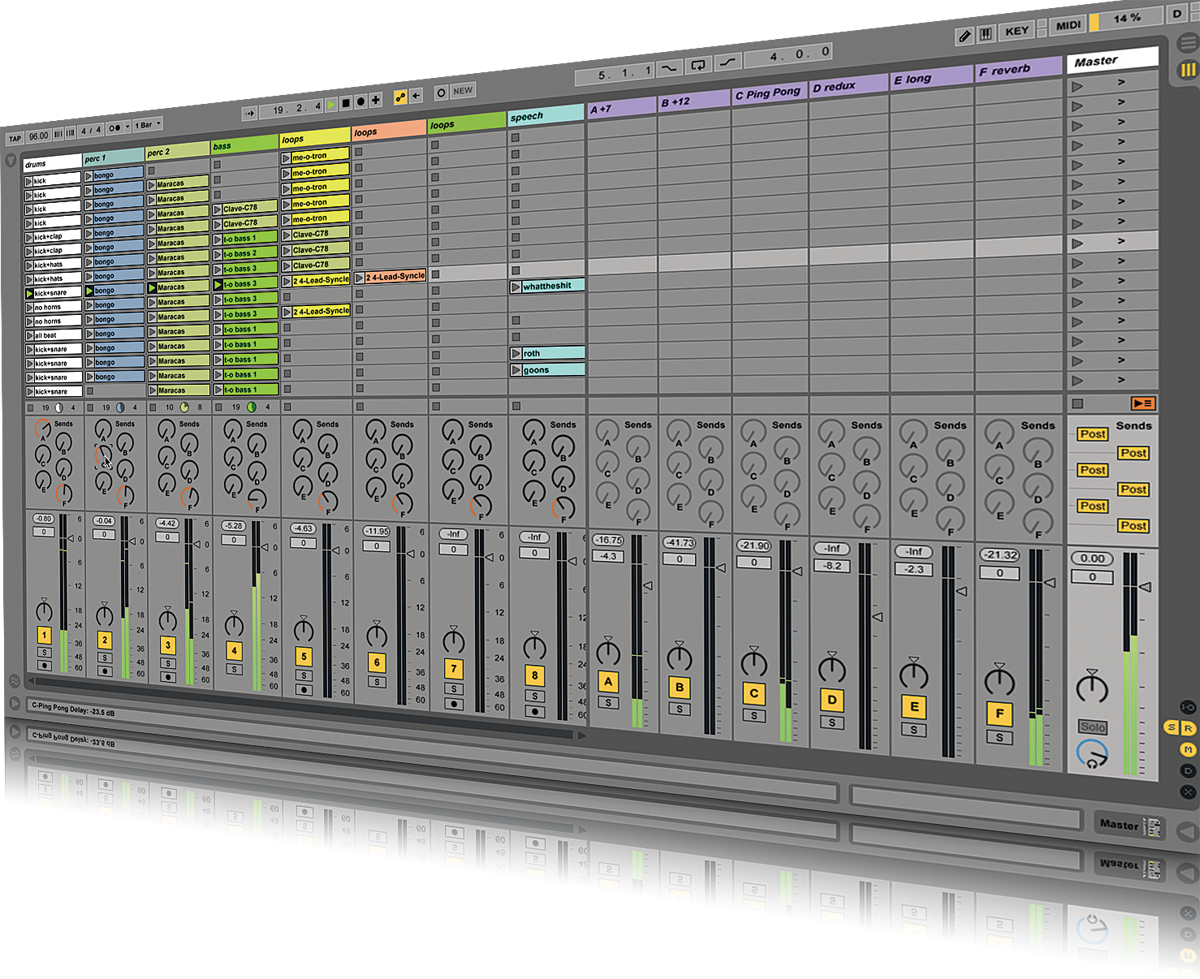
If you have an effect that you want to blend by different degrees over a number of tracks, that’s a job for Return tracks. Using a single effect on a Return track instead of duplicating it across many tracks can also save CPU if it’s a particularly power-crazed plug-in. Finally, if you want to process the entire song – everything, including the signal from the returns – you need to be adding that effect to the Master Track.
You’ll find that effects behave differently according to what order you place them within the chain (you can drag freely to reposition them later). I don’t personally feel there are ‘rules’ for this as such, it’s a matter of what combinations work for the track. There are times when I would put a delay after a compressor, and there are times when I’d flip that round; it does make a difference.
In the walkthrough steps, I mention turning effects on and off with their individual little Power switches. You can do this dynamically; you don’t always want every effect active all the time. What’s cool is that when Live’s in Record mode, those on/off actions are recorded as automation, so it easily becomes part of your performance and then part of your production.
The switches are mappable, so you can use MIDI Map Mode (Cmd>M) to assign them to your hardware or, more regularly for me, use Key Map Mode (Cmd>K) to assign them to letters or numbers on your computer keyboard.
The good ol’ keyboard makes a very useful source of buttons for jobs like this. We’re not hitting it too much this time, but sooner or later you’ll encounter screen space management issues; you can use keyboard commands like Alt>Cmd>S and Alt>Cmd>R to show and hide Sends and Returns respectively, and also double click on the title bar of an instrument or effect to fold it up – very useful with long chains of instruments and effects.
You can use up to 12 return tracks in the full version of Live. If you need more than that, maybe you need to start experimenting with group tracks, as I mentioned earlier, or with routing to and from audio tracks. When you open Live’s In/Out View and look at the Audio To tab, you’ll see that each track can be routed to Sends Only, which means you won’t hear any dry output at all, and nothing until you bring up at least one Send in the track. The tutorial ends with the addition of the Multiband Compression preset.
Mastering is a whole other subject, and there just isn’t room here, so we’re shamefully throwing in this preset, which is not ideal but at least it gets us started on the topic. There’s so much more to cover with effects, including MIDI effects, and mastering – we’ll be coming back to all of this in time. Next time we put our raw material into some kind of structure.
Focus on Return Effects
Within this tutorial I talk about the value of Return Tracks and their Send controls as live performance tools. A good selection of return effects, combined with a knob-rich hardware controller, makes a great interface for dynamic live performance – in addition to, or instead of, any effects you might have added at the production stage.
Sometimes you’ll see somebody playing with a set that doesn’t look too busy, almost like they’re faking it, but check their controller and their hands. Maybe they’re keeping the on-screen stuff simple while they work with the controller and some carefully configured effects…
Click Here for Step-by-Step
