Ableton Live Tutorial: Finishing Your Project – Step-by-Step 2
Martin Delaney finalises his project in Ableton Live… 13: With movie clips in the set, there are some extra settings to look at. Turn Create Video on. The video encoder list might vary depending on your hardware, extra video cards, and so on. 14: If I’m rendering for my own purposes I use one of […]

Martin Delaney finalises his project in Ableton Live…

13: With movie clips in the set, there are some extra settings to look at. Turn Create Video on. The video encoder list might vary depending on your hardware, extra video cards, and so on.
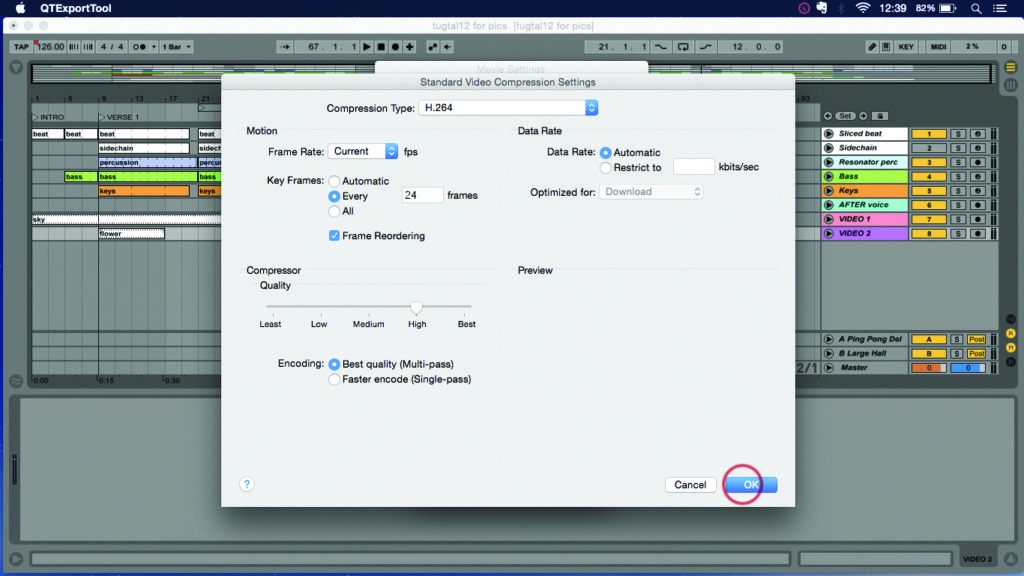
14: If I’m rendering for my own purposes I use one of the Apple Device presets, but if the situation demands it I’ll select QuickTime Movie and edit the many available settings as necessary.
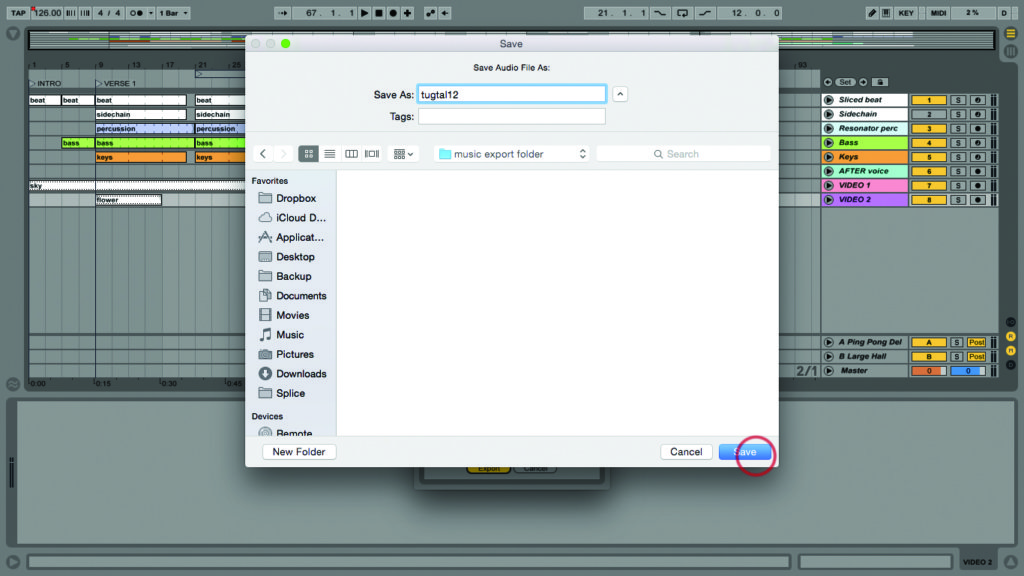
15: Click Export, and choose your rendering destination. When export is complete you’ll have a stereo audio file, and a QuickTime movie, which contains both the video and audio from your project.
16: If you wanted to do real mastering or to get it done for you, you’d depart from this walkthrough a little. You might render the song without the multiband dynamics processing, to have options later.
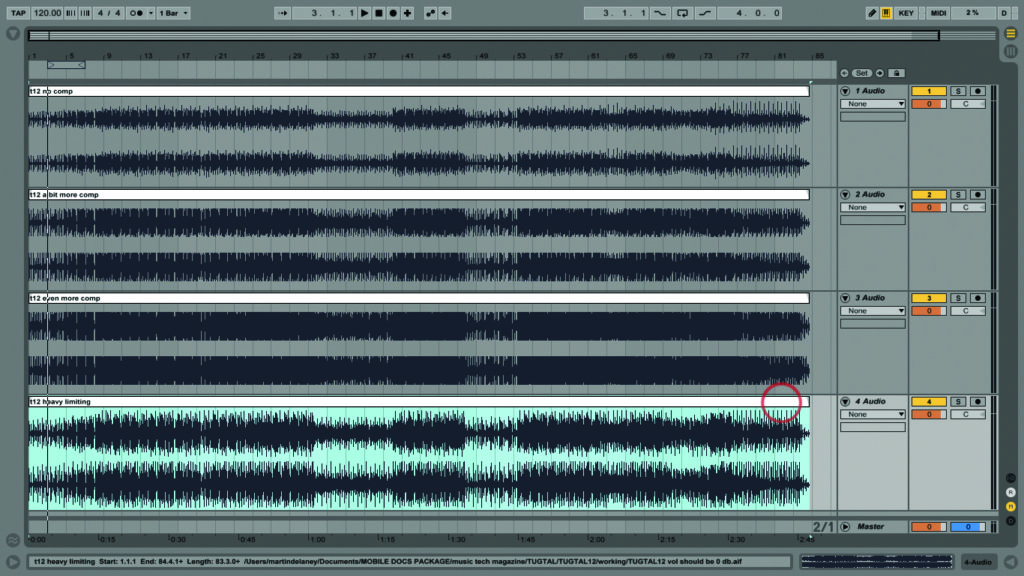
17: If you’re curious about visualising compression, a good exercise is to render with and without the master track compression and then import those into a new live set to compare the waveforms.
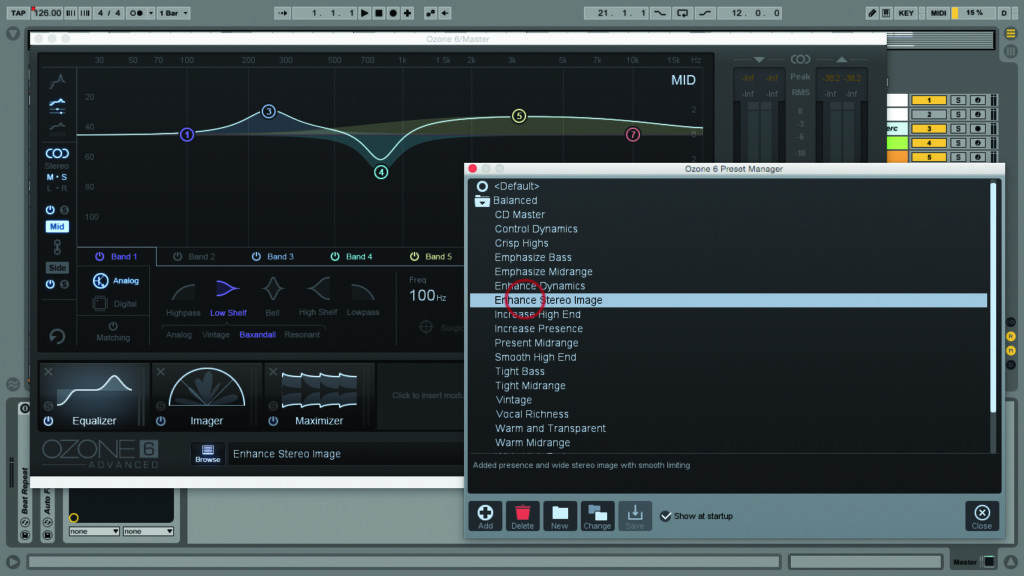
18: You can master inside Live, or with a dedicated application like Ozone. Usually it’s not done inside the original song project as you might want to handle a number of stereo mixes as a batch.
