Ableton Live Tutorial: Using Video in Live
If you’re creative musically, you’re probably creative visually. Martin Delaney reveals how to add movies to Ableton Live, either to make a music video, or enhance a live show. You’re making music on a computer, right? Well, video is just as easy to do on the same machine. If you’re a video virgin, don’t worry […]
If you’re creative musically, you’re probably creative visually. Martin Delaney reveals how to add movies to Ableton Live, either to make a music video, or enhance a live show.
You’re making music on a computer, right? Well, video is just as easy to do on the same machine. If you’re a video virgin, don’t worry – if you can understand how to use audio clips in Live, you can handle this.
It’s a good skill to have – you might be asked to soundtrack a movie, you might want to make your own music video, or you might want an hour-long visual set for your own live show.
Live can open any QuickTime-compatible movies (be advised that you can’t import video into Ableton Lite or Intro, though), so you have many solutions as far as content goes.
There are websites that provide copyright-free movies, and while they have restrictions on commercial use, if you squirt them on a wall during a live set, that may not be such a problem. There are also browser plug-ins and applications that let you download YouTube movies.
A more rewarding way to add visuals is to make your own. In my sets I’ve used video from cheap digital cameras, DSLRs, iPhones, HD movie cameras, and GoPros; if you mix and match you get a better texture, it’s like sampling audio from different sources. For most uses, video from a phone is easily good enough.
I like to use bright colours, and close-ups of small objects as they get really trippy when they’re blown up big on a large screen.
When it comes to digitally-created images, and keeping it within Live (read about VJ software elsewhere on these pages), Max For Live users have options in terms of visually-oriented devices, such as Ganz Graf Mod X, Vizzable, and V-Module.
This tutorial is all about using actual movies, but there’s no reason why you couldn’t combine techniques throughout your set. And you know what? Whatever images you use, somebody will usually tell you that they suit your music perfectly!
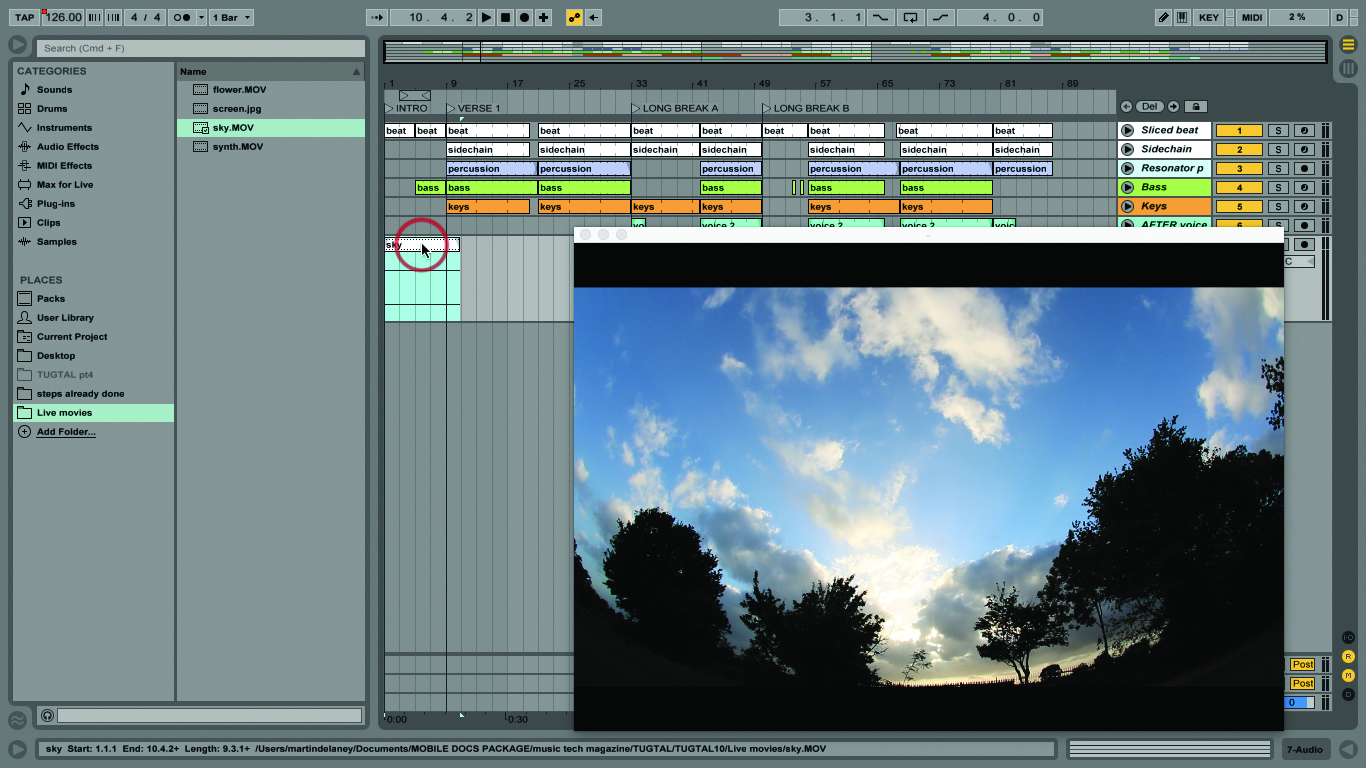
Live works great as a brutally simple movie editor.You can stack multiple tracks, or place different clips on a single track – any section not covered by a movie clip will make a black screen. You can split movie clips using Cmd>E (you can’t join or reverse them, though), loop them, and choose which portion of the clip to play.
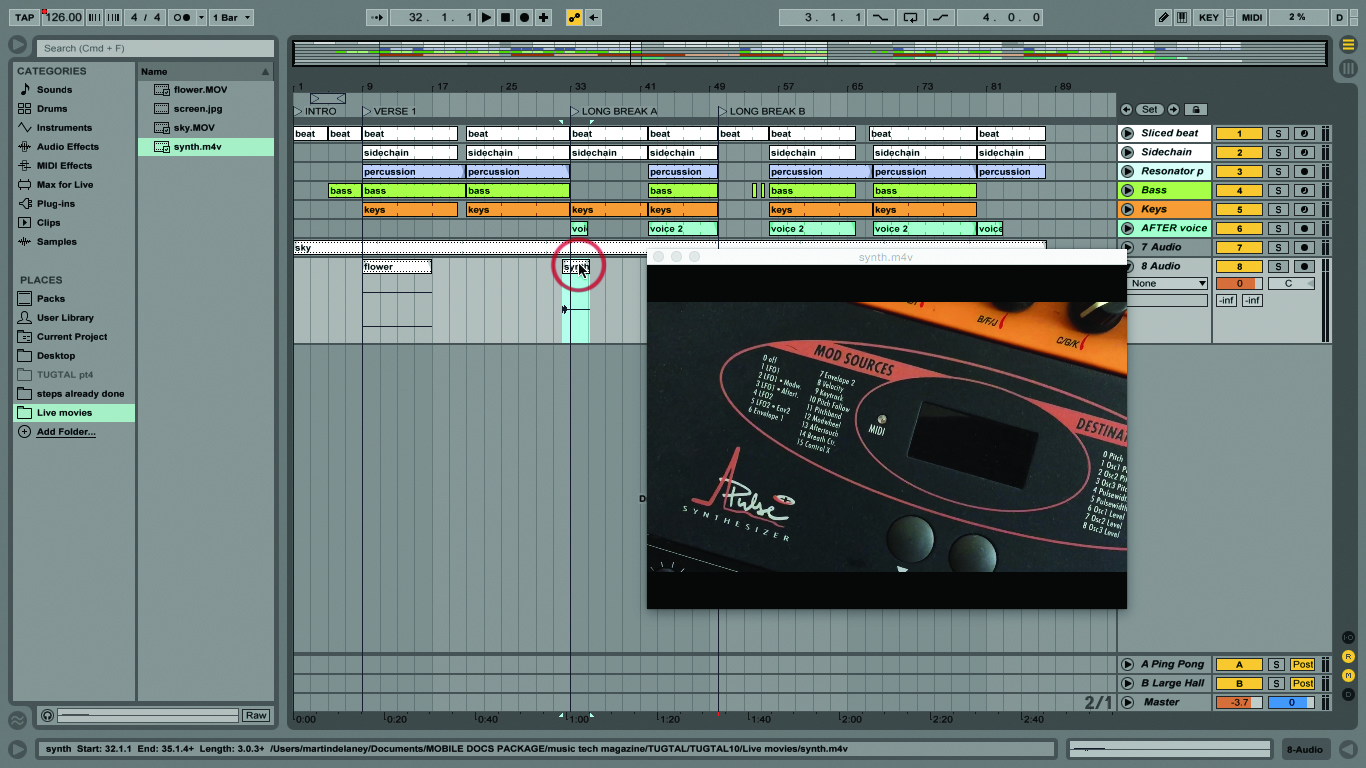
Live’s greatest video tool, though, is the ability to warp video, which it does by warping the audio – the attached movie simply follows along.
Add warp markers and drag them around to slow down or speed up your movie clip. Even if there’s no visible audio waveform, you can still insert warp markers above the ‘flat line’ where the audio should be.
As well as being a fantastic visual effect, I’ve used this a couple of times when syncing audio to video as I’ve sneakily expanded or contracted the video to fit the music.
For those more ‘pro’ timing moments, Right-click in the time ruler below the Arrangement View timeline and choose to view different frame rates in FPS, instead of the default minutes and seconds.
You can also load jpegs, dragging their starts or ends to change their duration within the timeline. Try to make sure your jpegs have the same proportions as your movies, so you don’t get black bars, or unwanted glimpses of movie, appearing behind your top-most image.
Jpegs would also let you add text titles to your Live video projects; you never know, there’s probably a Max For Live device out there that creates movie titles for Live. If there isn’t, somebody probably needs to make one.
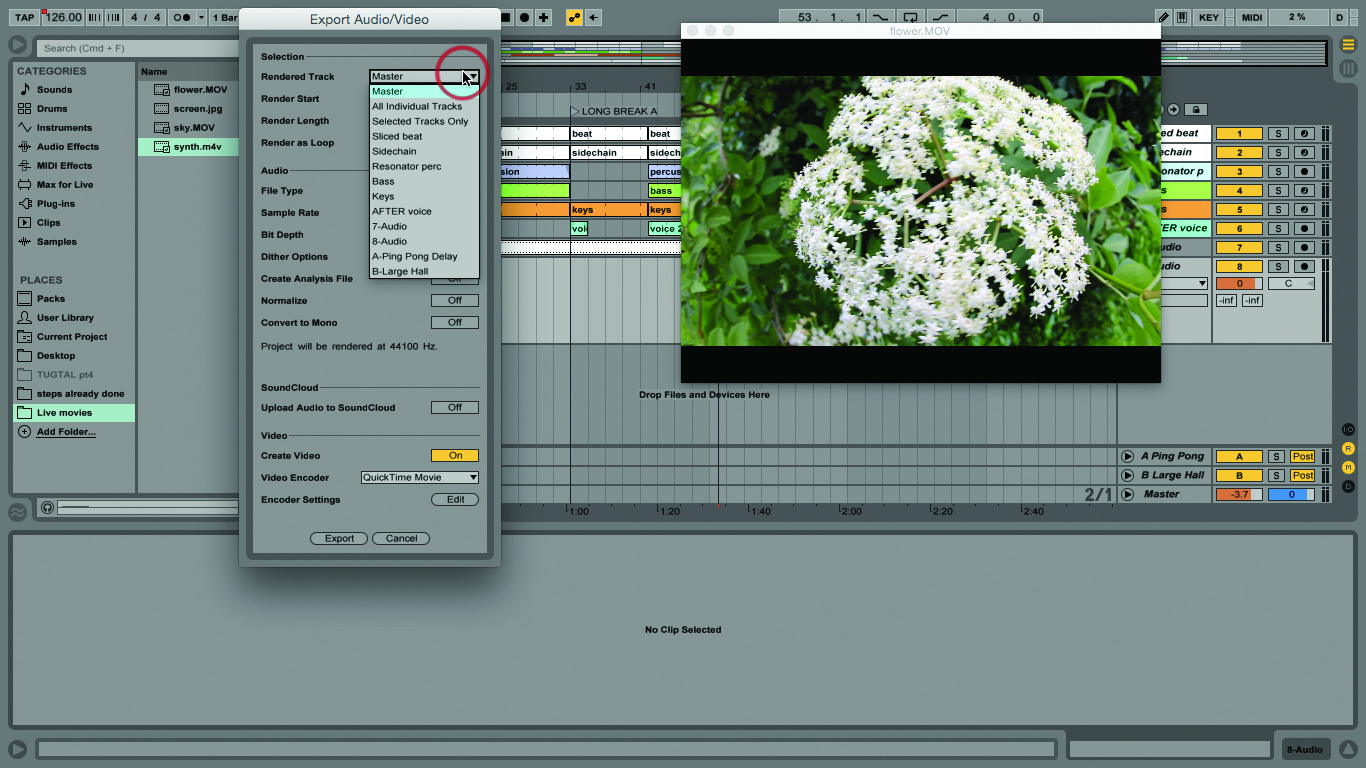
We’ll discuss final processing and rendering of audio files another time. For movies, if you’re working on your own material, you’ll probably only use one or two settings, but the other controls are valuable if you’re working with clients who need files in specific formats.
If I just want a ‘take away’ render to watch on my phone or computer, I use the iPhone preset.
When I’m delivering video to publishers, I’m following their stated requirements for image size, frame rate, and so on. If you’re impatient, remember that video takes longer to render than audio, and the more you’re compressing it, the longer it takes.
Everything we’ve discussed has related to the Arrangement View; there’s a simple reason for that. Drag a movie onto Session View, and you’ll be advised that Live can’t handle video in Session View.
But it’s not all bad – it’ll give you a chance to ditch the video content but retain the audio which is a fast way to extract audio samples from movies! If you really need video coming out of the Session View, it’ll have to be via Max For Live devices like the ones I mentioned earlier.
Although Session View is a no-no, you can have a timeline full of movie clips in Arrangement View, and flip back to Session View to launch clips in real-time like always. Your video output isn’t affected, as long as you’re not launching clips in the same tracks that contain video clips. Sometimes it’s safer to remove the clip stop buttons in the video tracks as they appear in Session View, so you can’t accidentally stop or launch anything in them.
This is an easy route into movie editing if you’re curious about that, and most importantly, it’s a lot of fun. You already have Ableton Live and a computer, and probably a phone with a camera. So what’s stopping you?
Focus On Video Apps
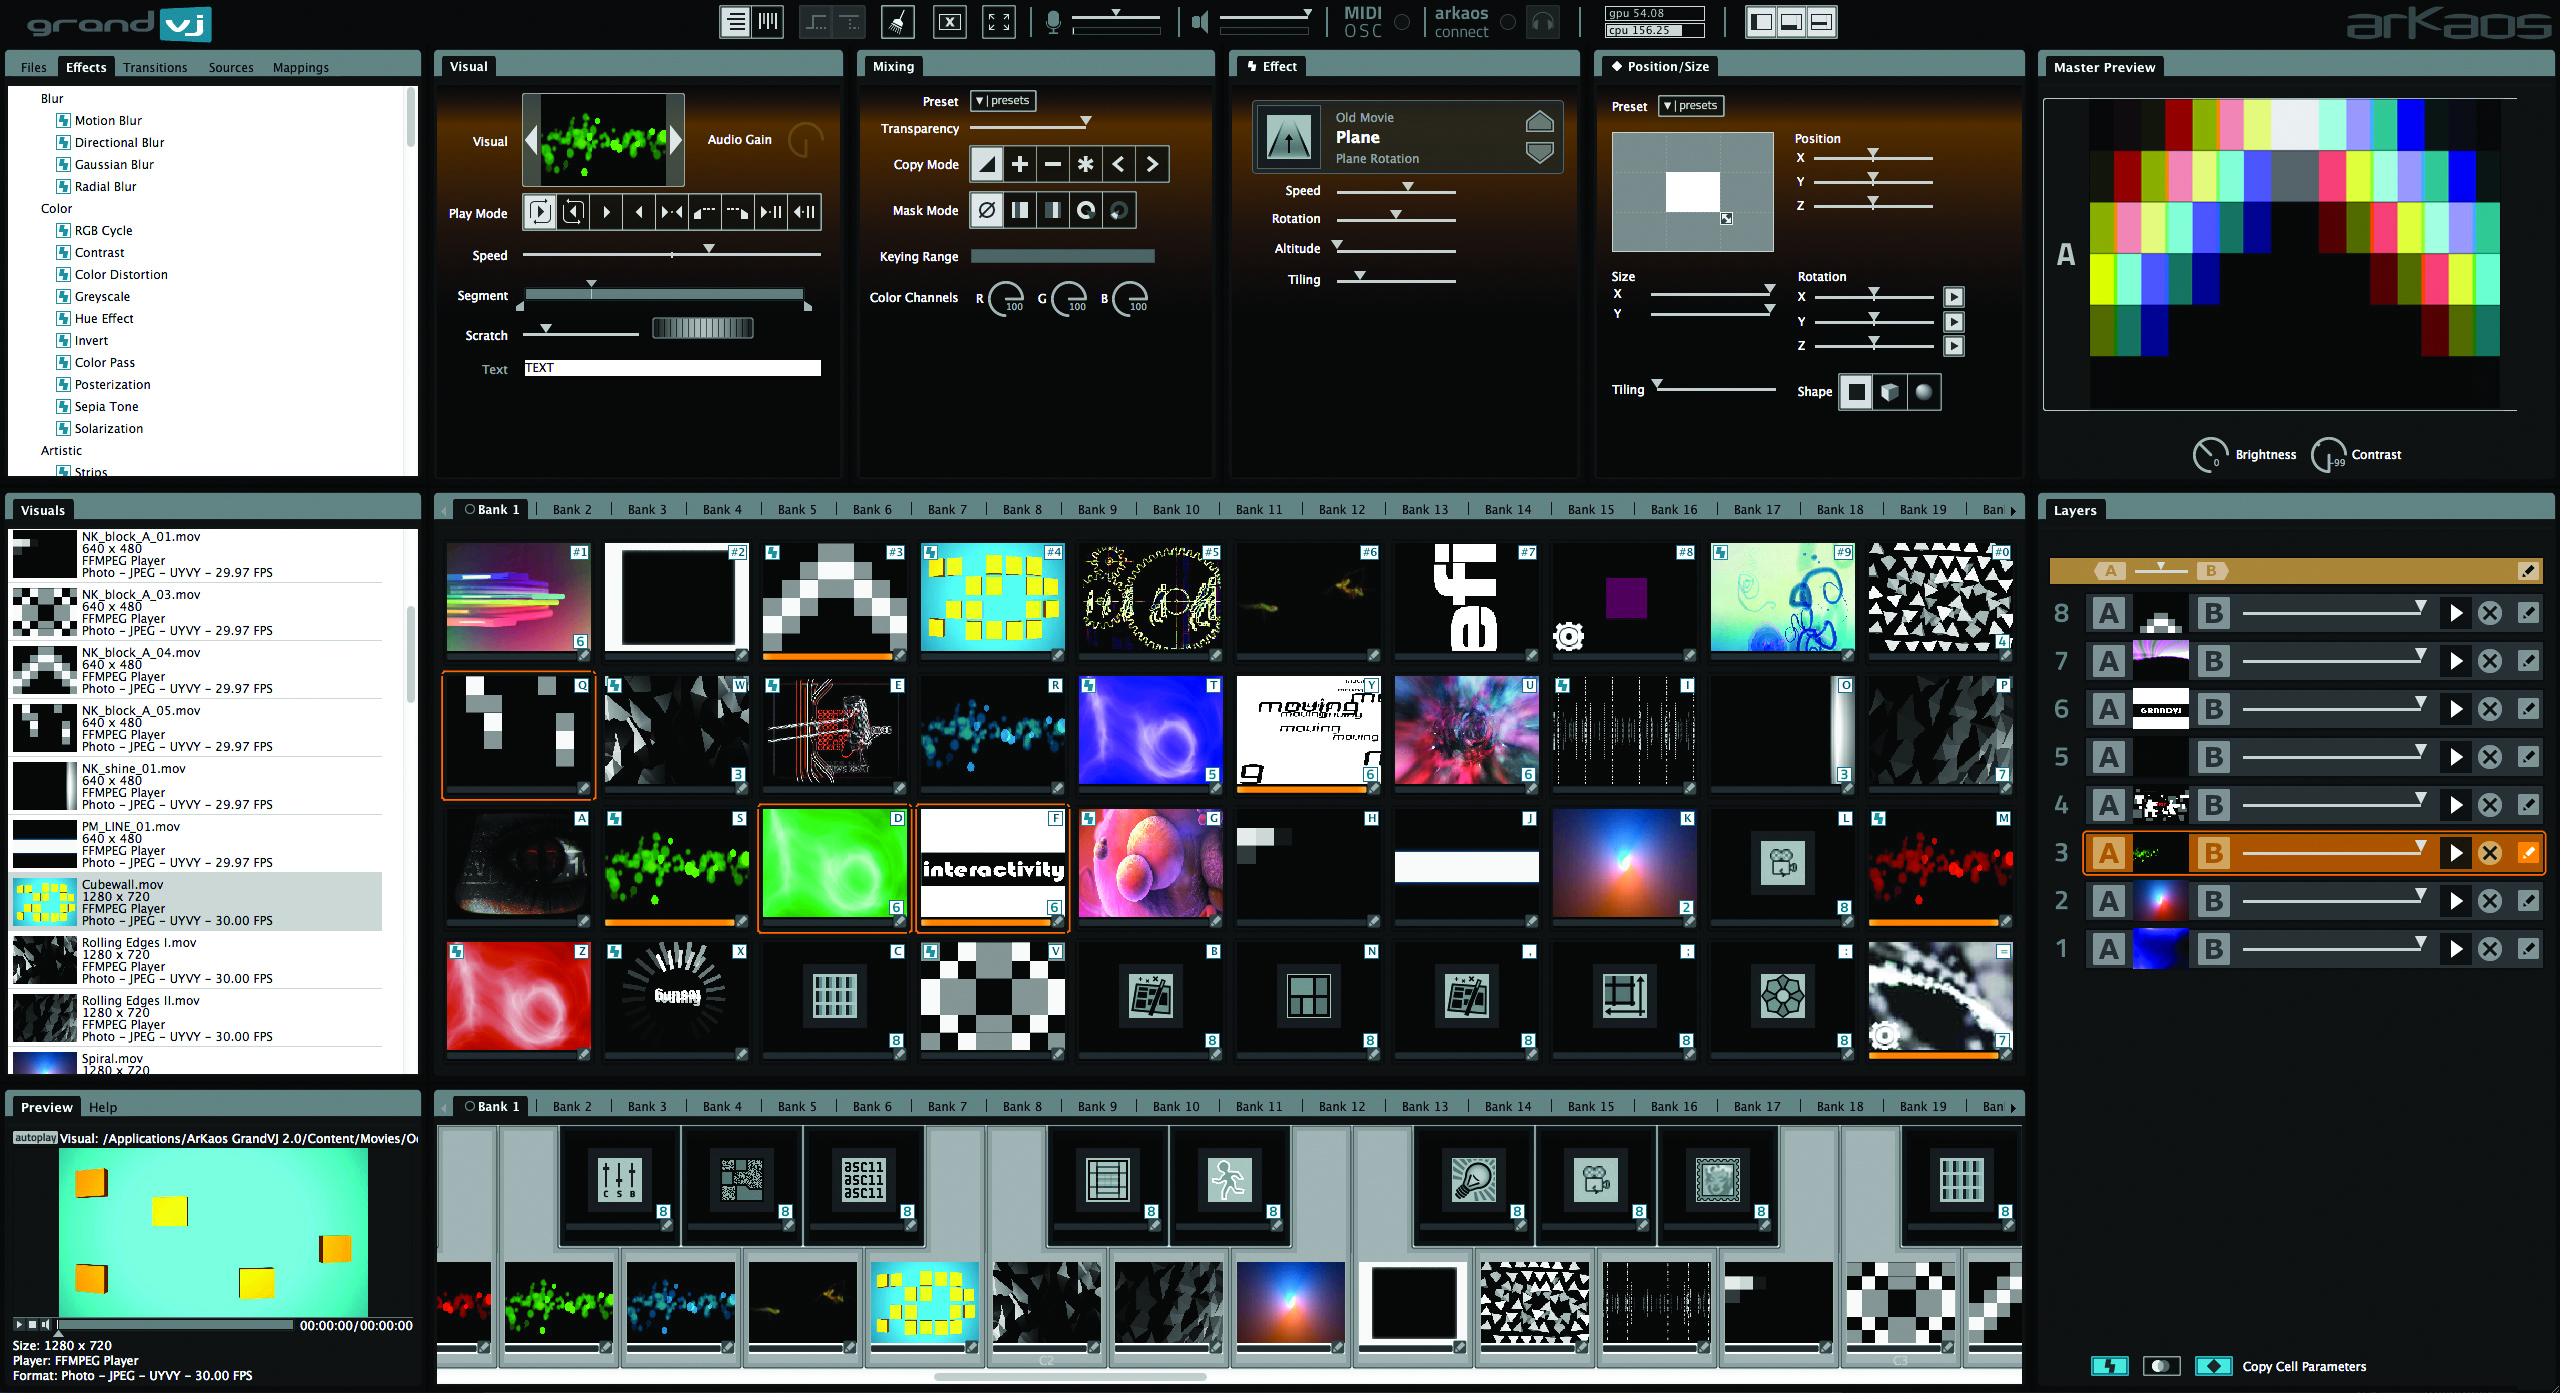
For more sophisticated visuals, you’re probably better off running a video application alongside Live. I like Arkaos Grand VJ – it’s been around for years but it’s still going strong.
It’s MIDI-controllable, so Live can control it; all you need is a separate MIDI track, sending notes to launch movie clips, and sending clip envelopes to change effect parameters, so Arkaos will always load the right image for that part of the set, even when you’re improvising.
For timeline use, Arkaos also has a record mode so you can capture everything and render it to pair with your mix afterwards.
Click Here to Continue
