Ableton Live Tutorial: Video in Live – Step-by-Step 2
Martin Delaney concludes his latest Ableton Live tutorial, explaining the best use of video in Live… 13: Warp and loop the second instance of the clip. Add a Warp Marker to the end of the clip. Drag that left until it reaches the end of bar 1. Shorten the loop brace to one bar. 14: […]
Martin Delaney concludes his latest Ableton Live tutorial, explaining the best use of video in Live…
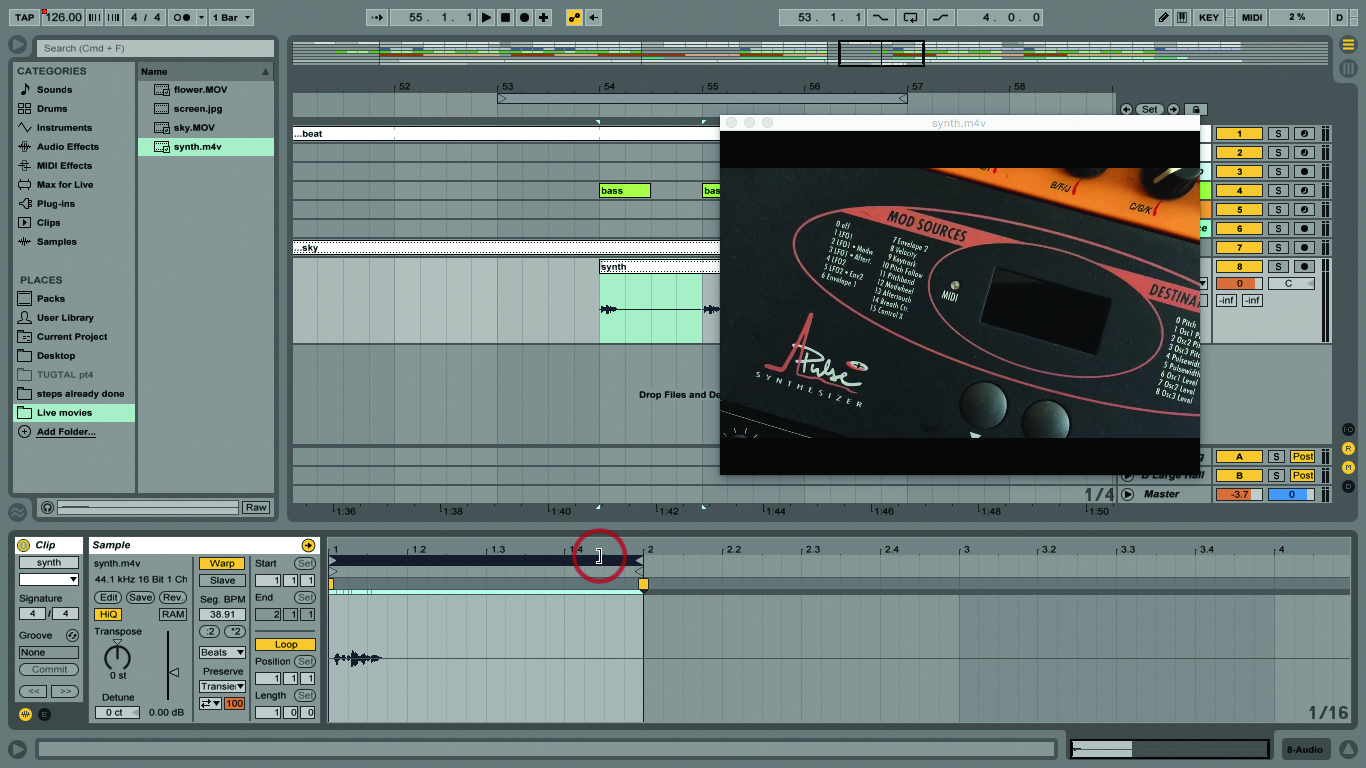
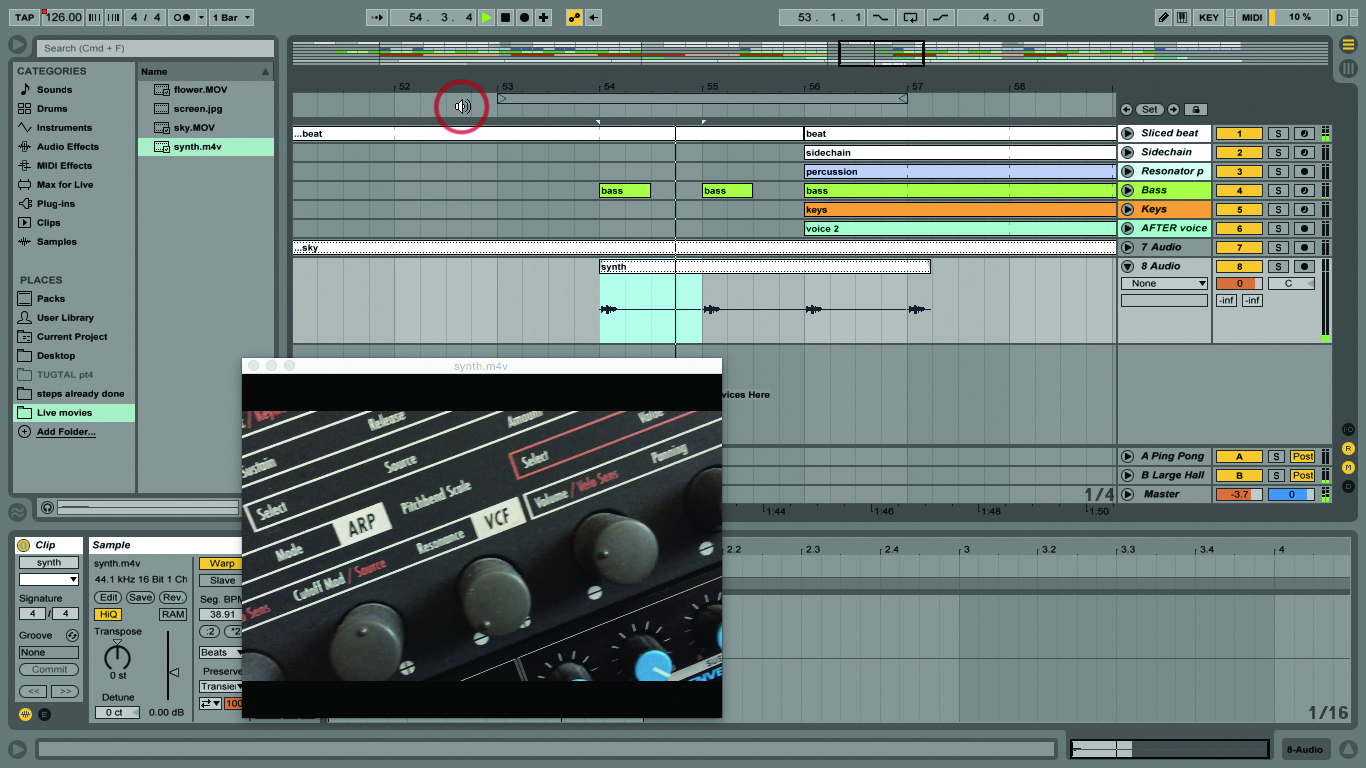
13: Warp and loop the second instance of the clip. Add a Warp Marker to the end of the clip. Drag that left until it reaches the end of bar 1. Shorten the loop brace to one bar.
14: Now play that section. Not only have you made the audio play faster, you’ve made the video loop and play faster with it – isn’t that cool? This is an awesome Live feature! So much fun…
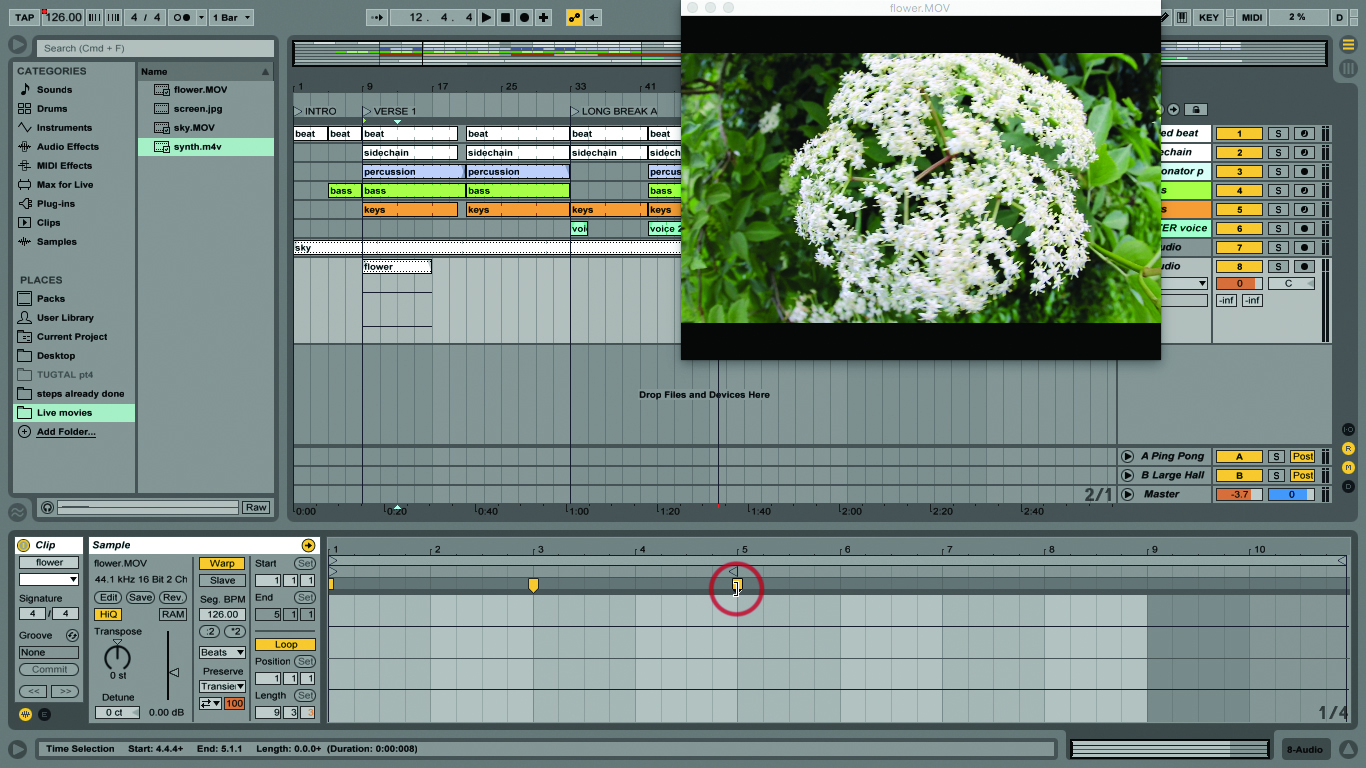
15: With these techniques, you can use Live as a basic movie editor, and the video warping is a nice extra trick. You can even warp ‘silent’ movies by placing warp markers on the clip’s ‘flatline’ waveform.
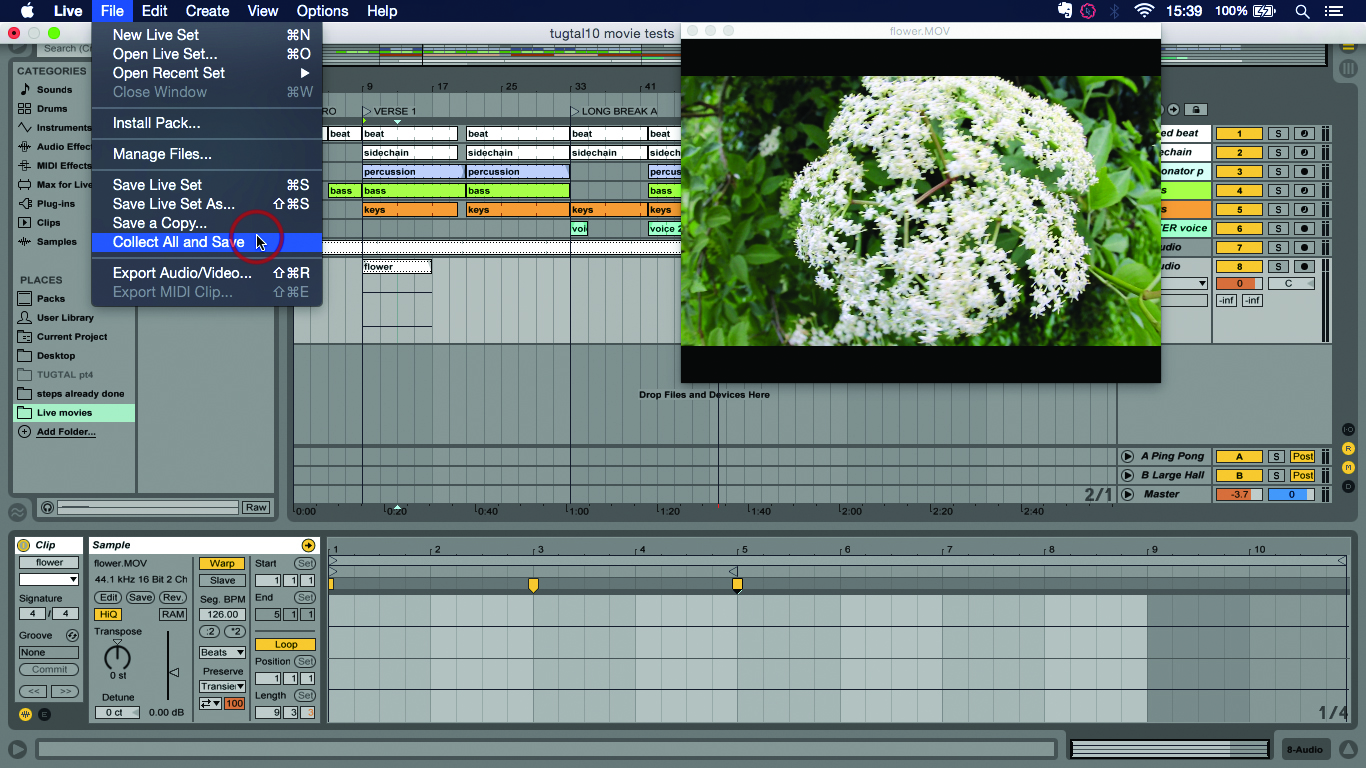
16: Be aware that if you execute the Collect All And Save command, the movie clips will be collected as well as the audio, so you will get larger than usual Live projects.
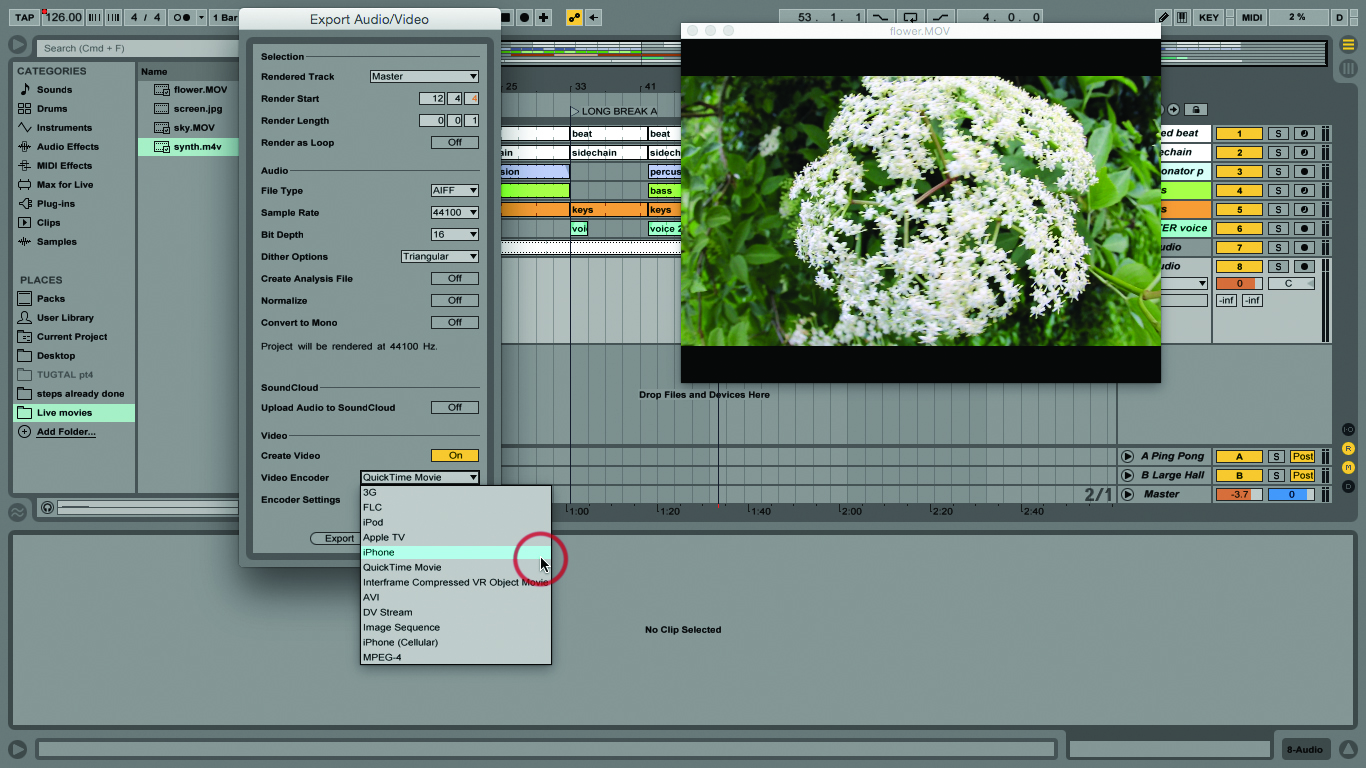
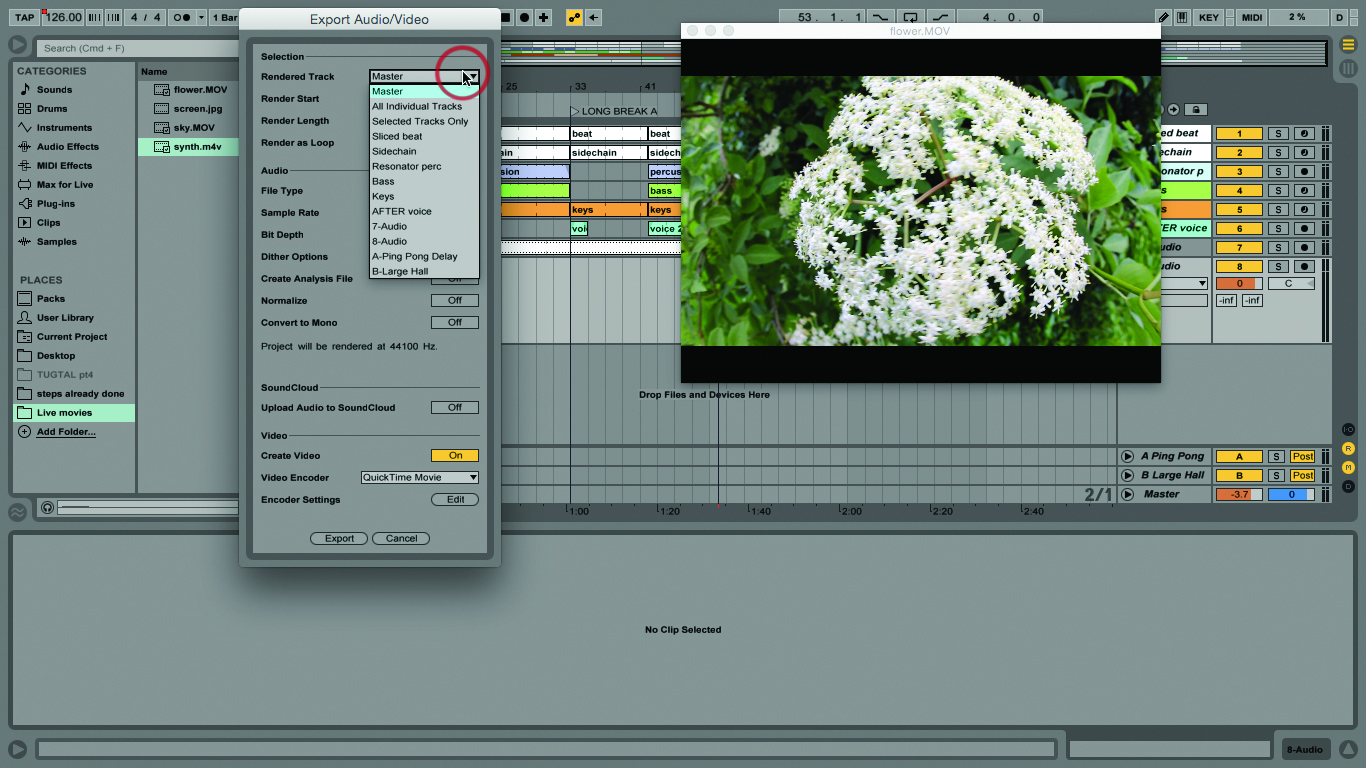
17: To render the movie with audio, open the Export Audio/Video, and make sure video is switched on. There are many available export formats; what options you see will depend on your computer and OS.
18: See more in our main text about video formats. As far as more detailed audio rendering goes, we’ll be talking about the more final stages of finishing and exporting your completed tunes next time.
