How to use Ableton Live with MIDI keyboards
The humble MIDI keyboard is often still seen as the most universal way to interact with your music software. But why do we need it with Ableton Live, when we have Push?
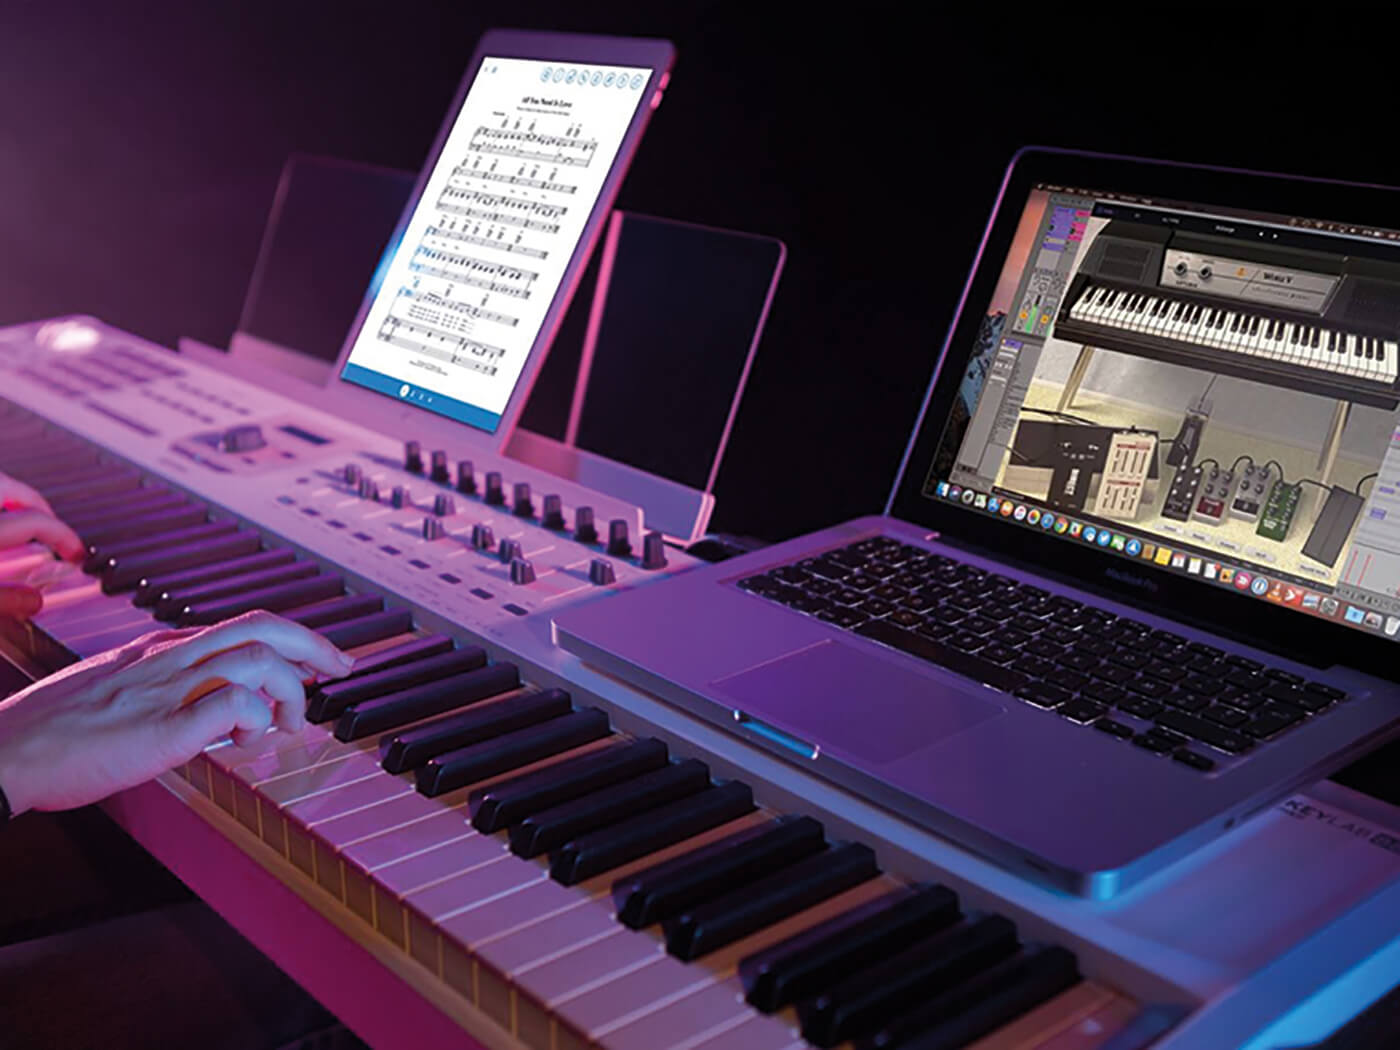
The good old MIDI keyboard might seem a tad redundant when we have so many high-tech ways to control Live, but it can still be one of our best friends. Unlike Push, for example, a keyboard simply works with any music software on your computer – and maybe with iOS and Android devices, too. If you have a keyboard at home already, make sure to give it some love from time to time and find it a space next to your fancy LED boxes.
For the actual playing of musical parts, nothing has ever overshadowed the basic keyboard, even if it gives you nightmarish flashbacks to childhood piano lessons. Maybe the most important reason to keep a keyboard handy is that using it can impart transferable skills. It’s never a good idea to get too dogmatic or too invested in one particular piece of music software. In the future, you might be in a band or studio situation where you need to hook up to Cubase, Logic or Pro Tools and a keyboard will keep you more versatile than a grid of pretty lights.
Exotic creations
To understand the full benefits of using a MIDI keyboard with Live, you could also explore some of the more exotic creations that are on offer. At the moment, if you want to kind of keep a keyboard layout while getting groovy hands-on control, you could look at offerings such as the Novation SL MkIII, ROLI’s Seaboard or LUMI, Native Instruments’ Komplete Kontrol, or the Akai Advance range. All of these will make you feel at home as far as note layout goes, while adding various levels of software integration.
There is no official ‘Push Keyboard’ as such at the moment, although the Novation probably comes closest, but I’d love to see one, with the physical controls and the display from Push, but with a 49- or 61-note keyboard added.
Our walkthrough uses Live 10, but any recent version of the Live Suite, with the additional instruments will see you through. If you don’t have that, use your favourite third-party instrument plug-ins, if they have suitable controls. If you have the luxury of choosing whether to connect through either USB or MIDI, use whichever is most convenient in terms of cable management.
With USB, power shouldn’t be a consideration, either, as they mostly run on the power provided by the connection, while with MIDI you might need a mains power supply. Keyboards are great for anything that requires a dynamic musical performance, but I’m well aware that they meet resistance in certain quarters; as a teacher, I’ve seen kids flat-out refuse to touch a ‘piano’, but give them some drum pads and some colourful lights and you can’t hold them back. Also, if you’re performing established music rather than creating new material, a piano layout is a much better bet – that’s what they were made for.
There’s no point in using a new musical interface unless you’re actually going to create new music. A cheap MIDI keyboard is also a generic platform for live use, and is both effective and disposable. At different times in a set, it can be used to play instrument parts; at others, it can be a controller, if it has knobs and buttons and faders. Do bear in mind that, thanks to MIDI mapping, the keys can also be used as buttons in themselves, which can lead to a couple of interesting functions. First, there’s the mapping mentioned in the walkthrough, where a range of notes is assigned to play an audio clip at different pitches. This creates some great effects, depending on the clip content and on the settings you make in the Launch box; I’ve even used it to create 80s-style sample hits for remixes.
Map Quest
On a similar theme, if you map a single audio clip to a keyboard note, then go in the Launch box, and set a % value in the Vel box. The sample will respond with volume changes as you play. These are really old features in Live, and usually overlooked because of all the other great ways we can work, but they are still fun and creative. If you’re using a keyboard like this, you’ll find it helps to grab some masking tape and a marker pen and label the keys with text or icons that’ll help you keep track of the various assignments.
And before you ask, no, we’re not having a big downer on Push, Launchpads or whatever when we talk about keyboards. We’re just keeping it real and realistic, as those types of products can be expensive, and in many situations they’re just not as versatile or functional as a keyboard. If you’ve got a MIDI keyboard, dust it off, hook it up and see what happens.
Using MIDI keyboards with Live: step-by-step
1. We’ve included an example Live 10.1 set for you to use. Click here to download. If you don’t have Live 10.1, download the demo, or get the free upgrade from 10, or extract the samples from the project folder to use.
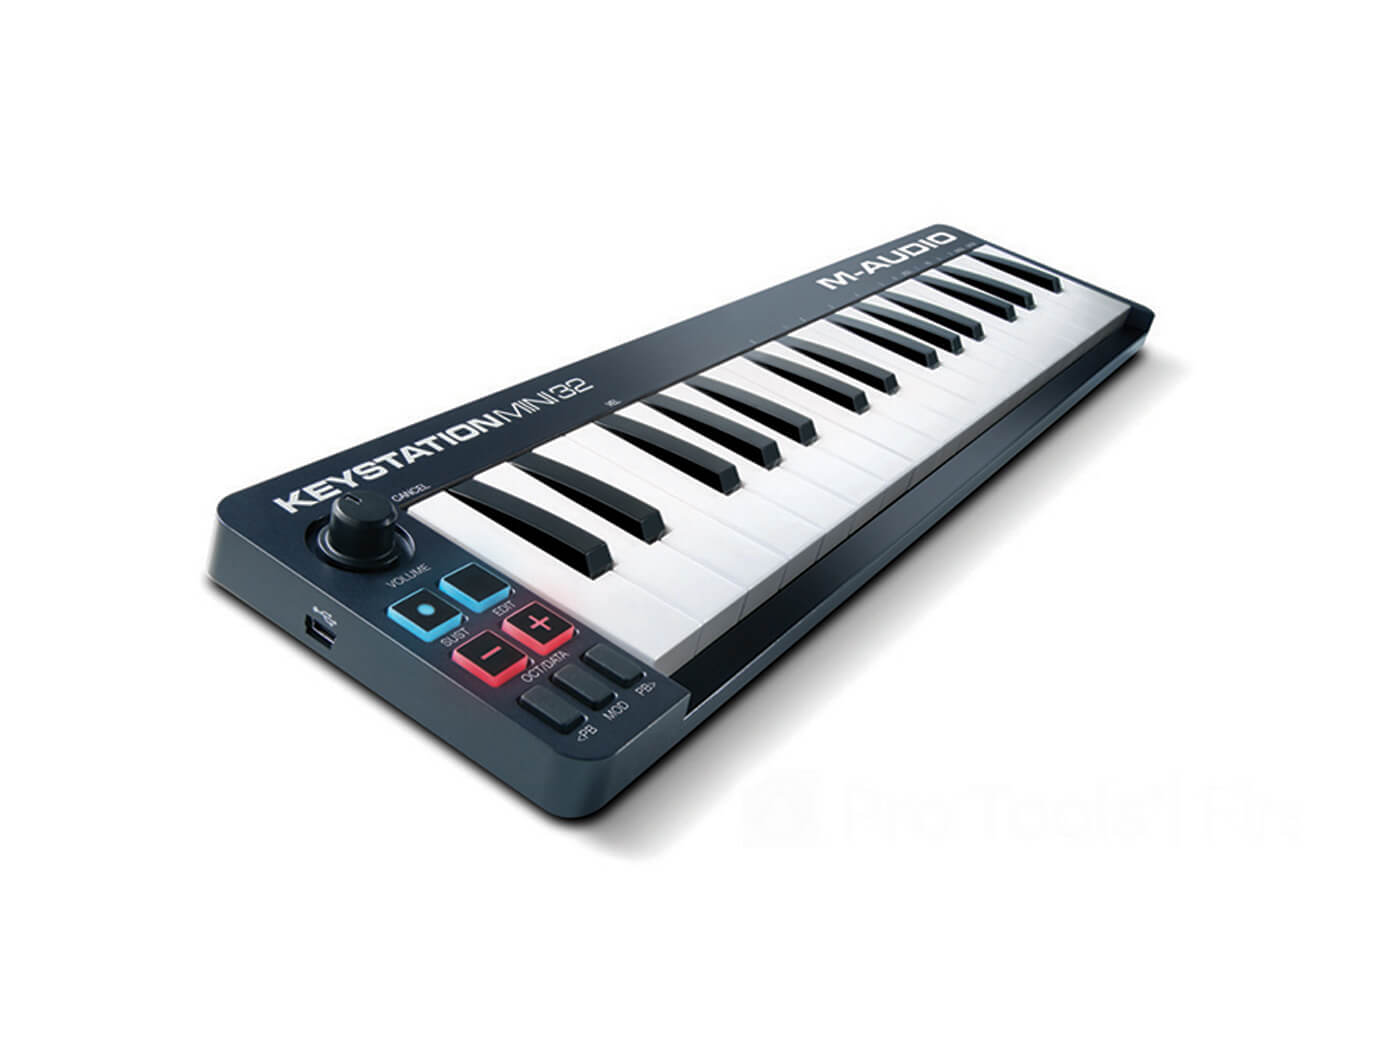
2. MIDI keyboards of a more recent vintage should connect up to your computer via a standard USB cable and socket, but be aware that some smaller examples might need a USB A-Mini B cable.
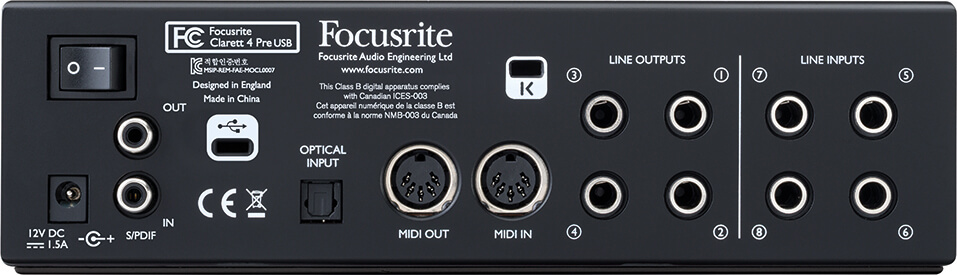
3. Older keyboards will have the standard MIDI DIN-type plug. You can connect that using a USB-to-MIDI adaptor cable, which is quite affordable, or use the MIDI input on your audio interface, if it has one.
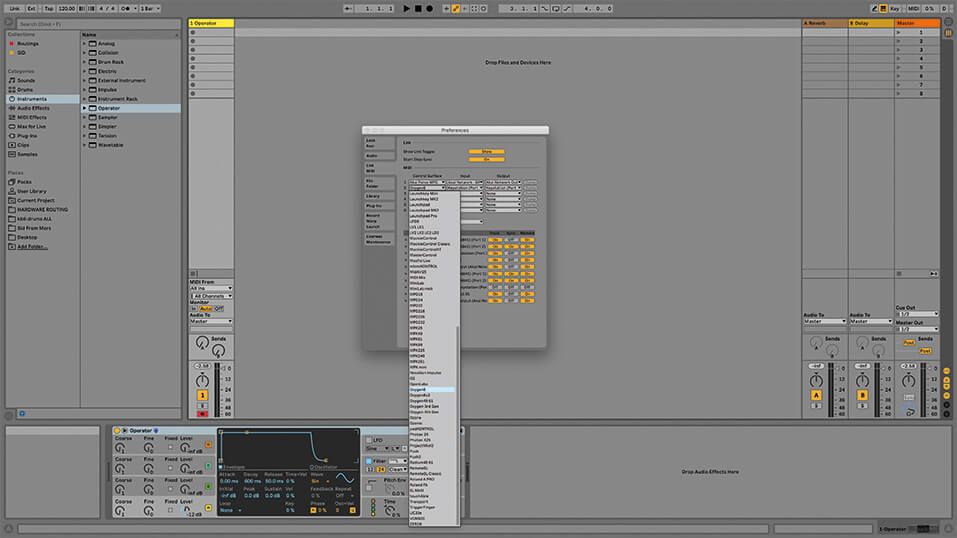
4. Most MIDI keyboards are driver-free, which makes things a lot easier to set up and it’s usually plug and play. Launch Live, open Preferences/MIDI Link. If your keyboard is listed as a Control Surface, set it up; otherwise’ set it manually.
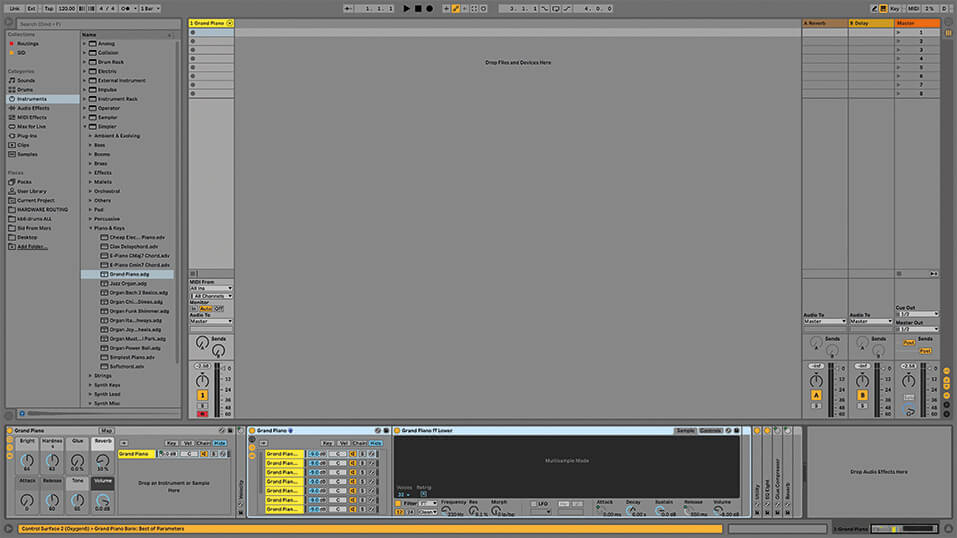
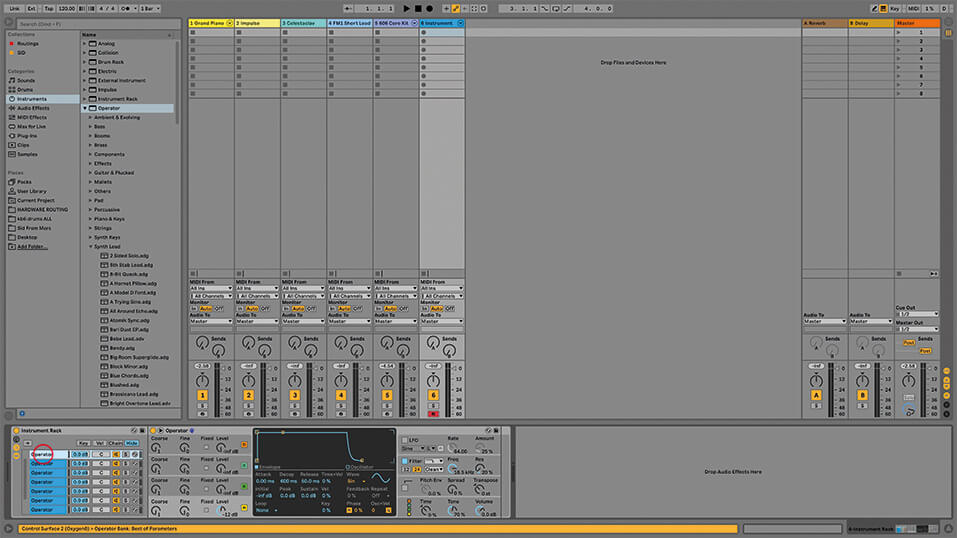
5. In Live’s Browser, go to Instruments/Simpler and load an instrument, such as a piano. If you’ve got Grand Piano, use that. With a traditional instrument, you’ll be reminded how music theory and composition are entwined with the instrument.
6. The familiar layout of the black and white keys and the octaves fits the piano perfectly. And they should, as they’ve evolved together over hundreds of years. If you can play keyboards properly, you need a piano-style interface.

CONNECTION IS MADE Nearly every MIDI keyboard can work as a Live controller. I say ‘nearly’, because a very few of them require USB drivers, which may not still be supported and compatible with recent computers. Use a USB-MIDI adaptor cable, or go through your audio interface’s MIDI input.
7. But this being software, there are, of course, many other things we can add to this. Just like the best grid-style controllers, or drum pads, the MIDI piano has velocity – it responds to how hard you press/hit the keys.
8. You can change the behaviour according to velocity and edit the relationships between filter cutoff, volume, and velocity. If you go through the instruments in the Live Suite, each of them has a parameter that responds to velocity.
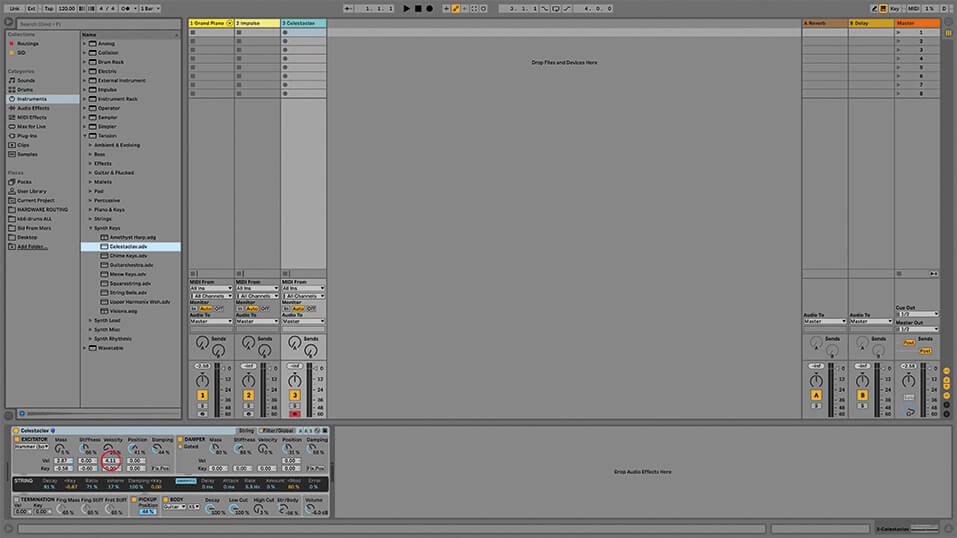
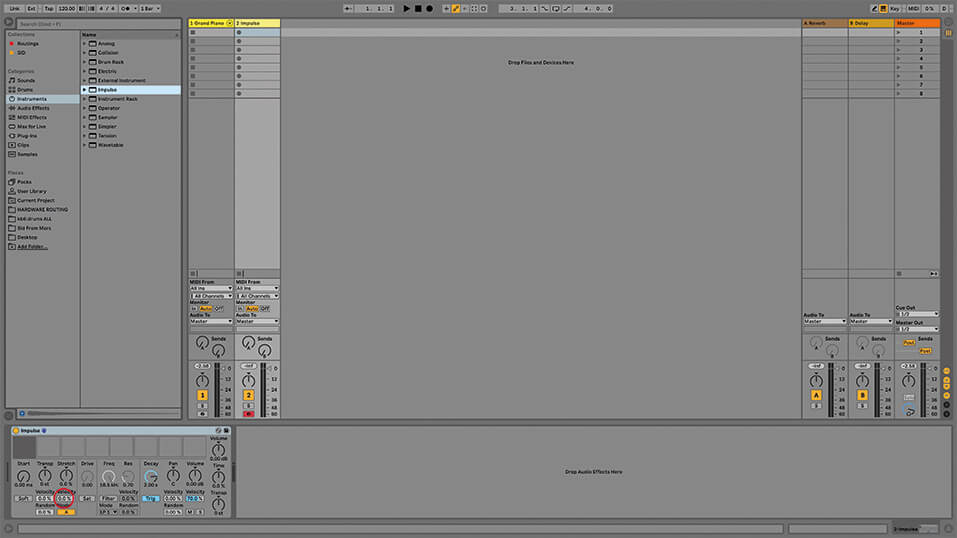
9. Look at the Tension instrument, for example. It has at least 10 parameters that are assignable to velocity. In fact, if you load some of the presets, such as Synth Keys/Celestaclav, you’ll see that some are preconfigured.
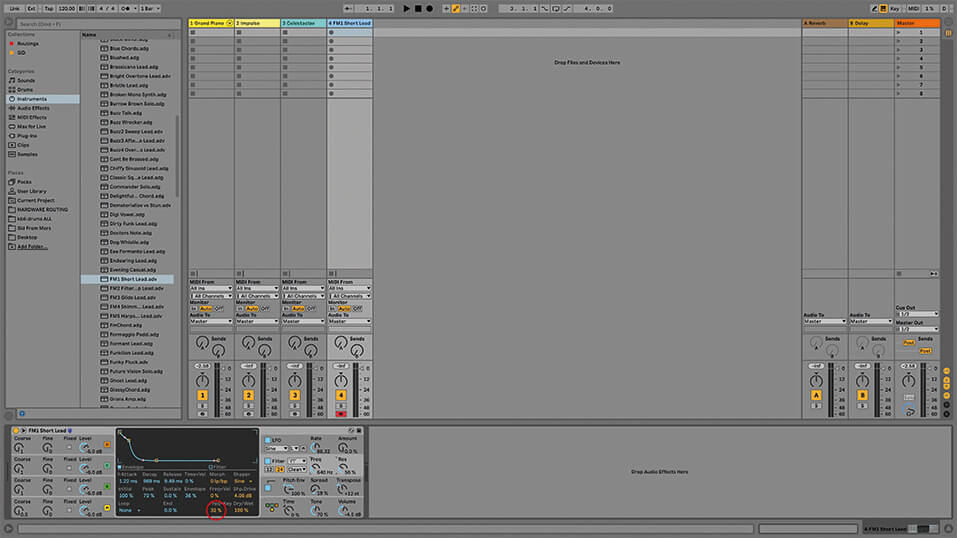
10. Look out for the Key assignment value which, for example, appears in Operator where it can be set up so that incoming note pitch affects filter frequency. It’s preconfigured to 32% in the Synth Lead/FM Short Lead preset.

11. The keyboard has often been forgotten for recording beats, but as it’s got a clear note layout and is velocity sensitive, what else do you need? It’s the original finger drummer! In Live’s default drum racks, C1 triggers the kick, so take it from there.
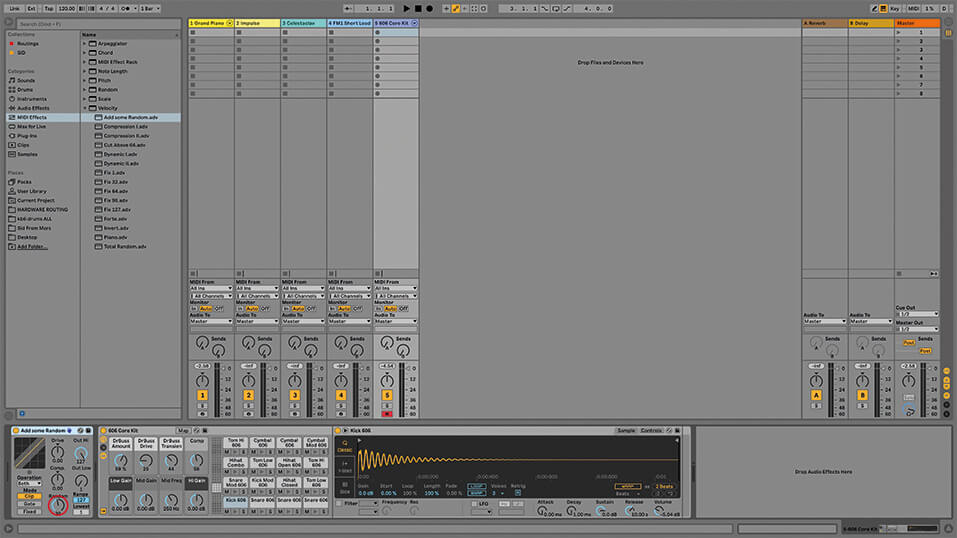
12. I often compose and perform beats by tapping on a tiny keyboard, because I’m so used to working that way. Of course, there might be no velocity with that option, so you would have to add it in after the fact.
GET DIRTY WITH QWERTY No keyboard, no Push, no nothing? Tap ‘M’ on your computer keyboard in Live 10 to enable the Computer MIDI Keyboard. Row keys A to L are white keyboard keys, and Q to P are the black keys. Z and C will transpose octaves, and C and X change velocity.
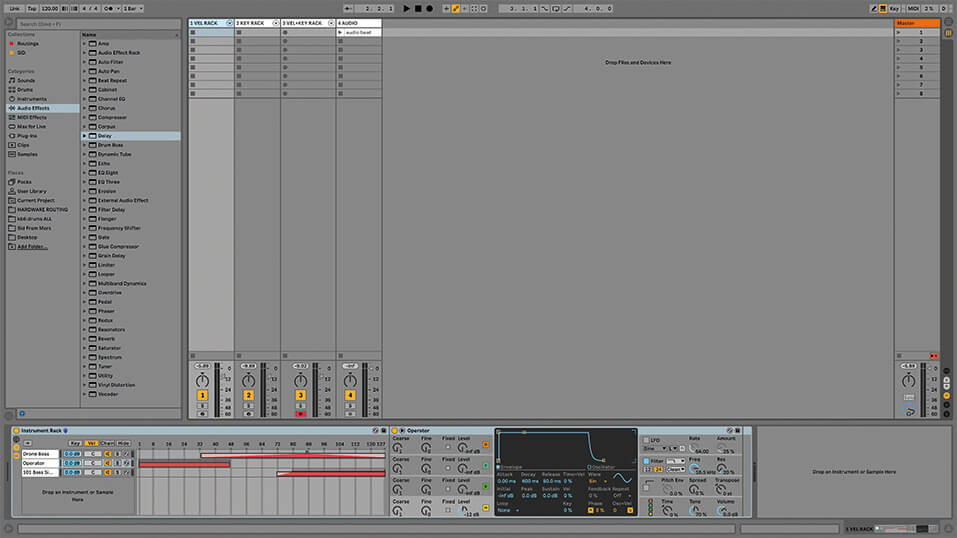
13. We can use instrument racks to take it to another level. Imagine a virtually unlimited number of instruments being played simultaneously from one keyboard input, then imagine them laid out across a split keyboard.
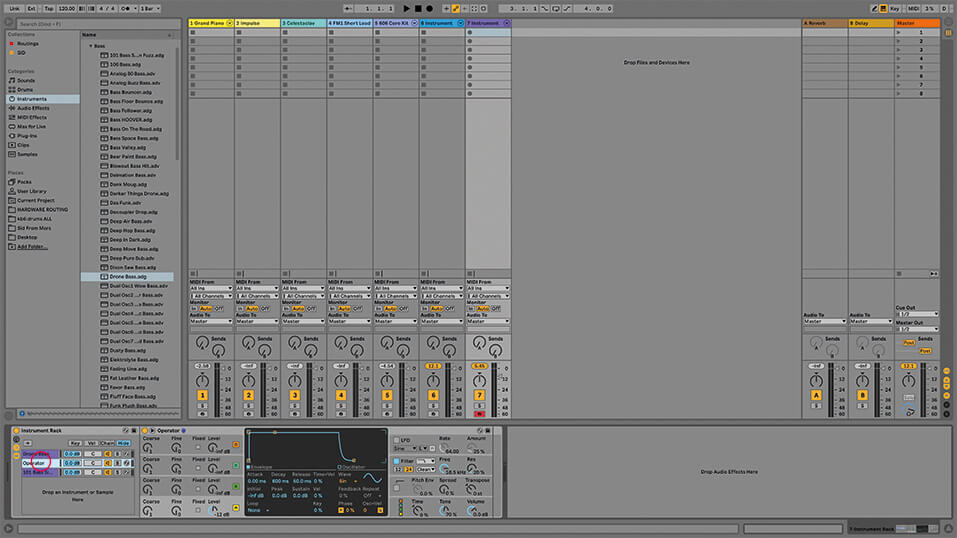
14. When working with an instrument rack that has two or more chains, we can use Zones to divide the keyboard according to Velocity (different velocities trigger different zones) or Key (different groups of notes trigger different zones).
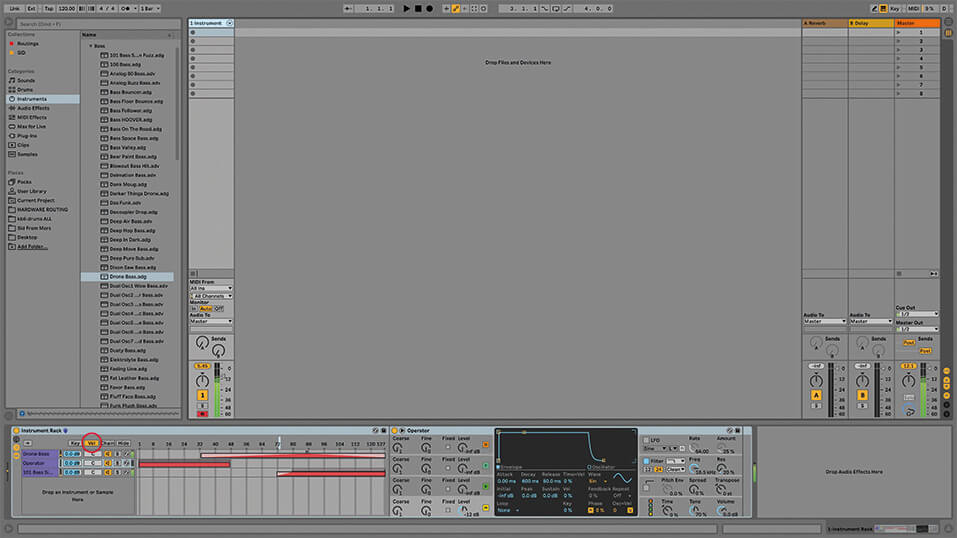
15. Connect a MIDI keyboard and play the instrument rack in track 1 of our example project. As you play softer or harder, you’ll notice the mix between the chains evolves, as different elements become more or less prominent.
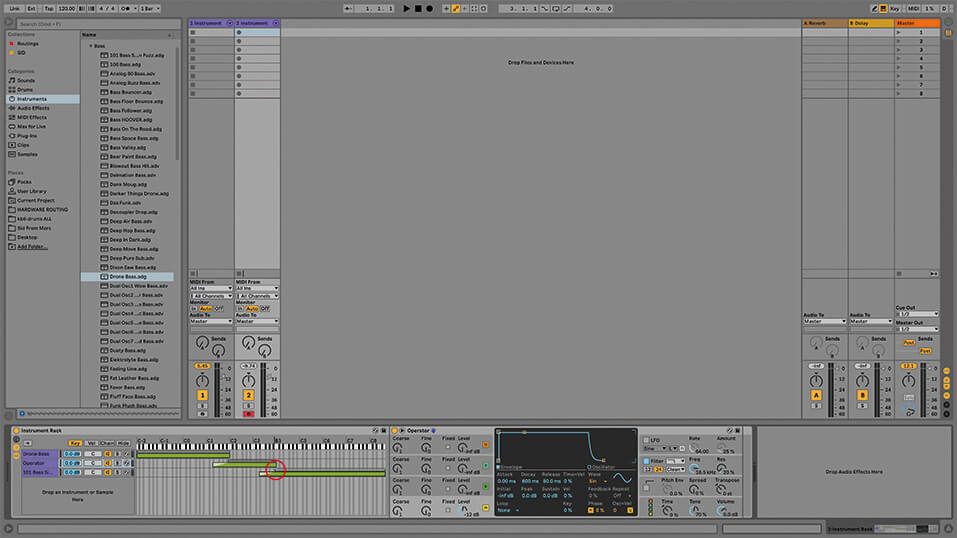
16. Now try the instrument rack in track 2, and check the Zone Editor. This time we’re using pitch to trigger or fade between, different chains. The potential here is mind blowing when you can also use Simpler to add loops or beats.
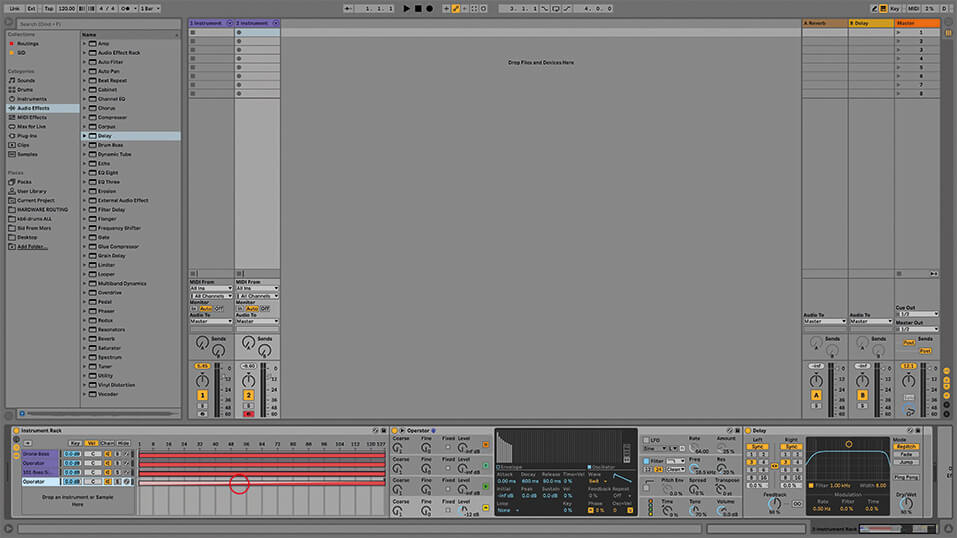
17. Track 3 has a rack that combines these methods. Play your keyboard and hear the sound change with velocity and with pitch. The example provided is obvious, but in the real world, you could use something more discreet. Or not.

18. Enter MIDI Map Mode (Cmd-M) then click the audio clip in track 4. Press the highest and lowest notes on your keyboard, and they’ll be superimposed on the clip. Exit Map Mode, play some notes, and hear the sample at different pitches.
For more Live tutorials and workshops, check here.