What ADSR Can Do For You In Ableton Live
Whether you’re familiar with the trusty synthesis principles of ADSR or not, you can get to work immediately using them in Ableton Live, Martin Delaney fills the envelope full of music… Accompanying project file from DVD can be found here. ADSR is a commonly used term in synthesis, and sound design – it stands for […]
Whether you’re familiar with the trusty synthesis principles of ADSR or not, you can get to work immediately using them in Ableton Live, Martin Delaney fills the envelope full of music…
Accompanying project file from DVD can be found here.
ADSR is a commonly used term in synthesis, and sound design – it stands for Attack, Decay, Sustain, and Release. These are held to be the important characteristics to bear in mind when you’re creating a sound, whether it’s intended to be a realistic sound or some crazy new thing that could never exist in the real world.
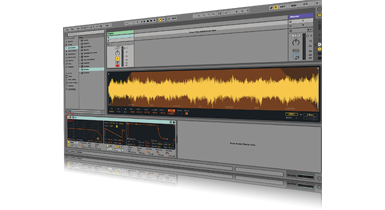
As far as we’re concerned today, ADSR relates to what’s known as the volume envelope. You’ll see ADSR, or some elements of it, displayed throughout Live’s instruments and effects, sometimes with a graphic representation of the envelope, sometimes not. It’s a way to visualise what’s happening with a sound, whether it’s a kick, a bass or a trumpet – it works across the field.
Every sound is like a story, with a beginning, a middle, and an end. Attack is the beginning, Decay and Sustain are the middle, and Release is the end. I’m using Simpler and Operator for this tutorial, but the concept of envelopes is universal, so you’ll be able to recycle this information later, whatever instruments or software you’re working with.
For example, even within Live itself, you’ll find full ADSR controls within the Analog synthesiser, or the Max For Live Bass instrument, and attack-and-release controls inside audio-effect devices such as the Auto Filter and the Gate.
A simple start
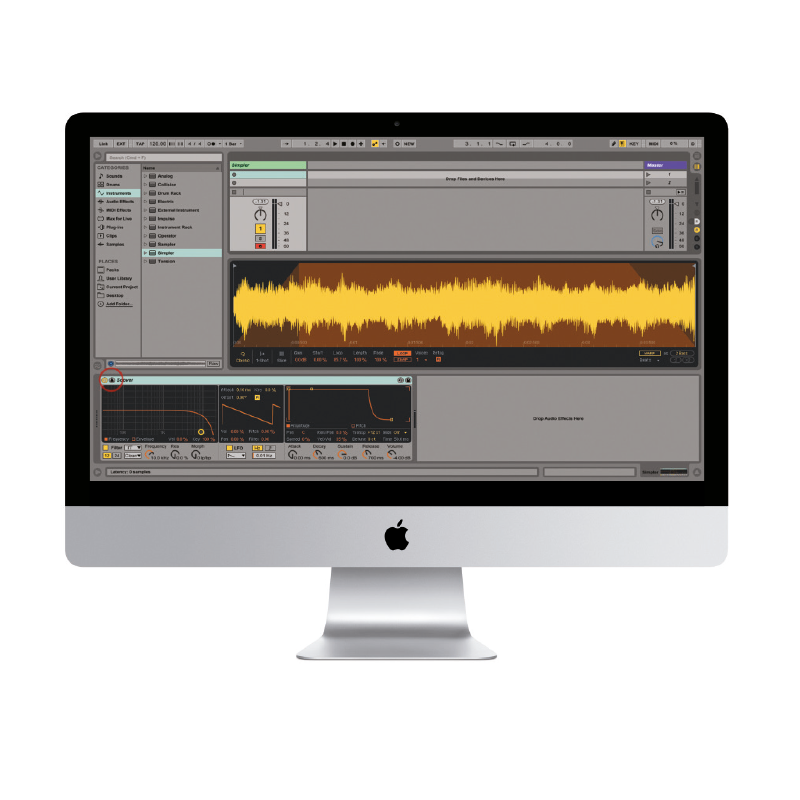
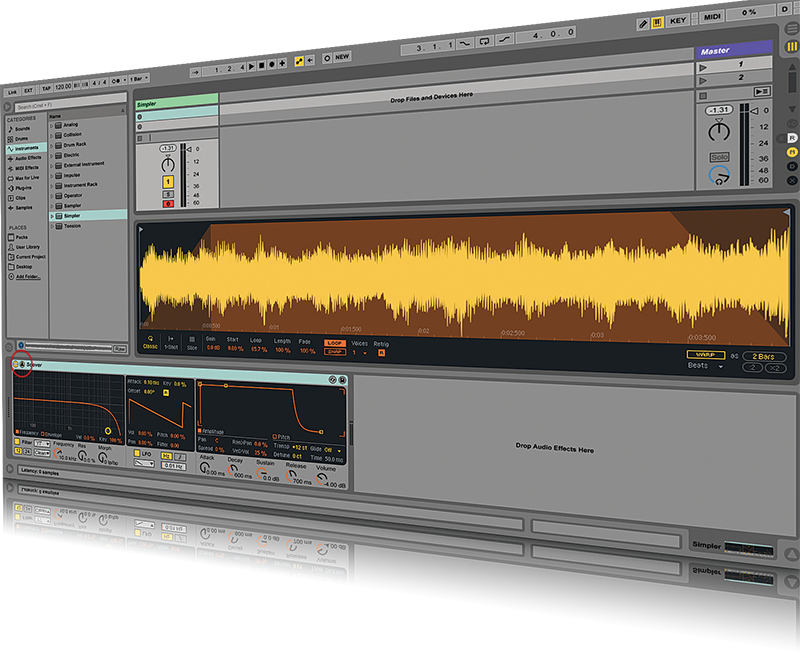
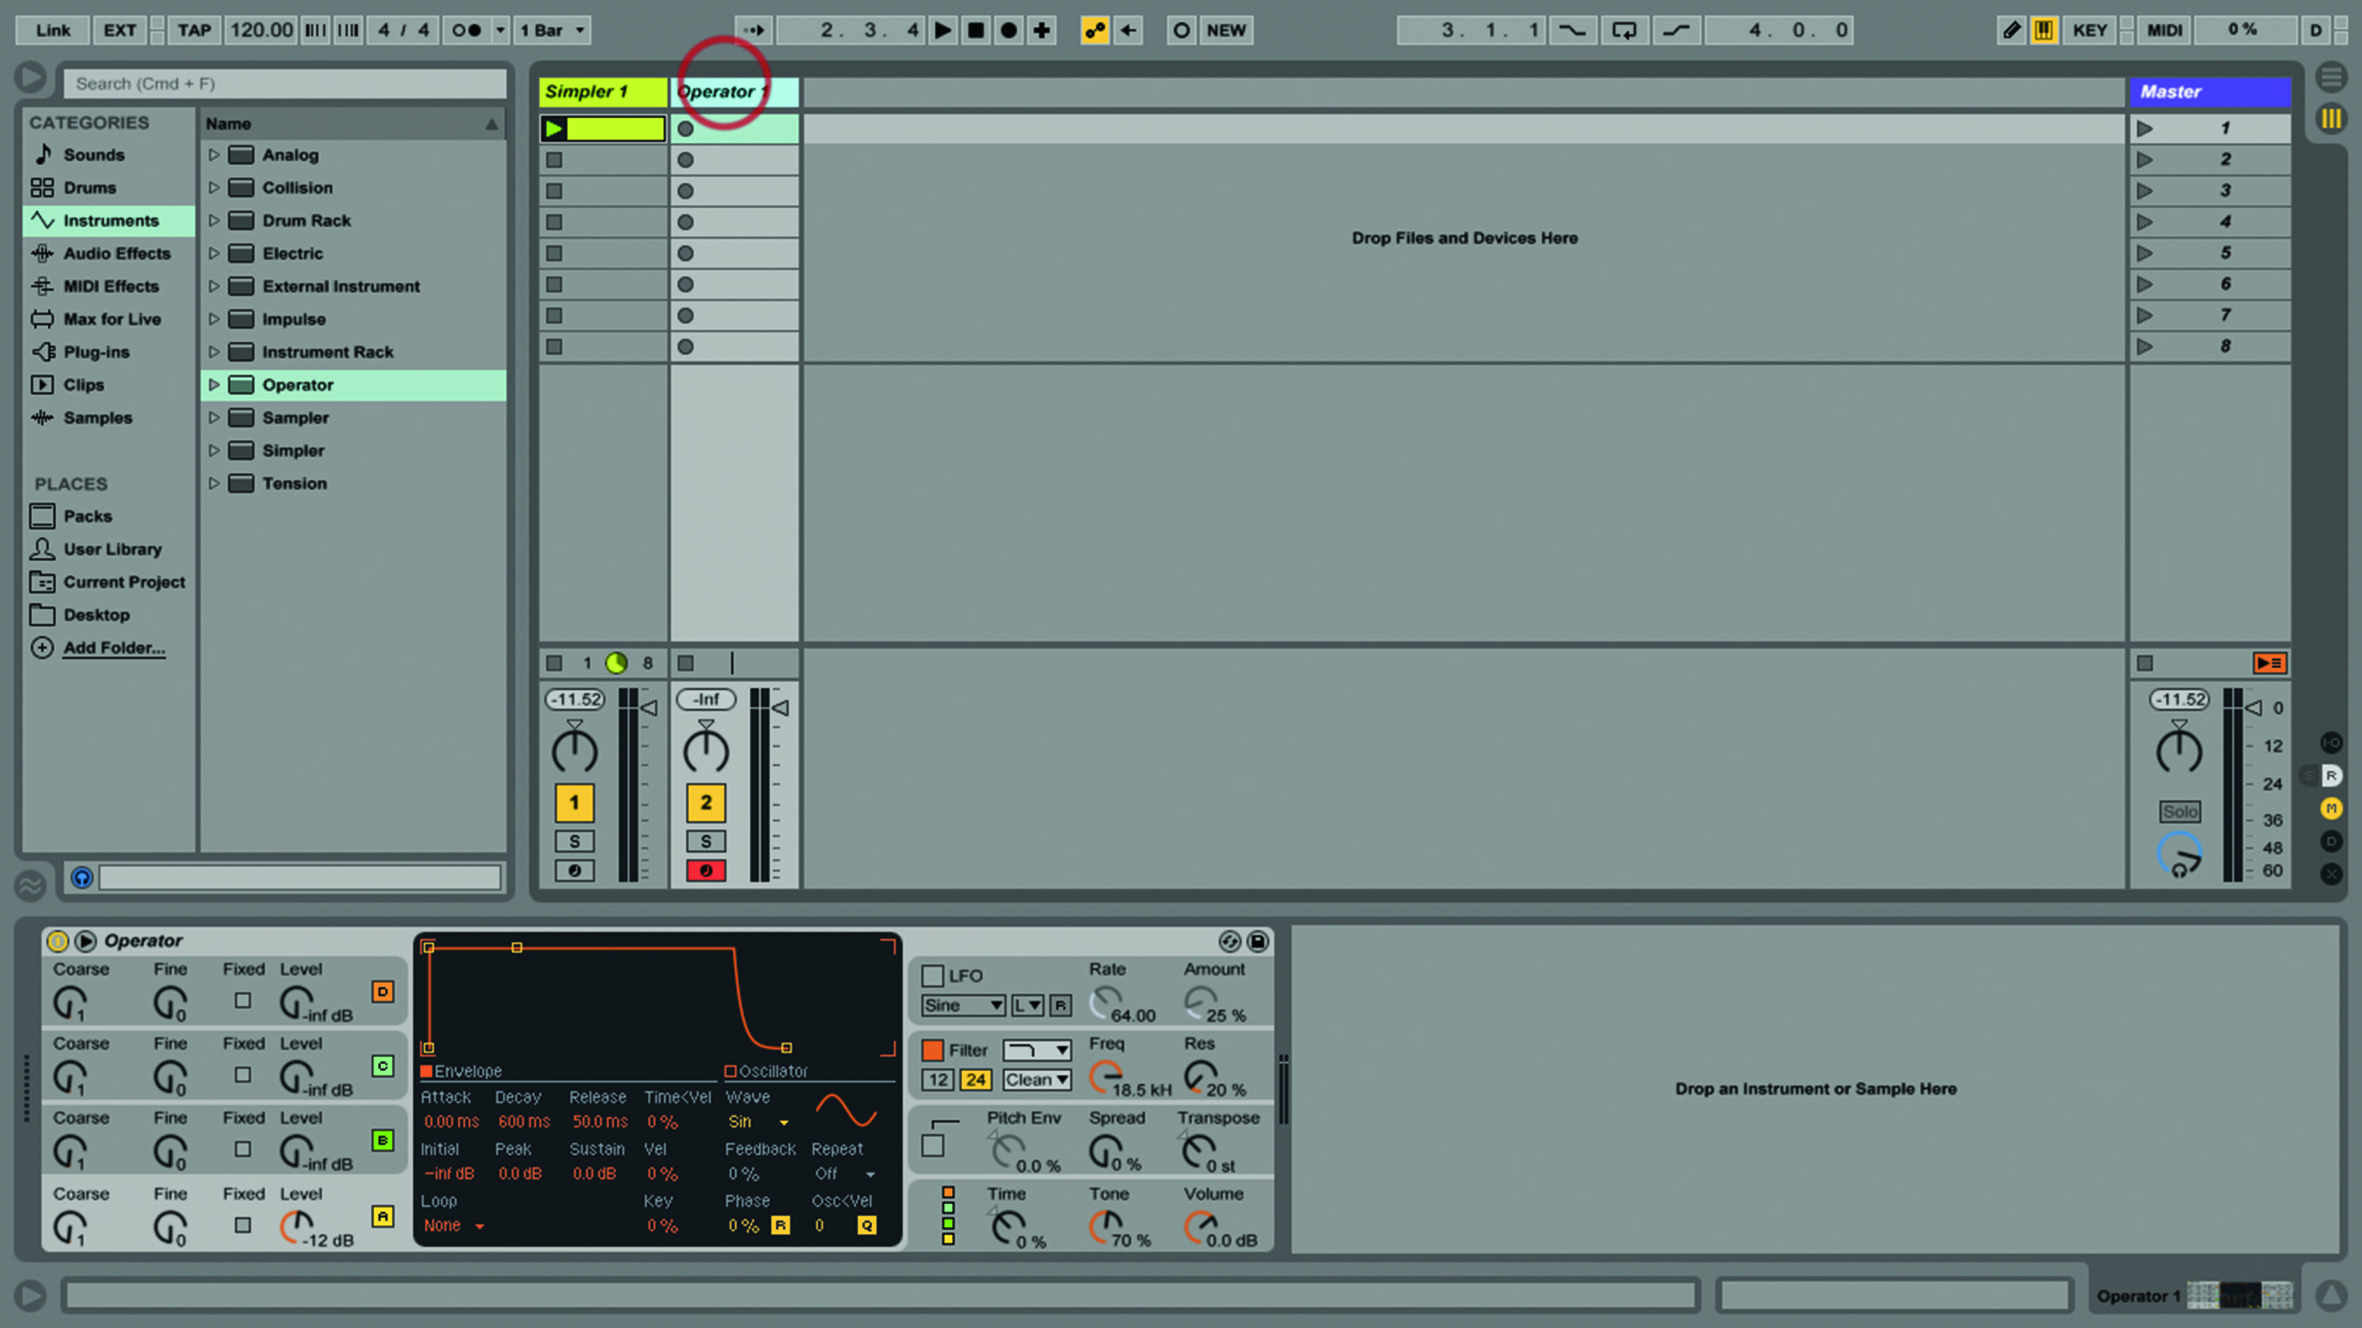
I start with Live’s Simpler instrument device for this tutorial, partly because it’s included with every version of Live, while Operator, which we move on to after that, is an additional purchase, so not everybody has it. Over the years, Simpler, despite being the ‘poor relation’ to the grander Sampler instrument, has matured into a powerful device in its own right; now it’s more a matter of appreciating each for its distinct features, rather than holding one to be ‘better’ than the other. Throw Push 2 into the equation and you have an incredibly powerful sampling setup straight out of the box.
I’ve created an example Live set to go with the tutorial, so make sure you’re using that. If you don’t have Operator installed, you can at least listen to the audio examples I’ve provided from each Operator-related tutorial step, so you can hear what I’m describing.
I love Operator, as you’ll know if you’ve read any of my other Live tutorials. Even the sample in the Simpler track was created with Operator. Simpler is one of Live’s old, reliable instrument devices, but it enjoyed a deep overhaul not long ago, adding a lot of cool features, but also enabling Push users to dig deeper into controlling their samples without having to leave the Push interface – especially true if using Push 2 with the lovely new display.
Our starter sample is pretty raw and doesn’t do much except start, play, then loop – but before we progress to programming or editing or effects, we can make it more entertaining by playing around with the ADSR controls.
Sometimes you have a goal in mind, a particular sound you’re chasing, and sometimes you’re just enjoying the journey, happy to go wherever the software and your mood lead. If you want to go further than we do in the tutorial, you can go to that panel at the left and start experimenting with Simpler’s filter envelope as well – it’s not all about volume.
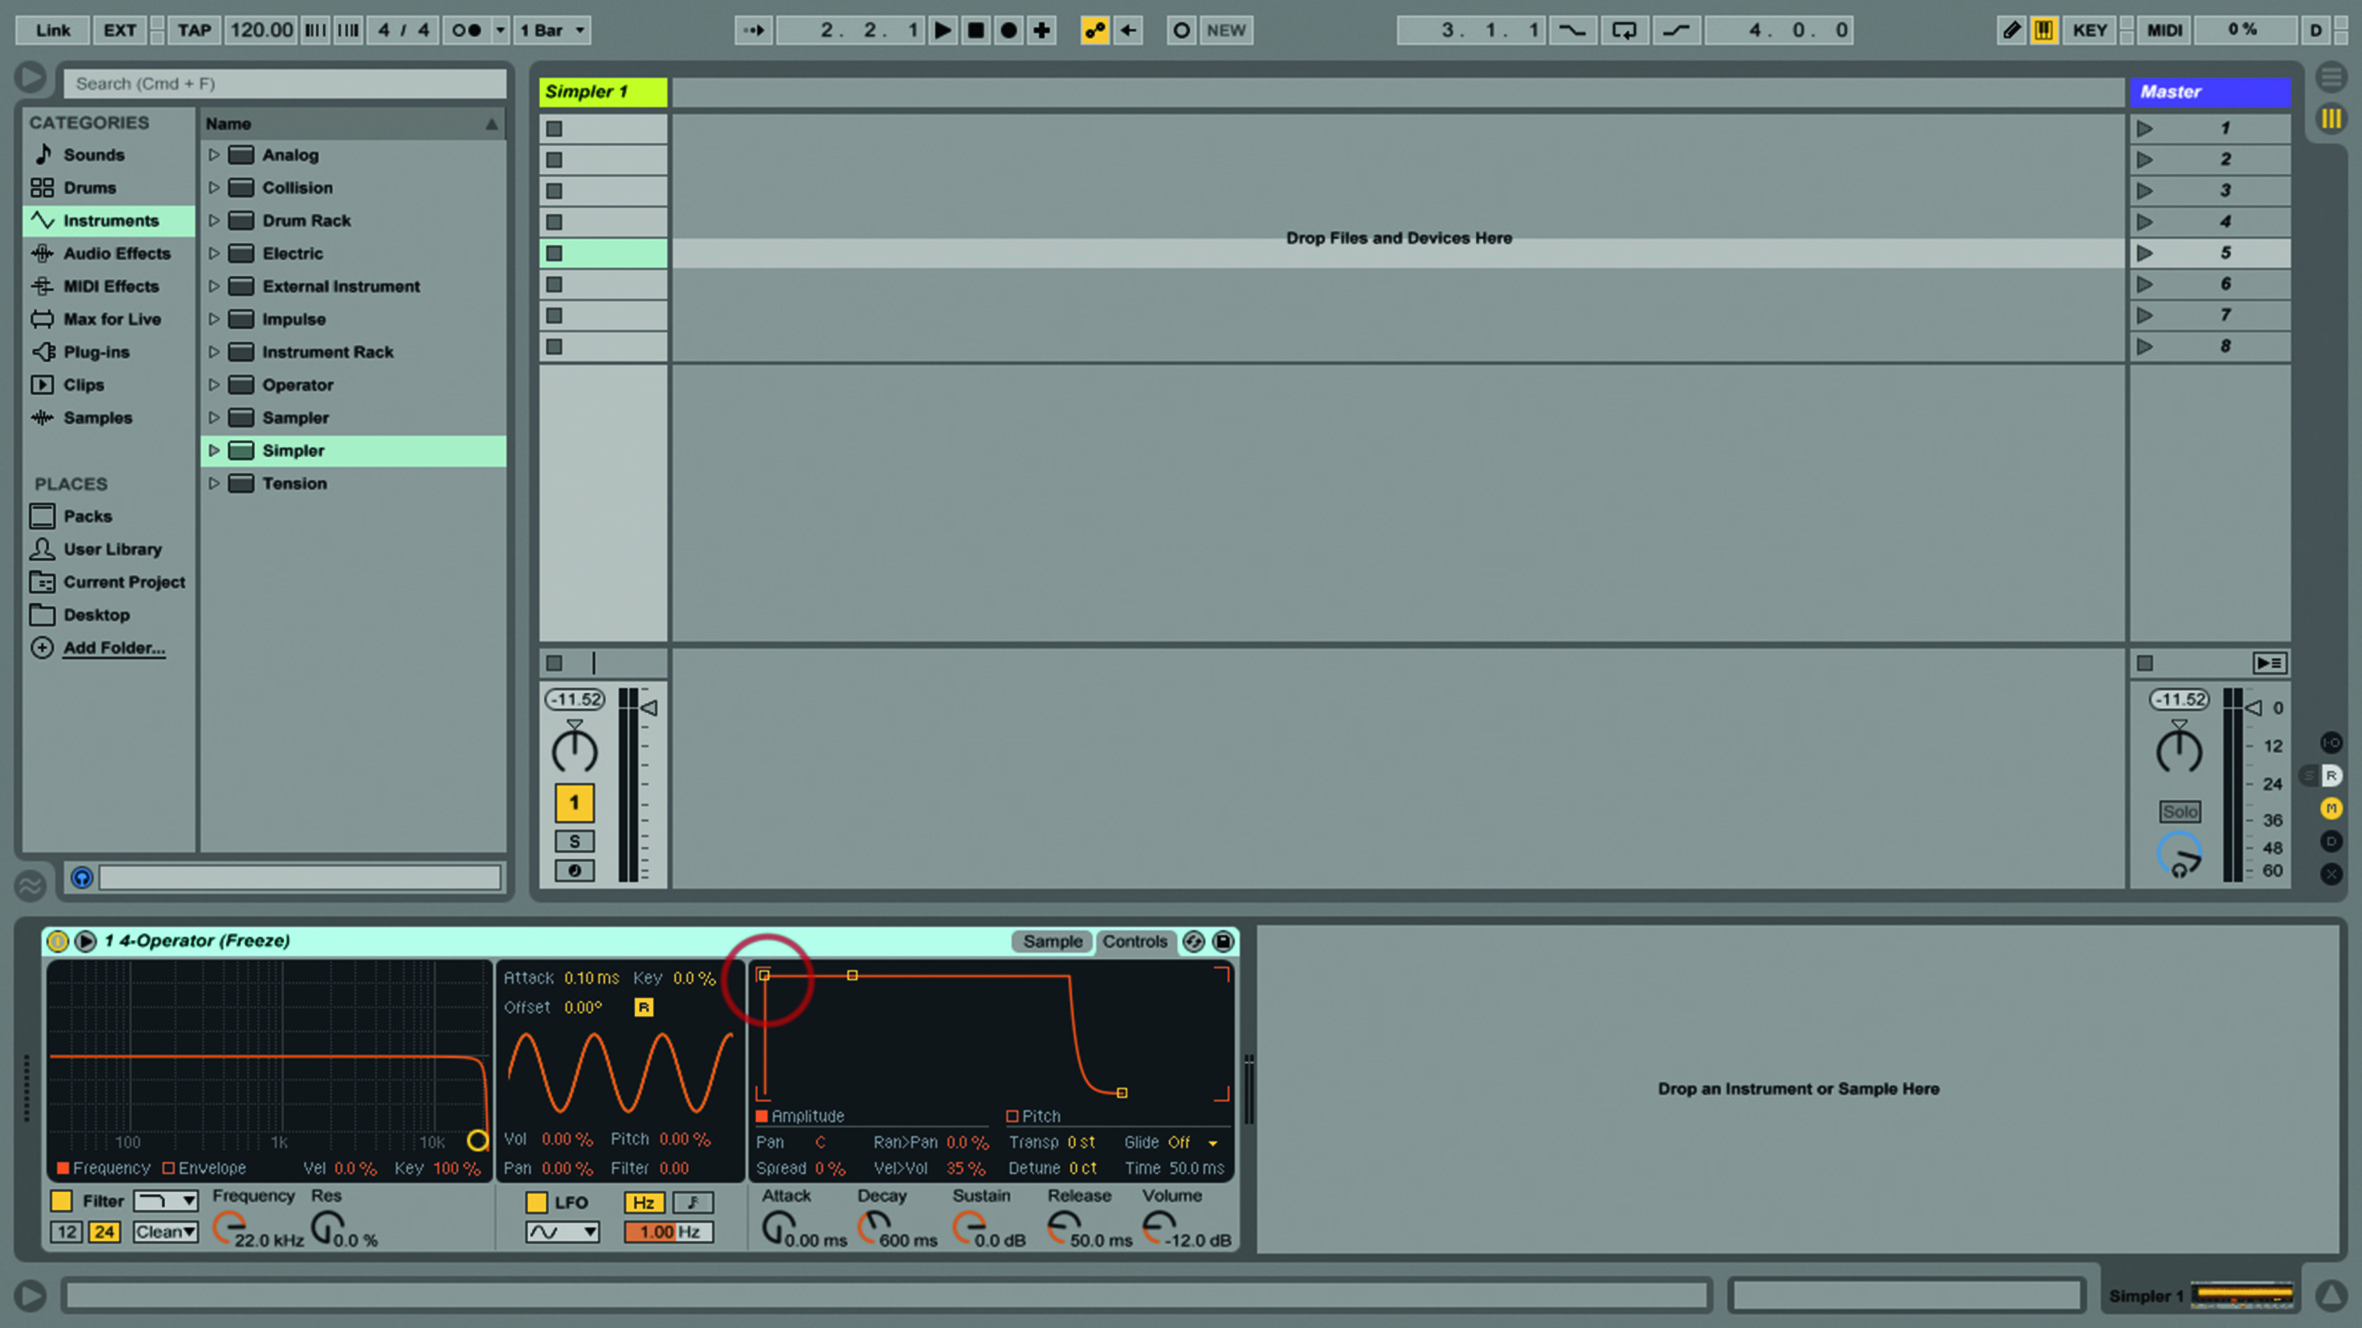
Ableton’s Operator synth is a fantastic platform for envelope experiments: it has envelopes for each of the four oscillators, as well as the filter, LFO, and pitch, and these are completely independent of each other. In our tutorial, we only use two oscillators – but things can get very deep indeed if you start working with all four of them together.
If you’re working with a MIDI clip and programmed notes, I’d suggest taking some time to play Operator from your keyboard or Push pads as well, because some of these controls really come to life with playing dynamics. By the time we get to the final step of the walkthrough, with the looping envelope, the LFO, and the filter, it sounds as if there’s a lot more happening than is actually the case.
Use your imagination – once you add control from Push, clip envelopes, and MIDI and audio effects, you can build very complex patches and instrument racks. None of these values should be thought of as being ‘fixed’ at the start of your song; they can be fluid and continually automated through a mix, or manually tweaked as part of a performance – and,
in addition, each element of a volume envelope can be automated separately.
If you use the envelope loops in Operator, as described in the tutorial, you don’t use the automation so much, as this is another way of getting a continually changing sound, especially if you apply different loop behaviours and values to each oscillator, so they don’t all start and stop at the same time. This is an important Ableton Live tip: avoid moments where everything starts and stops at the same time – it’s not very organic!
Try using two oscillators and sending the LFO to just one of them, then looping the envelopes for both oscillators as well as the LFO, but all set to different rates. Use Operator’s Time control to mess globally with all of the envelopes if you really want to mess things up.
A hardware controller that easily communicates with Simpler or Operator is a real asset for this, so I’d look at something like Push 2, or if you like to use iOS, try TouchAble, with the Live Device Template in-app purchase, which effectively gives you a multitouch version of Simpler or Operator on your iPad, which is pretty awesome to behold. Better yet, use Push and TouchAble together, which is arguably the best possible control combination for Live.
Within Live’s instruments and audio-effect devices, you’ll find that envelopes are all over the place. You’ve got them – you might as well learn how to use them.
Step-by-step: Back In The ADSR
1. We’ll look at how we can use ADSR envelopes to transform a basic sound into something more exciting. Envelopes are everywhere, so you’ll be able to recycle these concepts later!
2. We’ve got an example Live set, which contains a Simpler starter preset, as well as an Operator one, for those who have it installed, and some before-and-after audio examples for those who don’t.
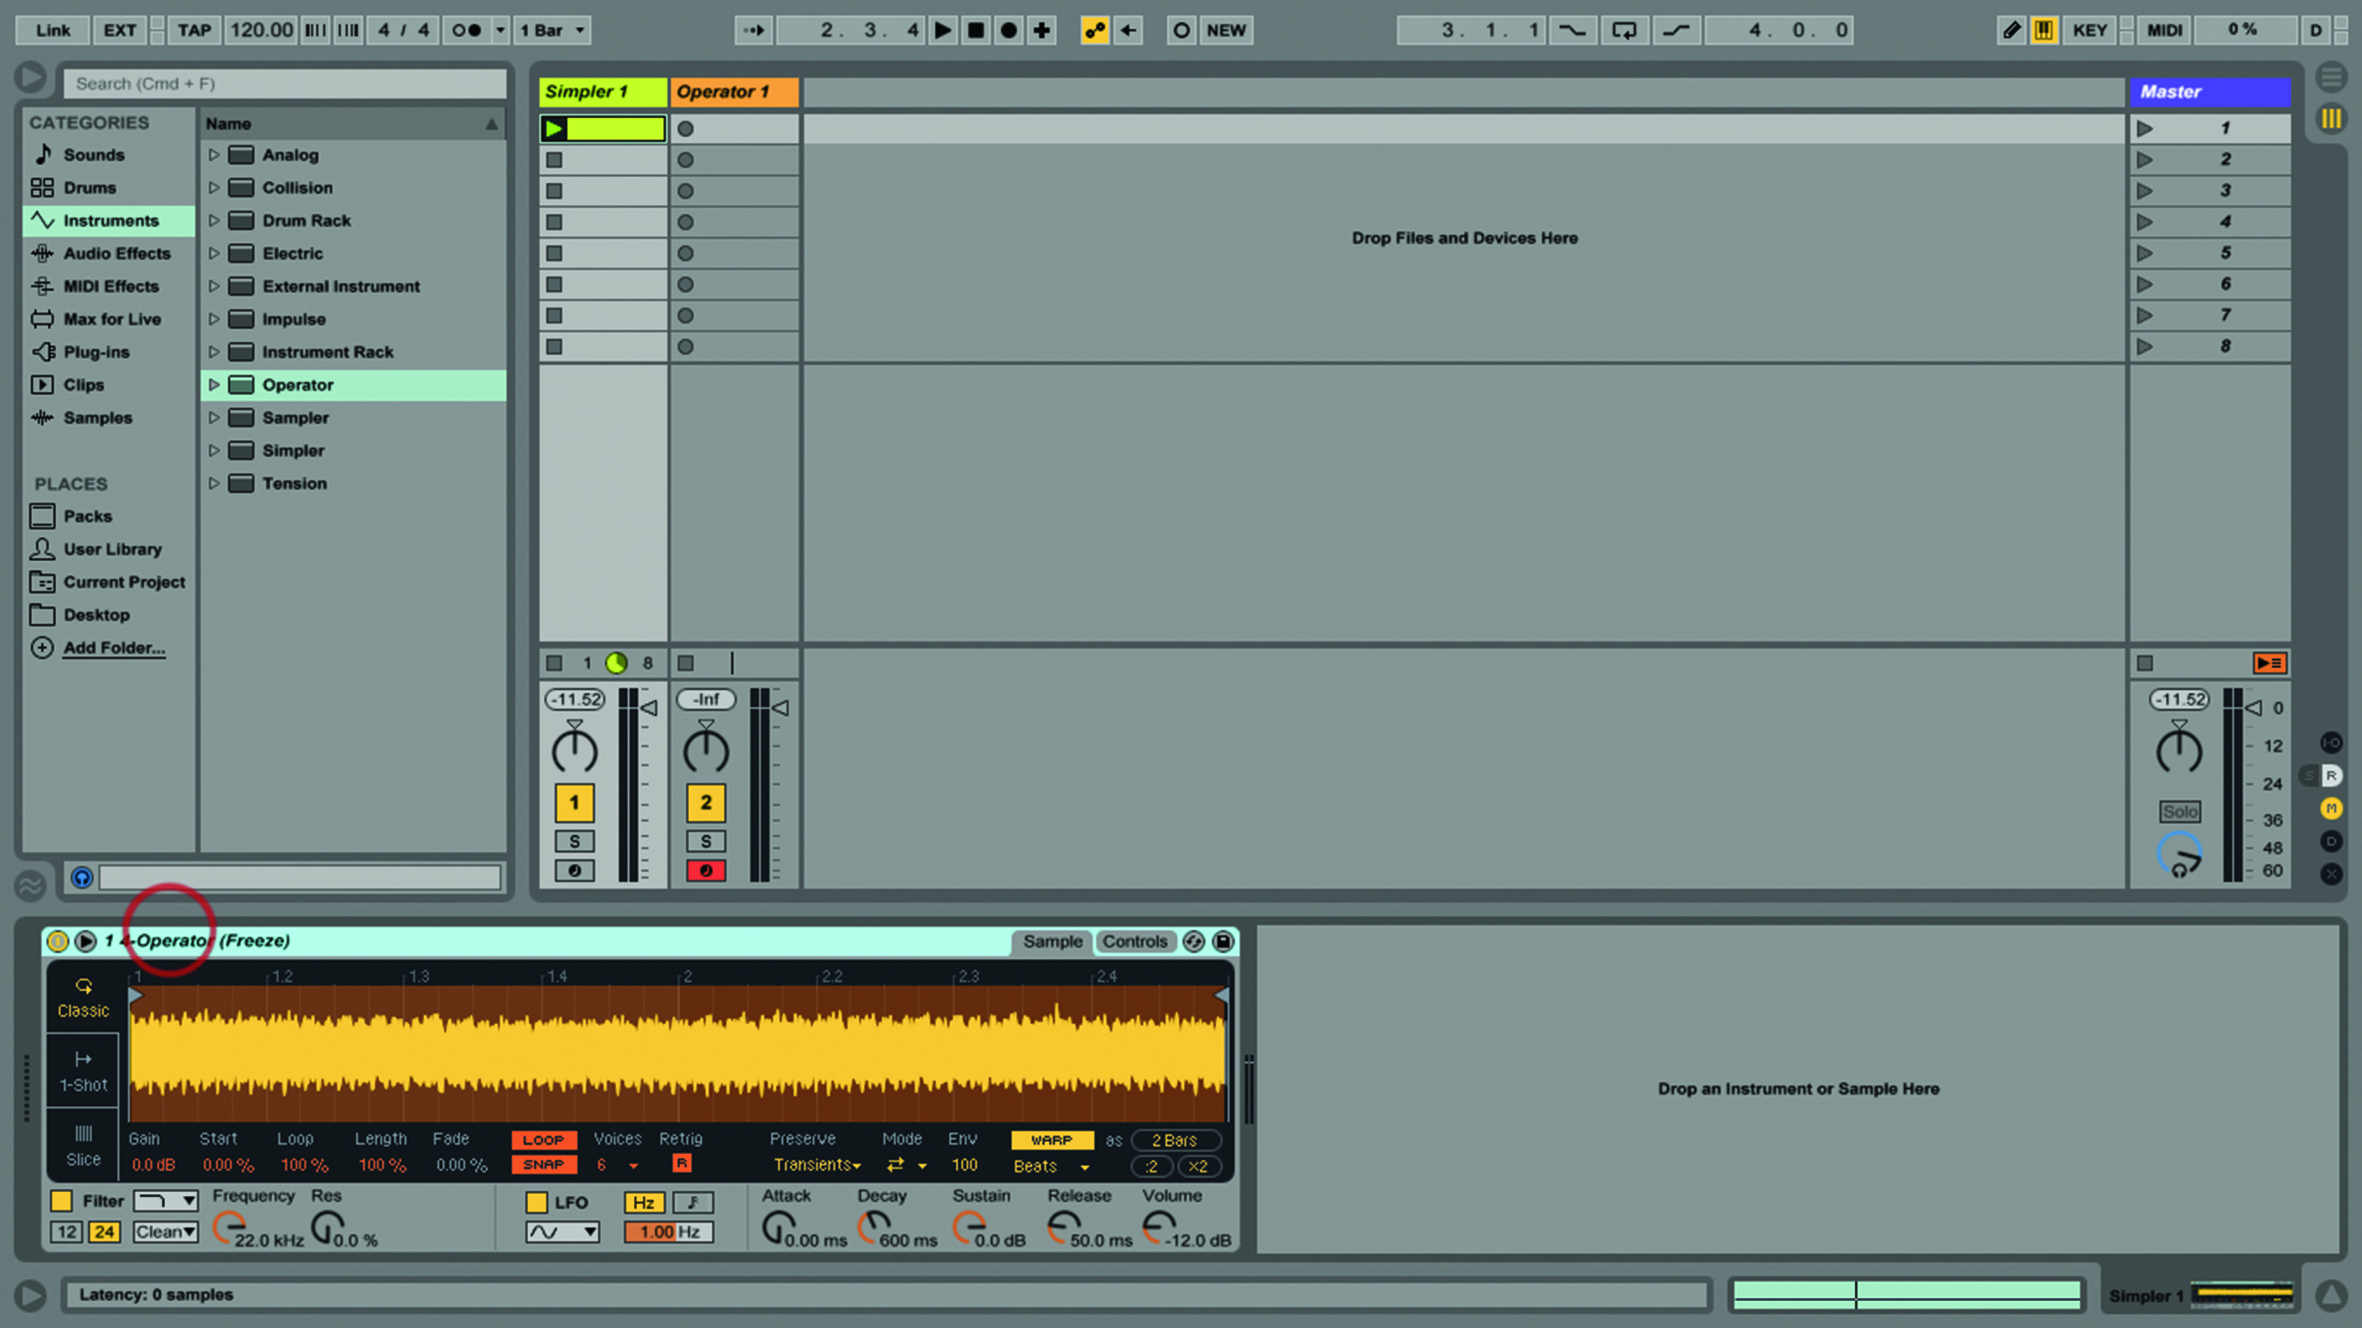
3. We’ll begin with Simpler, as that’s the one every Live user has. I’m using the current version – it had a major update recently, so if yours looks different, it’s probably time to think about upgrading.

4. Go to the Simpler 1 track and launch the MIDI clip. Click the Controls tab to view the Volume ADSR envelope (the controls are available at the bottom of either view, but let’s see it).

5. Set the Attack value to 150ms to take the edge off the beginning, set Decay to 10.0ms, Sustain to -35dB and finally, the Release value to 80.0ms, to add a longer tail.
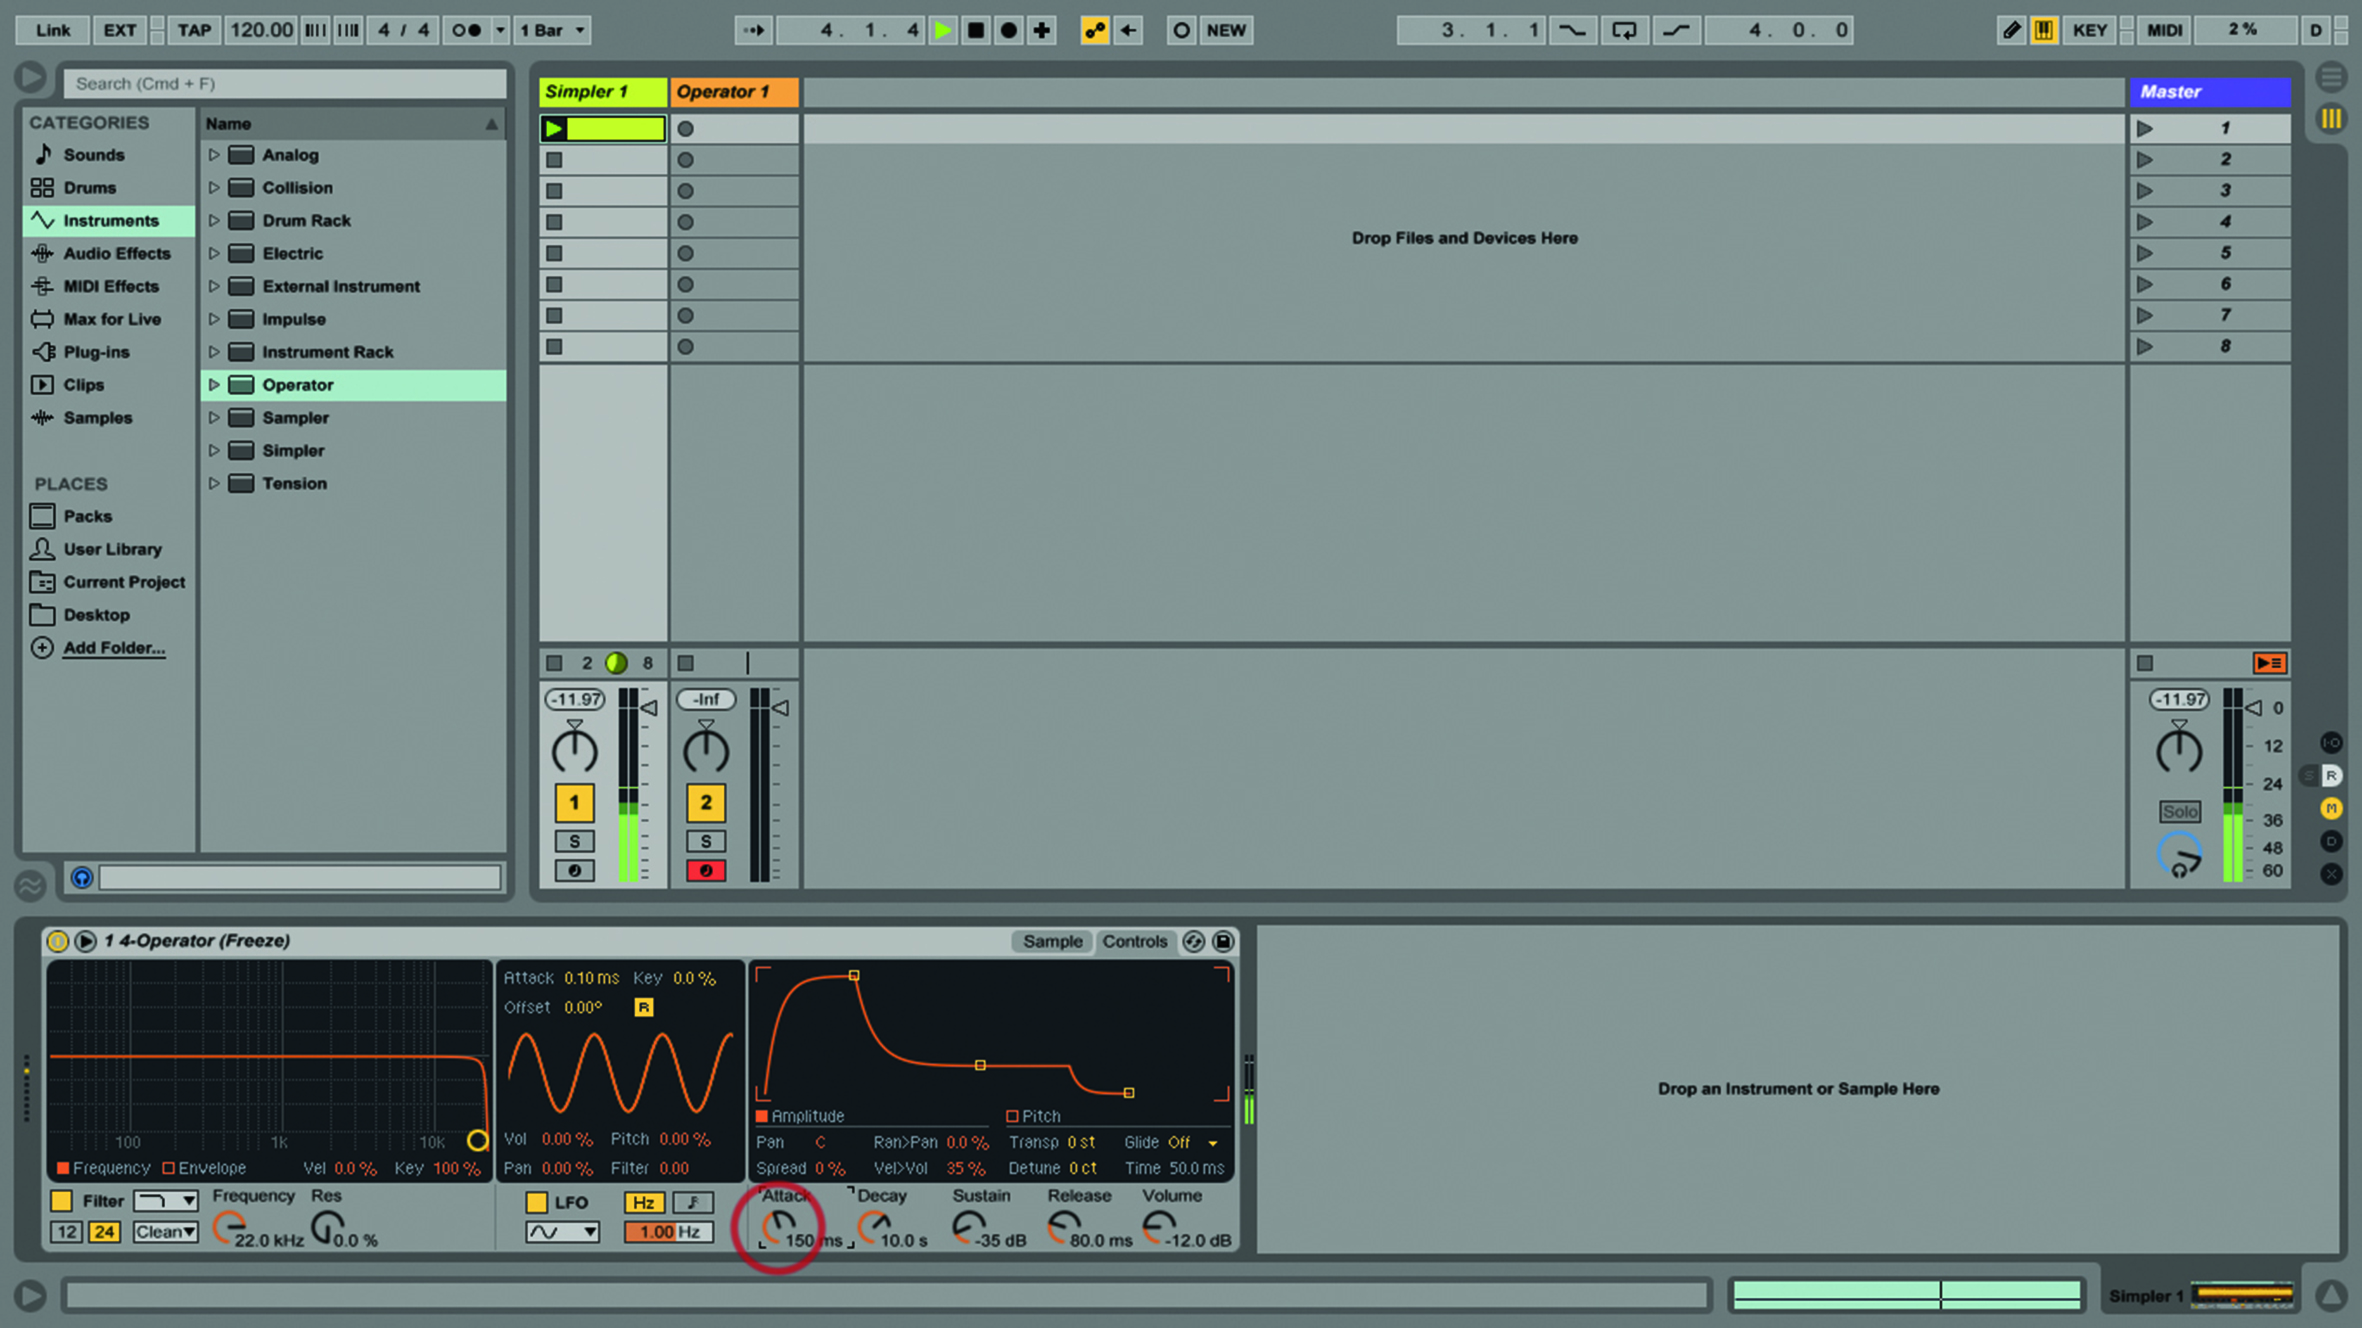
6. The Attack control is creating a fade-in beginning to the sound, which is good for more pad-type sounds; while you’d go the other way and use shorter attacks if you wanted something more percussive.