Better Bass In Logic Pro X
Producing a mix with a great low-end isn’t just about EQ – it involves all kinds of creative approaches. Mark Cousins unlocks Logic Pro X’s secret weapons for creating a truly earthshaking bass end to your mix… Perfecting the bass end of your mix can be one of the hardest parts of the mixing process, […]
Producing a mix with a great low-end isn’t just about EQ – it involves all kinds of creative approaches. Mark Cousins unlocks Logic Pro X’s secret weapons for creating a truly earthshaking bass end to your mix…

Perfecting the bass end of your mix can be one of the hardest parts of the mixing process, either resulting in a muddy, ill-defined low-end, or a mix that lacks the rock-solid foundation of a professional recording. Although it’s easy to think of one part of the sound spectrum being much the same as the other, the low end of the mix is a special case requiring a wholly different approach. Equally, there’s a lot more to shaping the bass end of your mix than EQ alone, with Logic Pro X including many different creative options that go above and beyond what equalisation can offer.
Low-end theory
Before we delve into the specifics, it’s worth taking time to consider the essentials of how the low end works in a good mix. First off, visualise your mix as having distinct and separate ‘layers’ of bass, with each part residing in a unique part of the sound spectrum. For example, a bass guitar might inhabit the lows and low mids around 100-200Hz, while an 808 kick extends down into the subsonic regions beneath 60Hz. Avoid over-populating each frequency area, and be ruthless about other instruments cutting into this prime real estate.
The second key point relates to perception of the stereo image and bass. Whereas our ears are very sensitive to the location of high-frequency sounds, they tend to be lacking when it comes to placing bass. The upshot of this ‘locational insensitivity’ is that a strong, centrally focused bass end will have far more impact than a low end that is unnecessarily divergent between the left and right speakers. In short, mono bass is good!
Pure Bass
Applying these principles, we can then start using Logic in a more informed way. Your main plug-in will be the Channel EQ, but before you start raising any lows, first think about the judicious use of high-pass filtering to keep key instruments out of the low end. Instruments like vocals, acoustic guitar and piano can all exhibit surprising amounts of low-end information, especially if they’ve been close mic’ed. Place cuts around 150-300Hz, therefore, to ensure their reach doesn’t extend too deep into the mix.
Even on instruments like bass and kick, you might want to consider using a degree of high-pass filtering. The distinction to be made is which of the two instruments – kick drum or bass – is the lowest element of the mix. If the kick is deepest, carve out some space using a 50Hz cut on the bass, and vice versa if you’re contrasting a punchier kick with a low subsonic synth bass. This cut will become effective as you start boosting the low end, as frequencies below the ‘musical’ range won’t be lifted at the same time.
Why phase linear?
If you’re using an Equalizer on a parallel processing channel, ensure you opt for the Phase Linear Equalizer rather than the standard Channel EQ plug-in. In a conventional insert application, the differences between the Channel EQ and Phase Linear EQ are minimal – one sounds much the same as the other, in other words.
However, because a parallel application layers both equalised and un-equalised versions of the same sound, the small phase differences introduced by a conventional Channel EQ became much more apparent. In effect, the Channel EQ exhibits a slightly ‘phasey’ sound in parallel applications, noticeable at the frequency points where EQ is applied; the Phase Linear EQ sounds transparent, only highlighting timbral shifts you’ve applied
Beyond EQ
These fundamental aspects covered, our walkthrough deals with bass enhancement that goes beyond what EQ alone can deliver. Though often effective, EQ occasionally can’t deliver that elusively deep low end to a mix, either because the frequencies aren’t there, or the instruments simply don’t drive the low end of the mix in the right way. The two techniques we’ll explore use either parallel processing, or the active creation of additional ‘subsonic’ material.
Parallel processing tends to be associated with compression and the dynamics of a track, but it can have an interesting impact on the low end. Classic ‘New York’ parallel compression often combines EQ and compression to enhance the sound.
However, by loading the EQ more towards the bass end, and by combining it with midrange cut, we can create a ‘thick and pumpy’ low end that can be blended with the unprocessed source. By combining Compression and EQ, therefore, we create a bass enhancement that is both colouristic and dynamic, which is often far more exciting to the ear than a simple low frequency lift.
As well as compression, explore using Distortion across the parallel channel. Distortion, of course, is the secret weapon powering plug-ins like Waves’ MaxxBass, and has long been used by engineers as a means of giving extra body to the low end. Logic’s Distortion plug-in includes a Tone control, and lowering it down to 100Hz achieved a great low-end focused distortion, rather than typically shrill guitar distortion.
Not all sounds come with enough low end to give the desired amount of air movement. In these examples, it’s useful to have the option of synthesising your own subsonic frequencies from an audio-track source.
Logic Pro X has two ways of extracting MIDI data from an audio recording – either using the Drum Replacement feature or, as part of the Flex Pitch feature, the ability to create MIDI data from Flex Pitch analysis. Once MIDI data is extracted, you can then synthesise the subsonic frequencies. Arguably, the most flexible synth for this is the ES2. Once you’ve got the trigger or note data extracted, you need to replicate the envelope of the sound, so the subsonics have parity with the source material they’re trying to double.
What’s most important is having a clear idea of what you want to achieve and how the various instruments relate to another. With most of us having less-than-perfect monitoring, it’s worth having a ‘conceptual’ angle on your low end, even if you can’t quite hear it.
Step-by-step: Better Bass

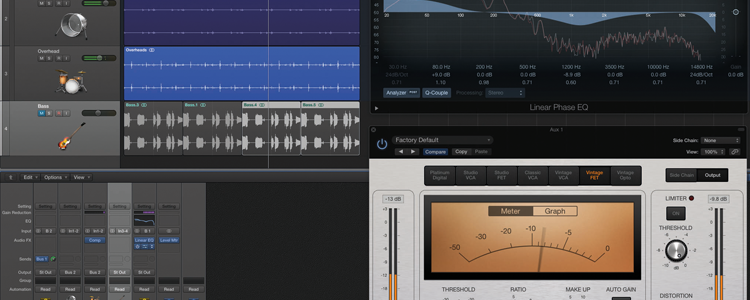
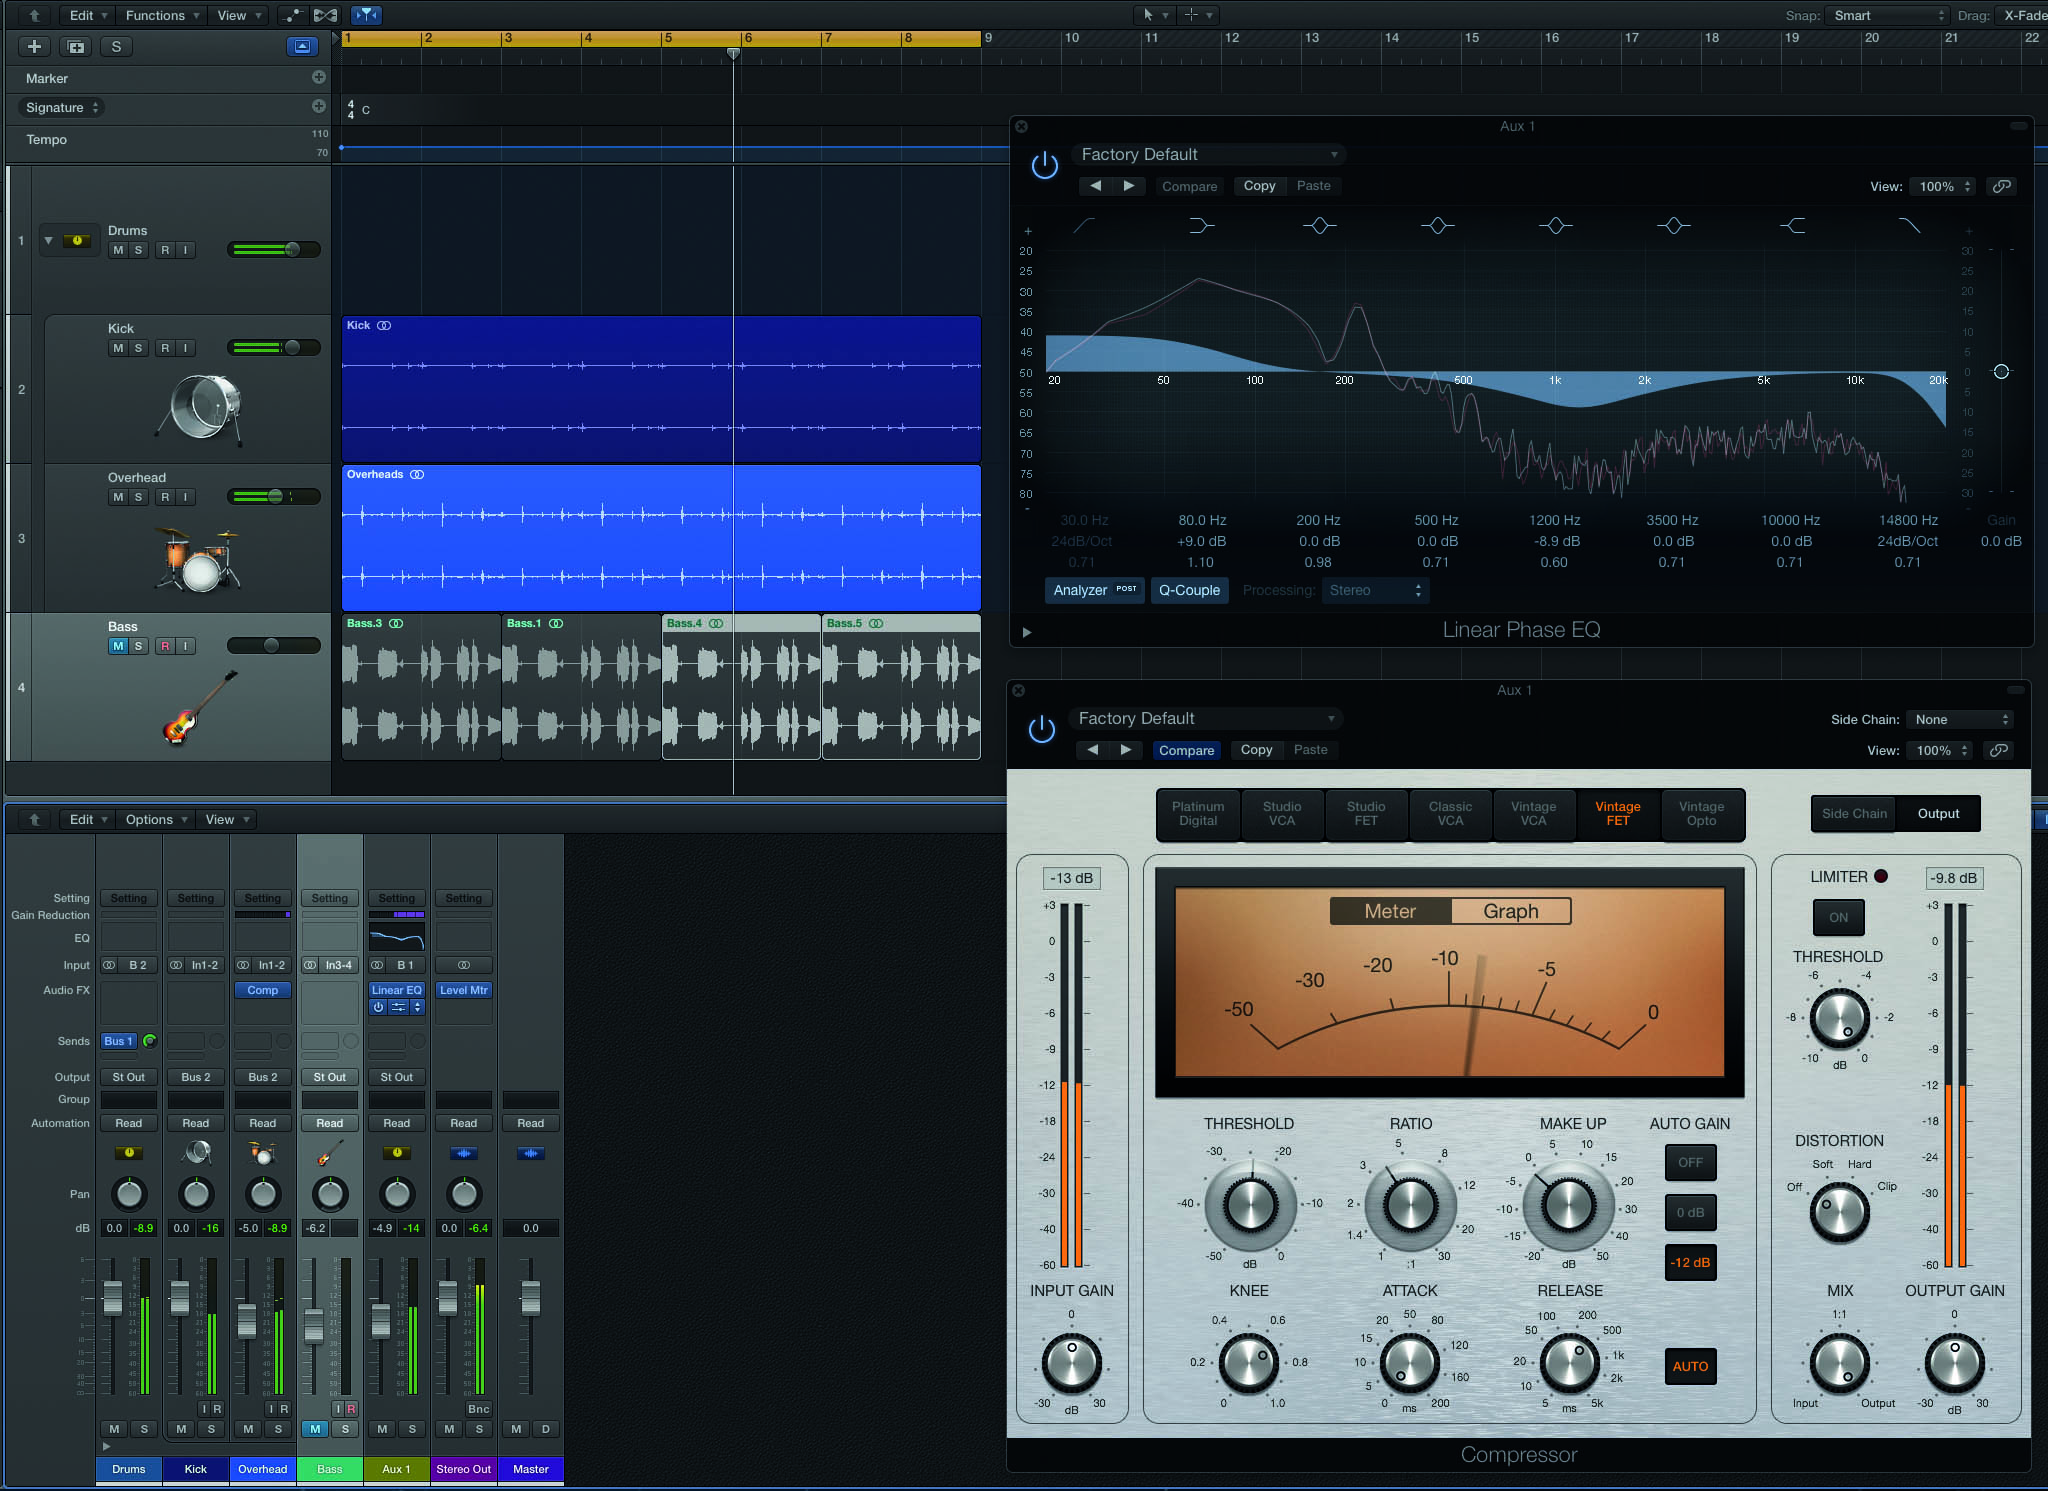
1. Our first two examples use Parallel processing to enhance the bass end. Create a bus send from the drum submix, and place a Linear Phase EQ plug-in on the newly created Aux fader.
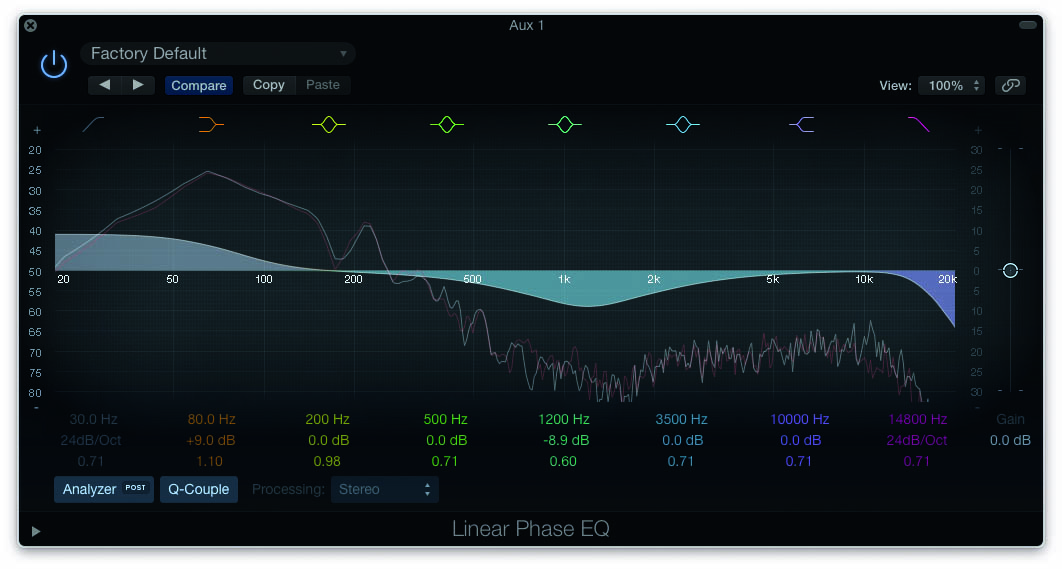
2. On the Linear Phase EQ, setup a bass boost (+9dB at 80Hz) combined with broad, midrange cut (around 1kHz) and remove high end above 14kHz. Don’t worry if the settings sound too extreme…
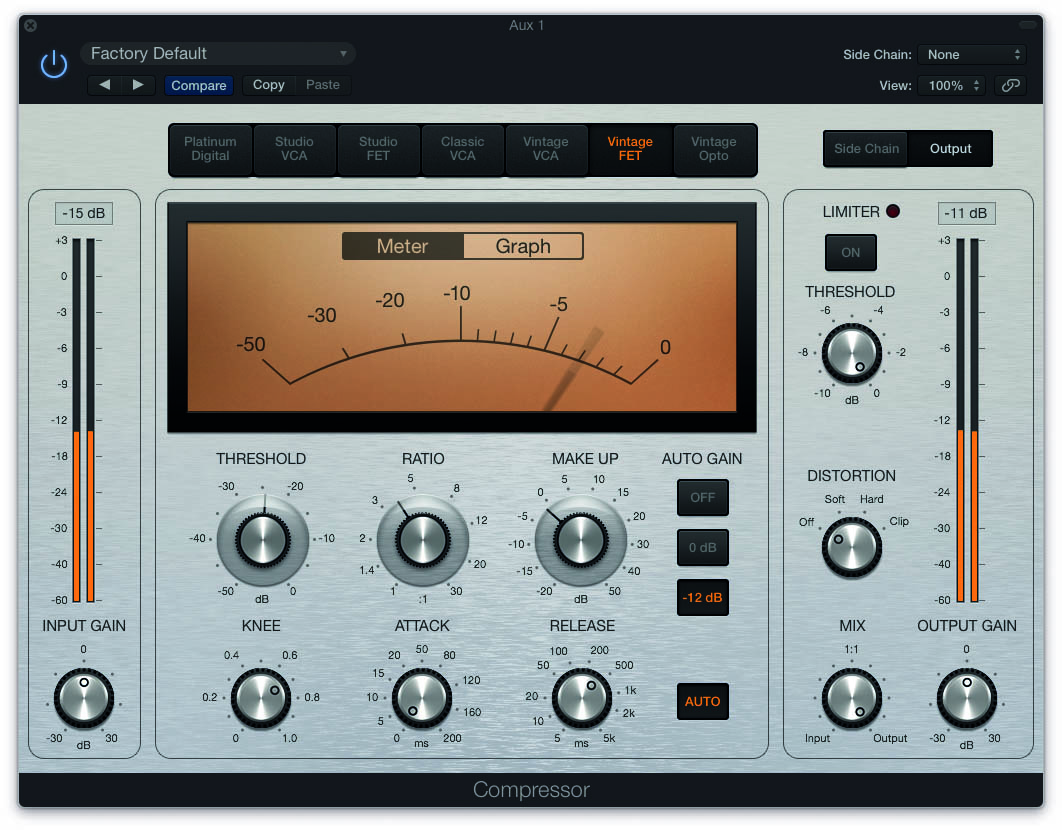
3. After the EQ, add a Compressor. Use a hard Ratio (around 4:1) and adjust the Threshold for plenty of gain reduction. Set a fast Attack and slow Release (500ms) so the compressor ‘pumps’.
4. Set correctly, you should have a compressed version of the drums with lots of low-end ‘wobble’. This can now be blended into the mix by raising or lowing the Aux fader to enhance the low end.
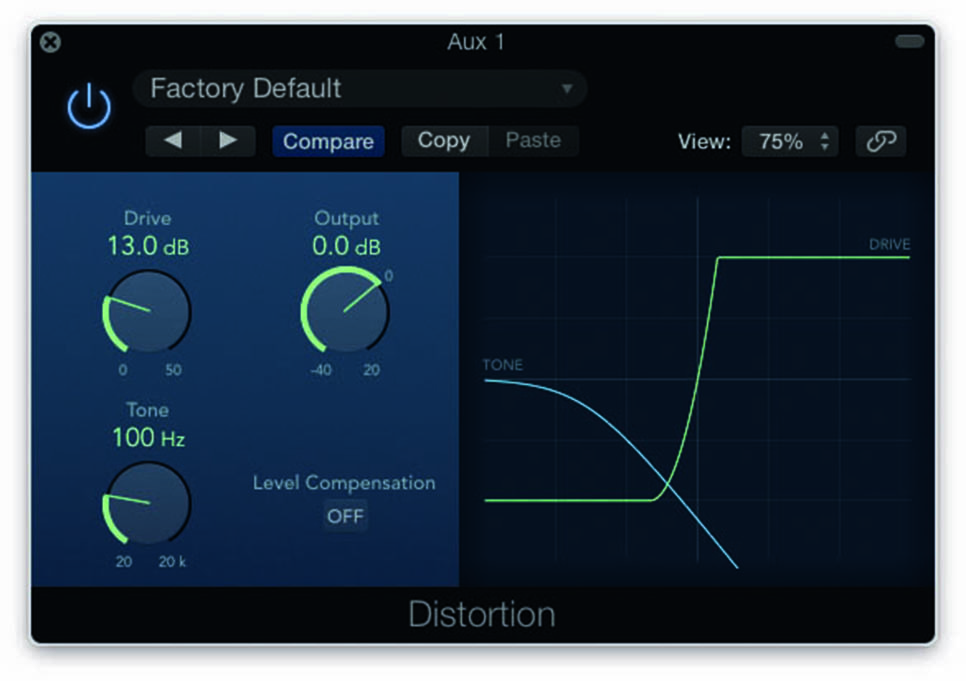
5. Disable the EQ and Compressor. Place a Distortion plug-in in the same Aux fader. Set the Tone control low, so that the Distortion is only added to the low end of the kit; add Drive to make it rumble!
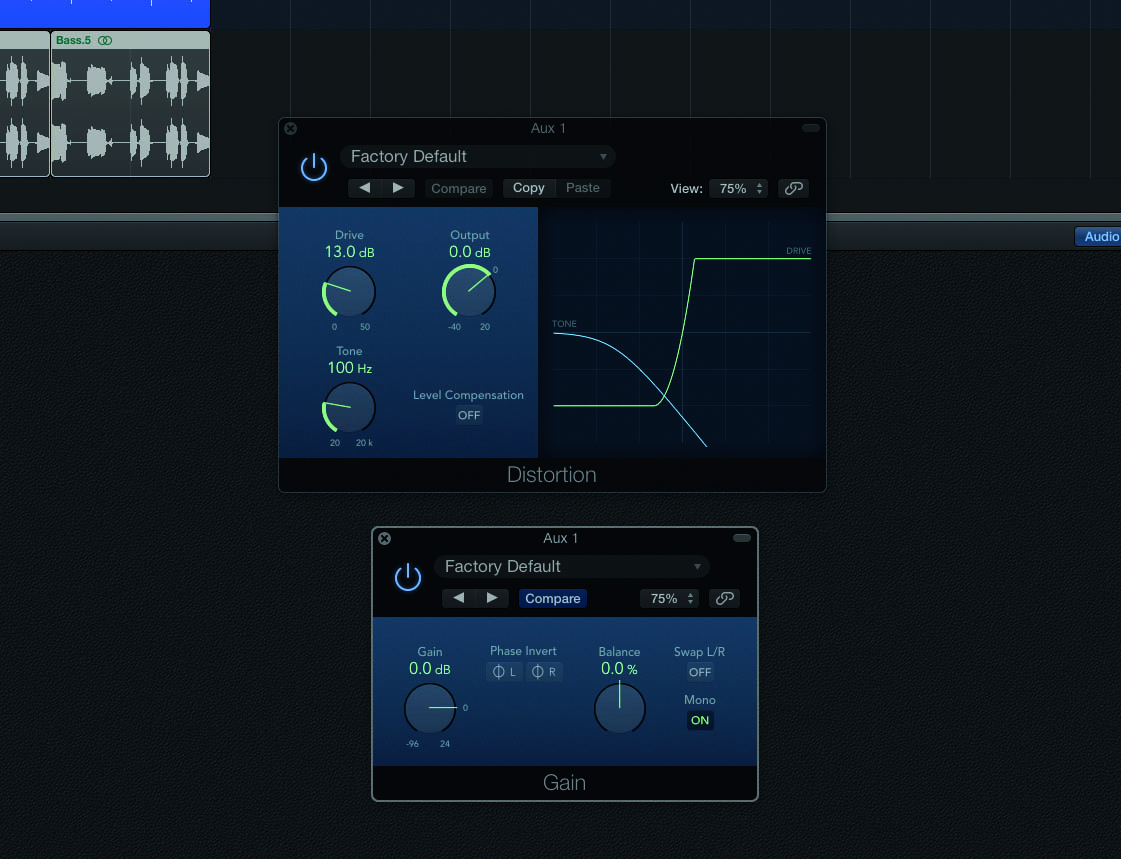
6. Low-end enhancement works best in the centre of the mix. For focus, use an instance of the Gain plug-in with the Mono button engaged. The Aux signal is now totally devoid of stereo information.
Click here to continue