Big Synths In Logic Pro X: Step-By-Step (Continued)
Join Mark Cousins for the second part of his tutorial as he delves deeper into creating some big synth sounds in Logic… 7. On the newly created aux faders, create an instance of Space Designer and Stereo Delay. On Space Designer, use one of the larger reverb settings, and on Stereo Delay, use the 1/8th […]
Join Mark Cousins for the second part of his tutorial as he delves deeper into creating some big synth sounds in Logic…
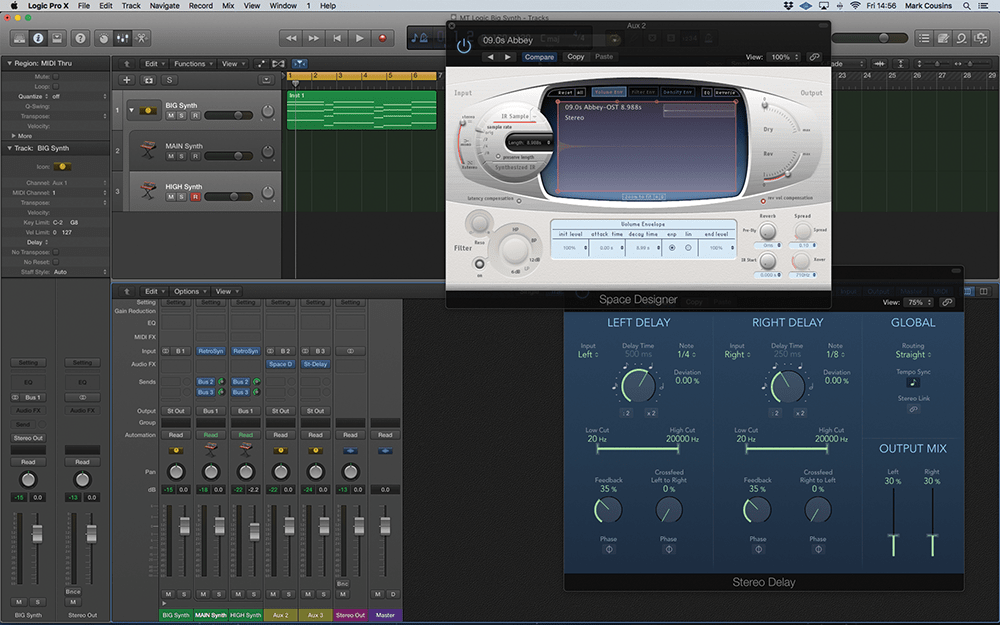
7. On the newly created aux faders, create an instance of Space Designer and Stereo Delay. On Space Designer, use one of the larger reverb settings, and on Stereo Delay, use the 1/8th Note Dotted setting.
8. Try playing with the respective cutoff settings for each layer to see the range of effects you can produce. The top layer could be brighter, for example, while the lower layer sounds darker, and vice versa.
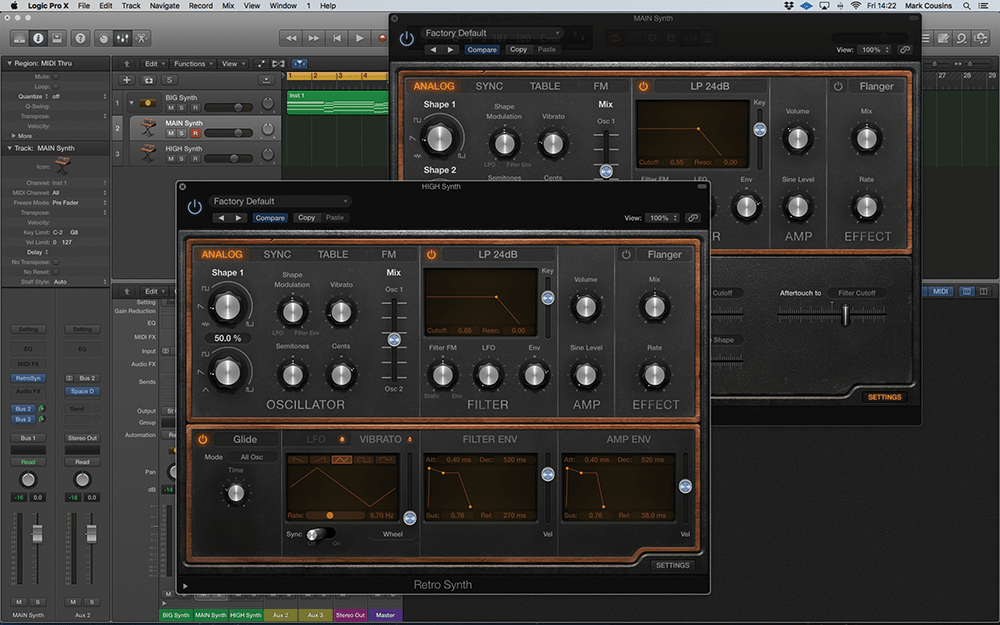
9. Now let’s add a third layer that will sit an octave below the main synth part. Create a new instance of Retro Synth and ensure that is gets dragged into the Track Stack you’ve already created.
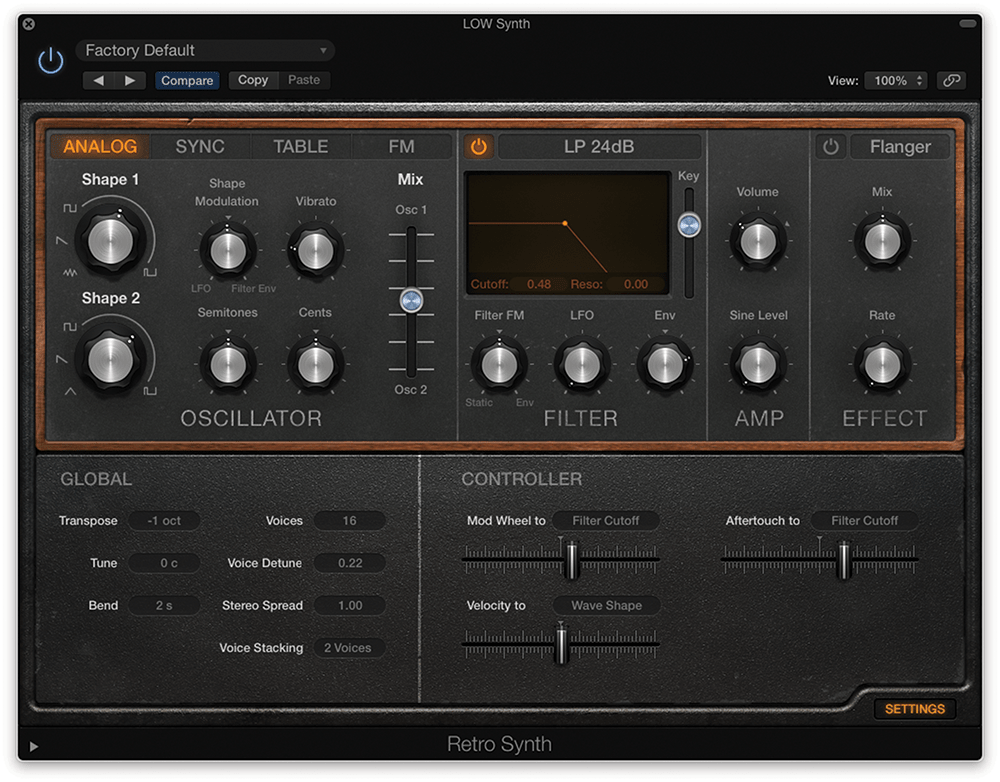
10. The lower synth uses Square waves rather than the Sawtooths we’ve used so far. Transpose the patch down one octave and set each Shape control in the Oscillator section midway through the Square/Pulse setting.
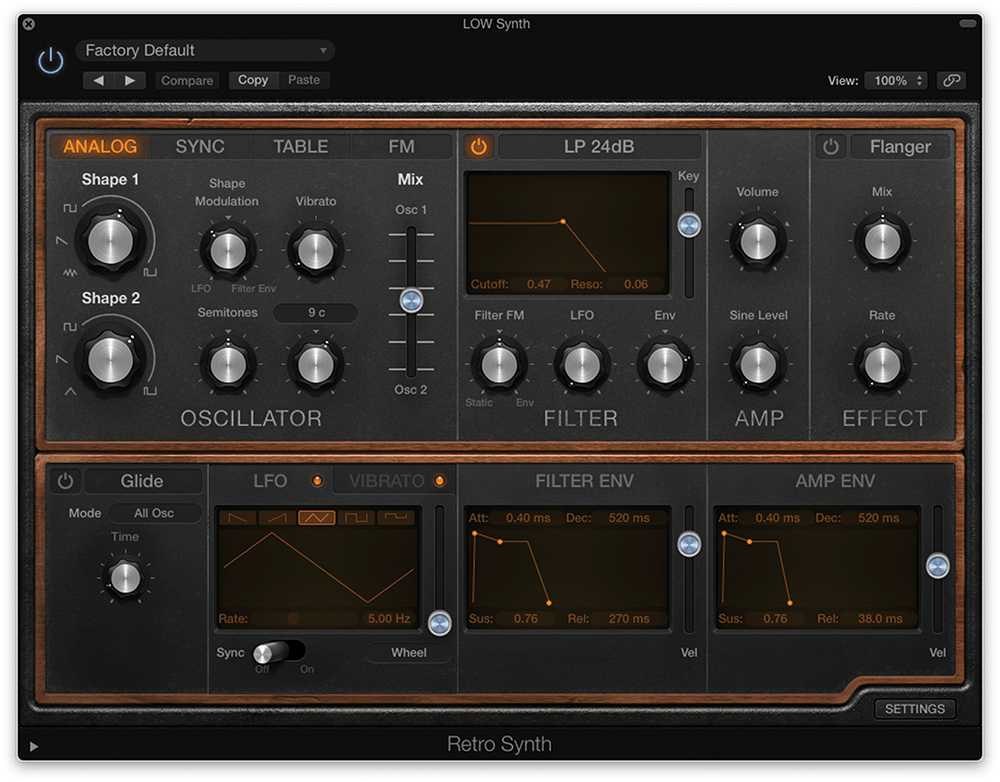
11. Add a small amount of Shape Modulation from the LFO and a slow-moving vibrato. What we’ve created is a classic PWM (Pulse Width Modulation) pad sound, which sounds even nicer with a dark filter setting.
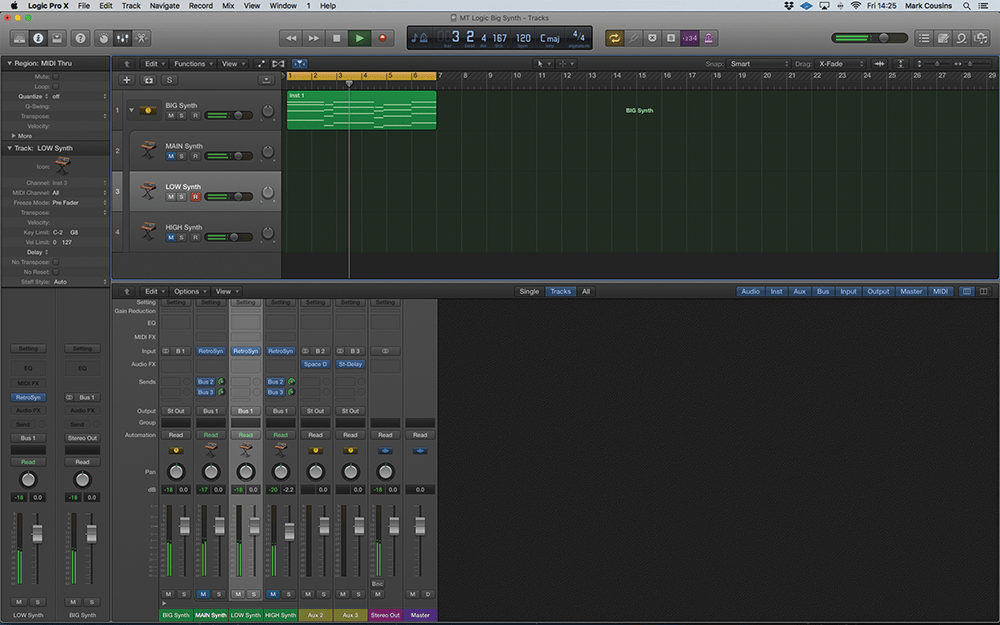
12. Think about the panning of your layers. The big unison pad already has plenty of ‘spread’, so think about positioning the high and low layers partially to the left- and right-hand side of the soundstage.

13. Although we’ve only used Retro Synth so far, you might want to explore other synths like the ES2. This patch makes use of parallel filters and the drive control to add grit to the sound.
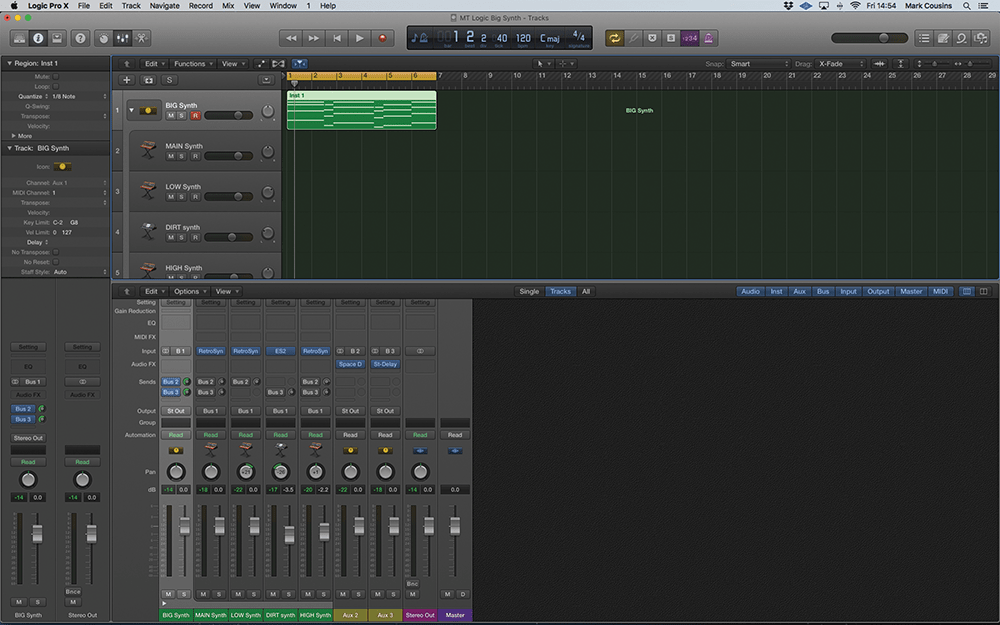
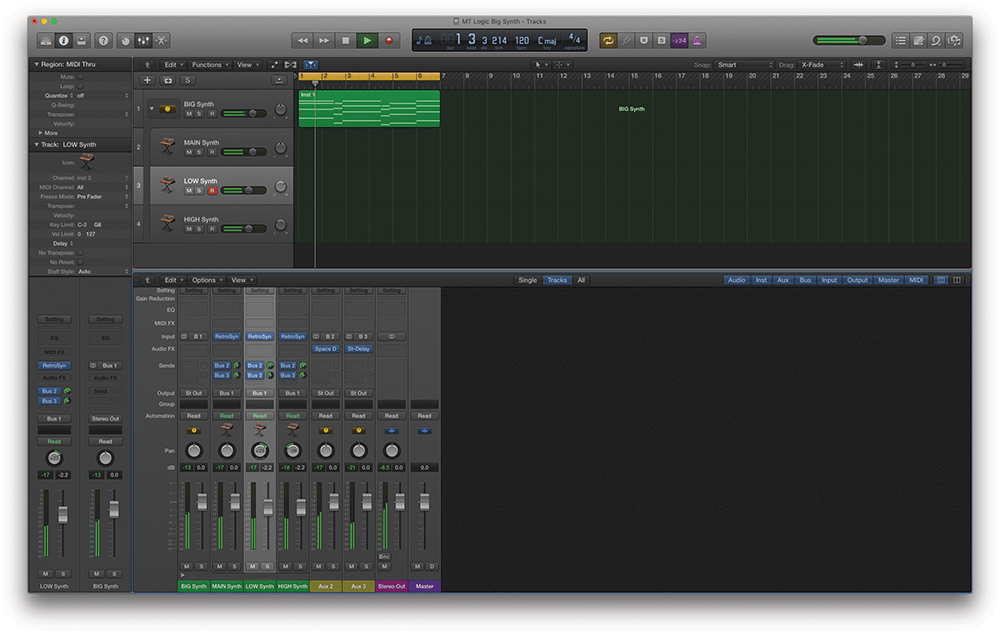
14. As well as processing on a channel-by-channel basis, you can achieve some interesting results processing the sound en masse. Remove the current bus sends and recreate a simplified version on the Track Stack.
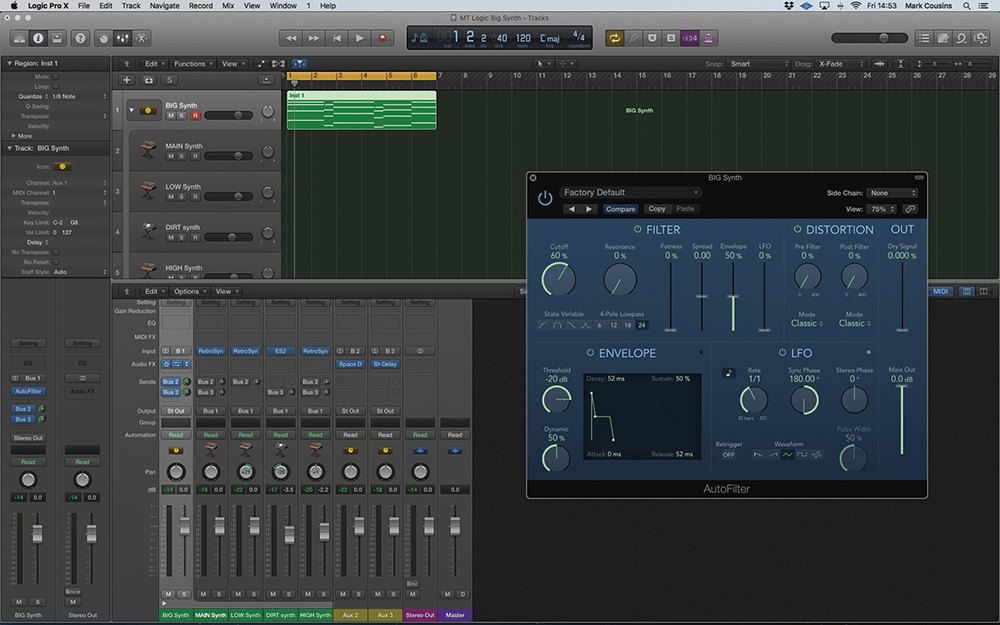
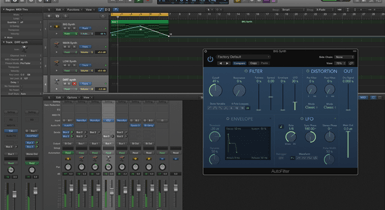
15. The AutoFilter plug-in is an obvious choice for big synth parts like this, and has the added bonus of locking the parts together and making it sound like it was produced by one, battleship-sized synthesiser!
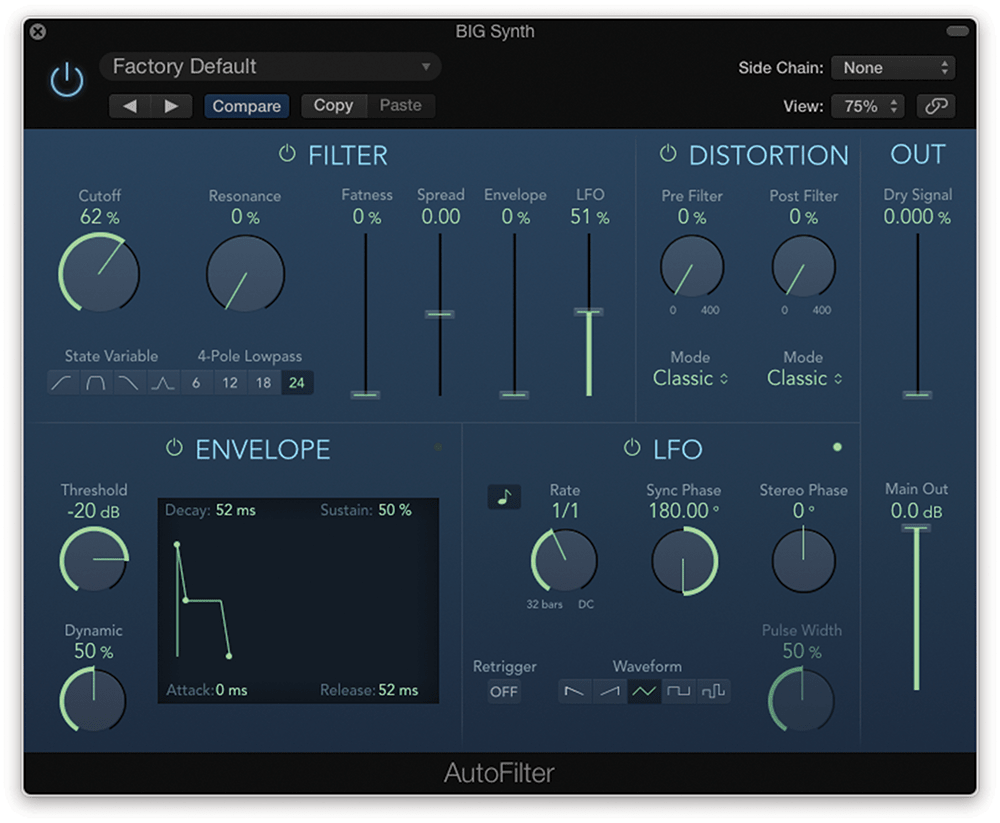
16. Another interesting option is to use a tempo-synced LFO across the whole synth part. Here, we removed the Envelope as a source of Modulation, and instead routed through the LFO at a depth of about 50%.
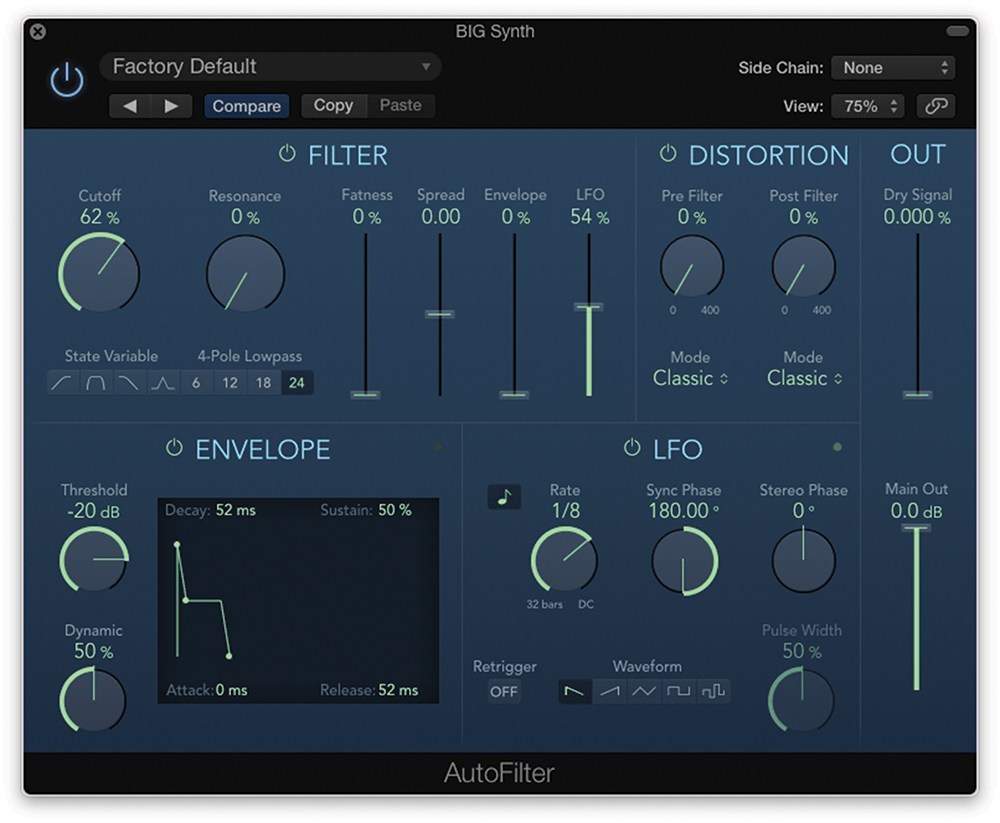
17. Set the LFO so that it’s tempo-synced to a rate of 1/8th. You can fine-tune the result by adjusting the relationship between Cutoff and LFO depth. Using less LFO, for example, will make the effect subtler.
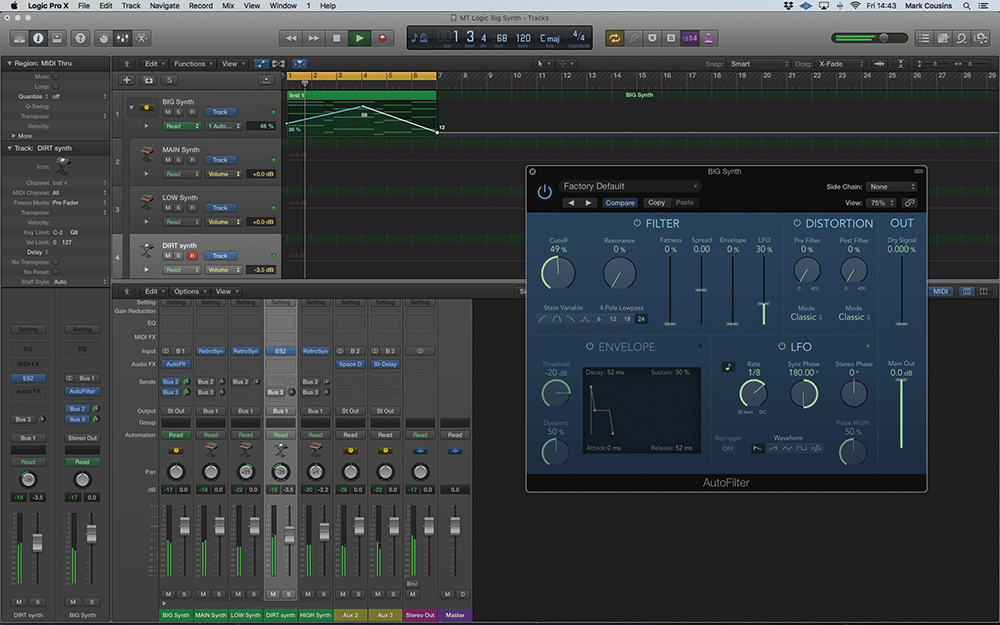
18. If you’ve used a subtle LFO movement, you’ll have room to further modify cutoff to add additional sonic interest. Try adding some automation so that the part gently undulates in addition to the tempo-synced movements.
