Add New Dimensions To Your Tracks Using Clip Envelopes In Ableton Live
Envelopes add a new dimension to Live’s audio and MIDI clips, from straightforward fades to complex automated sound-design evolutions. Martin Delaney enters Draw Mode… Clip envelopes are Live’s take on automation, particularly in Session View, while in Arrangement they merge into track automation as well, but fundamentally, there’s not much difference. Clip envelopes can be […]
Envelopes add a new dimension to Live’s audio and MIDI clips, from straightforward fades to complex automated sound-design evolutions. Martin Delaney enters Draw Mode…
Clip envelopes are Live’s take on automation, particularly in Session View, while in Arrangement they merge into track automation as well, but fundamentally, there’s not much difference. Clip envelopes can be little useful messages that tell a track to fade or pan, for example, but they can be powerful creative tools in themselves… if you want busy, evolving sounds, they are your friends! There are so many things we can do with clip envelopes, but it’s the more sound-designery ones I’m drawn to.
It’s a good exercise to take just one clip and use envelopes to push it and exploit it as far as possible. When combining envelopes in a project, it’s important to practice with different-length clips playing together, and to use different-length envelopes within those clips – they don’t have to be in units of bar-length, either.
Score draw
You can create envelopes by drawing in breakpoints along the horizontal lines, and when you need something more precise –like for clear on/off functions, or for rhythmic effects, tap ‘B’ on the computer keyboard to go into Draw Mode. Now you can draw in ‘blocky’ values that conform to the current grid, which of course you can change at any time.
There’s no reason you can’t mix-and-match approaches in the same envelope – once you exit Draw Mode, you’ll see breakpoints at the corners of your horizontal and vertical steps, so if necessary you can edit those and revert back to a semi-rigid arrangement. It’s a single click to add or remove breakpoints, and you can move the lines between them by selecting and dragging.
If you mouse near an envelope and hold down Alt/Option, you can draw a curve instead of a straight line. If drawing envelopes is too sterile for you, don’t forget you can record automation as well – enable Automation Arm, and move the on-screen controls, or assign a hardware MIDI controller, or move the encoders on Push.
Recording will result in a fully organic and potentially wilder set of envelopes (that’s the other advantage – you can record several envelopes at the same time), but of course, they’re completely editable afterwards, so you’re free to tidy up as much as necessary. You can also hit undo to erase the envelopes recorded in the last loop of the clip you’re working on.
![]()
Sending clip automation Live can send clip envelope automation – or track automation – out to other software or hardware as well. Just select your output target in Preferences and the In/Out View for the relevant track, then choose the MIDI channel and control numbers that you want to use.
It’s also important to be aware that the MIDI clips you’re working with don’t have to contain any notes. If you’re playing keys or pads into the track, you’re just going to get the sound of the instrument and effects as they’re currently configured.
But if you have a number of clips with envelopes in the track, start one running while you’re playing your keyboard or Push, and you’ll hear the envelopes take effect on the incoming notes. You could even use follow actions to play through a selection of clips automatically as you play your keys. Live’s MIDI overdubbing lets you update the same clips without rubbing out the existing automation.
Thanks to envelopes, those same clips could be used to load specific instrument and effect combinations on demand. Load or create an instrument rack, and click on the little show/hide chain list button at the left-hand side. When you’re looking at the chains in the rack, you’ll see a button called Chain above them: click that.
The new window that opens out is where you can define a zone for each chain, by dragging their positions and lengths as desired (you can use the little thin bars above each one to create fades as well, if you want).
![]()
Programmed to receive To send automation to other software or hardware, you’ll have to check what messages the receiving equipment needs – read the manual or search online. This is just one way in which Live makes it easy to integrate external hardware systems.
Once you’ve set up your zones, take note of the numbers in the bar above them, from 0 to 127 in typical MIDI style. You can use as many zones as you want, and be creative – chains can share zones as well, and if you have racks inside racks, you can work with the chains inside all of those as well.
Now go back to the envelope box and you can use clip envelopes to load or fade between different chains in the rack. This is very effective for organic patch changes, and also works great with drums, crossfading a beat between different kits sounds awesome.
Clip envelopes don’t just work on Live’s native devices; the Chooser should show the parameters for any third-party plug-ins you’ve added to the track, and they’re not just for MIDI tracks, either, though of course there are fewer control options with audio clips, although basic clip envelopes are available for volume and pan, and so on, as well as the parameters of any devices you’ve added.
Arguably, you can get more envelope-driven control over audio clips by putting them into Simpler instead, and adding them to MIDI tracks. Clip envelopes are portable – you can copy and paste them between clips in different tracks, even different projects, or drag them between projects via the Browser.
Because Live doesn’t differentiate much between different stages of the musical process, envelopes become part of the composition process; bring them into things early on and you’ll be coming up with ideas and even melodies and rhythms you wouldn’t have thought of otherwise.
Clip Envelopes – down the automation rabbit hole
1. To follow this tutorial about automating clips, you’re going to need some audio and MIDI clips to play with: it doesn’t really matter what sounds you’re using. I’m using Live 9.7.5 for this.

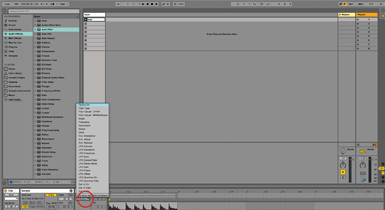
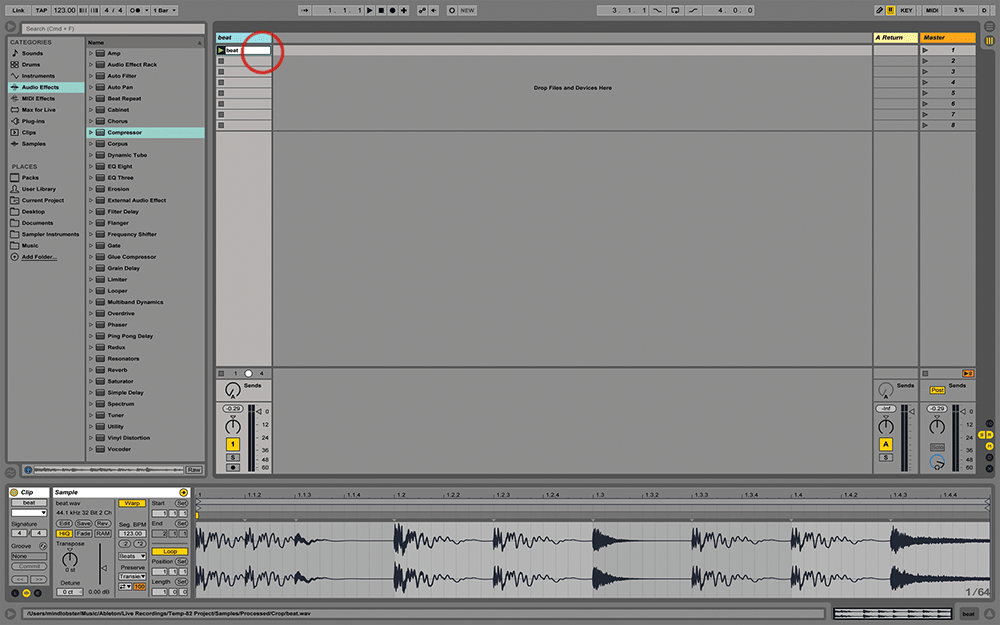
2. Let’s start with a simple fade on an audio clip. Here’s a one-bar beat. Double-click it to view the editor, then click the small ‘E’ below the Clip Box to view the Envelope Box.
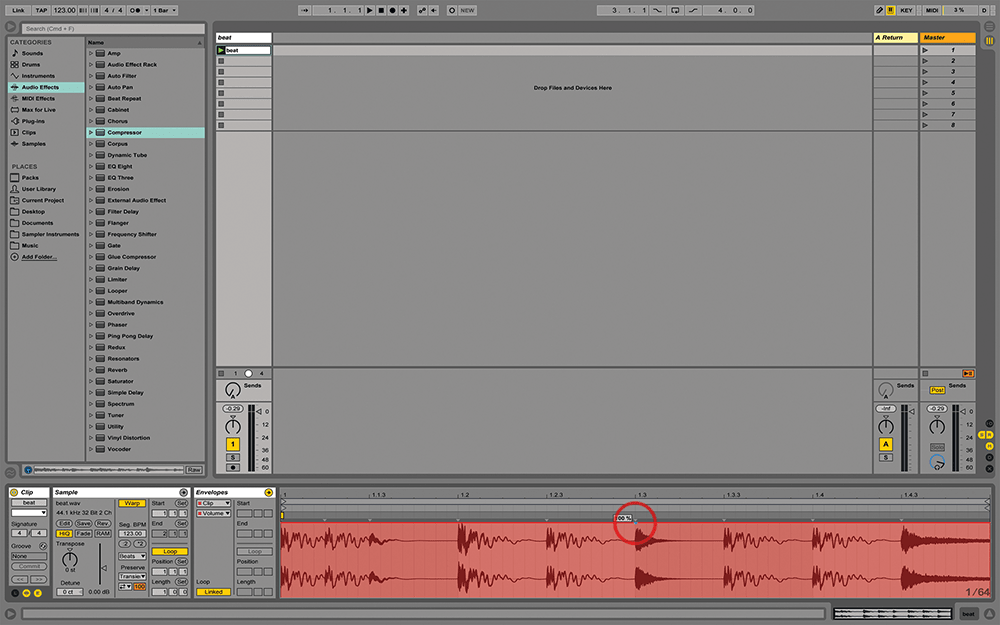
3. In the Envelope Box, choose Clip in the top chooser, then Volume in the bottom one. At the top of the waveform you’ll see a red horizontal line – the envelope. Click on that halfway along.
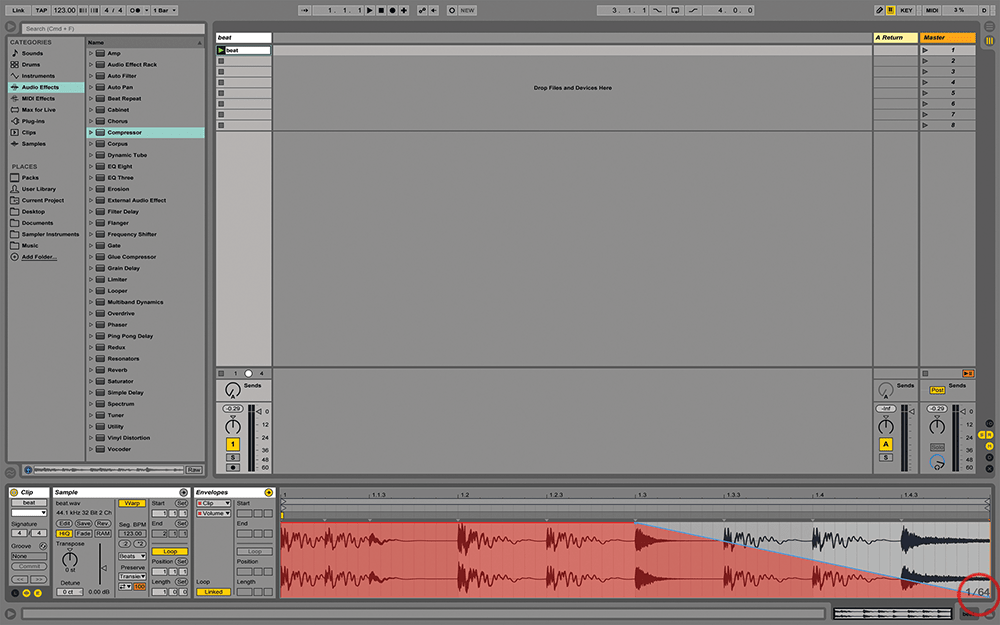
4. You’ve added a breakpoint. Add another one at the end of the envelope, and drag it all the way down. Now every time you play that clip (whether as a one-shot or looping), it’ll fade out.
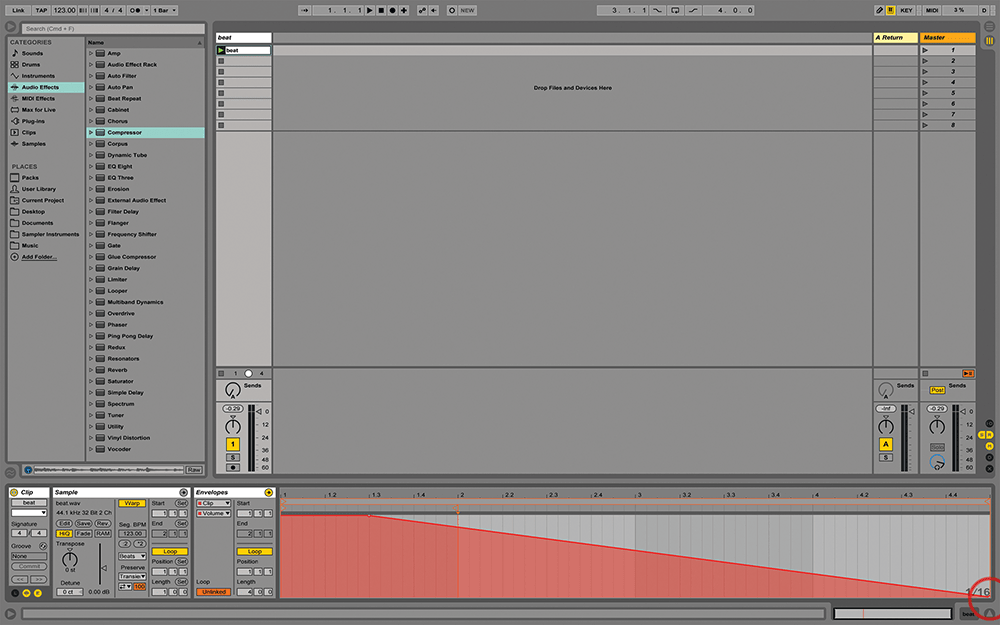
5. Now click the Linked button and type 4.0.0 in the length box. Now you can drag your breakpoints around so the fade takes place over four bars, even though your clip’s only one bar long.
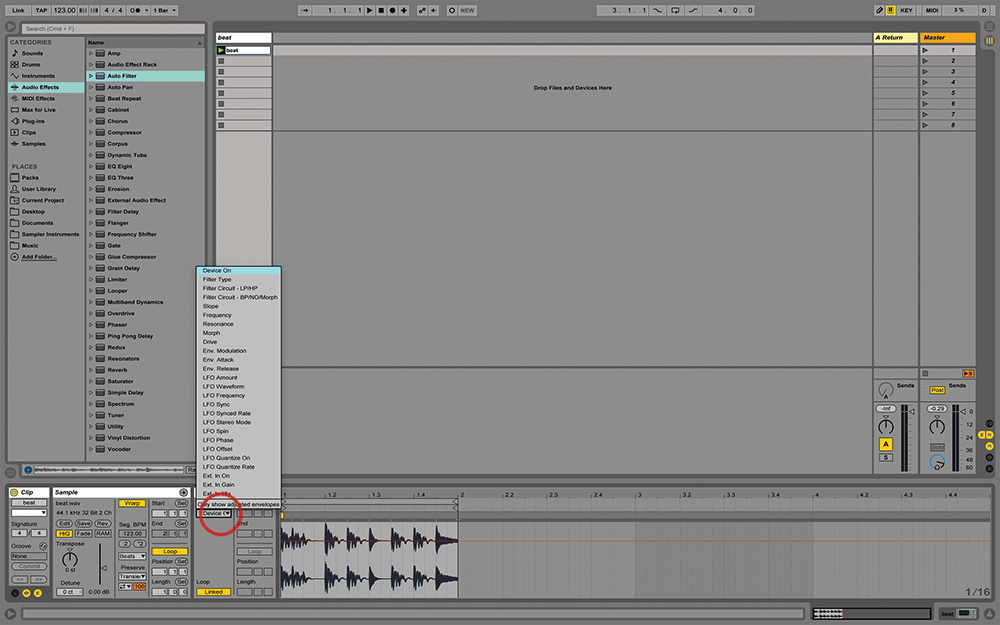
6. Finally, we’ll add an Auto Filter to the same track. Now you’ll see it appears as an option in the top chooser, with every one of its parameters available in the bottom chooser.