Control Your Hardware From Ableton Live
Everybody reading this has – or will eventually have – a hardware synthesiser or drum machine that they want to hook into their Ableton Live rig. Martin Delaney explains how to link it with Live… Live works brilliantly well as the hub of a studio or stage rig that features hardware as well as software […]
Everybody reading this has – or will eventually have – a hardware synthesiser or drum machine that they want to hook into their Ableton Live rig. Martin Delaney explains how to link it with Live…
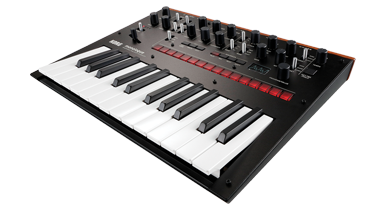
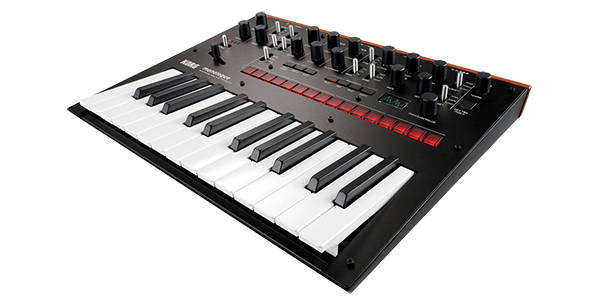
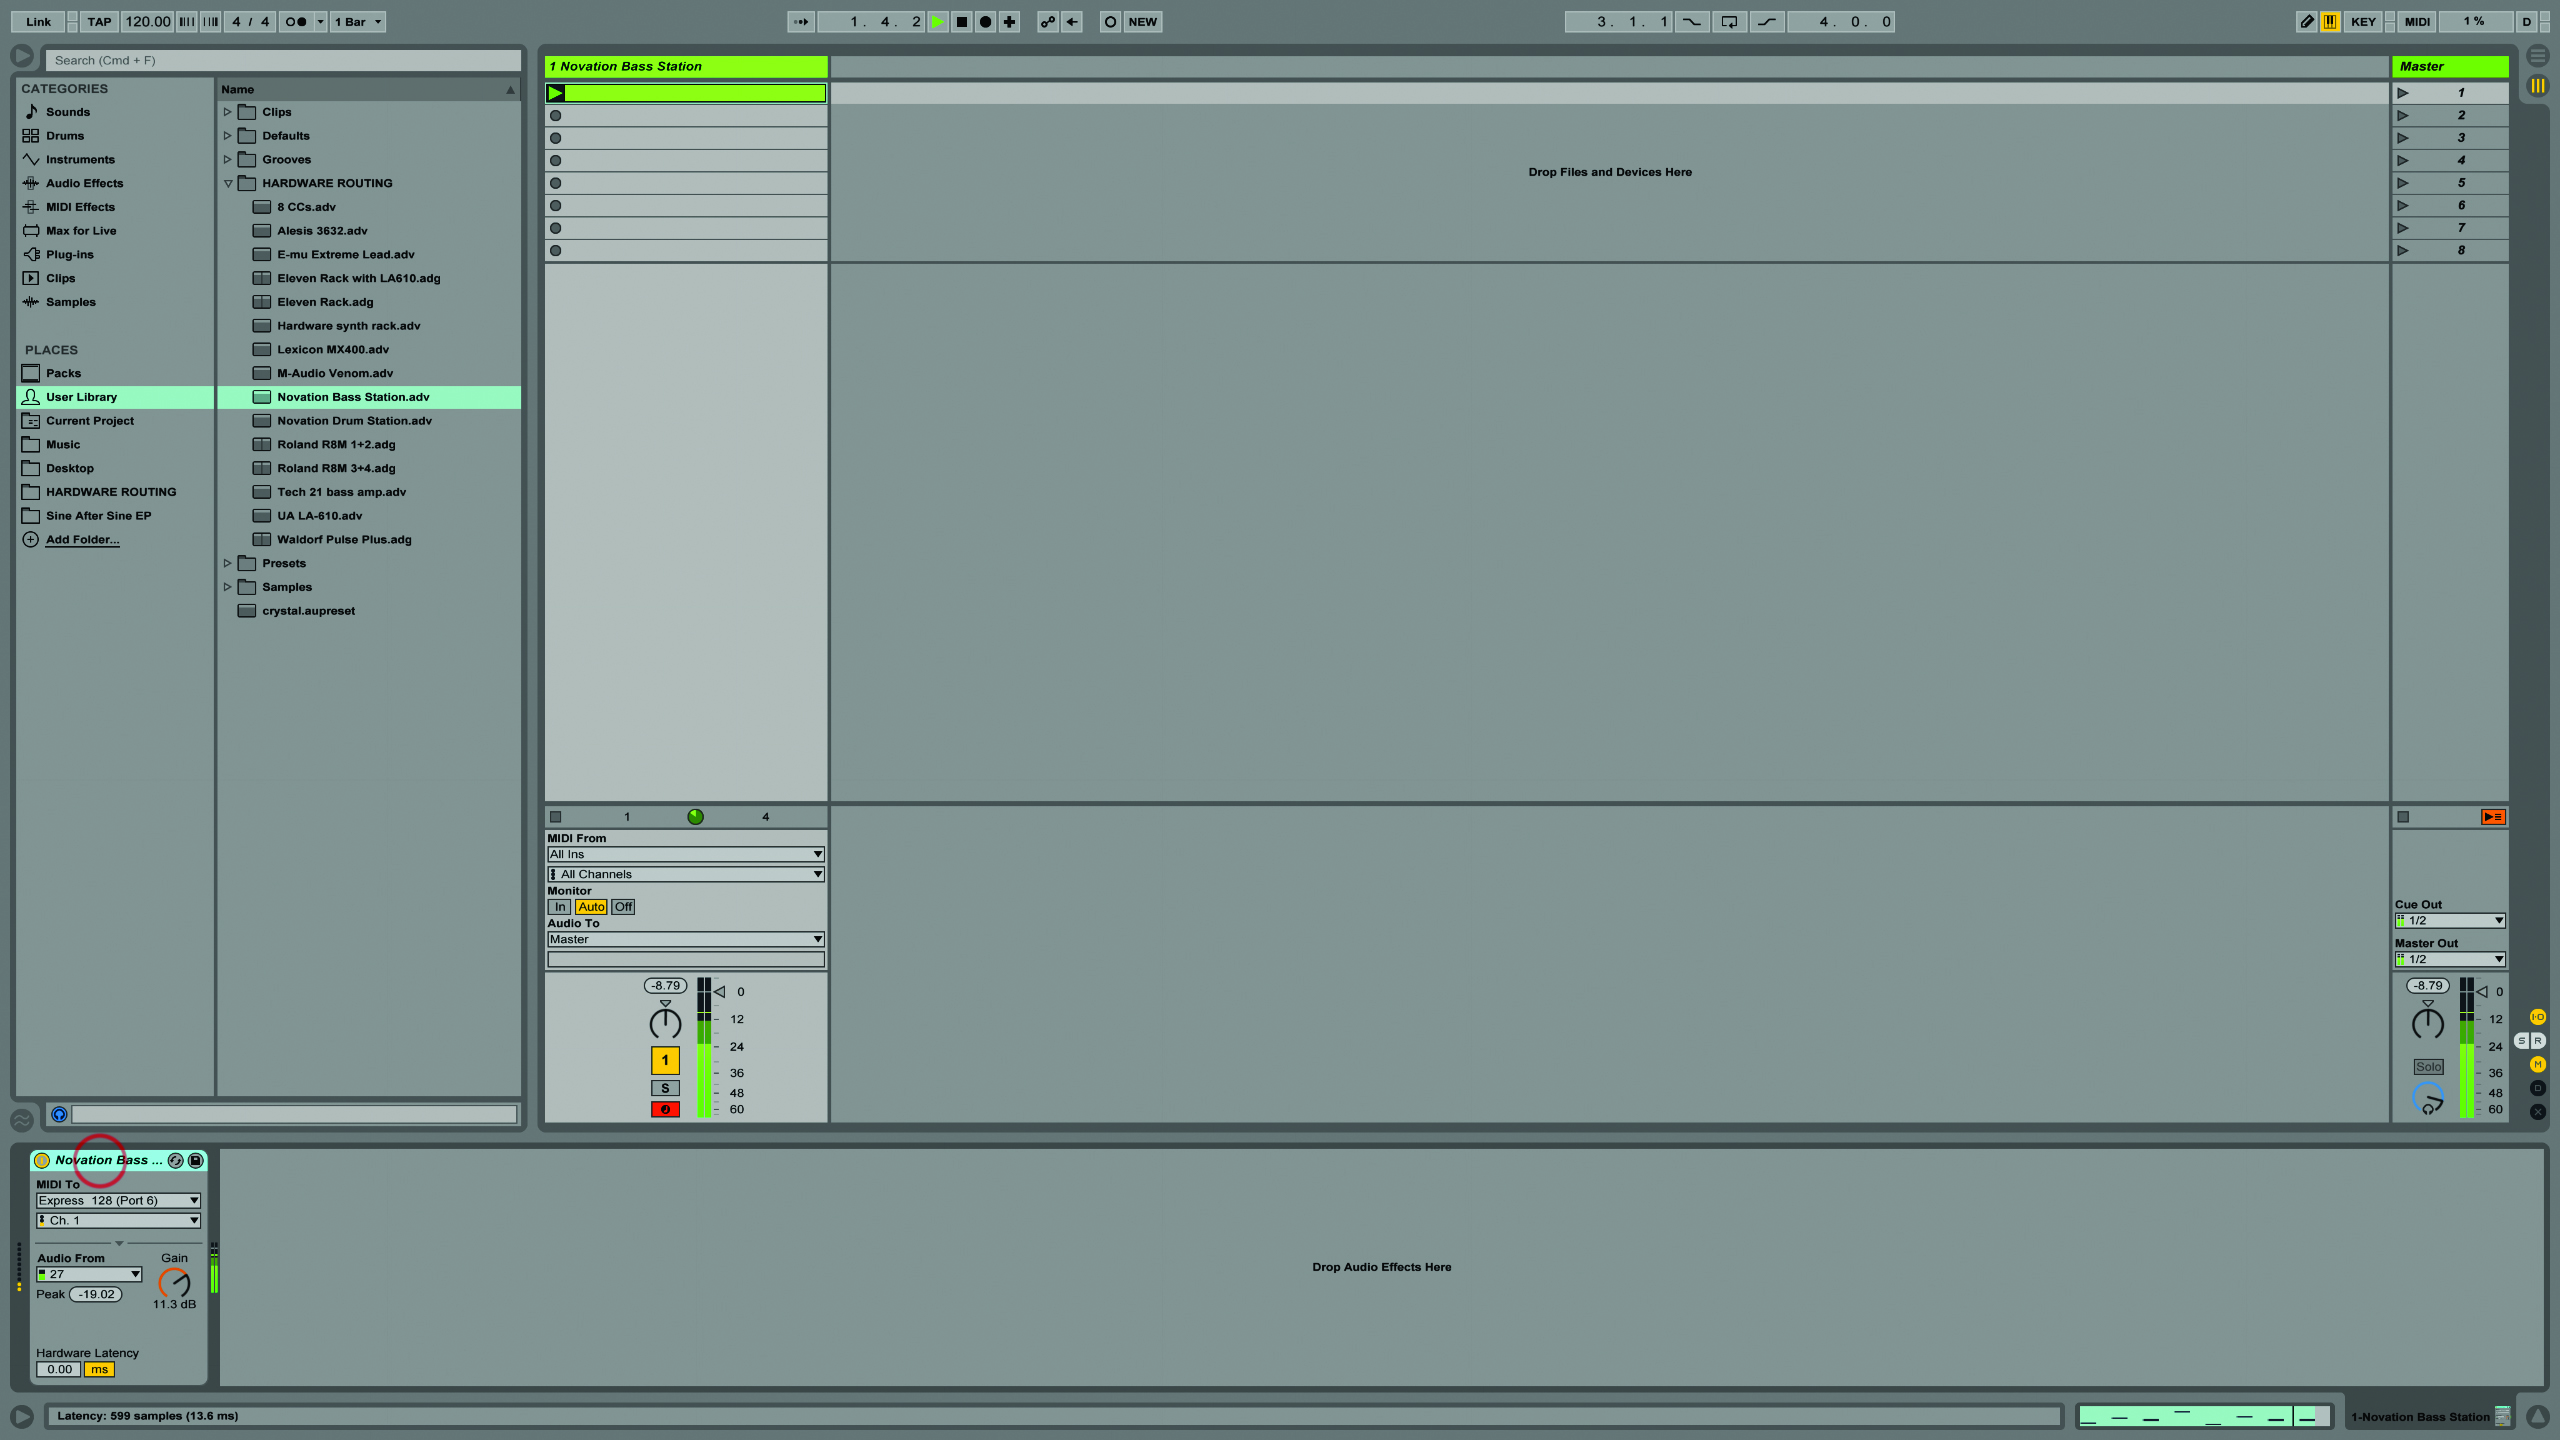
Live works brilliantly well as the hub of a studio or stage rig that features hardware as well as software instruments. And it goes beyond that, into effects, VJ equipment, lighting, even guitar amps. For the walkthrough steps here, I’ve used the Novation Bass Station, a classic 1990s rack synth (there’s a current v2 of the keyboard Bass Station). The Bass Station has MIDI in and out, and audio outputs, so it’s a good example of a typical keyboard setup.
More modern instruments might connect with USB for audio or for MIDI, and include their own dedicated editor software, which affects how they integrate with your DAW. Our walkthrough focuses on Live’s External Instrument device, but don’t forget there’s the External Effect device as well, which configures in the same way, but is designed to feed audio from Live out to, and back from, hardware audio effect processors.
Hardware versus software
You can adopt extreme positions if you like – only using hardware versus only using software. Both are valid, but the truth is combining the two will always be the best option. You’re always going to need a computer at some stage in the production and recording process, and your sound and working methods will benefit from adding some choice bits of hardware to your setup. You can do everything with a computer, sure, and that used to be a really exciting option. But these days, there’s so much great (and affordable) hardware around, it’s a waste not to use it!
While you’re in Live’s MIDI Preferences, make sure you’ve configured the correct inputs and outputs, and disable any that you don’t need – this can solve problems with more elaborate hardware rigs. You can also choose to have Live sync from the hardware, if you think you’ll get better results that way.
It’s also possible to build a rig that includes MIDI clock travelling between hardware and software, as well as iOS devices responding to Ableton Link on a wi-fi network or ethernet. Instrument racks let you build complex setups that use sounds coming in ‘live’ from hardware instruments, as well as sounds from plug-in synths, even stacked and playing together.
I have external instrument device presets that load with limiters and compressors in the chain; nice and easy to recall, and easy to move between different machines, if necessary. I love using hardware synths for their sonic character and distinctive workflows, but other than capturing the raw sounds, I prefer to do everything else with Live. Working on a computer display is faster and more controllable.
You might disagree and have your own level of hardware/software preferences, but that’s the point – with Live you can set it up the way you want it. I mentioned arpeggiators for beats in the walkthrough, and that’s something I’ve been playing around with a lot lately, especially for triggering beats in real time from a keyboard.
Create an instrument rack with, say, four chains of arpeggiators, and set each one to trigger notes over a certain range – most likely just a single note, so each arpeggiator is triggering only one note on your drum machine. Try it – it’s very cool, even with software drum kits.
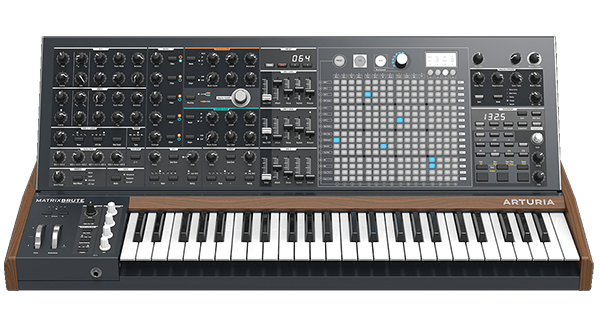
Sync isn’t always about MIDI. If you’re using older gear, or some new modular components, you might find CV/Gate (control voltage) is required instead of MIDI. Live can’t handle this directly, but you can buy a dedicated converter device – Kenton produces a range of these, including the Pro Solo MkII, or use something like the Arturia BeatStep, a very well spec’d hardware sequencer, which includes CV as well as MIDI output. Some devices use other means of communication, like the Teenage Engineering Pocket Operator range, which will sync to an audio signal sent from your DAW.
It’s crude, but it works. When you’re sending MIDI from Live’s MIDI clips, it’s not just about notes and CCs; a MIDI clip can send Program and Bank changes, which are used by hardware to load different presets or different sequencer patterns. You never have to load the wrong sound by mistake – whatever order you play your clips in, the instruments are always going to load the right sound.
Some MIDI hardware (the Elektron Machinedrum, for example) includes an additional MIDI Thru connection, facilitating the daisychaining of more hardware, effectively using the first device as a MIDI hub. This simplifies the addition of more bits of hardware without kludging around with hubs or MIDI mergers and splitters.
By using hardware sound sources in your Live projects, you’re compromising the mobility of your project. You can’t simply close your laptop, go to another location, pop it open, and have all your sounds in place – the hardware isn’t there! There’s a workround, though: you can freeze the tracks, which will require Live to scan through the project in real time to create an audio file ‘preview’ version of each external instrument track. Now you can open the project on another computer with the audio from your synths or whatever intact – you just won’t be able to edit or interact with it.
If you want to create permanent undo-able audio versions of the tracks, use Flatten after freezing, to embed those parts into an audio track and discard the original MIDI material and hardware routings. Because Live’s scanned through the project for the freeze process, flattening is a fast final step.
When I’ve done this, I’ve either created a new version of the project, containing the frozen and flattened material, or I’ve duplicated the external MIDI instrument tracks before freezing and flattening them, so I have every option for going back to them later.
There can be bumps along the way, but if you have the will and the gear to make the connections, you can get Live talking to almost anything…
Step-by-step: Control your hardware
1. For this tutorial, you’ll need some kind of external hardware synthesiser module or keyboard or a drum machine, an audio/MIDI interface and, of course, Ableton Live running on a Mac or PC.
2. Our aim here is to use Live MIDI clips and effects to trigger notes and control messages to our hardware and to receive, process, and record the resulting audio coming back in.

3. Modern synths use USB as well as standard MIDI/audio, but let’s work with the more generic/classic options. Connect your hardware’s audio outputs and MIDI inputs to your interface.
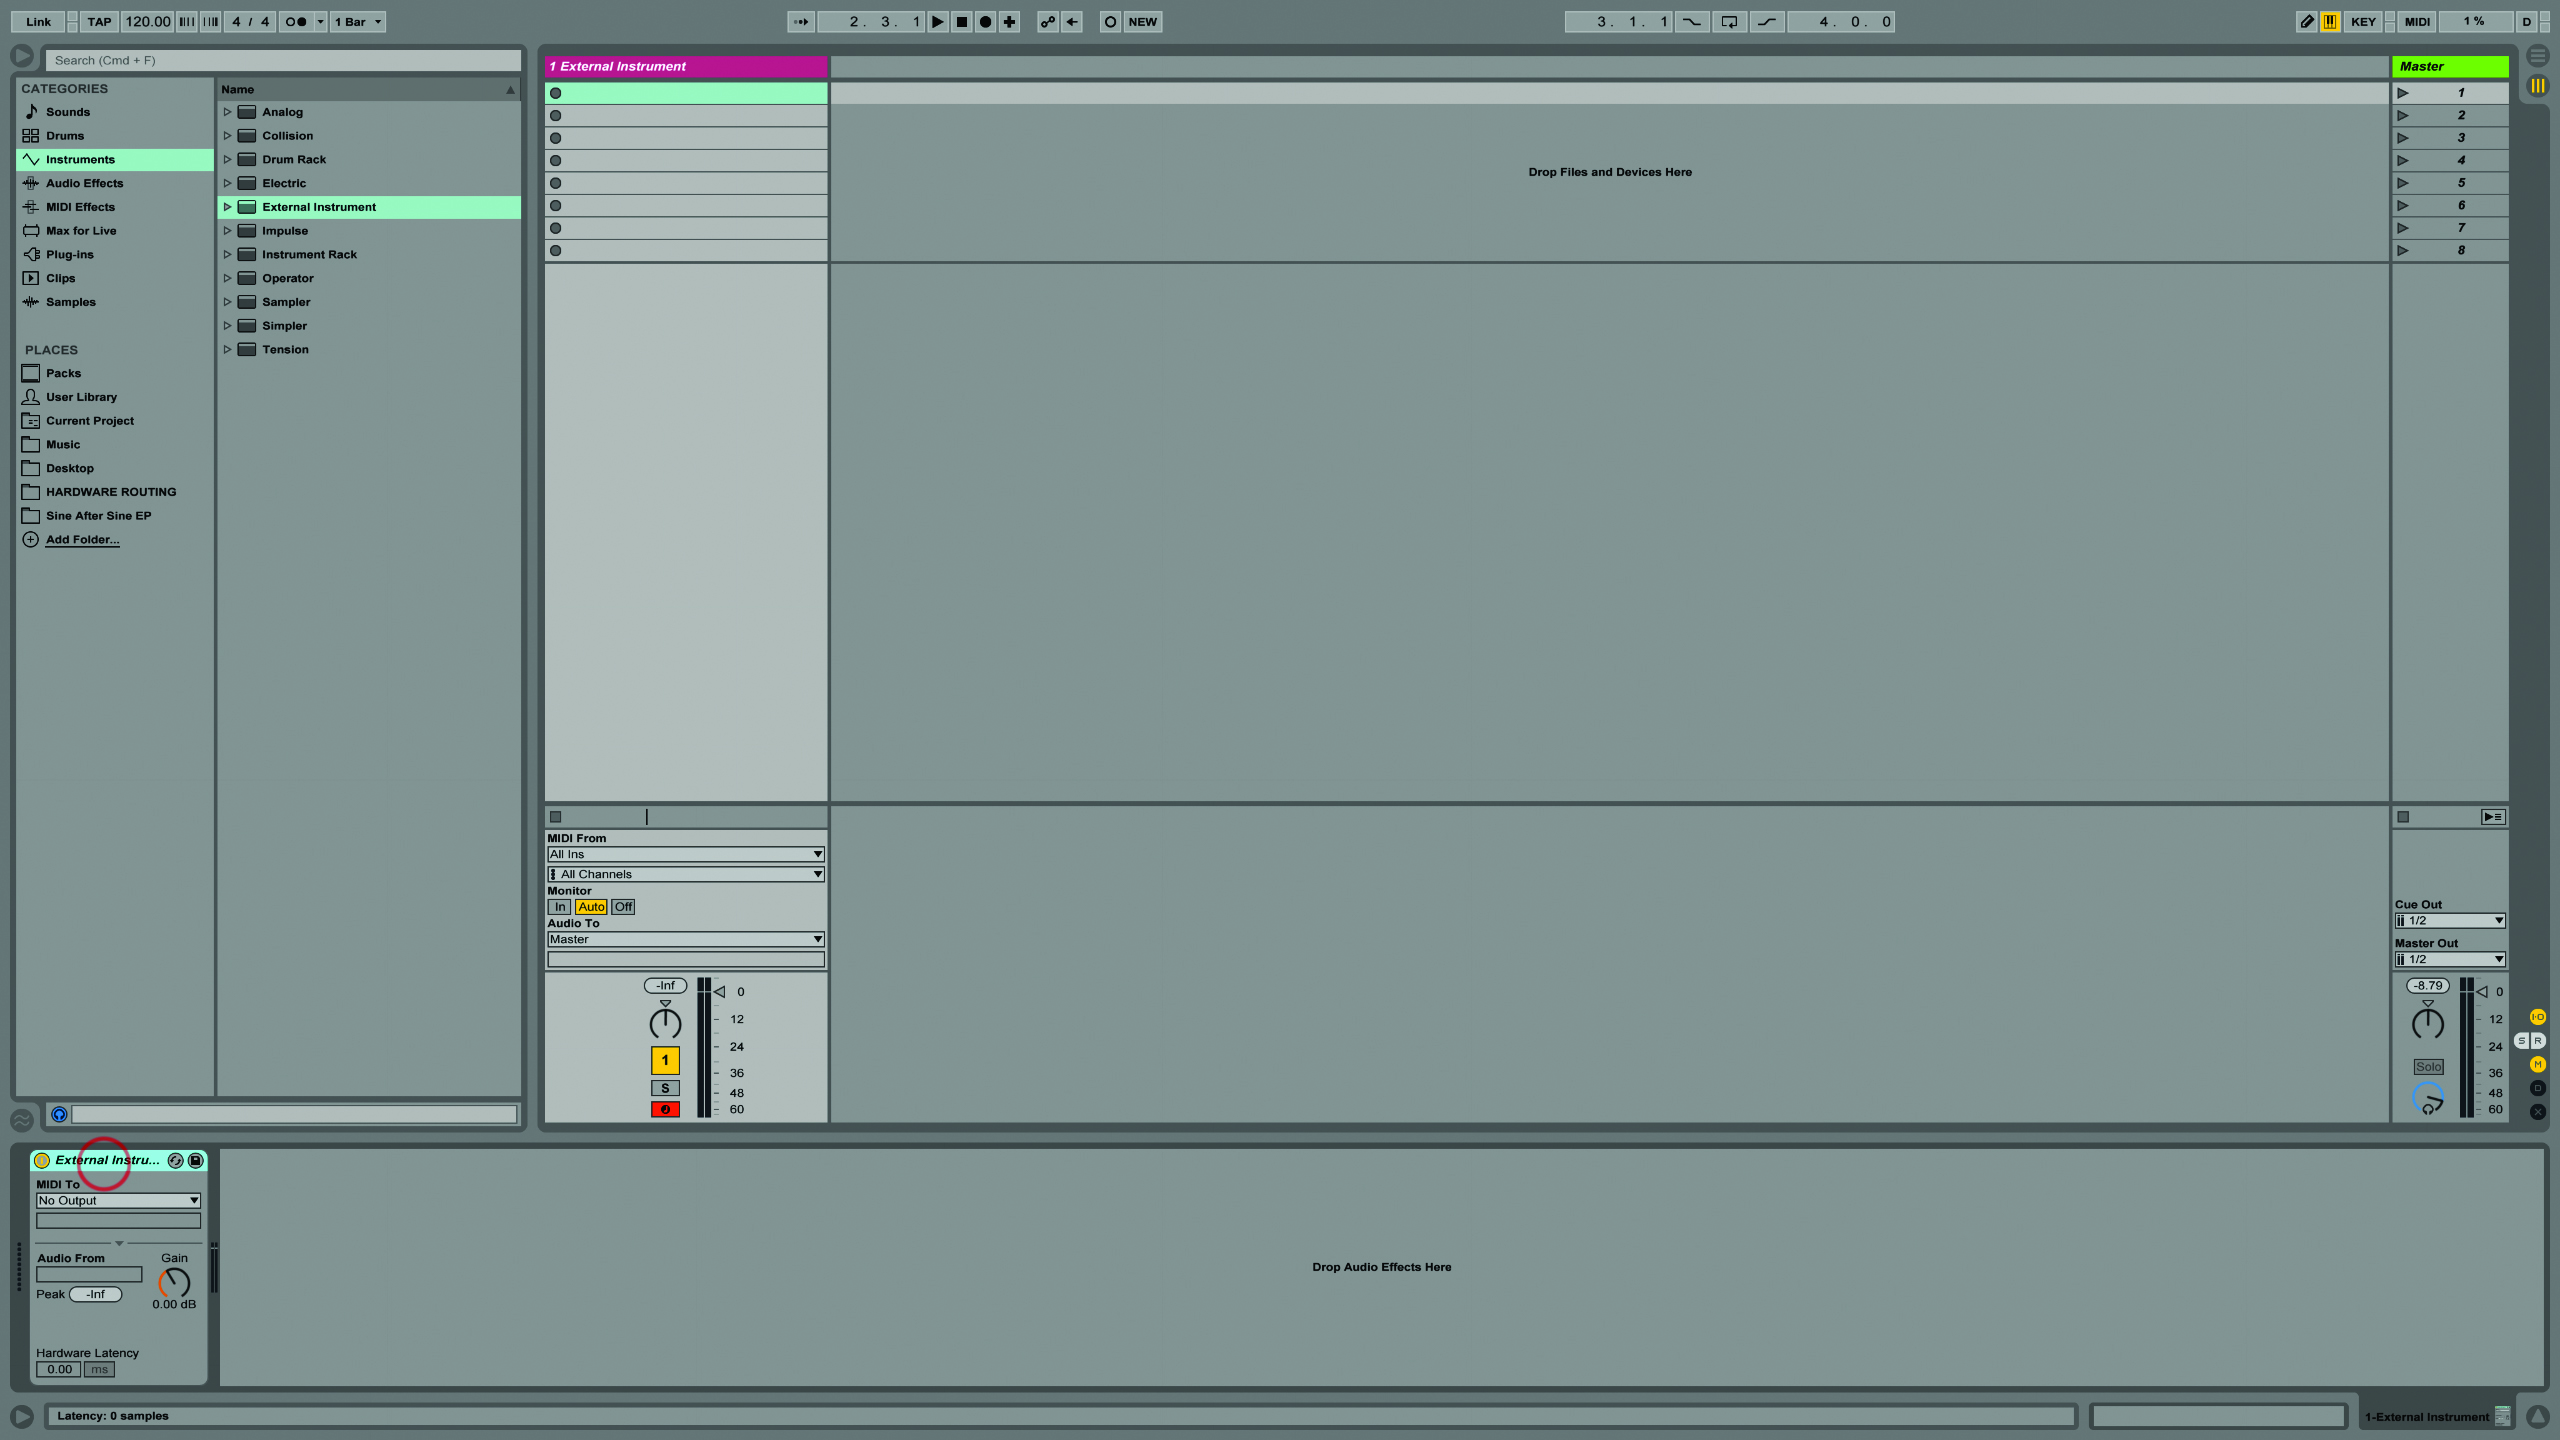
4. Open a new Live set, go to Session View and add the External Instrument Device MIDI effect into a MIDI track. This device will send MIDI, but also receive audio within one track.
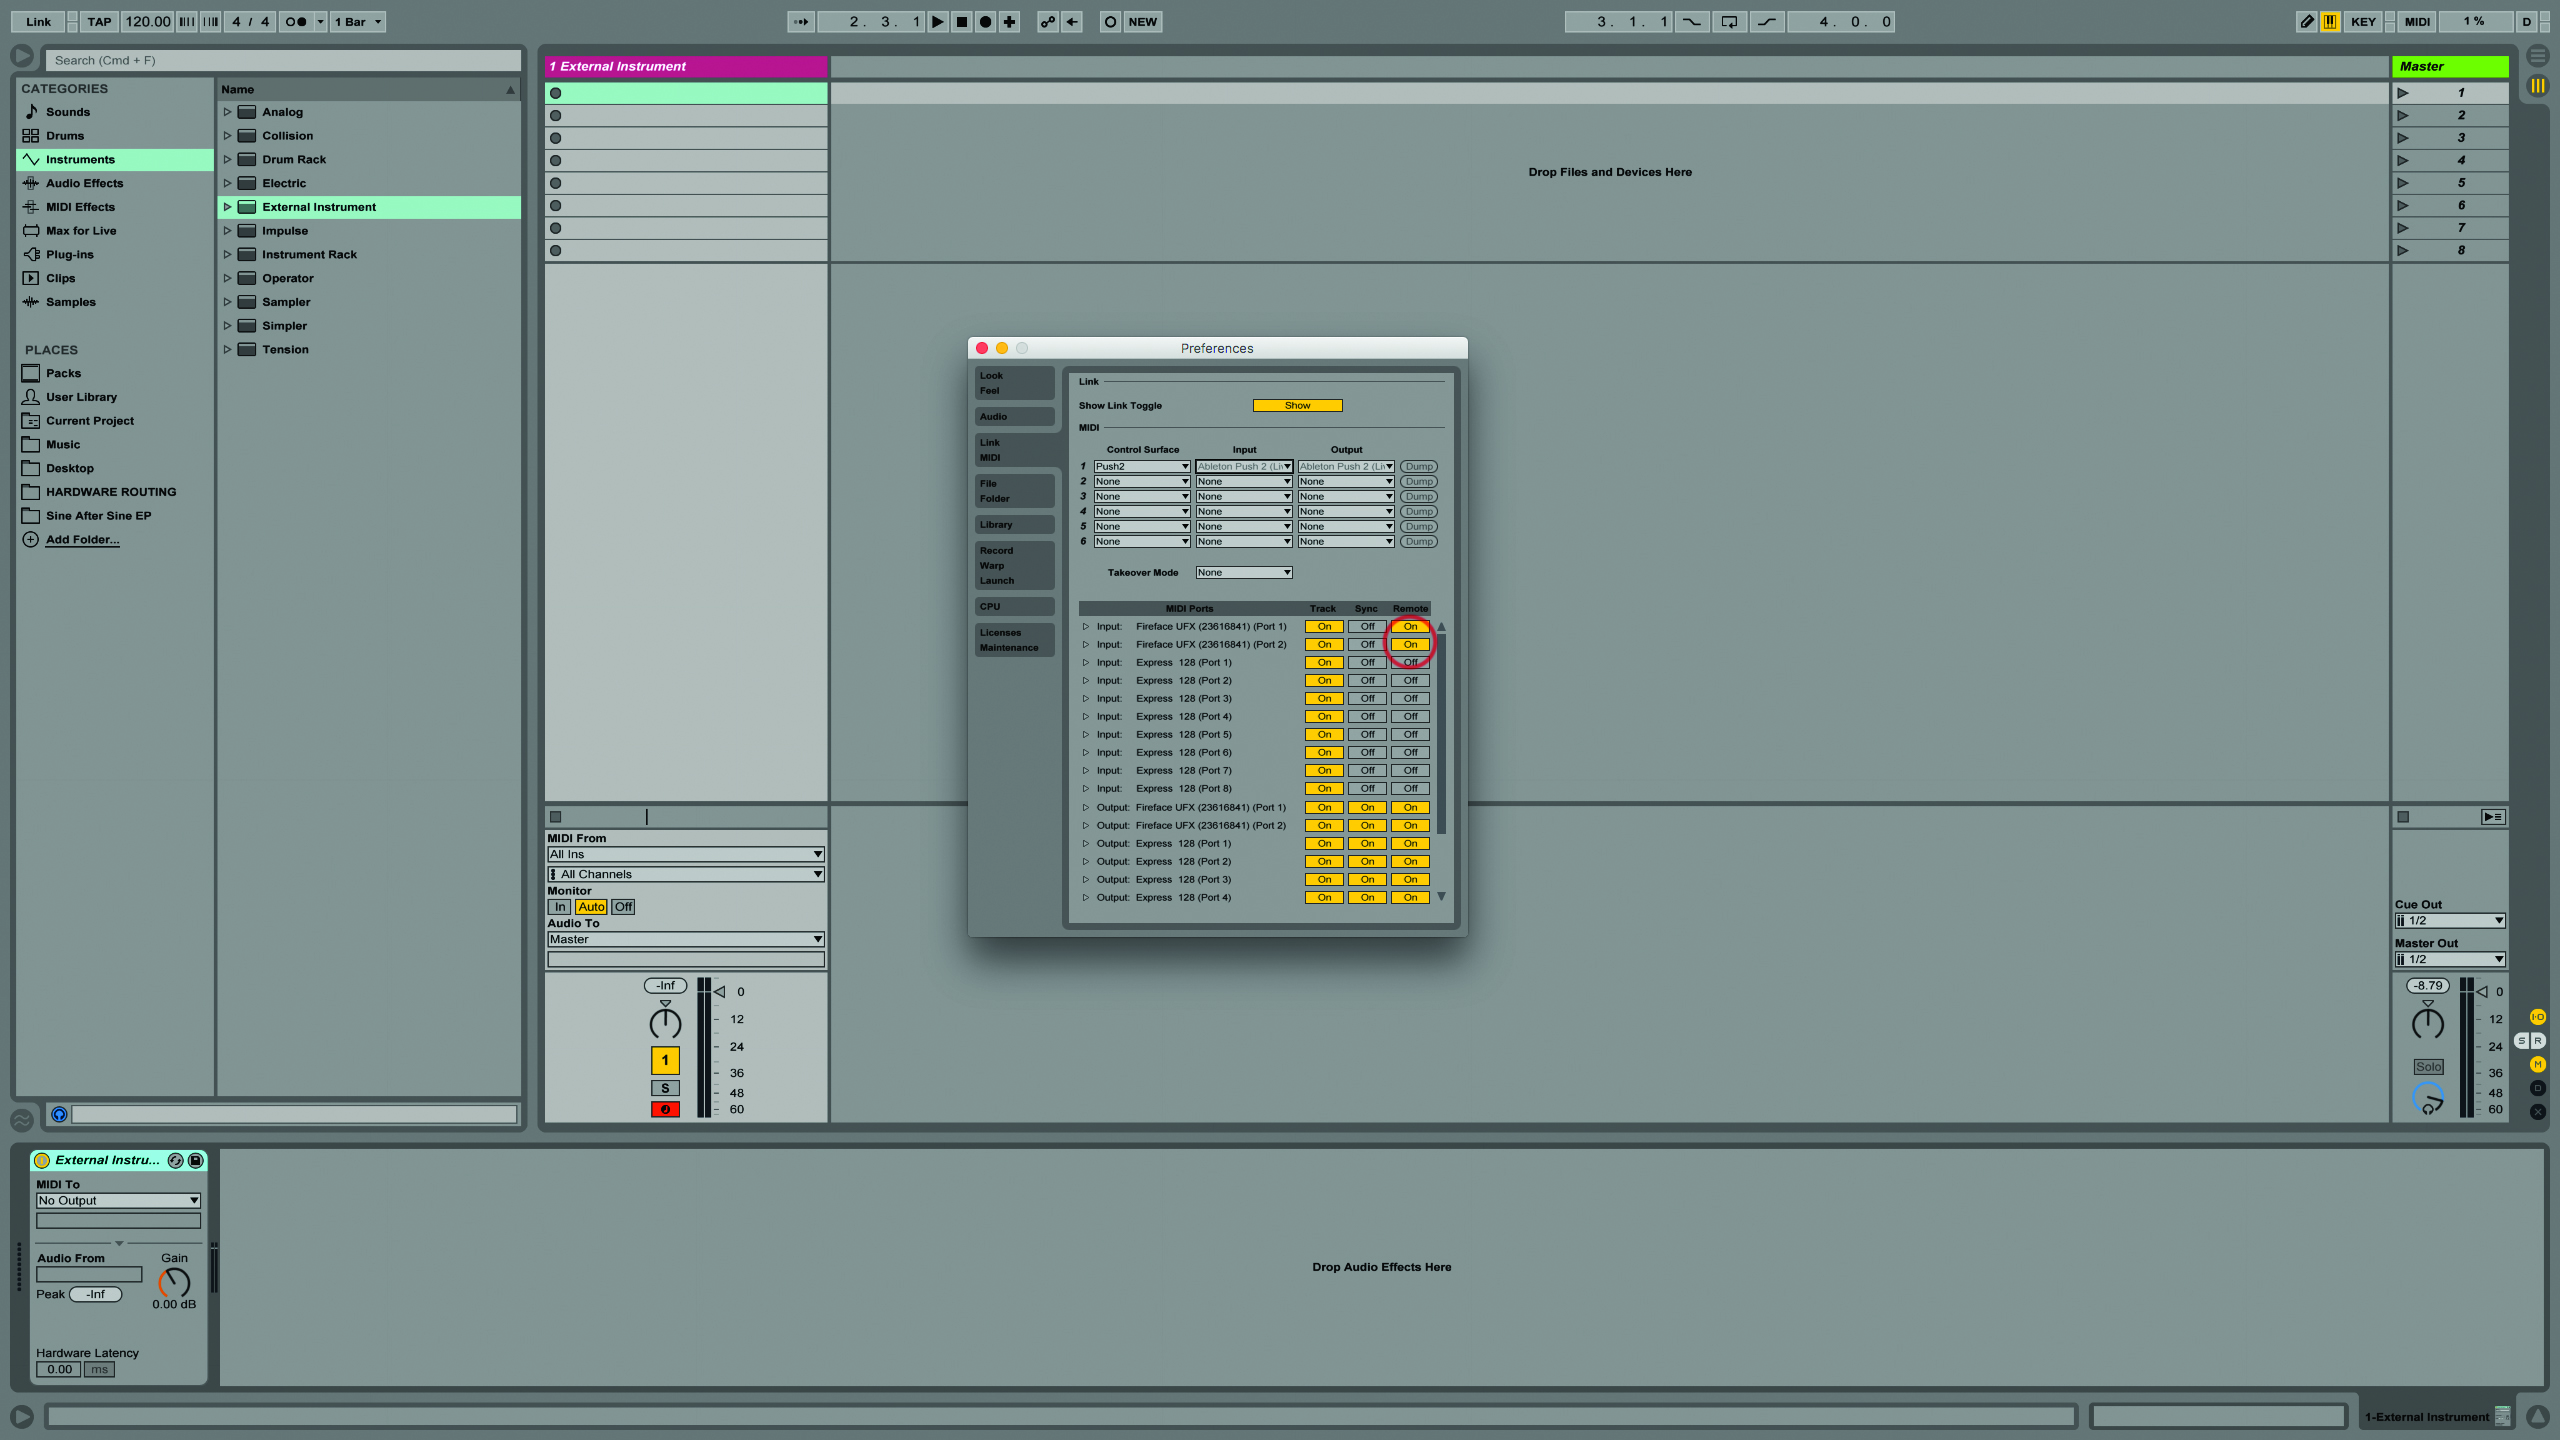
5. Open Live’s Link MIDI Preferences and make sure your interface is configured correctly, receiving MIDI Track, Sync, and Remote, messages from Live. Close Preferences after you’re done.
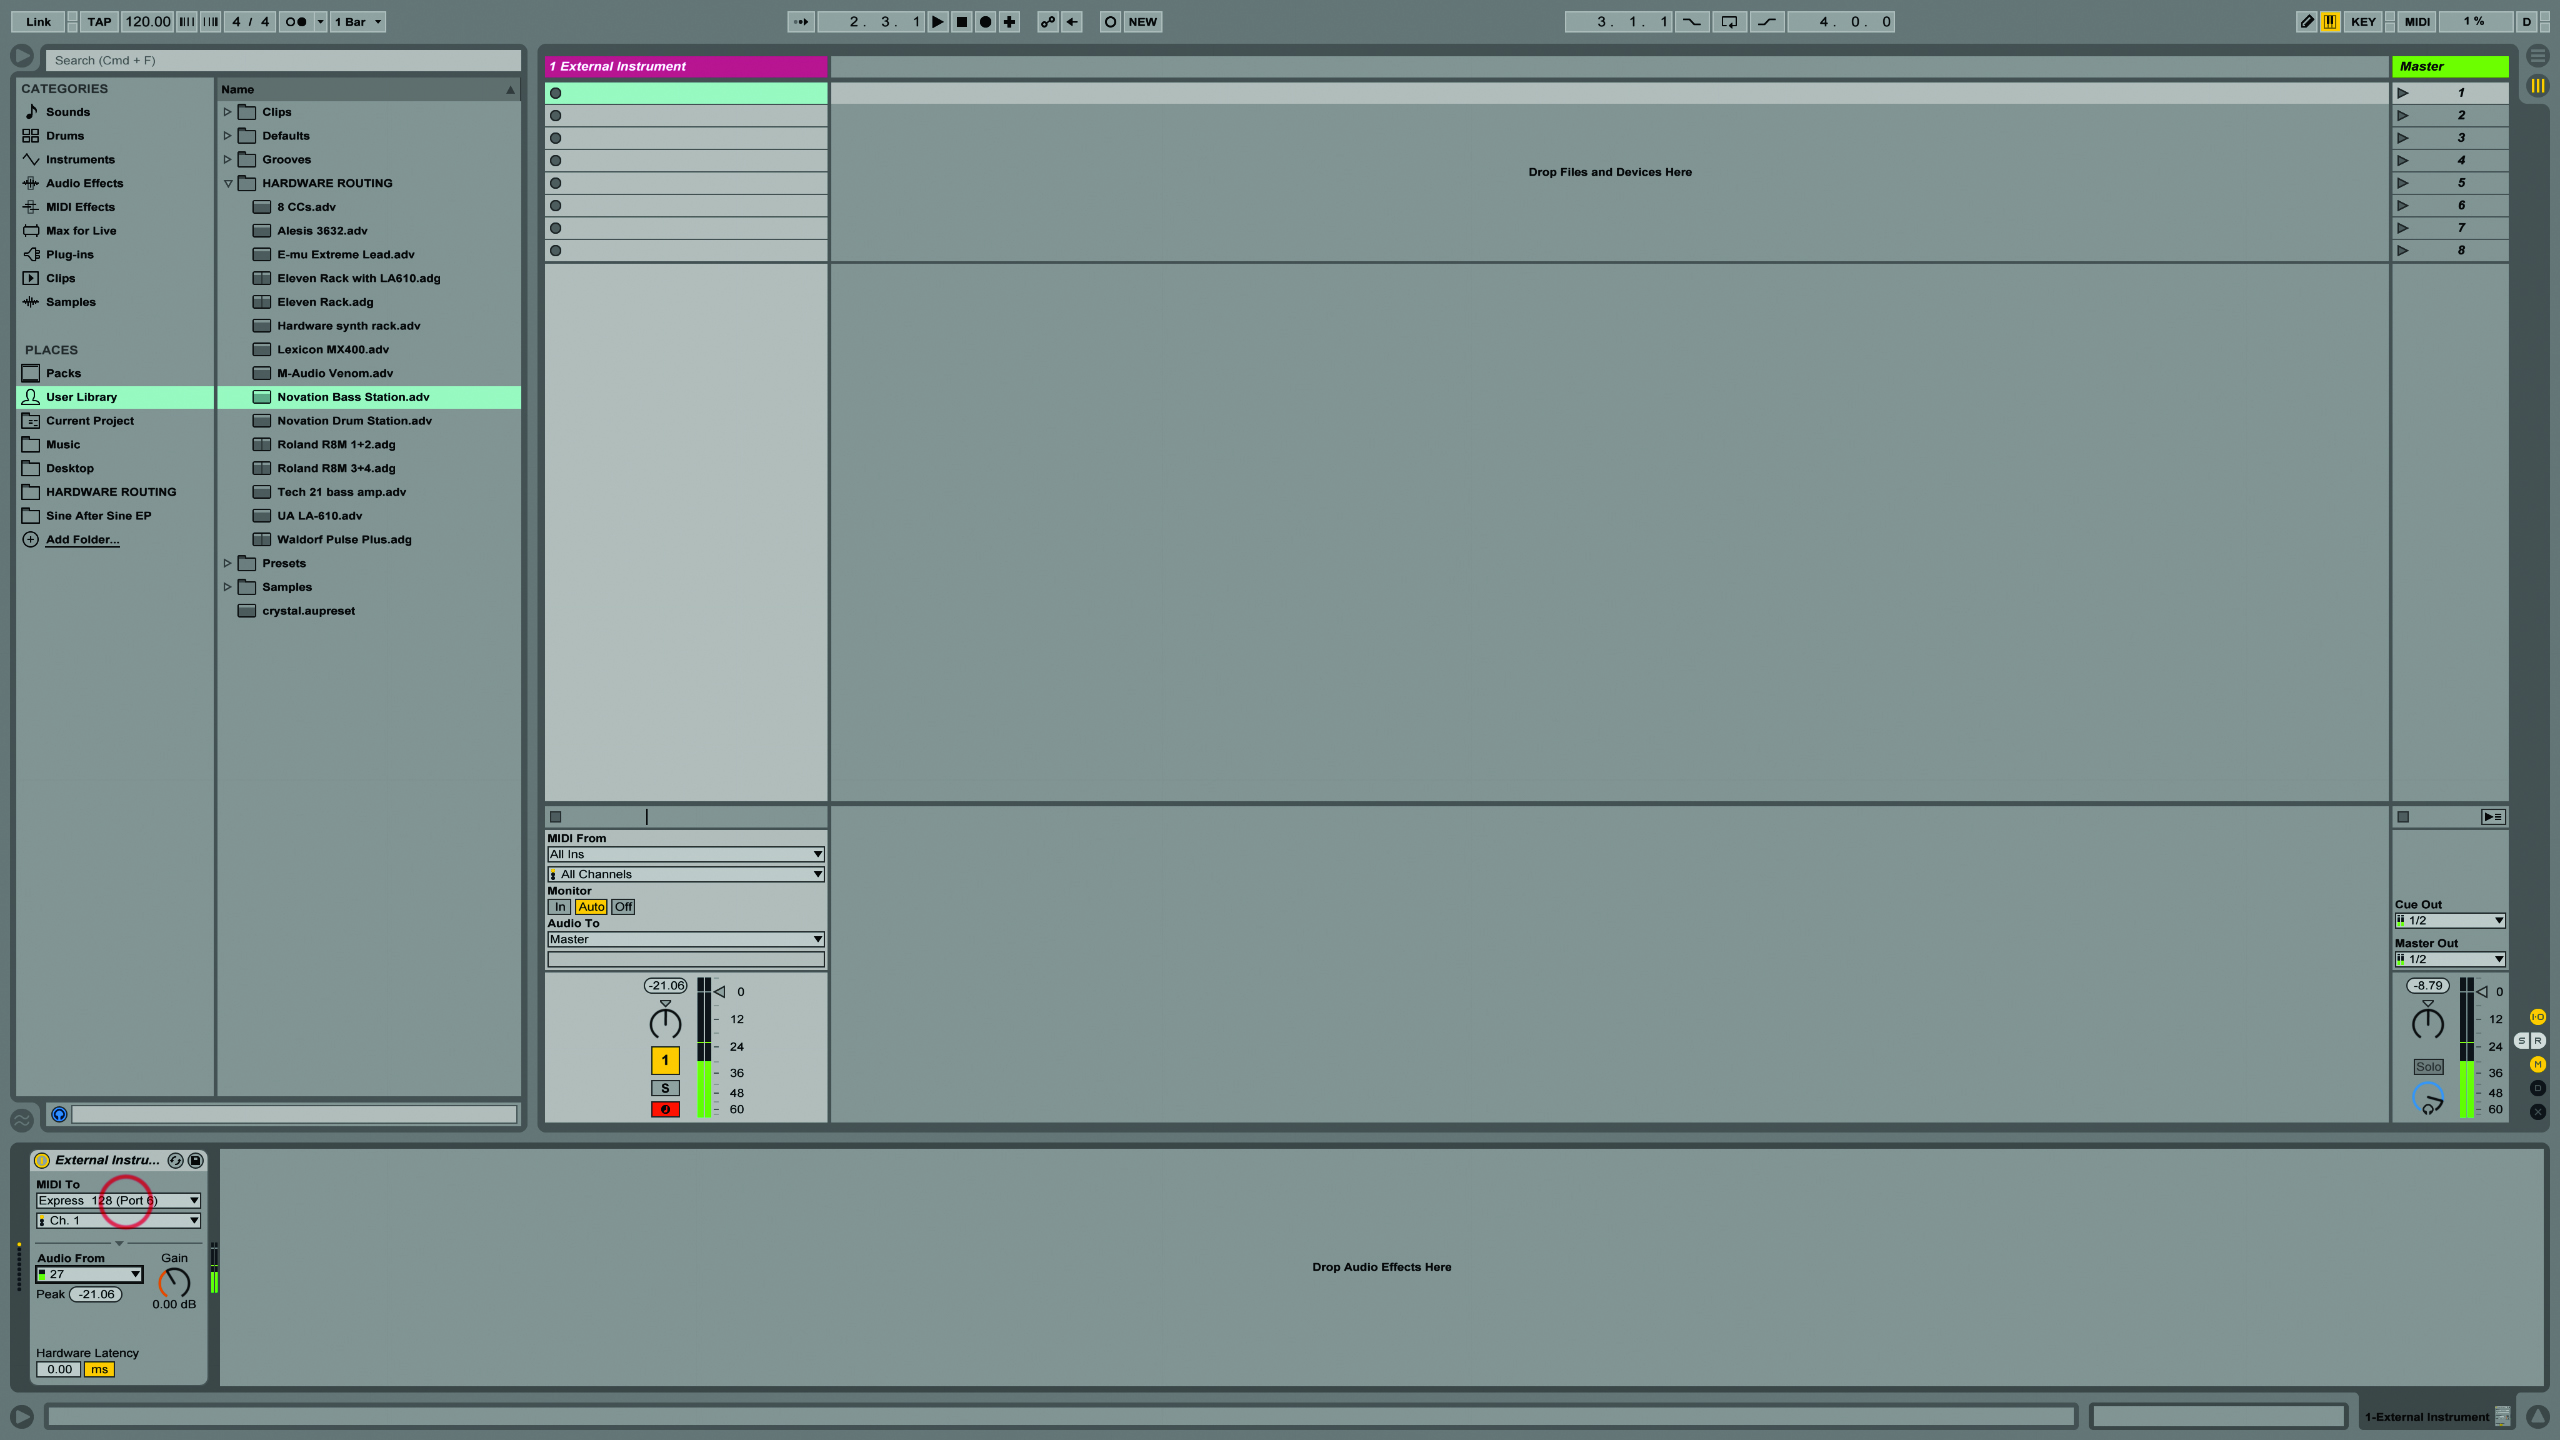
6. As we’re using the External Instrument device, set up the routings there, instead of in the In/Out View. Choose the MIDI channel required by your hardware (you might have to look in its manual).