Creative saturation with the free GSat+ plug-in
Beef up your drum and bass parts with TBProAudio’s freeware GSat+ saturator.
If you’ve ever spent time designing drum hits, you might be familiar with this problem. In isolation, your drums have the perfect balance of punch and sheen, but in the context of your track, they’re dull and disappear into the mix in the context of the track. We hate to see it.
Perhaps you’ve started designing a sound but lost the creative drive to finish it. Or maybe you just don’t know where to take it next. Well, good news: the answer might be as simple as a little saturation – or maybe a lot.
In this freeware tutorial, we’ll show you how you can use GSat+’s magic to make your drums stand out in the mix. While the effect can be pretty subtle at times, we’ll also show you how to take saturation to extremes and enhance an FM bass patch by accentuating movement.
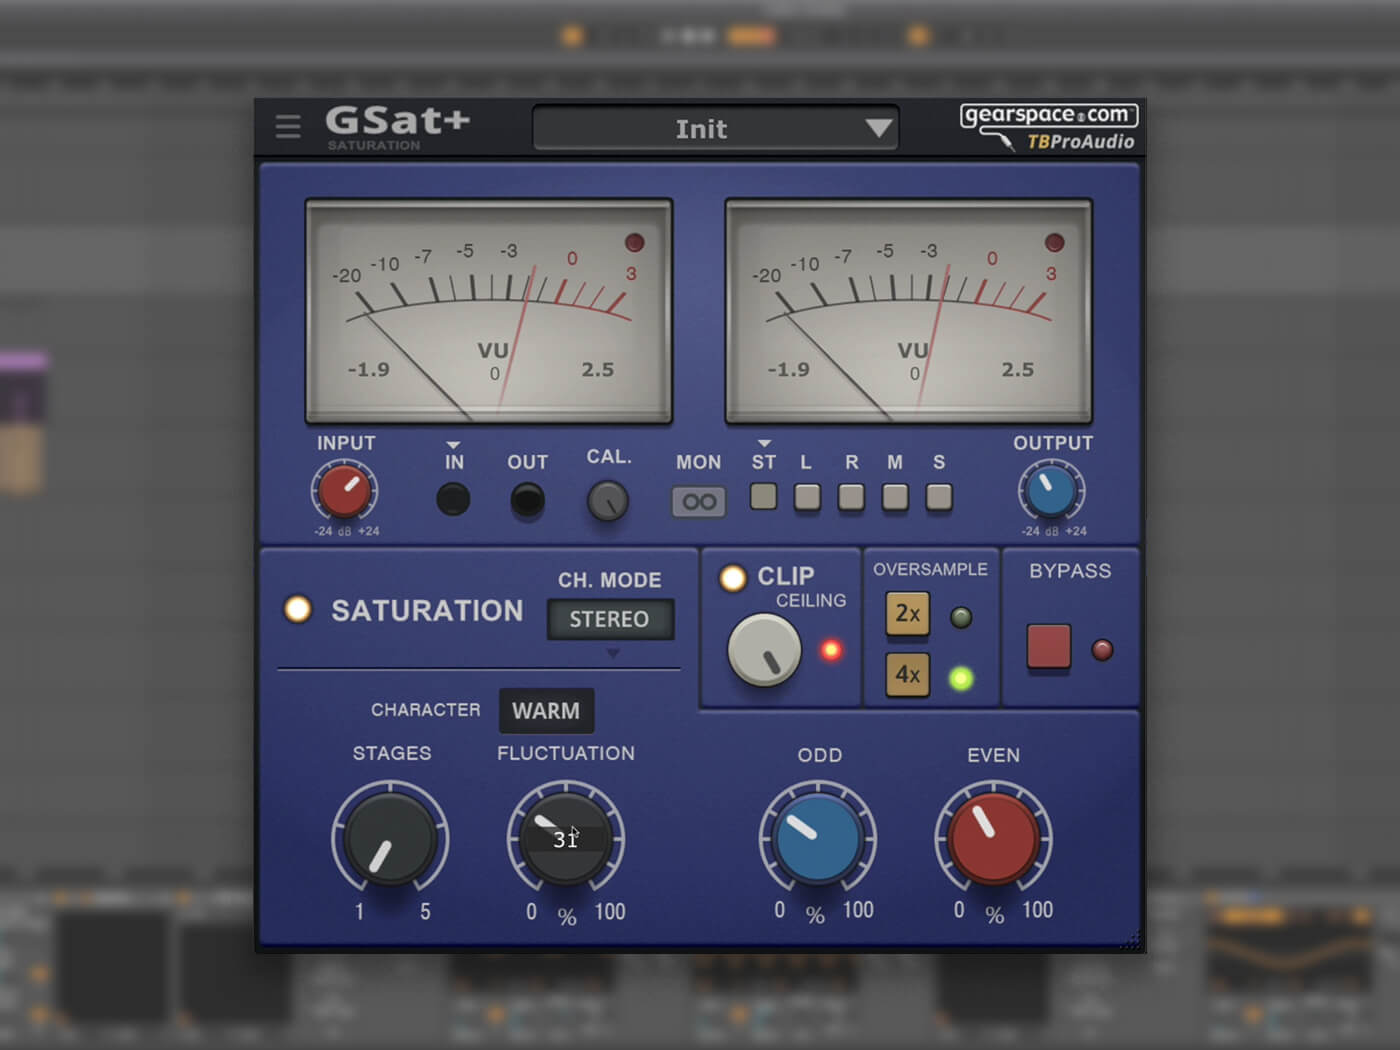
GSat+ is a free, high-end saturation plug-in developed in collaboration with Gearspace.com and TBProAudio. GSat+ is based on TBProAudio’s well-regarded channel strip, CS5501V2. It’s a highly tweakable saturation plug-in and features vintage-style VU meters to monitor input and output gain, and three character modes. Released in April, GSat+ is available on Windows and macOS, in VST, VST3, AU and AAX formats.
Here’s the result you can expect from today’s experiments:
What you’ll need:
- A DAW
- TBProAudio’s GSat+ which you can download for free here
Punchy Drums
When you fell down as a child, your parents might have told you to rub some dirt in it and get back out there. When your drums fall flat, you can use saturation to add some dirt and keep them driving the track forward. While it can be effective to add saturation to individual drum tracks, we’ll be adding GSat+ to the drum bus. This will help glue everything together and also add some punch. Let’s start by bypassing the effect and hearing how our drums sound.
Next, we enable the plug-in and slowly increase the input. We haven’t made any adjustments to the saturation parameters yet, and the drums are already sounding better. Why? We usually perceive louder sounds as sounding better. That’s why we reduce the output while driving the input. We want to try to match the volume of the original sound as best as we can by ear. We will do this throughout the process to ensure the saturation is having a desirable effect on the sound. If you drive the input beyond 0 dB, the clip indicator light in the VU meter will illuminate. We aren’t going to be driving the drums that hard, but we’ll enable clip protection just in case.
Now we can enable the saturation and introduce some harmonics. We can play with the odd and even knobs until we get a sound we like. Even harmonics are generally more subtle, while odd harmonics tend to give a more aggressive saturation style.
We’ll also enable 4x oversampling, which works to prevent phase distortion and is supposed to enhance the filter. The difference of the oversampling is subtle if you notice it at all, and it demands more resources. If you’re running GSat+ on individual drum tracks, it might be wise to leave this off.
Lastly, we can choose our tube character and add some fluctuation. The fluctuation knob adds some randomization to the distortion character. Will choose a tube-type that sounds best with our loop.
Let’s hear our drums before and after saturation, remembering to adjust the output level as best we can.
Distorted Bass
Our next experiment with GSat+ is anything but subtle. We’re going to push the plug-in about as far you’d want to go without creating a wall of noise. If noise is your thing, though, feel free to push it even further.
We’ve dropped GSat+ into our processing chain between two notch filters. This will help bring emphasise the movement created by the filters and enhance the high-end.
We start by driving the input. Once the red clip indicator light comes on, you can push it just a bit further. The hard clipping is an integral part of this sound’s character and can lead to artefacts that would otherwise be considered issues, like losing signal in the left or right channels. Make sure to turn down the output volume to protect your hearing. This will get very loud.
Now we can enable the saturation and choose a distortion character. We’ve gone with Crisp, but try experimenting with the different options. We can tweak the percentage of odd and even harmonics, but this time we’ll push it further than with our drums. You’ll notice that between the clipping and the saturation, the filter movement on our simple two-oscillator patch has been greatly emphasised.
The last tweaks we’ll make are to the fluctuation and the number of stages. The stages knob adjusts the number of virtual analogue tubes the sound runs through. This will thicken up the sound and can have a big impact on the tone and movement once you’ve found the sweet spot.
Saturation is just one step in the processing chain for this bass sound. To show the change that it makes, let’s hear the unprocessed sound, the saturation effect, and finally, how the saturation works together with the rest of the processing. While you heard the drums and bass together at the beginning of the tutorial, you’d probably want to slice and rearrange the bass to find a better groove.
Share your results and tell us what tutorials you’d like to see in the MusicTech Creator Community on Facebook.
Check out more tutorials here.