Cubase Tutorial: Perfecting Vocals Step-by-Step
Andy Price continues his tutorial studying the art of vocal recording in this step-by-step… 1: Re-open the brief demo you recorded last time. Your initial vocal take may have been sketchy if you were playing guitar along at the same time, as opposed to focusing on your vocal by recording in isolation. We can rectify […]
Andy Price continues his tutorial studying the art of vocal recording in this step-by-step…
1: Re-open the brief demo you recorded last time. Your initial vocal take may have been sketchy if you were playing guitar along at the same time, as opposed to focusing on your vocal by recording in isolation. We can rectify that by creating a new ‘master’ vocal take.
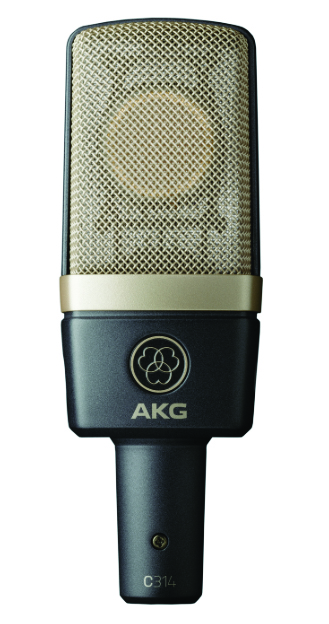
2: As we said before, a good condenser microphone is preferable as is a decent preamp. A vocal pre amp gives your mic signal a boost and (depending on which one you get) can make your signal warmer and more defined than the basic mic input signal.
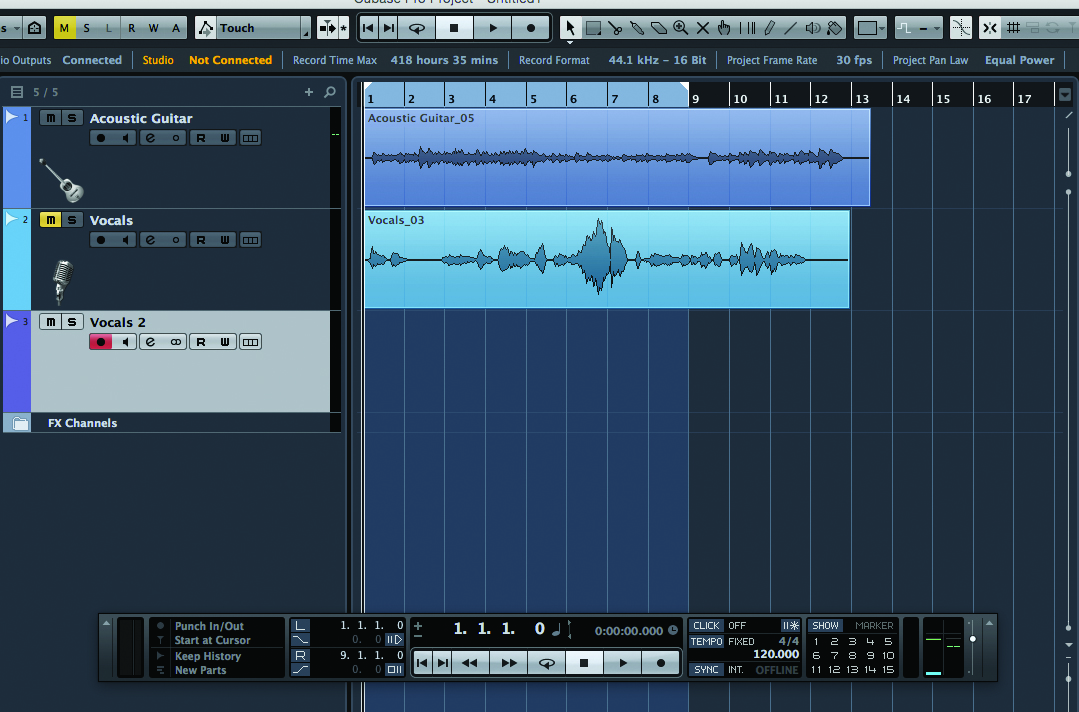
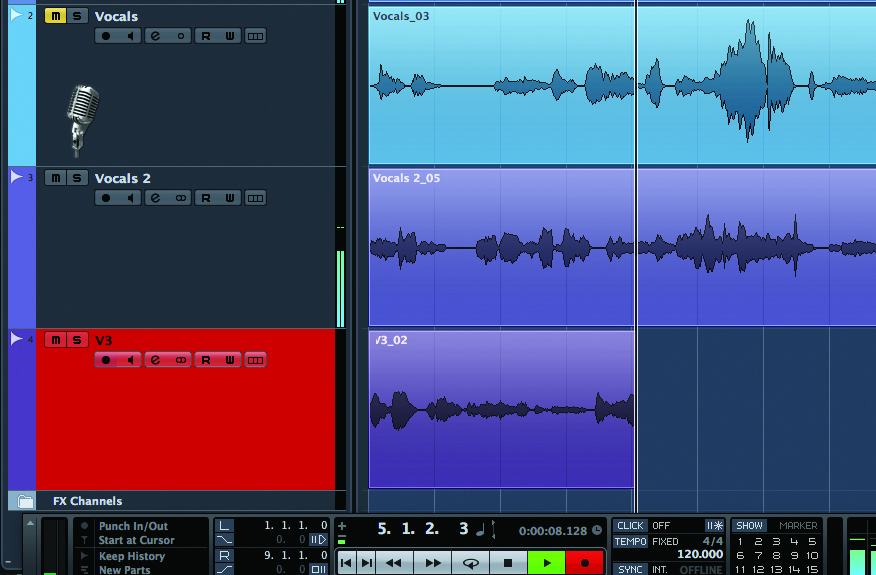
3: All set-up? Mute the existing vocal take in Cubase and create a new track beneath it. Initiate playback and record a rough take of the whole song vocally, adjust your preamp output volume and the input of your audio interface to reach a comfortable level.
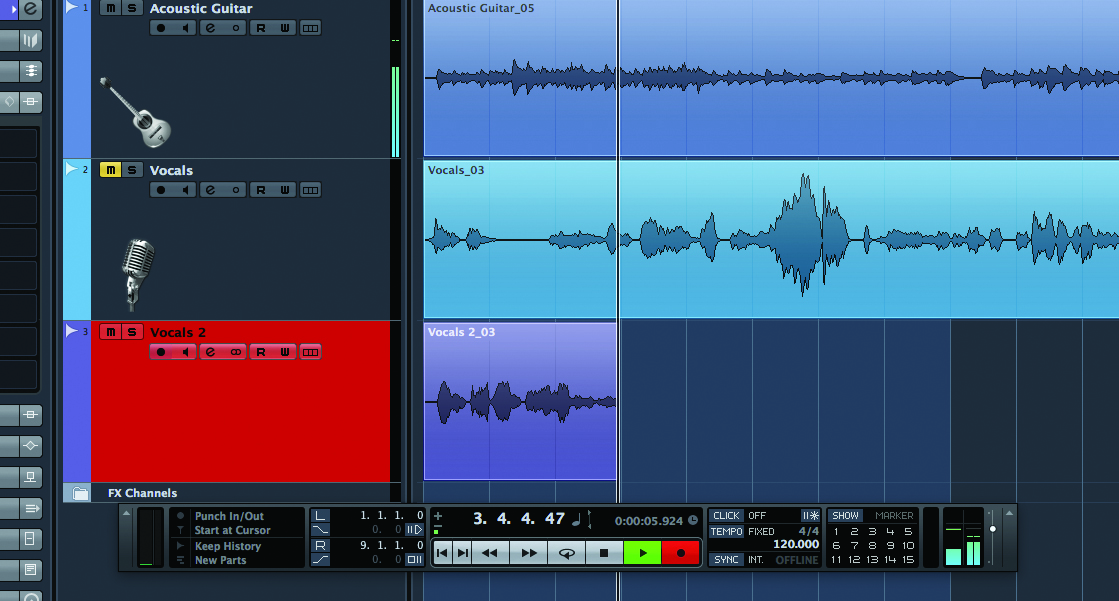
4: Begin your recording. Of course you don’t have to record the entire song in one go, you can focus on particular elements in your song, although if you do record a full take in one go and certain elements go wrong you can always re-record those sections again
5: All recorded? Now go again… record at least three takes of yourself singing any particular track, which you can then create a strong composite track from. Cubase 8.5 has a handy comp tool which simplifies this process, as do most major DAWs.
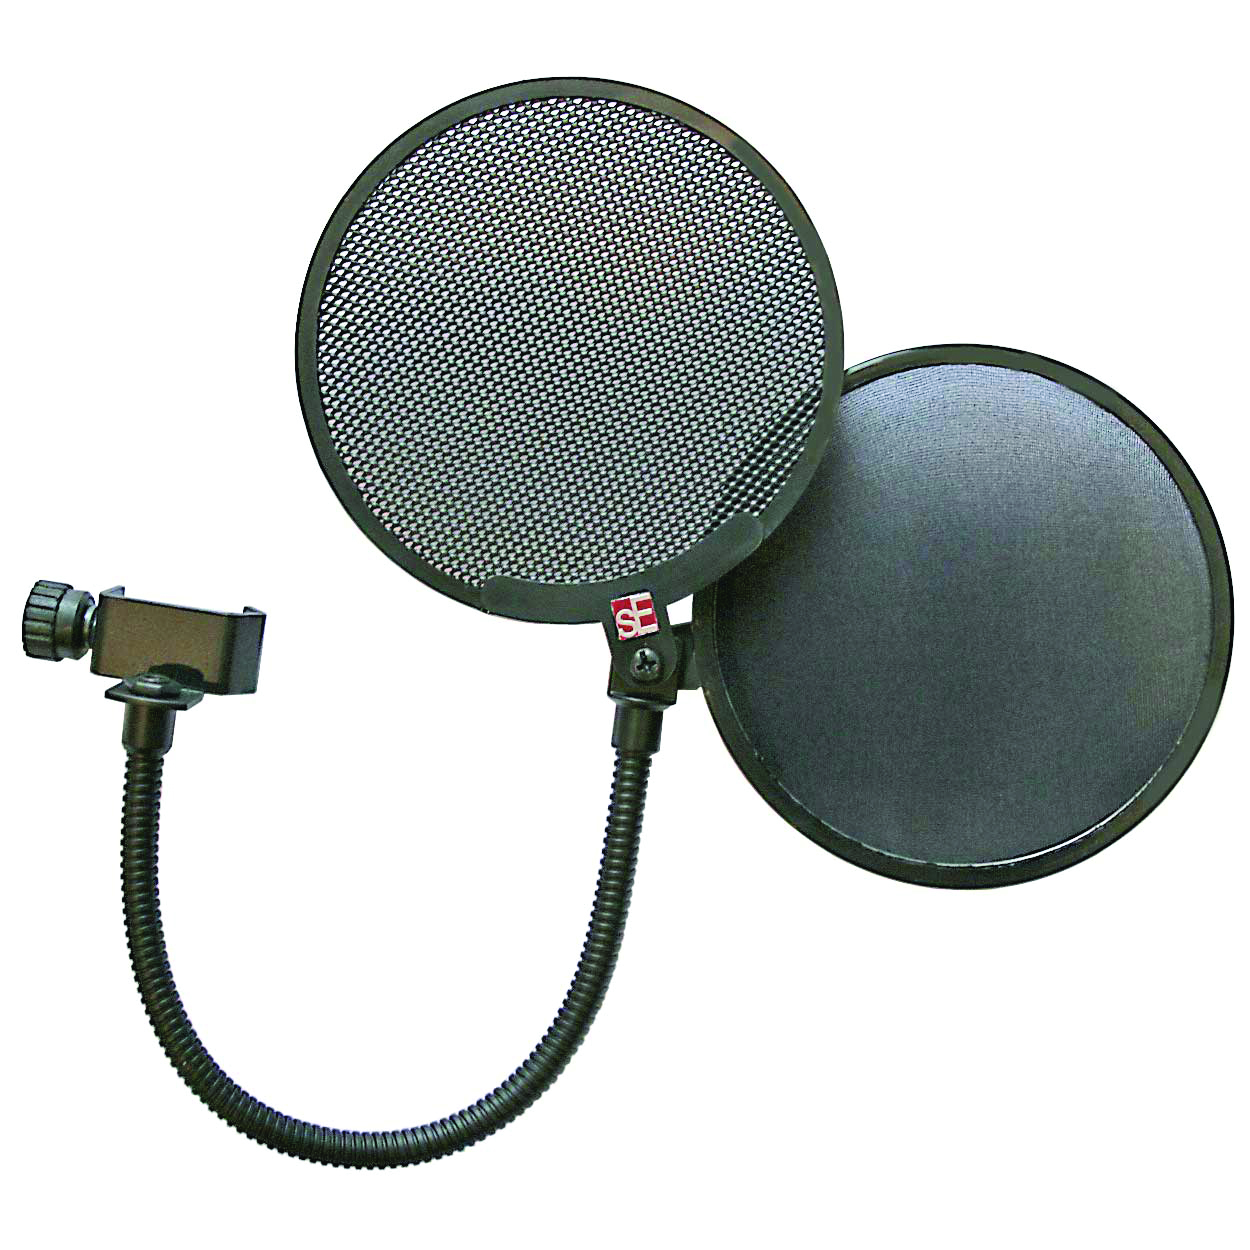
6: Once you’ve created this patchwork master take we can start to listen to those recording problems – any plosives (should have picked up that pop shield!) or weird breaths or intrusive background noise can be dealt with as the next section will illuminate…
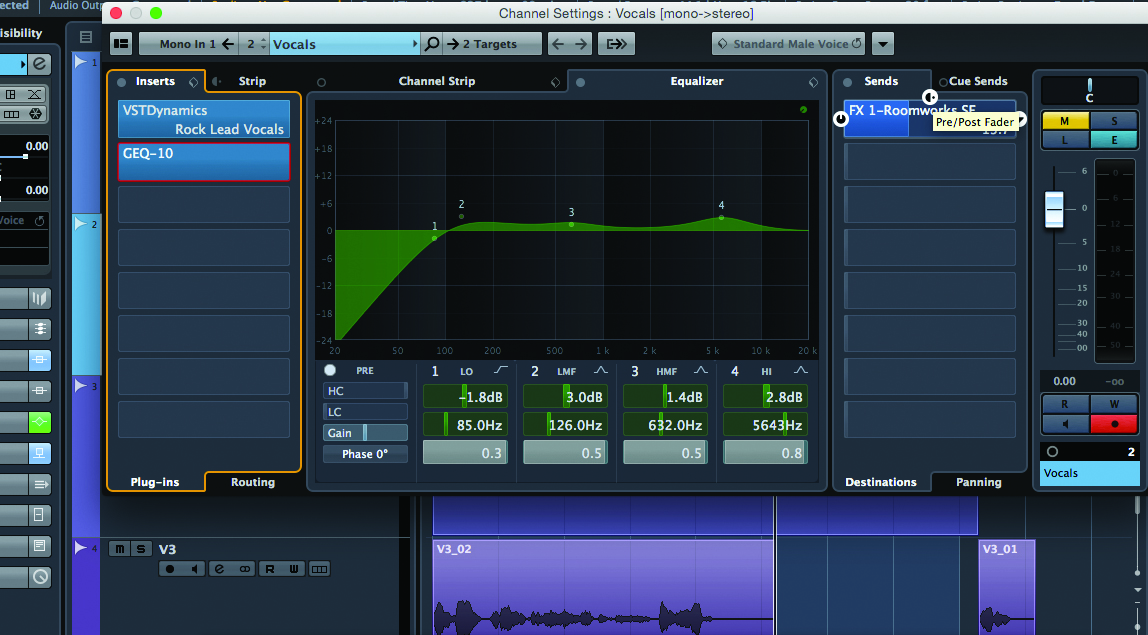
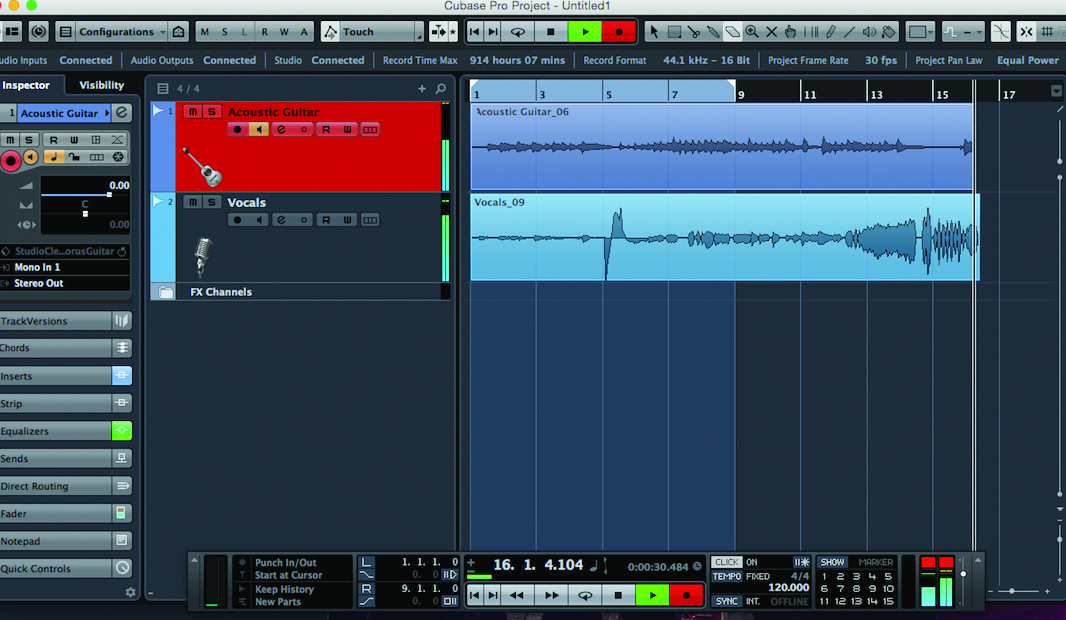
7: Now you have your assembled vocal master take, we can think about how we can treat it to enhance it even more. Firstly let’s take a look at your EQ. You can change the sonic characteristics of your take by experimenting with boosting certain areas.
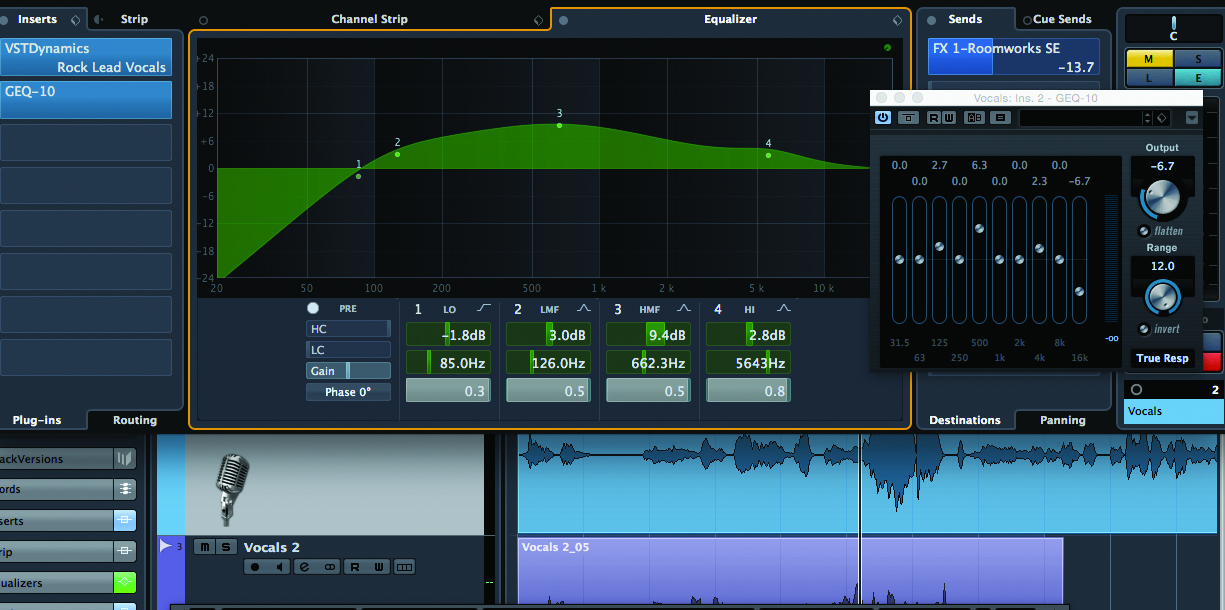
8: Don’t overdo it. You want a nice balance between the lower aspects of your recording and the higher register. If you boost these areas individually you may notice your vocals take on a different quality, sounding nasally. Use the EQ to gently sculpt your recording.
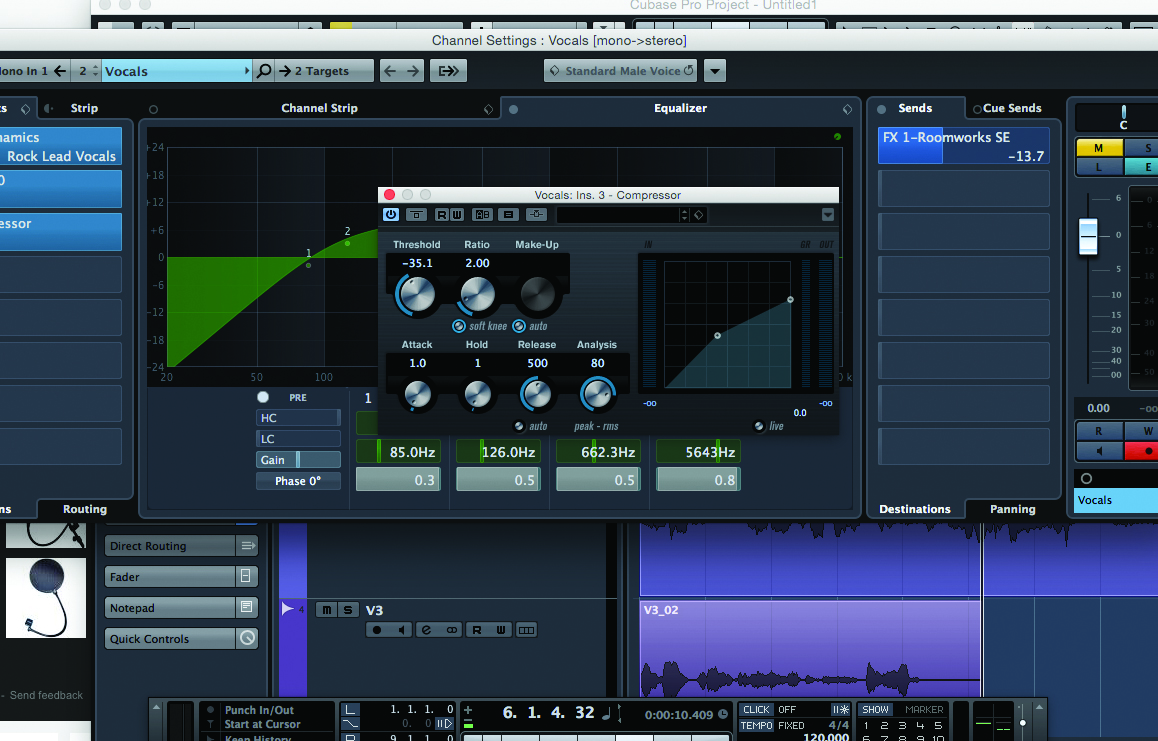
9: Try using compression both gently and heavily on your track and gauge its’ effect. Depending on how aggressive/loud your vocal take is you’ll need to tinker, but the overall aim is make sure your track doesn’t fluctuate between being extremely loud and delicately quiet

10: Use a gate to eliminate audio that appears at a certain frequency. This can be very useful if a car went past your bedroom studio mid-recording. A gate has to be applied carefully however. It’s best to apply it only to specific sections of your song, not the whole thing.
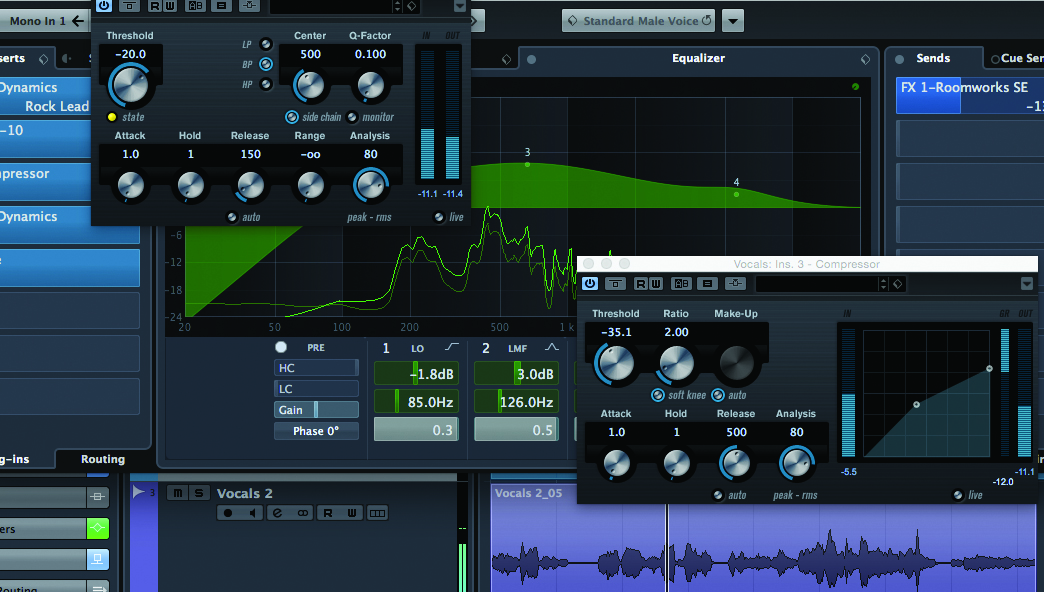
11: You’ll have to try out the threshold and release settings yourself to get the accurate settings for your track, making sure that you don’t accidentally take anything away from your vocal performance but that you do remove the elements you don’t want on there.
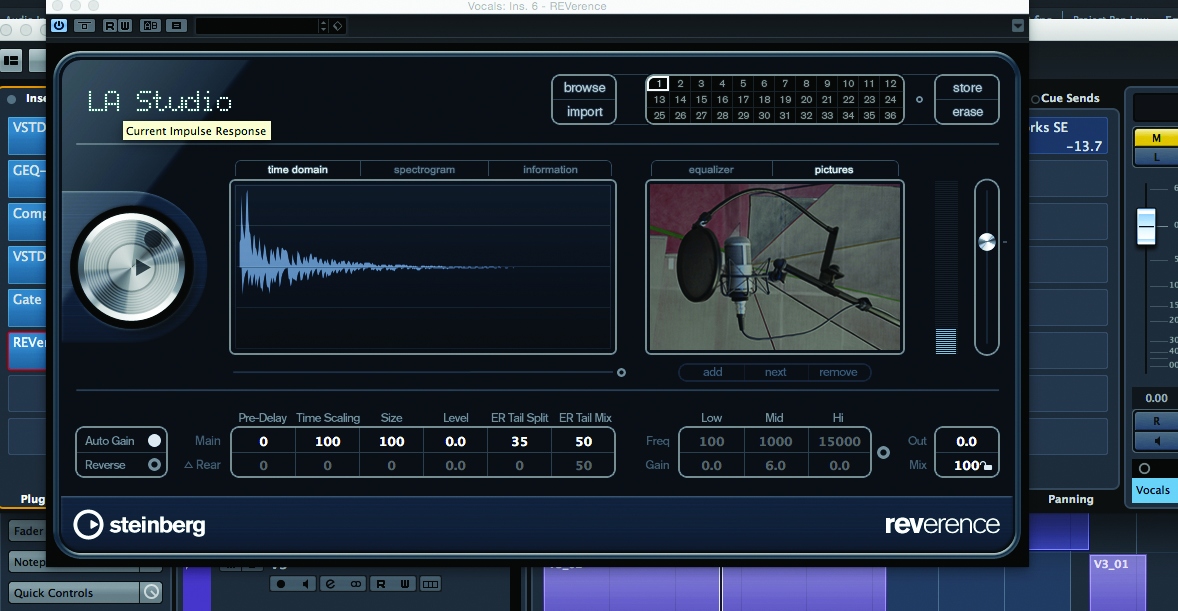
12: How does the vocal sound? If it’s sounding a little detached then a touch of reverb can help it appear more ‘real’. Slower, quieter songs generally cry out for nice plate style reverb as they have more space for the effect to flourish. Upbeat dance tracks less so.
