Genre Focus Tutorial: Drum and Bass Part 1
Arguably one of the most difficult electronic genres to master, D&B veteran Liam O’Mullane explains the core techniques for achieving an authentic production sound. For this tutorial you will need the project files – Download Here Alongside genres such as techno and trance, drum & bass is one of the more mature styles that has […]
Arguably one of the most difficult electronic genres to master, D&B veteran Liam O’Mullane explains the core techniques for achieving an authentic production sound.
For this tutorial you will need the project files – Download Here
Alongside genres such as techno and trance, drum & bass is one of the more mature styles that has constantly pushed the boundaries of electronic music production. And although many people regard dubstep to be the most innovative and perhaps less rules-driven genres of modern times, D&B started its life in much the same way.
During the first half of the 90s, a large part of the rave scene was splintering off to become hardcore, and as another offshoot of this development, jungle was born. From jungle through to its evolution into D&B in the early-to-mid-90s, the genre has always pushed the boundaries in terms of how technology can be used creatively.
In this two-part series we will be looking at the four core elements that apply to all the sub-genres that have emerged over the years – bass design, drum production, decorative sounds/melodies and arrangement dynamics. Unless you are planning to produce yet another formulaic track in a bid to compete with the existing big commercial tunes around, you will be aiming to create music that will have the necessary production values to sit happily in your list of respected artists. But in a genre this mature, many styles and ideas have already been done to death, so you will also need to strive for originality in your work.
Your key focus should be to experiment until you stumble on something unique, so the bass and drum techniques we’re about to discuss will give you the baseline knowledge needed to successfully take an exploration into sound, then package that into a balanced musical production. It can take an artist years to craft and perfect the sound that ends up defining them, so don’t expect to bang out deep, detailed tracks which conjure up vivid imagery to the listener after just reading this.
But do note that although there are many tutorials out there that aim to teach you how to sound like big-name artists – who already own the rights to the sound they’ve carved in the genre – if you stick with the fundamentals we cover here you’ll find it much easier to take experimentation and make it work as a finished track. So set your sequencer’s tempo to between 170–180BPM (depending on your mood!) and let’s get started.
Drum Work
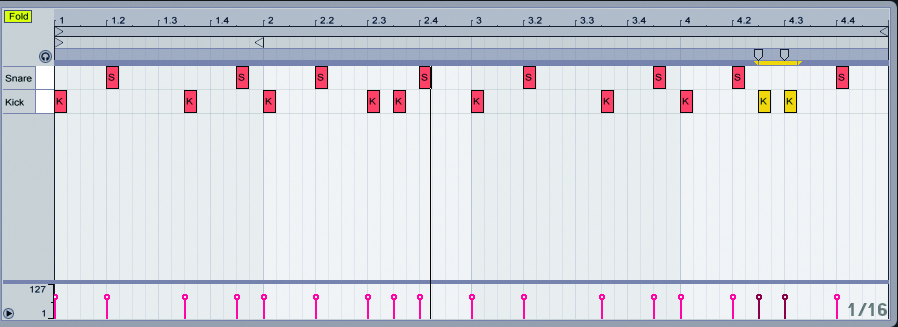
1: The only requirement for the main drum sounds in D&B is that they need enough presence to sound strong enough on their own before you add decorative sounds. For the kick and snare we’re starting with two samples chosen for their weight and good transient snap. We’ve then programmed four bars with variation.
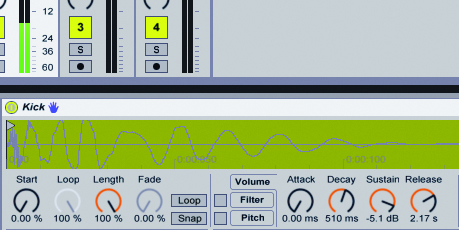
2: From here we’re going to explore layering possibilities to lend an individual tone to our drums. Due to the faster tempo in D&B than other genres, it’s important to keep the lower-frequency elements quite short in duration. Keep a keen ear on this by using fades or ADSR amplitude control. These can be used to carefully tighten each new sound as you add it.
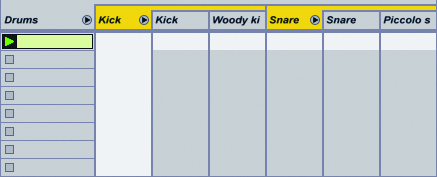
3: When adding new drum layers, utilise high-pass, band-pass or an EQ filter to remove any unnecessary frequencies that may clash with other drum sounds and mix elements as the song progresses. We’ve achieved a woody-sounding kick and piccolo snare tone we’re happy with by creating a few layers, but don’t be opposed to changing sounds as your song and mix demand.

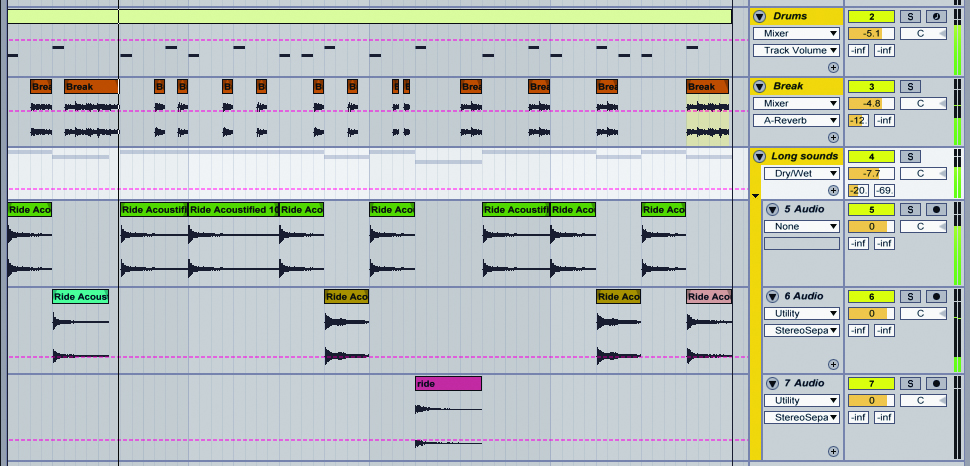
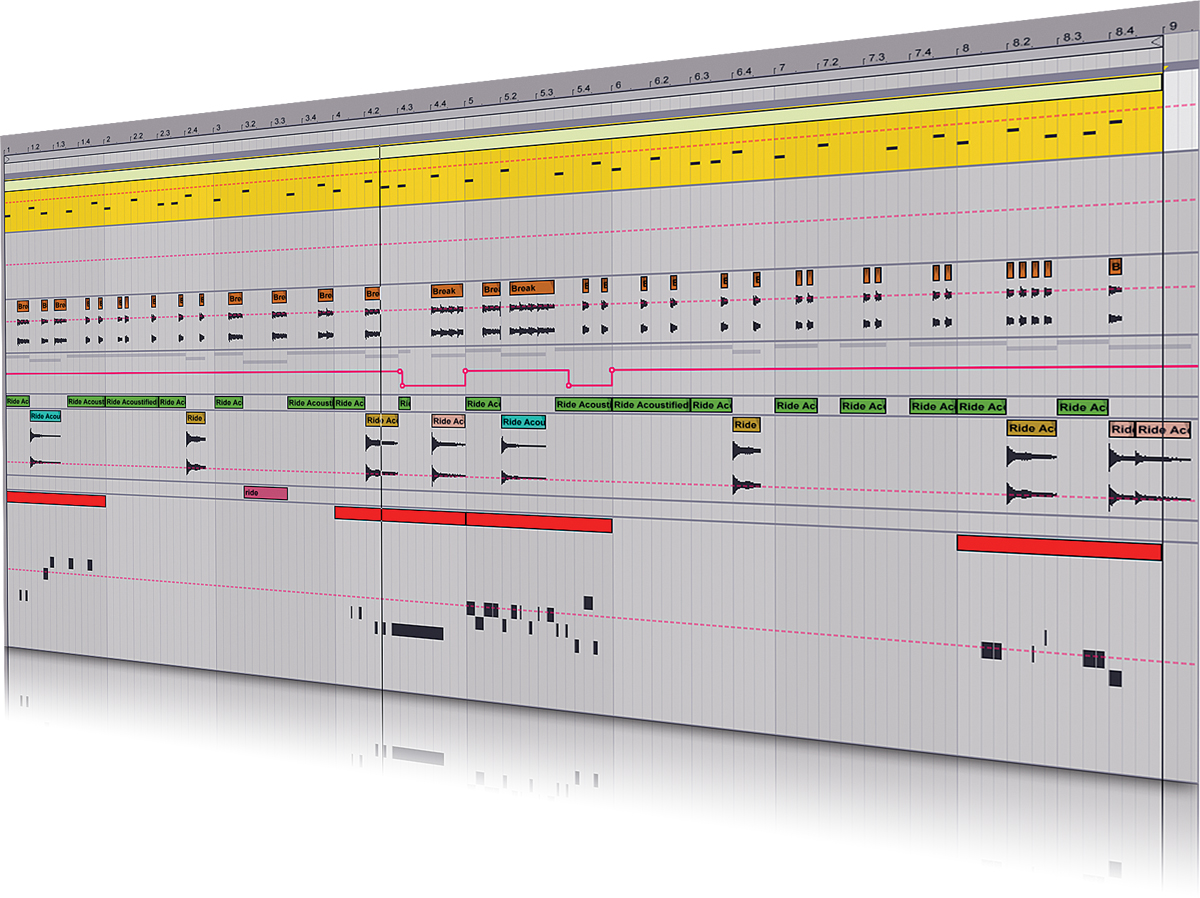
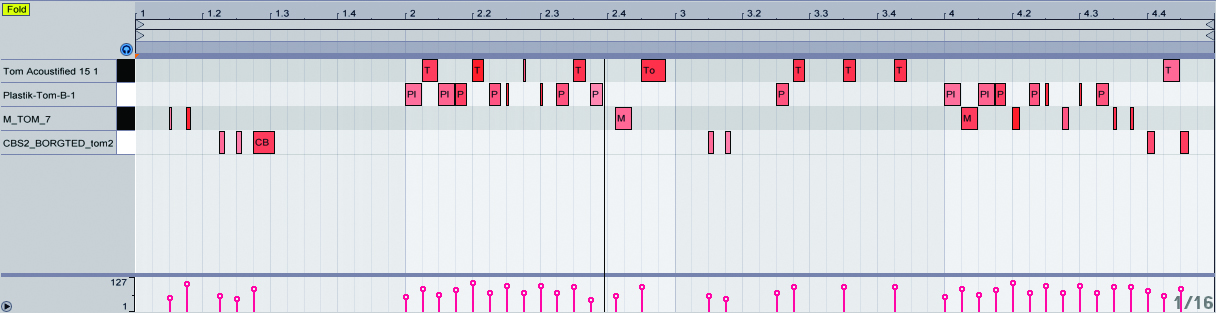
4: Anything from hi-hats to sliced breakbeats can be used to add more rhythmic information to your core sounds. A filtered break slice is often used as a textural layer to the kick and snare, but we’ve used it between the main hits in a sparing fashion and filtered them so they don’t sound too dominating. Also try high-pass-filtering long sounds to give a sense of space to your drum sound as a whole.
5: As you may have guessed, layering is going to play a pretty large part here too. We’ve duplicated our lead track, which gives us six saw waves to play with. It’s sounding really nice and buzzy now, so we dial in a little reverb to give it even more space and character. We don’t actually have our lead playing all the time – rather, it kicks in every second bar or so.
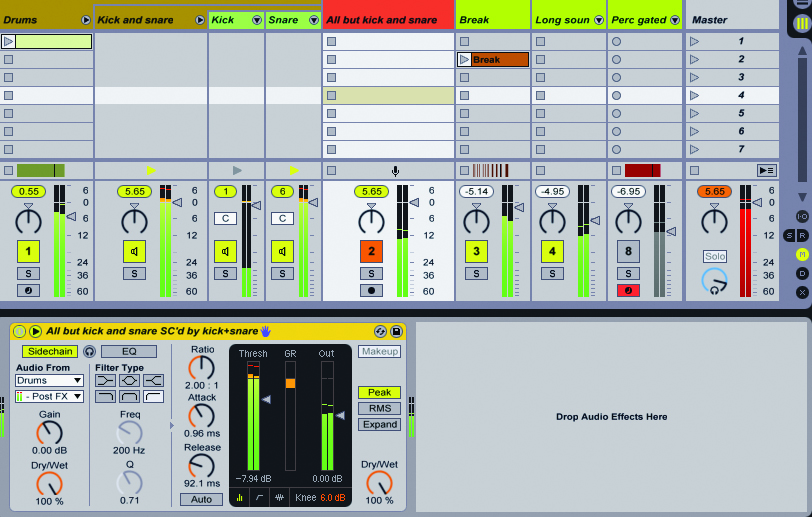
6: Although the commercial side of D&B became very loud over the last decade, modern underground releases allow more room for a mix to breathe. So don’t overdo processing like limiting, hard-clipping or any other effects designed to max-out a signal. Try achieving more power by sidechaining sounds other than your kick and snare – having these drop by just 2–4dB is enough for a solid yet dynamic sound.
Bass Design and Re-Sampling
1: Whether you plan to keep an instrument live throughout the production process or intend to re-sample it (which tends to be the case in D&B), both approaches start with a sound source of discernible pitch or more noise-like and pitchless character. The latter can be achieved with drastic pitch variations or heavy use of FM, ring-modulation or any other heavily discordant processing.
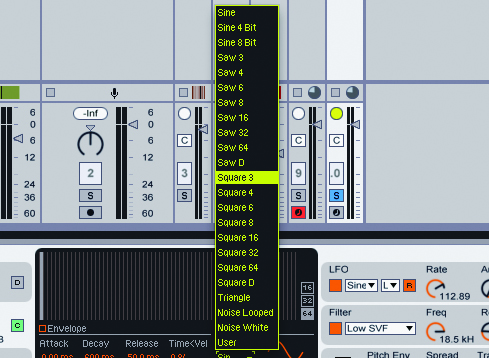
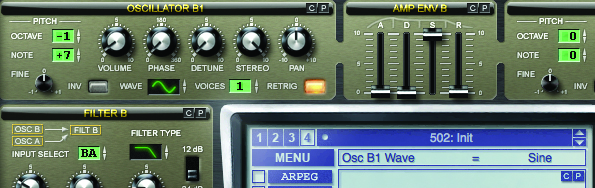
2: There’s no set rules for the type of waveforms you can select here, but you’ll generally find that a bigger sound is achieved by using square waves within your mix of synth layers. Saw waves offer a lot of edge that cuts across a mix; highly pitched sine or triangle waves are useful for achieving softer tones. Make sure that you also explore the best octave for each layer as you stack synths or oscillators.
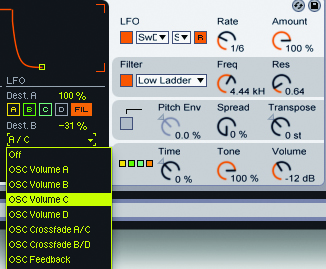
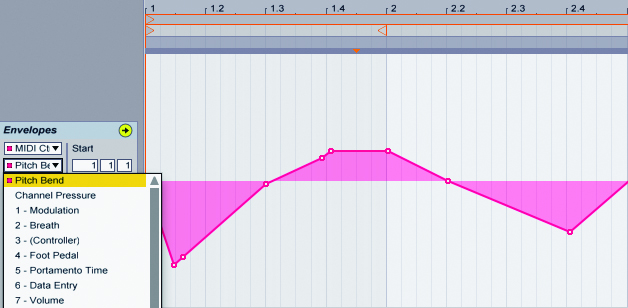
3: The next step is to add movement to your sound. The best starting point is to play with any controls as you listen for something interesting. Use the more coarse-sounding changes to develop a unique character. At this stage, try to assign an envelope or LFO to these parameters so they can be triggered as you play.
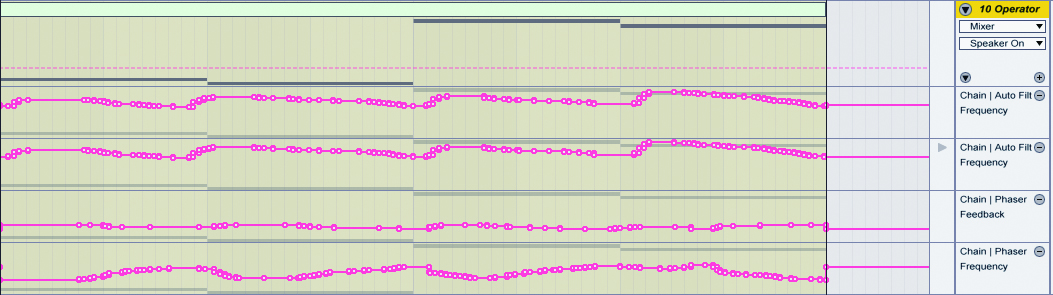
4: If you plan on re-sampling your sound, this is the point at which you can pile on processing effects without worrying about getting in a tangle with automation later on. Explore parameter changes with effects as you did in the last step and record them as automation. Common effect choices are phaser, notch-filtering and stereo width/widening tools. But here, anything goes.

5: Re-sampling is the most practical way to deal with these large effects chains and automation recordings. Before sampling, explore the best note to record as some will have a certain sonic sweetness over others. After recording them into your DAW, drag the audio into a sampler and explore the possibilities with this (and any other re-sampled bass sounds you’ve created).
6: A designated sub-layer is essential for the low-end weight needed in D&B. These are often stacked sine waves with octave- or harmonic-based intervals. Alternatively, triangle waves can be quite useful when low-pass-filtered for a thicker sound. Keep the sub as a separate instrument rather than a layer with other sounds so it can either play in unison or be varied from the other parts.