Genre Focus Tutorial – Producing Techno Part 3
In this penultimate installment of our techno production series, Liam O’Mullane guides you through the finer aspects of variation and sound-design. We’re nearly at the end of our journey, having developed some solid musical ideas in part 2 of this series. Now these ideas need fleshing out and generally improving as the reality of our […]
In this penultimate installment of our techno production series, Liam O’Mullane guides you through the finer aspects of variation and sound-design.

We’re nearly at the end of our journey, having developed some solid musical ideas in part 2 of this series. Now these ideas need fleshing out and generally improving as the reality of our arrangement and ideas become clear. Techno has no hard rules in terms of arrangement, just that songs usually pass through one or more ideas with a sense of progression. This can be achieved through rhythm and note programming, but more often than not is carried out through manipulating the timbre of sounds as they groove.Our initial ideas from part 2 have been modified, shortened, repeated and, in some cases, deleted altogether – something that can sometimes be necessary when you’re aiming for an end result that’s better than just OK. As is usually the case, a fresh session helped us see where some ideas could be taken and highlighted other things that simply weren’t going to work.

Although we’re going to treat the process of mixing down as a separate task in the final part of this series, we have already created a fairly solid balance of sounds to work with. Aside from some pretty huge-sounding ambience effects that we’ve used to create a distinct division between foreground and background sounds, the majority of the mix’s balance comes from the right choice of sounds. There’s no mass-layering techniques used in the drum design, for example, just simple trial and error to find the sounds that slot together best.
Explore a sound’s tuning and octave choice to see if it will slot into the mix aesthetic you’ve already established – if it doesn’t, you have the choice of taking the song into a new direction that suits the sound you’re introducing, or simply ditching it and moving on to find something more suitable. There’s no right or wrong way to do this, which is why our song has mutated a fair bit from the ideas first outlined in part 1. Just be mindful to not let a new sound unbalance a mix that’s already established, and don’t expect us to look at fixing poor sounds in part 4.
The mixdown stage shouldn’t completely overturn a track and its content (unless that’s the aim for creative reasons); it should instead be an opportunity to tighten up the track’s energy, maintain optimum clarity and in turn help the track’s arrangement make even more sense to the listener. Until then, let’s focus on a full arrangement.
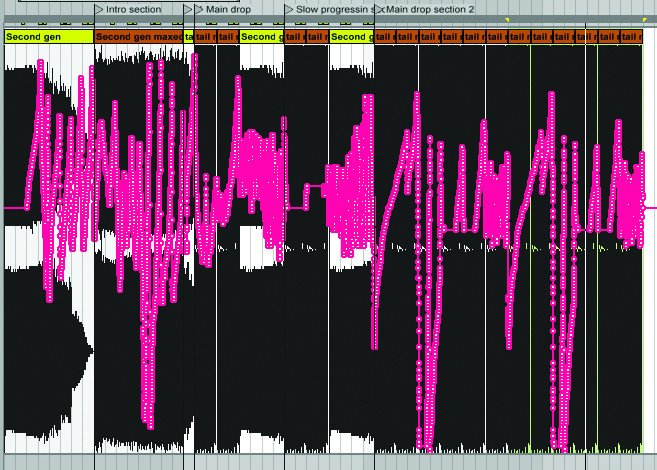
Developing Ideas Further

If you’ve decided to repeat some sections to make them longer, think about how you can edit certain sound layers in and out. We’ve used the acid line from the last tutorial to create a break in the middle of two repeats. We also removed the bass track at this point so there’s a sense of lift, as the tune sounds less full and dominant. The bass seems heavier for being muted for a brief moment.

Another way to create variation is to apply an effect in a way that makes a small sound become larger to fill out your mix. You can use a dry/wet control, auxiliary send or frequency filtering to hide/reveal the changes over time. Here we’ve applied parallel processing of a wet reverb, which is filtered to create a rhythmic backdrop. We’ve automated various controls for a deep, moving background.

You can steal an idea to help out another – we’ve chosen to create a more dramatic segue from the short vocal break by adding another bar and a build-up sound. This sound is based on the same MIDI pattern as the bass afterwards, but we’ve assigned the new clip to a less dominant, percussive sound. With automation applied, we’ve created a sense of movement to get from one section to the next.

Setting up different echo sends that have individual delay times lets you use incidental sounds to trigger interesting rhythms in your most minimal sections. To create a much denser tail to the sounds – and in turn a more interesting stereo spread – we’ve also used some of our existing send FX to get a thicker texture, enabling a tiny sound to create a huge ambient and rhythmic texture.

To get to and from a section or to vary what’s already in place, it’s worth treating your drum and melodic patterns as you would an audio loop. We’ve created a build by grabbing a beat of our drum’s MIDI clip and repeating it a few times at different speeds until the new section begins. You can also introduce melodic ideas by slowly looping their first half or quarter and eventually revealing the whole melody.

Playing around with ideas as loops can also help you to come up with interesting cross-layers and rhythms where the loops don’t overlap each other immediately. This is very effective in techno, with percussive sounds used to create more groove. We found that one of our deeper sections had space for a percussion sound, and looped it to an irregular measure that we looped every four bars.
Animated Backdrops And Textures

Another dynamic tool within a mix can be a manipulateable backdrop tone or drone. We’ve covered this already in a basic way for mood, pads and other sounds, but this time we want something that varies over the whole track. Grab a few of the main sounds from the track and copy them to a temporary area. You’ll want more melodic and noise-based sounds here than full rhythmic sections.

Now create a range of send effects on auxiliary channels to feed from these sounds and create multiple senses of depth. We like the high-end reverb plug-ins here, and also some distortion. If you set the reverb’s decay times long enough, you can create 32–64-bar sections that will have constantly changing tonality.

Now it’s time to make this sound manageable by exporting the main mix output to a new file. Load the exported file into your project and remove the parts used to make it. Next, explore pitch- and time-manipulation and don’t be afraid to re-edit and re-render your processing as necessary.

The backdrop needs to be fairly consistent in volume so there’s a constant bed of sound to carve some movement out of with further processing. With careful application of compression and other dynamics plug-ins, you can squash your decaying sound and turn it into solid levels of sound. You can repeat this process to create a second backdrop if you want more distinction between sections.

When you’ve created your textured backdrop audio files, lay them across the track and lower the level so you can only just tell they’re there when you mute them. This is how subtle this backdrop will be, but you should feel like a sense of size is lost from your mix when its muted. You can use the hide-and-reveal techniques covered in parts 1 and 2; we suggest a low-pass filter to enhance your arrangement.

We’ve run through the track while capturing MIDI control of the filter’s cutoff frequency so there’s a constant sense of movement in the track. We don’t want any repetition or looping, this backdrop track should help you create gradual builds to aid your arrangement, like an exponential raise of the cutoff towards the end of a section. Jam and play rhythmic ideas that bounce off the other content.