Genre Focus Tutorial: Producing Trance – Part 2
The second instalment of our series on creating a track entirely in the digital domain moves into the realms of composition and production techniques. Rob Boffard gets you started. Last time we used the trance genre to explore the basic building blocks of production, focusing on aspects such as the differences between audio and MIDI […]
The second instalment of our series on creating a track entirely in the digital domain moves into the realms of composition and production techniques. Rob Boffard gets you started.
Last time we used the trance genre to explore the basic building blocks of production, focusing on aspects such as the differences between audio and MIDI and how to analyse your track using level meters. Now that the basics have been well and truly tackled, we’re going to kick things up a notch and delve into the elements of trance itself.
Chances are you know a good bit about this style of music already. Although it has a lot of styles and sub-genres, they all have a few things in common: hypnotic, repetitive beats, moods that are either joyful and powerful or quite ominous, and fast tempos.
What we’re going to do in this tutorial is build a trance track from scratch using Pro Tools. To do that, we’re going to create four separate elements: a bass line, drum kit and two different types of lead. Although you will see exactly how these are constructed in the step-by-step section itself, there are a few general principles about the kind of sounds that make up a good trance track.
The first – and probably most important – is movement. When you have a genre that is repetitive by its very nature, you need to give the individual elements life or risk making a very boring track. All the best trance tunes take very straightforward elements and make them move around, using things like LFO, automation or even auto-pan. You’ll find yourself having to rely heavily on filters and enveloping, so make sure that you’ve got a synth you like using and know inside-out.
The second general principle is layering. Stacking sounds on top of each other is a technique that you’ll find in a lot of genres, but nowhere is it more useful than in trance. Again, this is a foil to the repetitive nature of the genre, but it’s all about creating interesting, complex sounds that paint an evocative soundscape. To that end, it’s worth familiarising yourself with certain effects that you’ll find yourself using again and again when creating trance: things like reverb and delay will quickly become your go-to solutions for when you need to spice up the sound. Used sparingly, they go a hell of a long way towards making things more interesting.
Lastly – and we trust this should be obvious – trance needs to be fairly fast. As a guideline, when you’re building a track you should start with the tempo at around 130BPM. This will give your track the energy and power it needs.
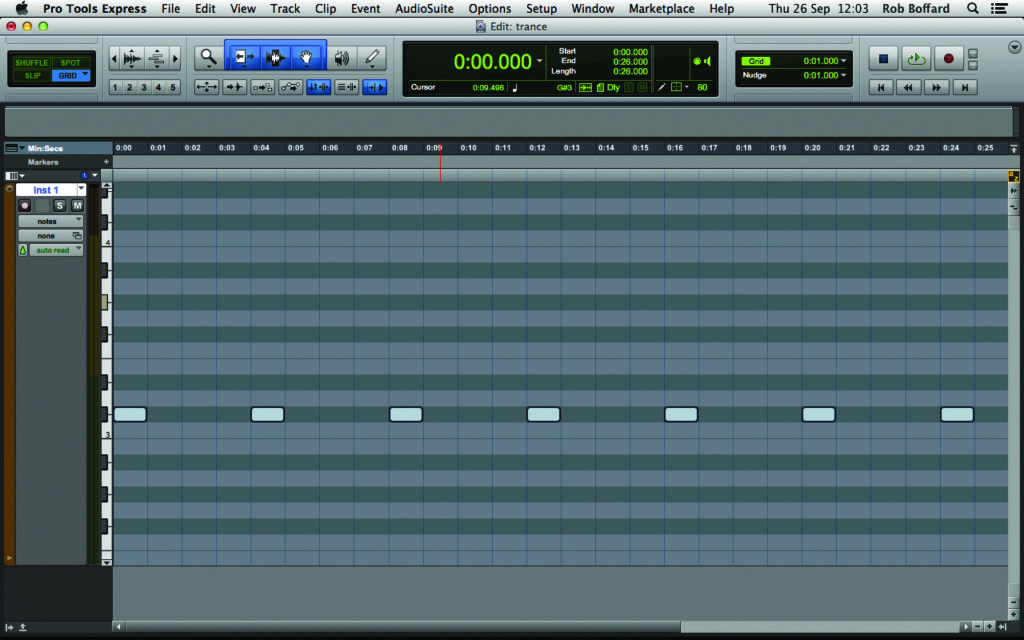
Building a Trance Track
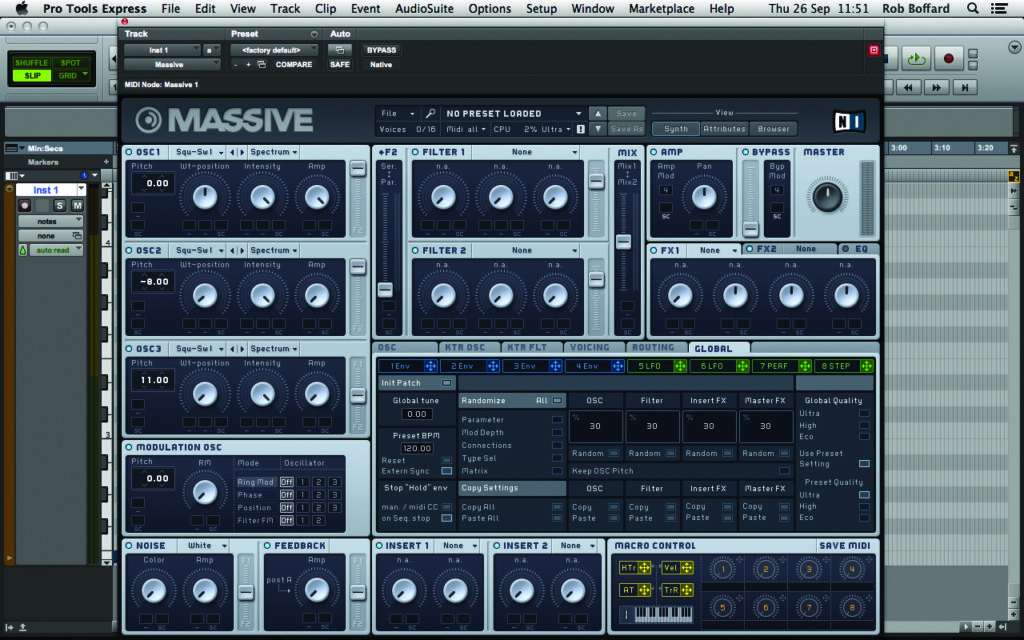
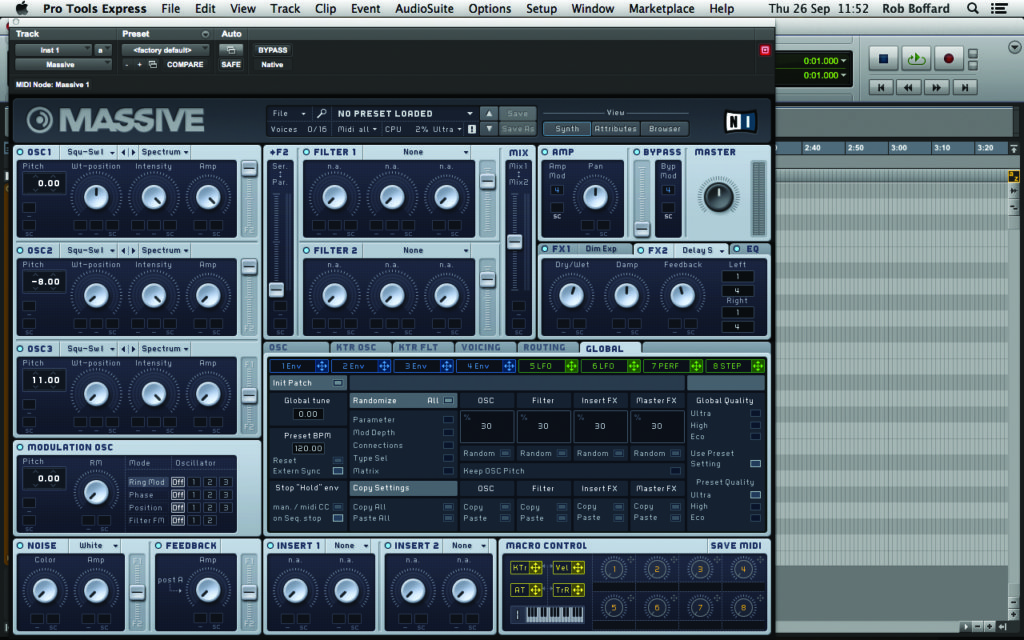
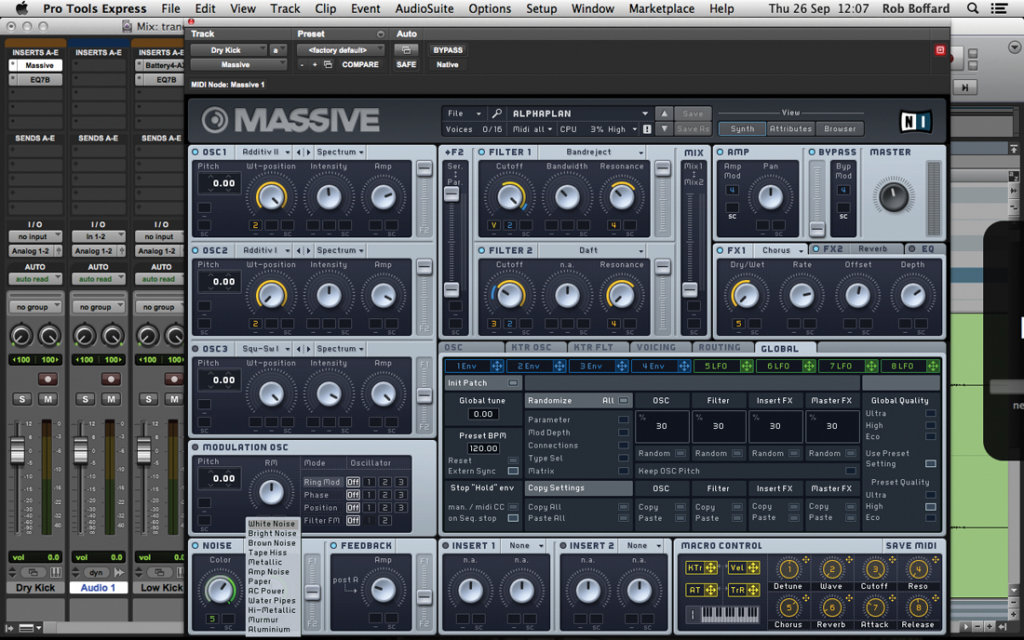
1: We’re going to build our trance track around a bass line. Loading up an instance of Native Instruments’ Massive, we dial up three square-saw II waves, which is the default setting. This will give us the foundation for our bass, but it needs a little something extra. Using another instance of the plug-in, we layer it with a sub bass sound.
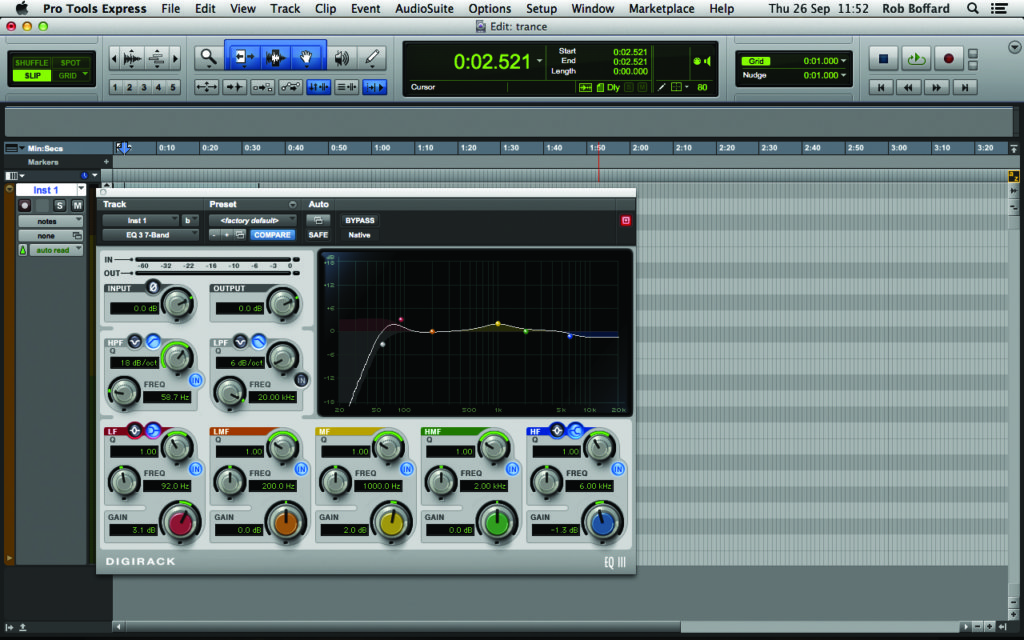
2: It’s very rare that you find static bass lines in trance. They’ve always got a nice range of movement, either from things like LFOs or through arpeggiation. We’ve gone for the latter here, making our bass jump around a little. We add a high-pass filter to our original synth and set up a dummy kick for it to sidechain to. We already know our kick is going to be four-to-the-floor, so that part’s easy.
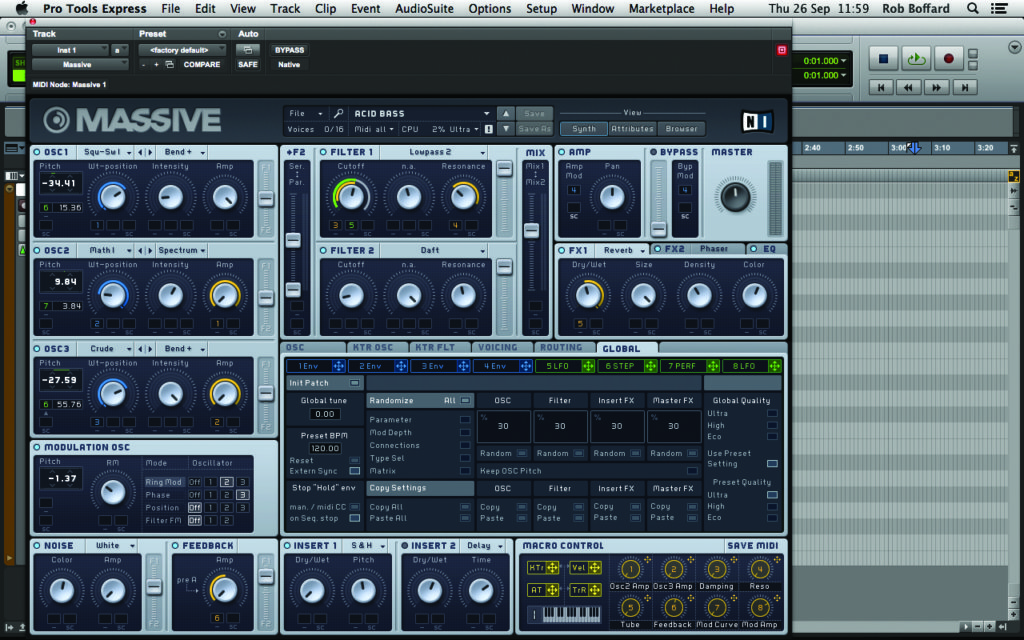
3: Almost there… This is starting to sound like really characteristic trance bass – moody, rumbling and full of character. To help things along, we widen the stereo field a bit and add a touch of delay. We need very little to really make this bass line stand out as all the ingredients are there.
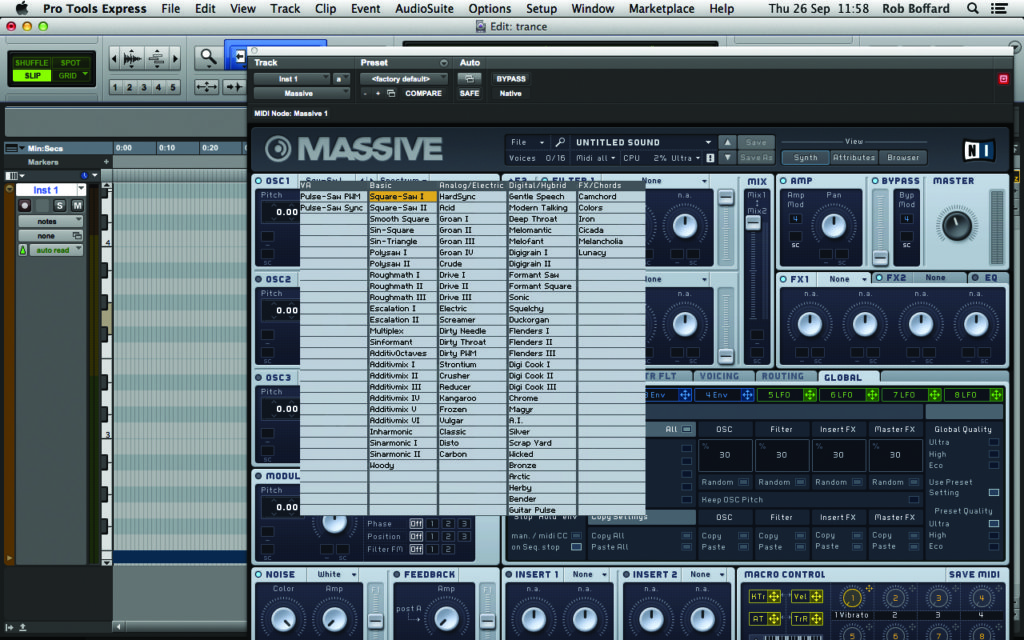
4: Time for the lead. Many trance tracks rely on a type of sound known as a supersaw synth. While this might sound like something complex and/or expensive, all it really is is a bunch of square-saw I waves layered on top of each other, for which we’re using Massive again. We spend some time mixing our wave outputs to get that characteristic ‘sharp’ sound.
5: As you may have guessed, layering is going to play a pretty large role here, too. We’ve duplicated our lead track, which gives us six saw waves to play with. It’s sounding really nice and buzzy now, so we dial in a little reverb to give it even more space and character. We don’t actually have our lead playing all the time – rather, it kicks in every second bar or so.
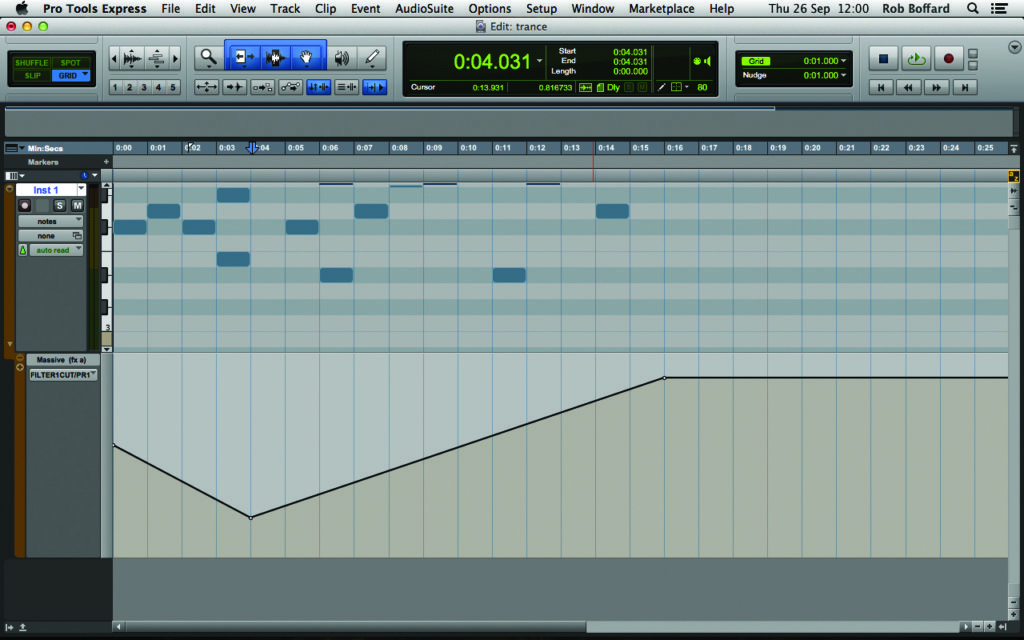
6: Movement is important here as well. However, we don’t want to arpeggiate the lead like we did with the bass. Instead, we automate the filter cut-off and resonance to change throughout the track, which transforms our lead from something in the background into a big, buzzy nightmare.

7: You shouldn’t restrict yourself to a single lead sound. We haven’t – in fact, we’ve added in a pad as well; a very bright sound which we’ve modulated with the filter using Pro Tools’ XPand2. Pads are perfect for trance. It takes a bit of careful EQ’ing to balance it with the lead, but between these sounds and the bass line we’ve got a very good mix already.
8: We’re going to build the drum sounds around our kick drum. Trance kicks have a characteristically ‘squelchy’ sound and usually come in a four-to-the-floor pattern. Chances are you’ve got an appropriate example lying around, but (depending on what plug-in you are using) you could always design your own.
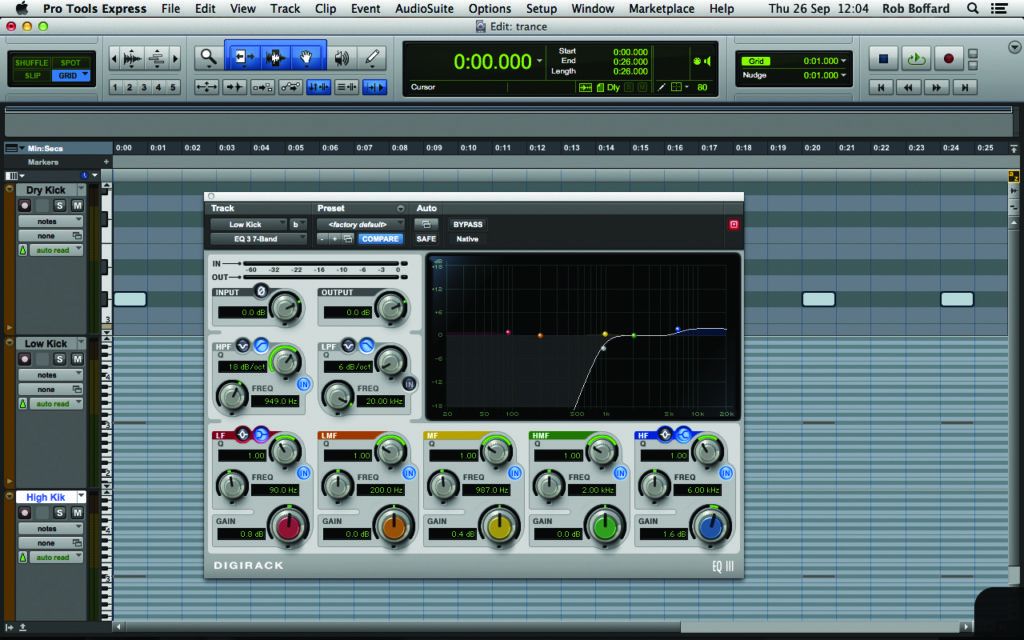
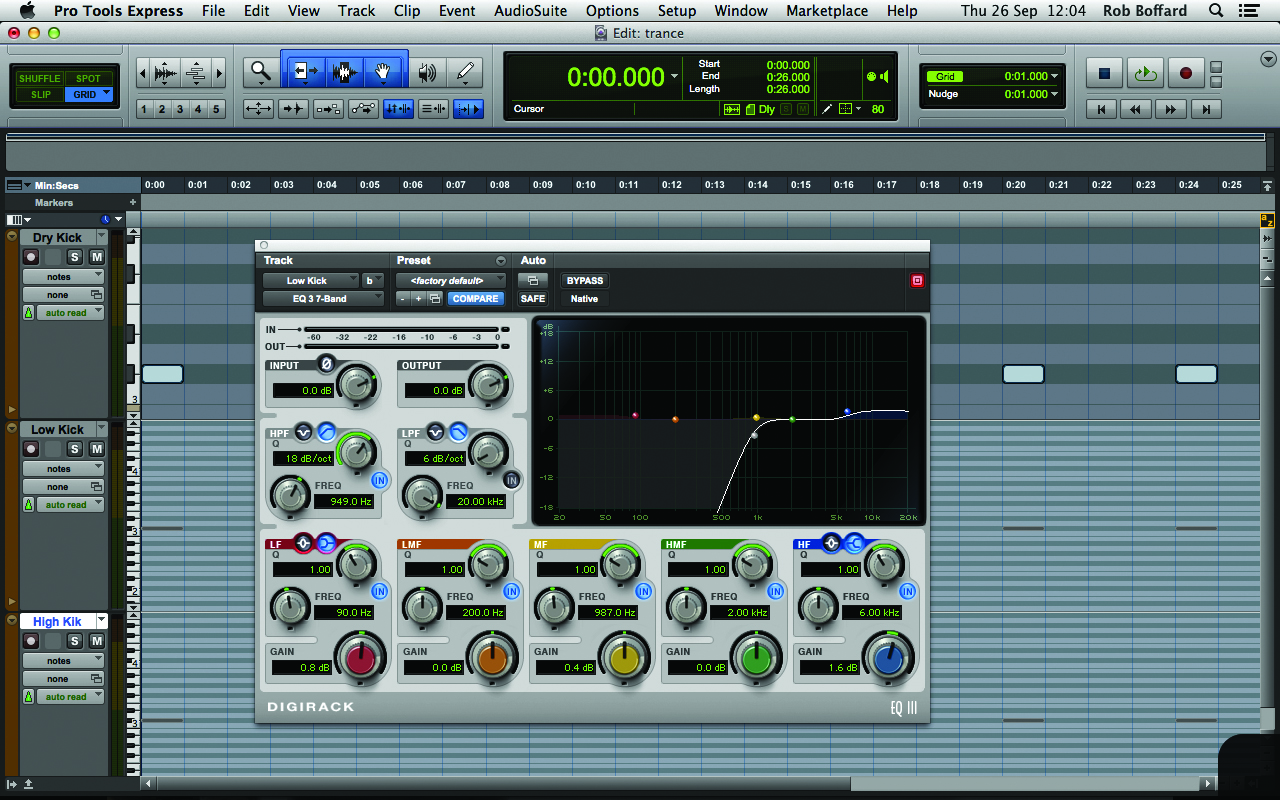
9: We like our squelchy kick, but it sounds a bit weedy compared to our rumbling bass. We duplicate it twice. Leaving the original completely dry, we EQ all the highs out of one copy and all the lows out of the other. By mixing these together we can get a much more powerful and distinctive kick sound that will work really well in the context of the track.
10: You can use the same tactic for building up snare sounds. In addition, a nice tactic to add flavour to the drums is to put some light percussion breaks behind them. These can be really low in the mix, but they’ll still give the drums a lot of energy and movement.
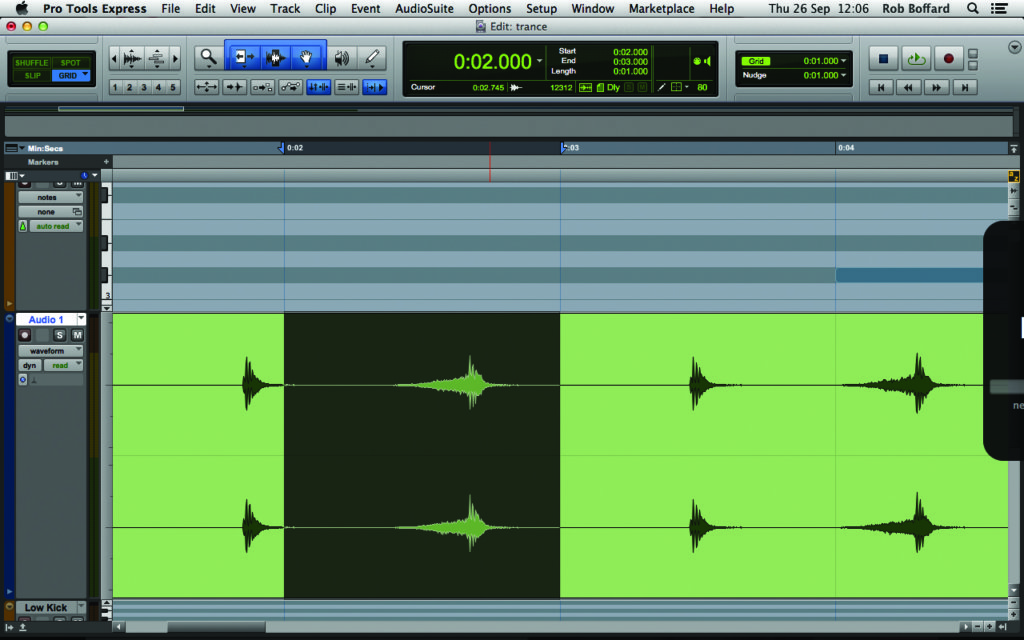
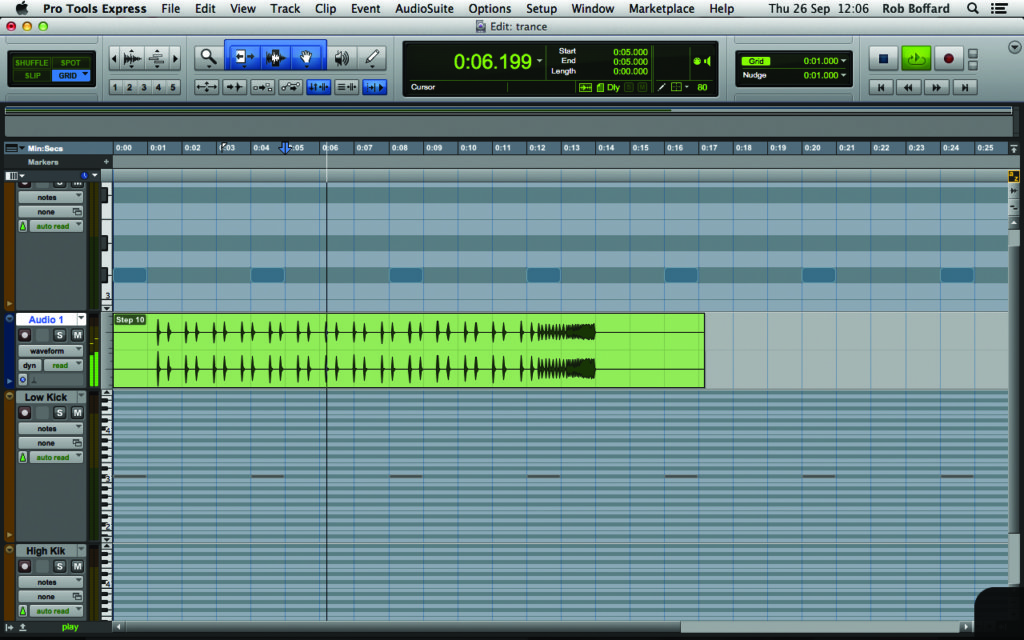
11: Our snare still needs a little something extra, so we add a clap on top of it. This gives us a chance to throw in a classic trance sound: a reverse reverb. We put a long, wet reverb on the clap, export it, import it back into our session, reverse it, shorten and fade it, then mix it in with the original clap sound.
12: We’ve got a really solid trance track going on here now. There are plenty of other distinct genre sounds to explore, though. When you’re making your own tracks, you might want to experiment with things like white-noise risers, which are really nothing more than noise generators that have been filtered.