Get Hands-On With Mastering: Plug-In and Go! (Part 3)
Sorry to leave you on tenterhooks there. Let’s pick up where we left off and continue exploring the plug-in chain before we finally mix down those tracks. Be sure to read part 1 and part 2 of our guide to mastering. Imaging Stereo-widen the mix, to make it sound lush and expansive. Too little, and […]
Sorry to leave you on tenterhooks there. Let’s pick up where we left off and continue exploring the plug-in chain before we finally mix down those tracks. Be sure to read part 1 and part 2 of our guide to mastering.
Imaging
Stereo-widen the mix, to make it sound lush and expansive. Too little, and the image will sound flat and uninteresting; too much, and the image will sound hollow and unintelligible. Use a dedicated plug-in, such as the excellent iZotope Imager, to widen the mix – keep the bass frequencies pretty central (mono) in the mix, especially if you’re pressing to vinyl.
Stereo width on the low bass end can cause the needle to jump out of the groove. Widen from 150Hz-plus, but be subtle, as there is a trade-off – as the stereo component goes up, the relative mono component comes down, which can lead to a lifeless mix.
We need a central frequency component to anchor the sound. Listen to the mix in mono, to check it has weight through the frequencies. Also, you can use an EQ with mid/side functionality, to boost the side aspect or cut the mid aspect to widen at a frequency range. Cubase’s built in Frequency plug-in is great for this.
Exciter
It’s so exciting, and I just can’t hide it – Exciters add selective distortion to the sound which, when used right, can add a touch of grunge in the midrange and sizzle and presence at the high-mids to highs. Don’t excite the bass, unless you want to hear distortion artifacts on your kick and bass fundamentals.
Go easy on this – too much is fatiguing. Try iZotope’s Exciter, for precision processing. Also, tape emulations add in distortion harmonics, which can create warmth and saturation. I love the Steinberg Vintage Open Deck for the warm sonics of tape saturation.
Reverb
If the record is lacking cohesion, then a little reverb can put all the instruments in the same space and help glue the mix together. This is purely optional, as less is best, and clean mixes are punchy and ‘in your face’. EQ down the bass and low mids on the reverb to avoid muddiness. Use subtly.
Great software
iZotop Ozone 7
This stellar plug-in also comes with all of its modules as separate plug-ins.
Waves L3-16
This multi-band maximiser is superb. A winner for creating mighty, phat mixes.
Yamaha/Steniberg RND Portico EQ
Modelled on a Neve EQ, this adds character and a beautiful high-end sheen.
Compression
Dynamic range is the difference between the loud and soft passages in a recording. Compression makes the louder passages quieter, decreasing the dynamic range and helping make the mix sound fatter and more exciting, bringing details to life and evening out the mix. However, compress the mix too much, and all the transient energy (the thump of the kick, the crack of the snare, the attack of a synth…) is lost from your mix, rendering it lacklustre.
By necessity, radio really squashes the dynamic range, so that it can sound at a steady level on your car system. If you listen to classical music, which can have a very high dynamic range, the quiet passages may be drowned out by the noise of the car.Cinema, by contrast, has a huge dynamic range, for impact. In-flight entertainment has a very low dynamic range, so that the audio can be heard above the plane engines and screaming children.
If the audio material has very loud passages, we can manually ride the fader to reduce the volume, or boost the gain of the quiet passages. This is manual compression. We can also use single- or multi-band, or a combination. Single-band compression, like the famous SSL mix-buss compressor, affects the whole frequency range simultaneously.
- Ratios Try starting with a compression ratio of 1.5:1 to 2.5:1.
- Threshold Adjust your threshold until you’re getting maximum 1-4dB gain reduction on the loudest sections. Loop your loudest section for ease.
- Soft/Hard Knee Activate the soft or hard knee if you have one – the knee sweetens the compression effect around the threshold.
- Attack Mastering attack ranges are typically 50-300ms. A longer attack time will allow the transients of the mix to pass through. Transients add punch and life, resulting in a more aggressive sound. Short attacks give a smoother sound. Start off with a long attack, and decrease until the mix loses punch, especially on the kick and snare.
- Release Typical release times are 50-500ms. Faster release times give ‘pump’, aggression and grit, and slower times smooth out the track. Play with this until it sounds perfect to your ears.
Multi-band compression splits the audio into several bands which can be adjusted individually. The bands can also be adjusted in gain. Using the same techniques as single-band, settings can be dialled in to make the bass, mids and highs individually smoother or more aggressive. Also, experiment with dynamic EQ plug-ins, which combine EQ and compression for precise control over the sonic signature.
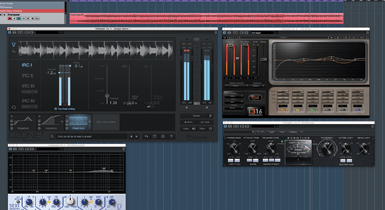
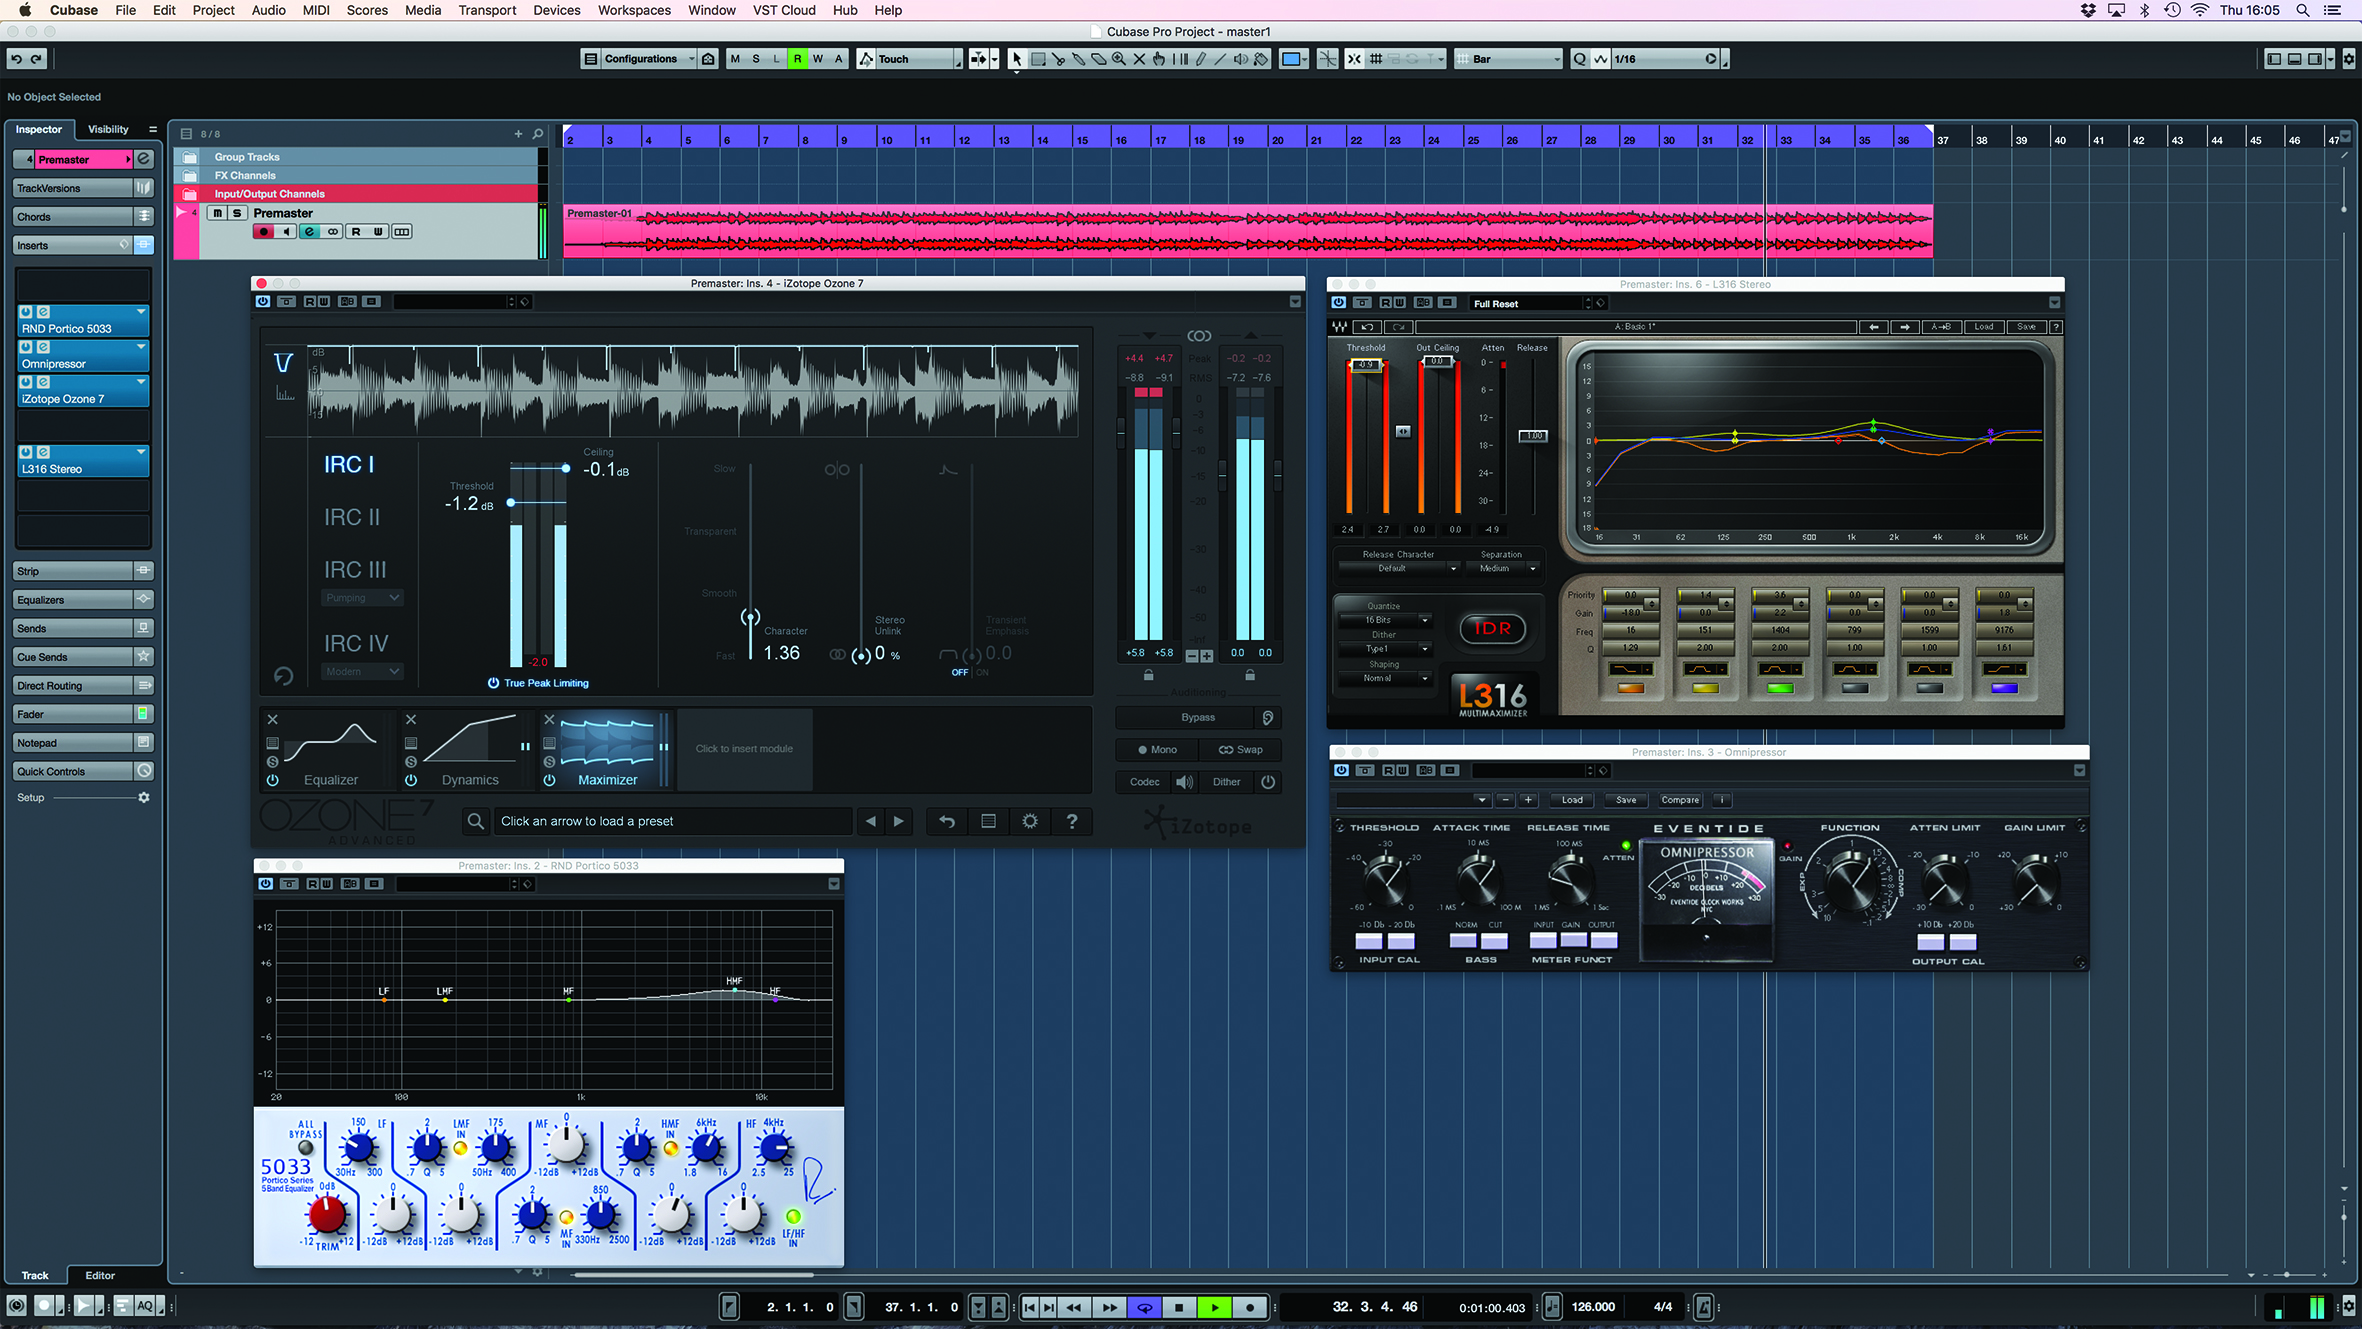
Mastering with iZotope Ozone
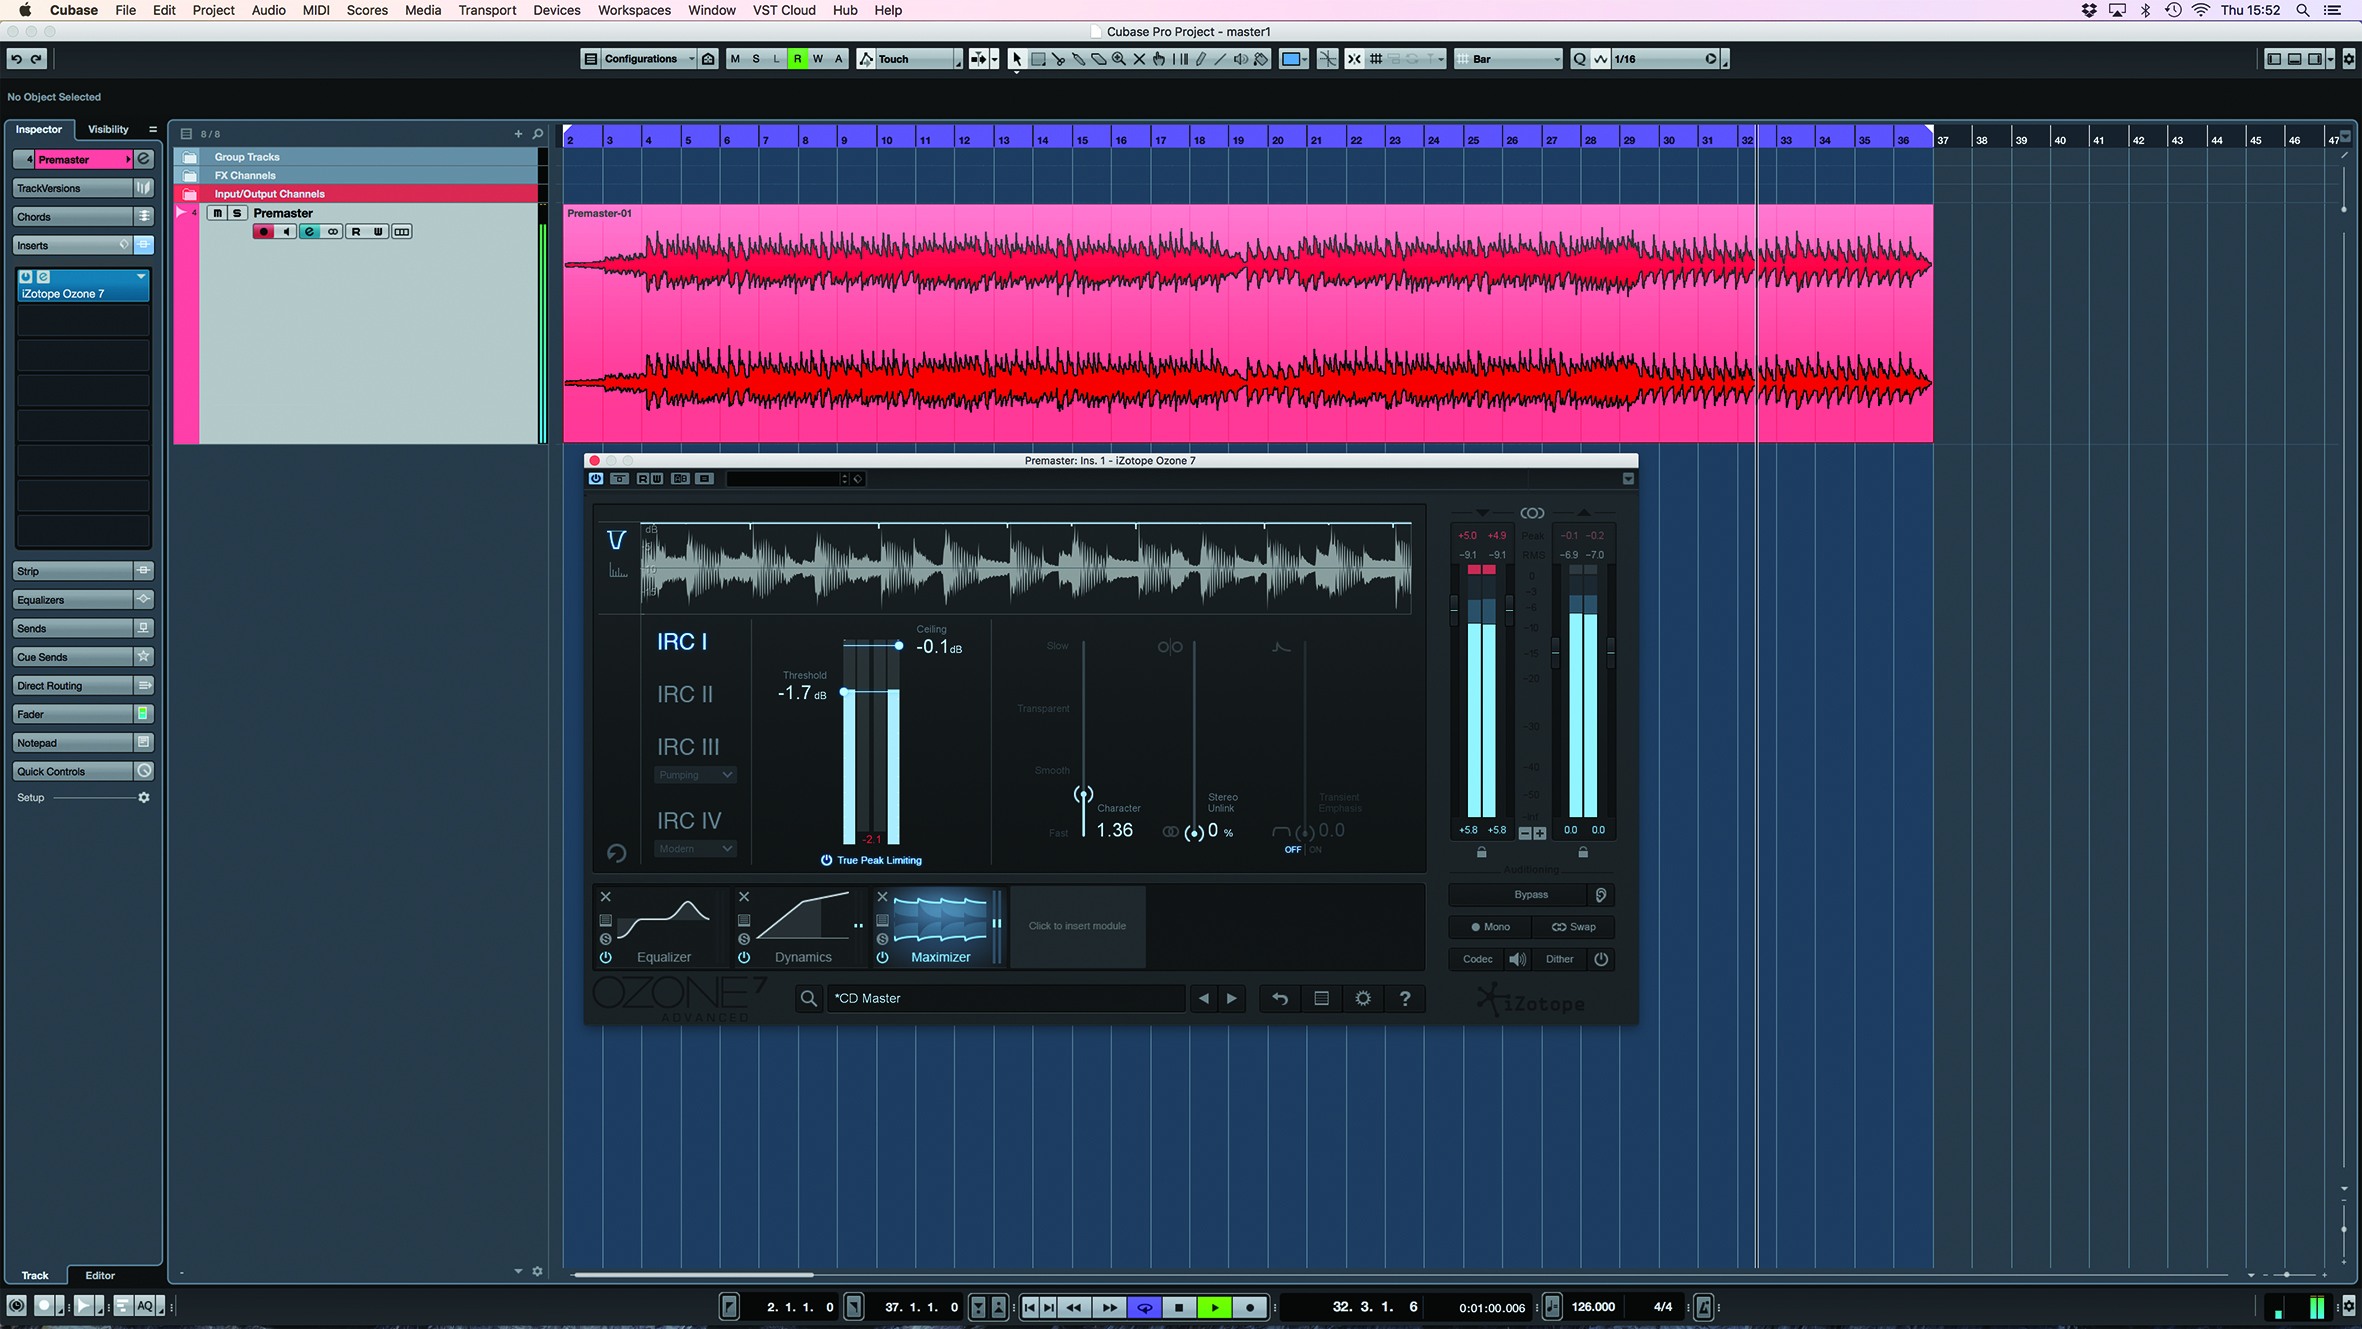
1. This is an excellent plug-in. I selected the CD Master preset, changed the EQ slightly and bought down the Limiter threshold until I got -9LUFS. It took about 30 seconds to do, and sounds amazing.
2. This is a very involved and sophisticated plug-in with Vintage EQ and Limiter, Tape Emulation, Imaging, Exciter, Dynamic EQ, the list goes on. I also find this an invaluable mix tool.
Essential hardware
The Clarity M from TC Electronics frees up valuable screen real estate to give you a straightforward read out of your mastering levels. I find the most useful parameter is the ‘sliding 10 sec’ LUFS meter, which quickly shows me the loudness of my master. With this on my desktop, my workflow has improved considerably.
Limit
Our tunes need to be of a comparable volume to other tunes in the genre, otherwise they’ll be perceived to lack energy. The level, or loudness, of a recording is measured in LUFS (Loudness Units Relative To Full Scale) or dBFS (Decibels Relative To Full Scale). These are all negative values, with 0 being absolute maximum. The higher the LUFS, the louder the master; values of -7 and above can sound distorted and fatiguing. Lower LUFS values allow transients to come through, making the mix punchy. Play your loudest section and adjust the threshold till you get the desired amount of limiting. Here are some guidelines:
Classical -18LUFS
Jazz -9LUFS
Pop -8LUFS
Tunes on a recent house remix package -8LUFS
Hip-hop and aggressive genres -7LUFS
Now we are moving into nasty distortion and degradation of your carefully crafted song. Watch out, as inter sample peaks can distort on certain playback systems, so be sure to check the recording quality if pushing to aggressive values with a good level meter, like TC Electronic Clarity M. It’s good practice to set the limiter ceiling to -0.1dB, as some distortion can creep into some systems being driven to 0dB. I particularly love the Waves L3-16 Multimaximizer, which limits the sound using a 16-EQ-band priority basis: very clever and powerful.
Dither
If mixing down at CD quality, mix down to WAV 16-bit 44.1kHz. Set dithering to 16-bit, to get rid of low-level noise produced when the bit-rate is reduced. You can also export straight to MP3, filling in your ID information; however, MP3 is degraded sound quality, so think about having a WAV as your sacred master. Set your left and right locators around your audio, and mix down.
Celebrate
You look good, your music sounds awesome, you’re gonna be big – time to celebrate with a cup of tea, or whatever floats your boat.