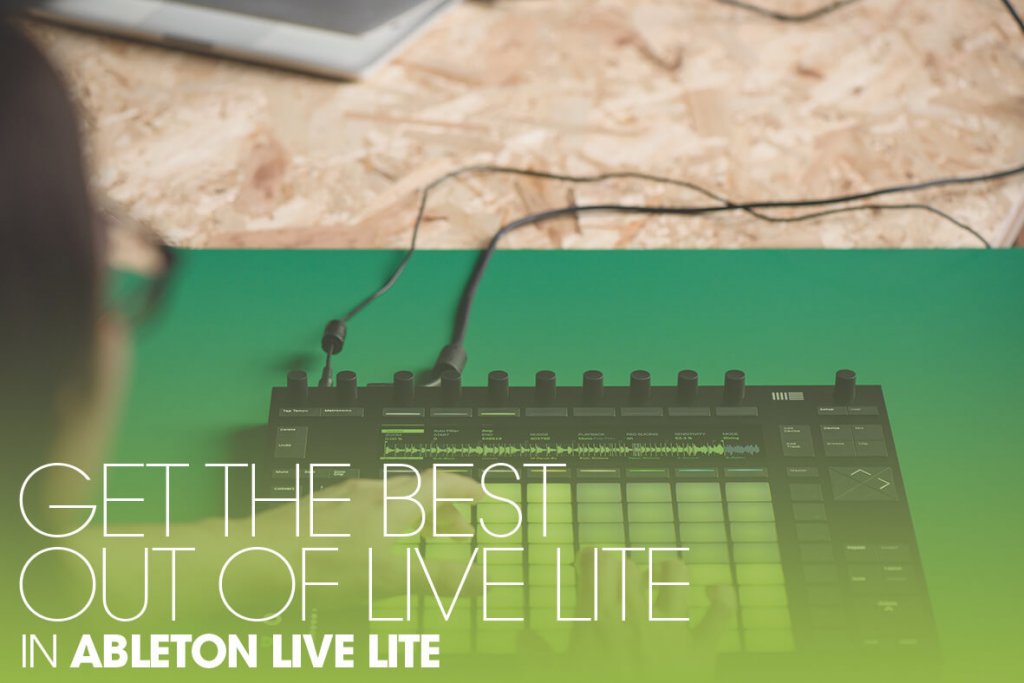
How to get the best out of Ableton Live Lite & Intro
When talking about Ableton, we tend to focus on Live Suite, with all its bells and whistles. This time around Martin Delaney gives some love to its under-appreciated ‘limited’ versions – Live Intro and Lite… When we’re discussing Ableton Live, it’s easy to fixate on Live 10 Suite, it’s the best option – if you […]
When talking about Ableton, we tend to focus on Live Suite, with all its bells and whistles. This time around Martin Delaney gives some love to its under-appreciated ‘limited’ versions – Live Intro and Lite…
When we’re discussing Ableton Live, it’s easy to fixate on Live 10 Suite, it’s the best option – if you can afford it. Below that is Live 10 Standard, still well-featured but without some of the extras. Then there’s the very affordable Live 10 Intro, which although limited is still totally worthwhile. Still, there’s another one, Live Lite, which is licensed to manufacturers so they can add value to product bundles.
Over the years, Lite’s been packaged with all kinds of controllers and interfaces; currently, you’ll find it bundled with products from names such as Arturia, Novation, Focusrite and Korg. Hopefully this will clear up some confusion about the different versions and encourage any non-users reading this to wonder if maybe they’ve got a version of Lite already, or remember that they registered it long ago but haven’t got round to using it!
Understanding your options
Live Intro and Lite are both limited versions, but they’re not the same. Lite is slightly more restricted and only available with authorisation from a third party product purchase, while Intro is available as a full separate purchase, or included with Push. They both latch into the Ableton ecosystem; either one puts you on the upgrade path to fuller editions of Live. Signing in to your account should tell you what you need to know about upgrades, but if not, send an email to Ableton’s support folks.
You can add more content in the form of Live Packs, and all of Live’s instruments are available as individual purchases. Lite and Intro aren’t fully loaded with instruments and effects, but they’re compatible with AU and VST plug-ins, so you can take full advantage of the many plug-ins from other providers. Intro is now 64-bit only, and Lite will probably follow soon, so a lot of older unsupported free plug-ins won’t work anymore.
Combining Push and Simpler
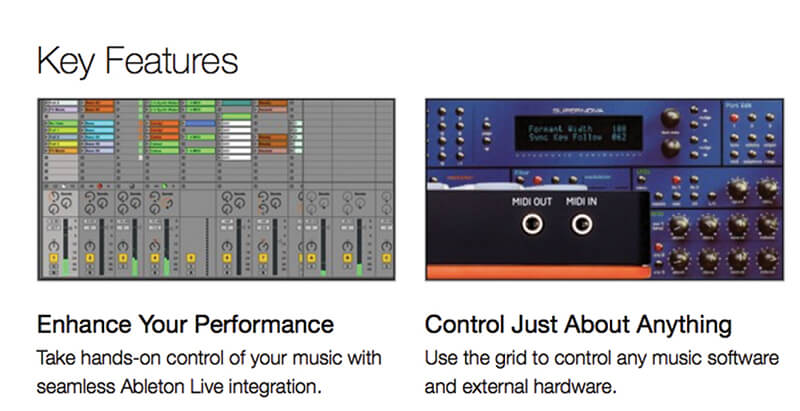
Buying Push gets you a licence for Intro as well. Intro features racks and effects of course, but the most critical component as far as Push goes, is Simpler. During the life span of Live 9, Simpler has turned into quite a little monster, with slicing modes, new filters, and the ability to retain warp markers on any clips that are loaded. Push can access every control on Simpler, so you can record, browse, load, and chop samples directly from the hardware, and it looks great on the colourful Push 2 display.
Even without further expansion, Push and Simpler combine to make a powerful production and performance instrument. If you’re not a Push user, Lite and Intro also have Live’s usual control surface support, so it’s easy to use any control surface that’s supported with Live’s Instant Mapping, or to use MIDI Map Mode to create custom assignments.
Exactly how stripped-down are these versions, and how do they differ from each other? Well, currently they’re more different than usual, because Live Intro is up-to-date with version 10, while Lite is still at 9, as stated earlier.
As it goes right now, Live 10 Intro features 2 instruments, 21 audio effects, 8 MIDI effects, drum, effect, and instrument racks, 16 tracks total, 8 scenes, 2 return tracks, 4 mono audio channels in (and 4 out), and the Chop And Swing and Loopmasters Mixtape Live Packs.
There are key features it doesn’t include, such as Max For Live, video import, grooves, and the external instrument device. Currently, Live 9 Lite features 2 instruments, 11 audio effects, 8 MIDI effects, drum, effect and instrument racks, 8 tracks total, 8 scenes, 2 return tracks, 4 mono audio channels in (and 4 out).
Lite might currently be out of step with Intro, but it is up to date as far as 9 goes, including recent features such as Ableton Link. Again it lacks the things that Intro 10 lacks – video, grooves, and so on.
If you don’t want to upgrade to Standard or Suite, but there’s a particular Ableton instrument you want, you can buy it individually, and the one I recommend to everybody is Operator; it’s such a powerful synth and there’s a library of presets to get you going. Time will tell if Live 10’s Wavetable achieves similar status, another synth that can bring great results immediately, while rewarding deeper exploration. If you want video in your Live sets, you could use a third party plug-in like RemixVideo, it installs just like any AU or VST.
Ultimately, Lite and Intro are functional enough to use in the home or studio and even on stage. Get jamming and playing live sets, then expand and upgrade as your ambitions and experience grow.
Get the best out of Live Lite: step-by-step
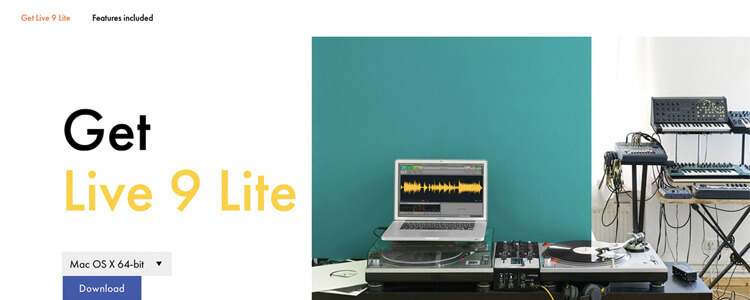
1. Hey, do you remember that MIDI controller or interface you got, way back? Have you still got the box? Check inside for a card that gives you a free licence for Ableton Live Lite.
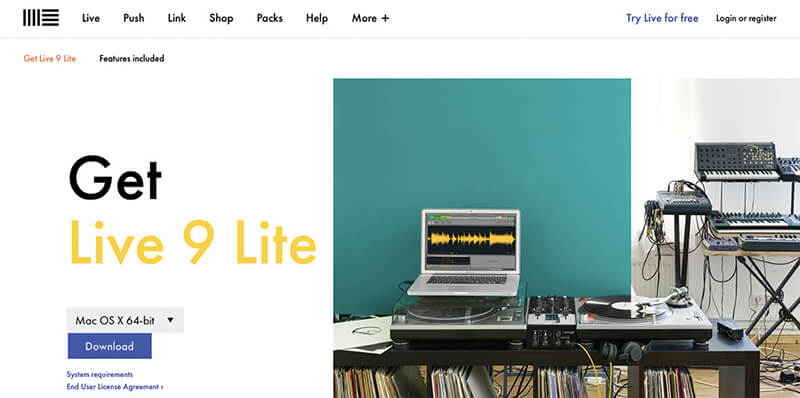
2. Go online to www.ableton.com and download your copy of Lite – you’ll be provided with the most recent possible version. While you’re there look for any information about upgrade pricing.
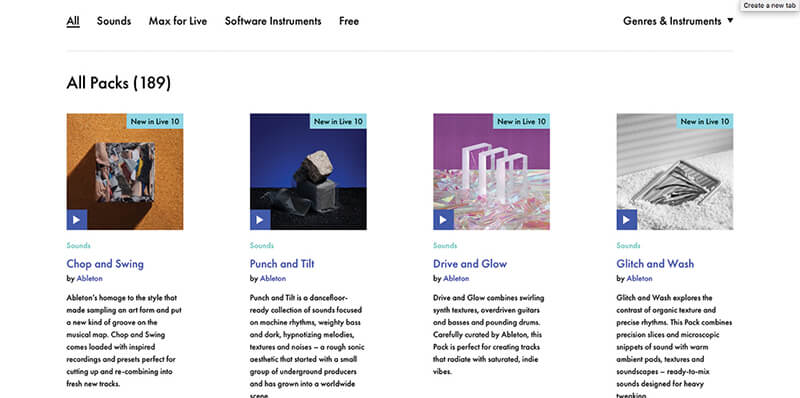
3. Look out for any extra free content beyond the application itself – like more Live Packs, for example. Grab it all – you can uninstall later if you find you’re not using the extras.

Live on a budget Live 10 Suite plus a Push is an expensive proposition. You can get a great Live experience for less by purchasing a controller like Novation’s Launchpad or Akai’s APC Mini; both include Live Lite. Throw in an affordable soundcard, some headphones and monitors, and you’re all set.
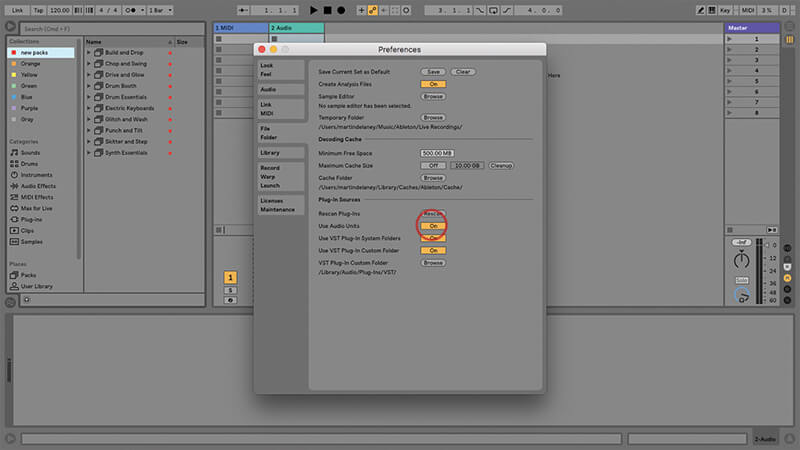
4. Once that’s all done, launch Live for the first time and authorise it. If you’re on a Mac, go into Live’s Preferences and under File/Folder, select ‘Use Audio Units’, then close Preferences.
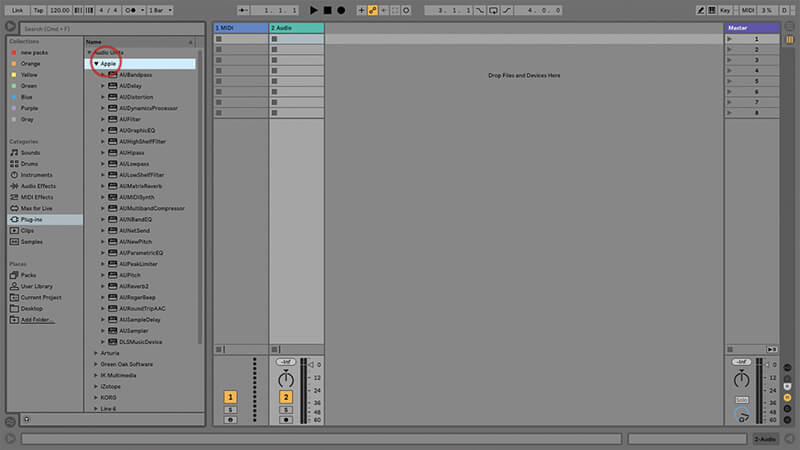
5. Open the browser at the left of the screen, and choose ‘Plug-Ins’ in the left column, then Audio Units in the right column, and you should see a list of installed Apple Audio Unit effects.
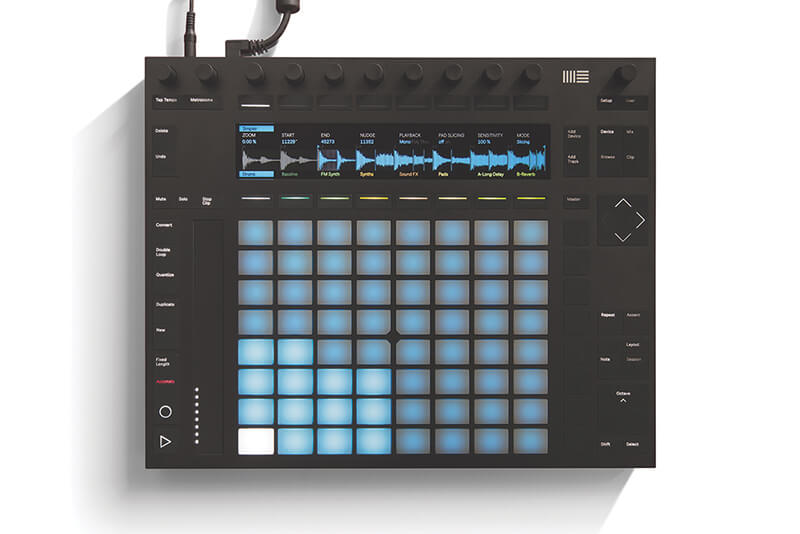
6. If you purchased Push, that includes Live Intro. Having installed the software, connect your Push. Keep an eye on the Push display, because it’ll prompt you to disconnect/reconnect if it’s running any firmware updates.