The Lazy Guide to Ableton Live: Part 1 – The Template Factor
Live is obviously excellent at looping clips – that’s what it’s built on, after all – but it’s all too easy to get bogged down in rigid looping hell. Fortunately, it’s almost as easy not to. MusicTech has an easy guide to creative clip use and how to get creative… fast! In this first part […]

Live is obviously excellent at looping clips – that’s what it’s built on, after all – but it’s all too easy to get bogged down in rigid looping hell. Fortunately, it’s almost as easy not to. MusicTech has an easy guide to creative clip use and how to get creative… fast! In this first part we look at templates…
We did argue over whether to call this ‘The Lazy Person’s Guide To Live’, as we thought it could be a little too demeaning. But, let’s face it, using a DAW is basically using technology as a shortcut, so all of us who use DAWs are either lazy, or – and we certainly prefer this option – using technology to realise our creative dreams more quickly. Yes, that’s good – we’ll stick to that!
So the crux of this tutorial is that the main problem with technology and DAWs is that it’s very easy to fall in to some bad habits. You might, for example, just use the features available in a non-creative way and end up with something quite tedious.
Live suffers especially from this, largely down to its central selling point of being able to play loops in time, so that everything sounds pretty good, very quickly. This is both its main draw but also a feature which might make you think: ‘Sounds okay, let’s just run with that…’
We want more than ‘okay’! The beauty of Live is the not-so-hidden depths that you can explore to take these looped ideas onwards and upwards. A few tweaks here and there and you suddenly introduce a dynamic to your tune that gives it life. Add a bit of variation to your clips, either by changing the notes within them, the sounds they trigger, or their start and end points and you suddenly have a lot more variation and creativity going on.
And you know what the best bit of all of this is? It’s pretty easy to accomplish! It’s why we’ve labelled this with a ‘Beginner’ tag although if we were betting people, we’d guess that there are people who consider themselves intermediate and expert users who choose not to use some of these shortcuts – as they might not be considered clever – or they don’t know about them. Either way, we feel that all users should give this workshop a spin and we’re sure that everyone will discover, or rediscover, at least one choice short cut…
The Template Factor
The first feature we’ll cover is less about creative looping and arranging, but more about making sure you have a good base to start with and covers how to set up a Default Set or Template.
We can’t recommend having one enough. When we started experimenting with loading in a standard Set when starting a new project, we were a little sceptical. 10 tracks later, 10 times more than we’d have previously produced in the same time period, we were hooked.
The idea is that you start with a favourite set of instruments, effects, and even audio, each time you start to compose. You’ll end up moving between clips and scenes faster and putting tunes together faster.
You might think that having the same set of sounds to start with is limiting, but actually setting constraints sometimes enhances creativity. We can certainly tell you that our 10 tracks don’t sound anywhere near as similar to each other as you might think. Another way to look at it is that your Default Set is your scratch pad for melodies. You can return to the ingredients later once you have some basic ideas, change sounds, change percussion loops, change everything – just use the Default Set to capture the vibe!
The Template Factor – Step-by-Step
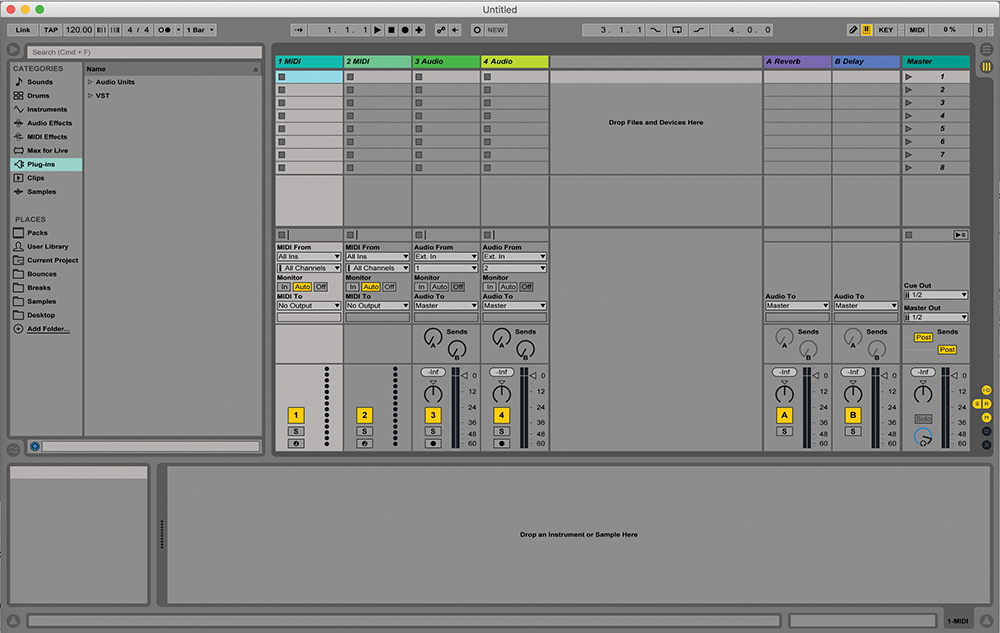
1: Whenever you start a new Set in Live you could, of course, hit Cmnd>N and start from scratch. It’s a nice empty project that you have to start from scratch with, and looks like a lot of effort to fill…
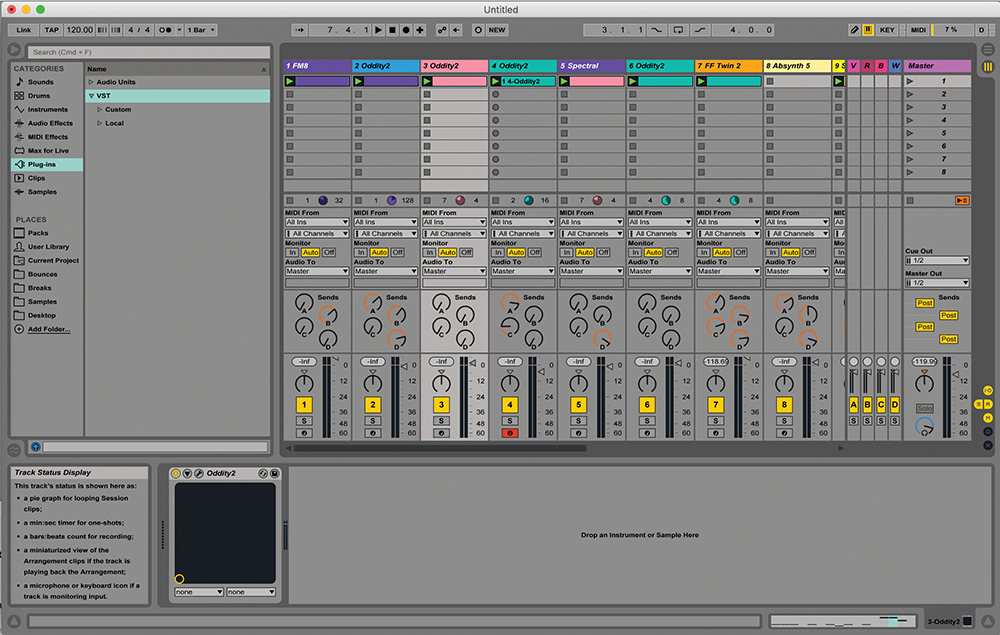
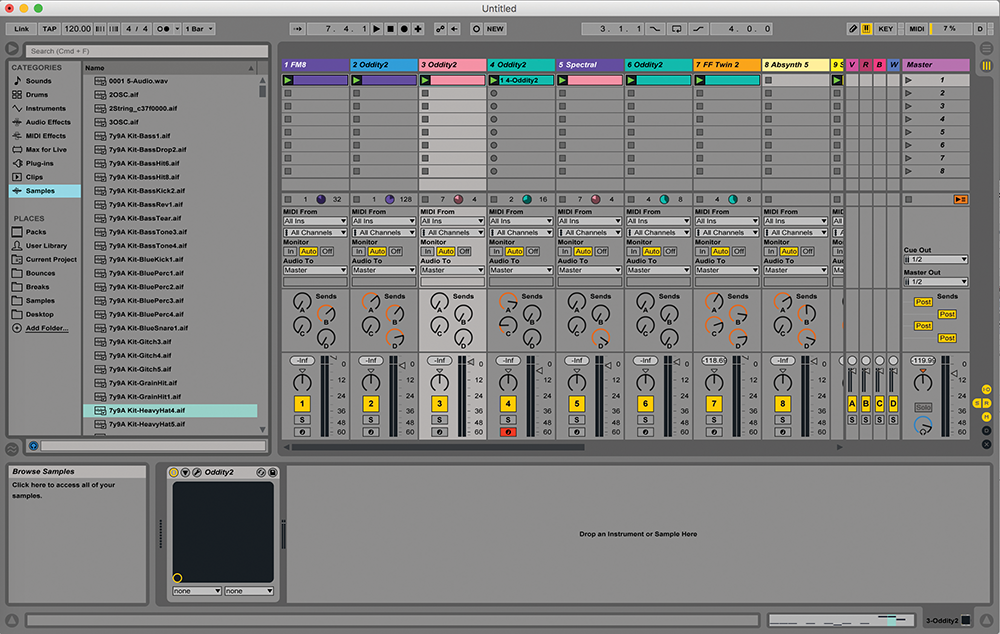
2: Instead, load up a project that you have been working on, and are happy with the range of sounds and effects already loaded in. With tweaking you could make this the new Default new file that loads.
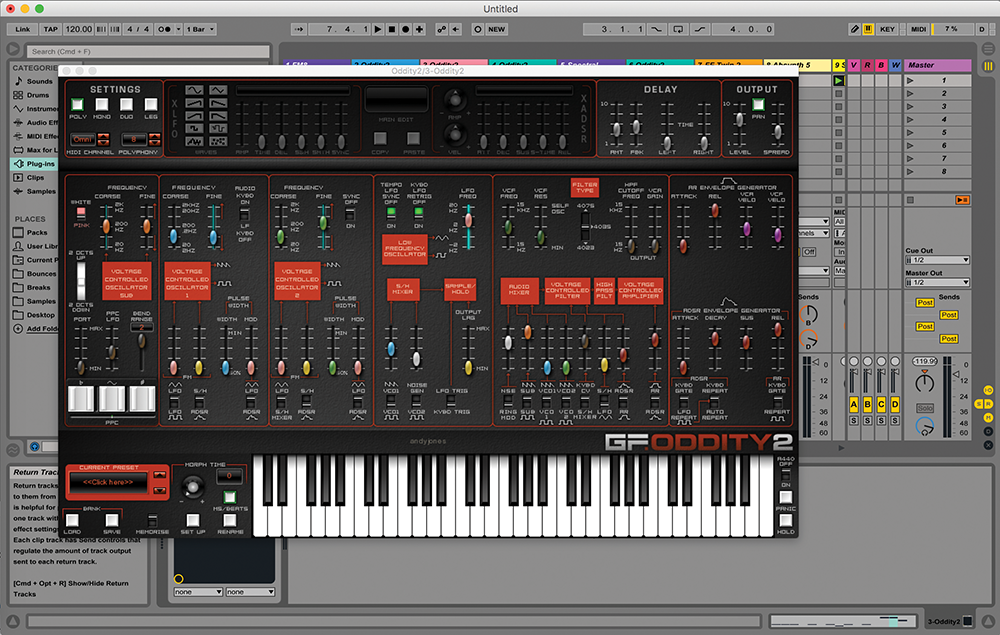
3: If you haven’t got one that you are happy with, simply load in one and build it up from scratch. Put your favourite instruments on different channels, line up effects, even load in some clip melodies if you like…
4: You could even load in a selection of beats, maybe some 4/4 beats if you’re a house musician so you know you’ve always got something reliable to underpin your new project.
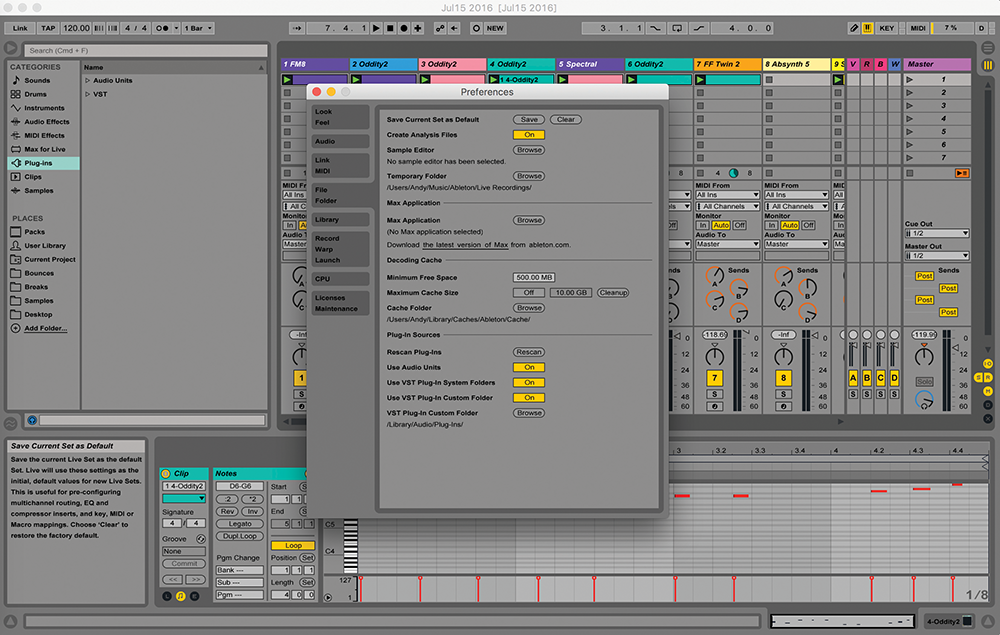
5: When you’re happy that you have all of your favourite instruments, effects and audio clips loaded in, click Live’s Preferences/File Folder tab and the ‘Save Current Set As Default’. It will now load in whenever you start a new project.
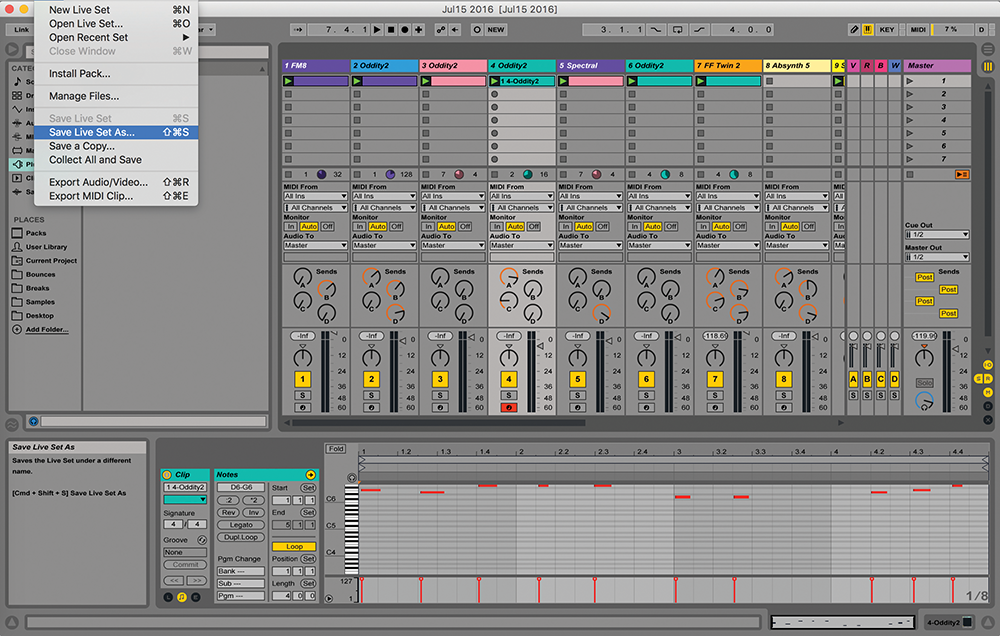
6: Make sure to Save Your Live Set As something new at this point, otherwise your Default File may be altered as you explore new tangents and ideas with this notepad way of working.
