Logic Tutorial: The Compressor – Step-by-Step
Mark Cousins shows you the most effective ways of using Logic Pro’s compressor… 1: Load an instance of the Compressor plug-in across the drums on track 1, or a track in your mix. At the top you can select the desired compression model. Platinum Digital is ‘clean’, while the other designs add various forms of […]
Mark Cousins shows you the most effective ways of using Logic Pro’s compressor…
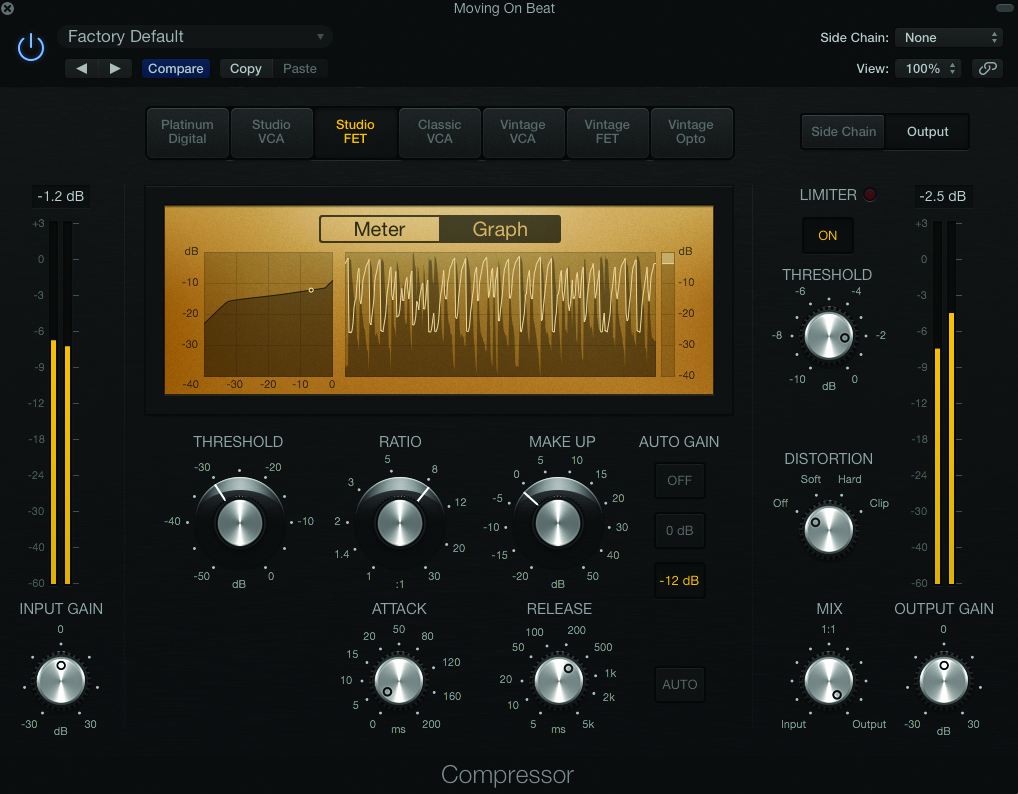
1: Load an instance of the Compressor plug-in across the drums on track 1, or a track in your mix. At the top you can select the desired compression model. Platinum Digital is ‘clean’, while the other designs add various forms of analogue-like behaviour.
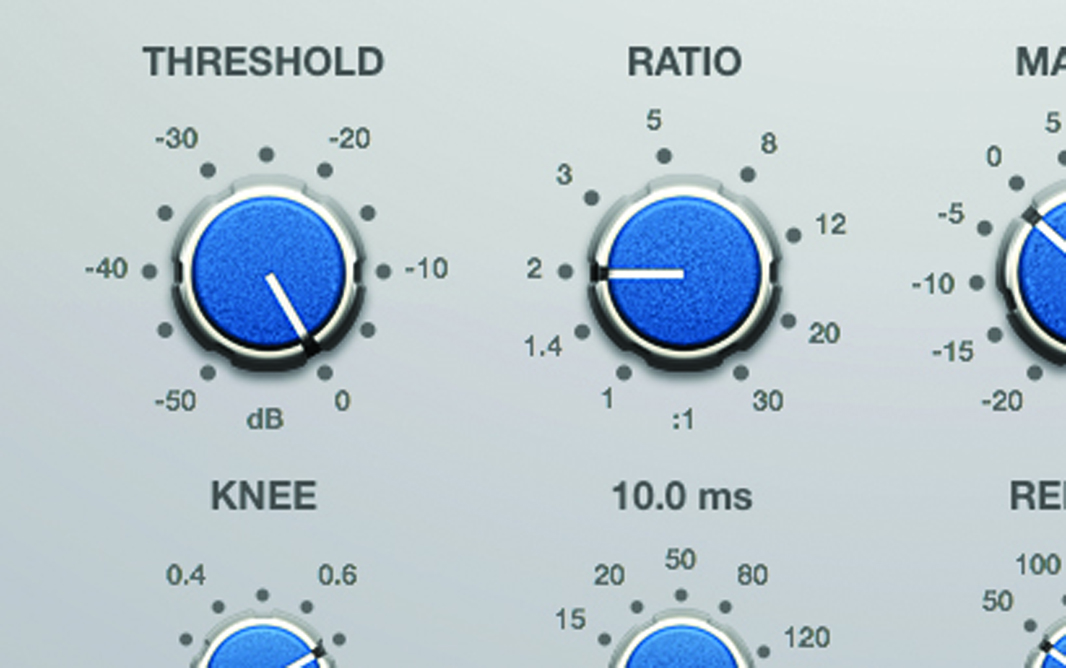
2: The key characteristics of compression are formed by the interaction of Threshold and Ratio. Start by increasing Threshold to 0dB and then select your desired ratio. 2:1 is a good medium starting point for a transparent and effective sounding compression.

3: With the Ratio established, lower the Threshold and notice how Gain Reduction (measured on the VU meter) starts to be applied. The lower the threshold, the more compression (or Gain Reduction) is applied, resulting in a kit that sounds increasingly ‘squashed’.

4: As a point of comparison, try the same setup using a higher Ratio, like 8:1. In this example, note how much more Gain Reduction is being applied in response to the signal exceeding the given Threshold. The result is a more heavy-handed compression.
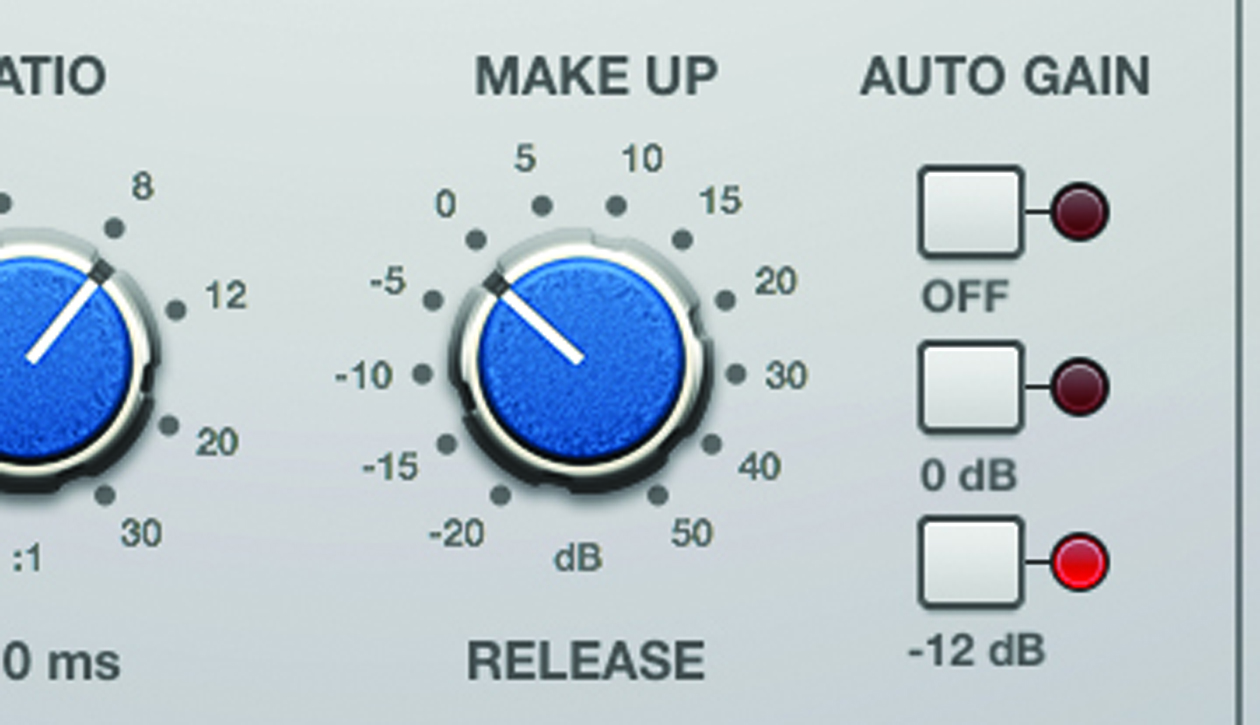
5: Technically speaking, the output of compression is a signal with less amplitude, so it’s important that Gain is restored at the end of the process. Logic’s Auto Gain applies Make Up automatically, letting you hear the output of compressor in context.
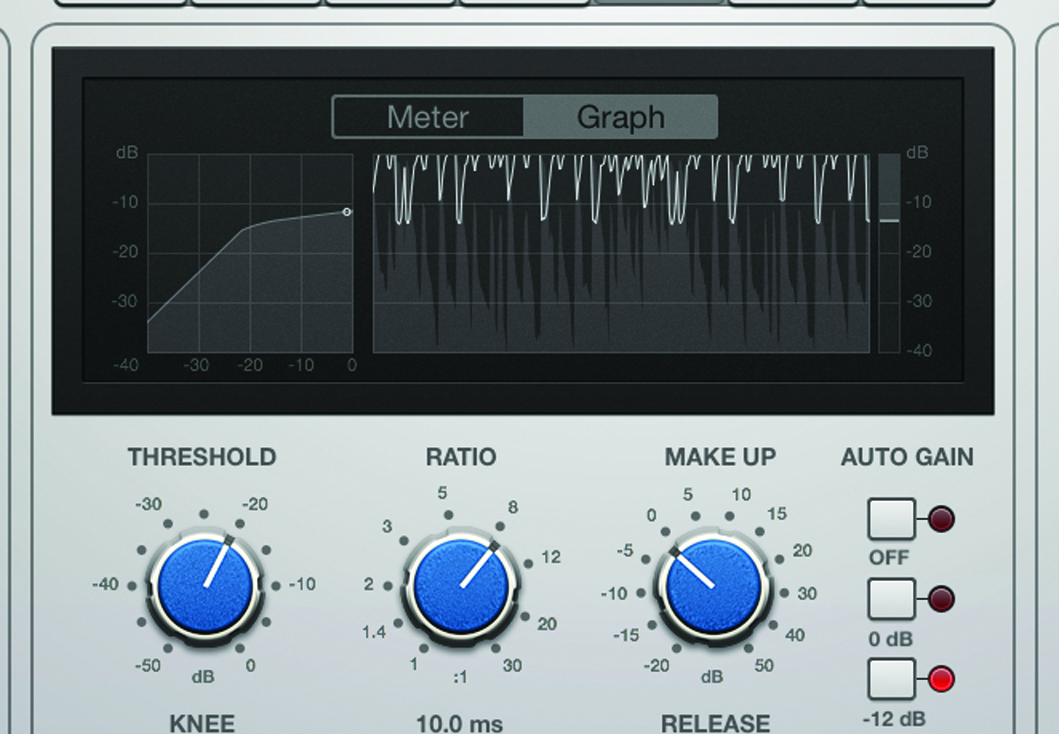
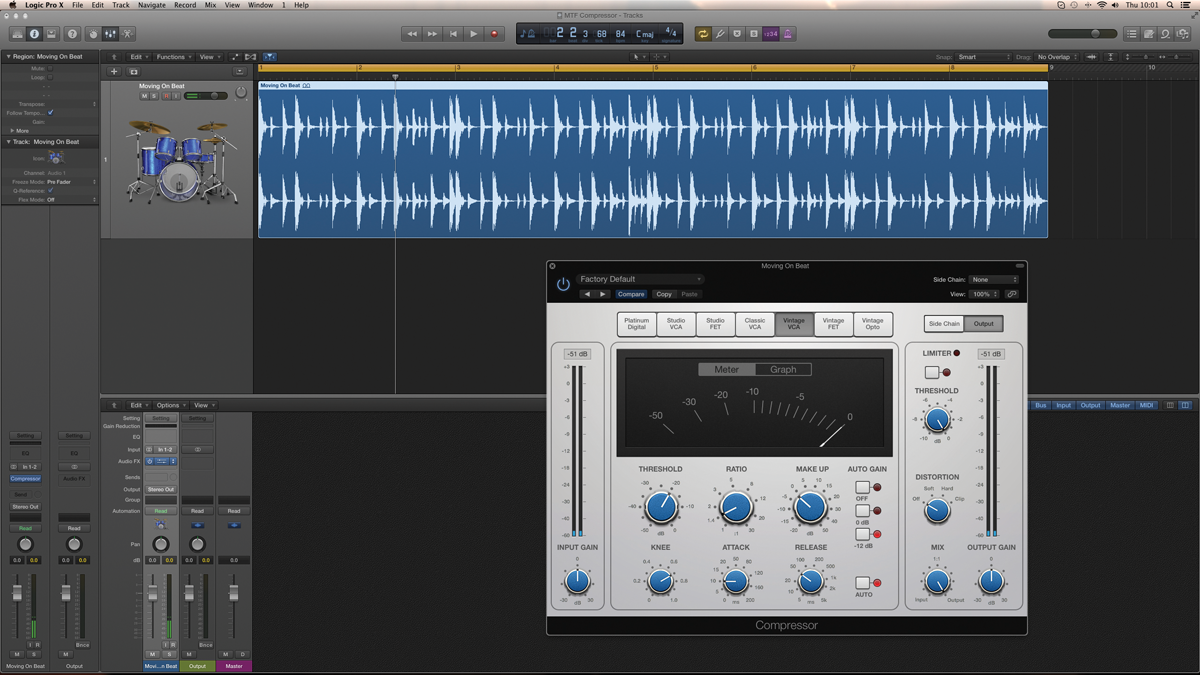
6: An alternative way of viewing the compression can be found on the Graph screen. Here you can see the Input/Output graph on the left-hand side, as well as a history of the Gain Reduction applied to the waveform on the right.
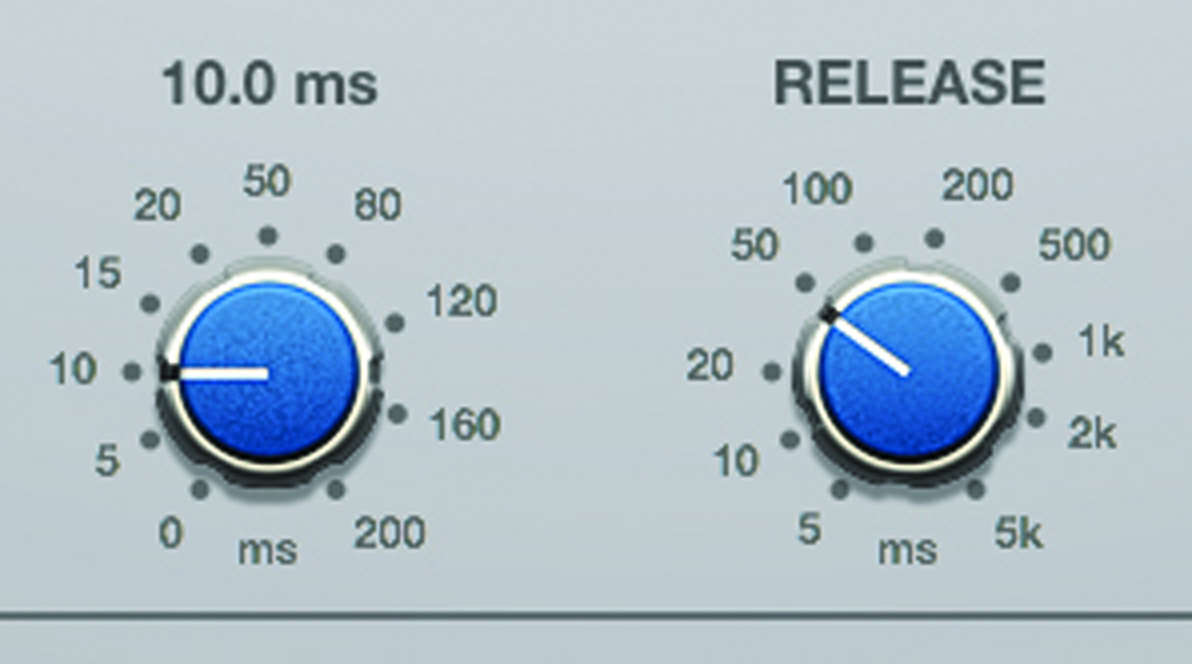
7: The Attack and Release controls govern the movement of the compressor, which can be seen pictorially on the Graph display. Try temporarily reducing Attack to its lowest setting and notice how the Transients are sharply attenuated.
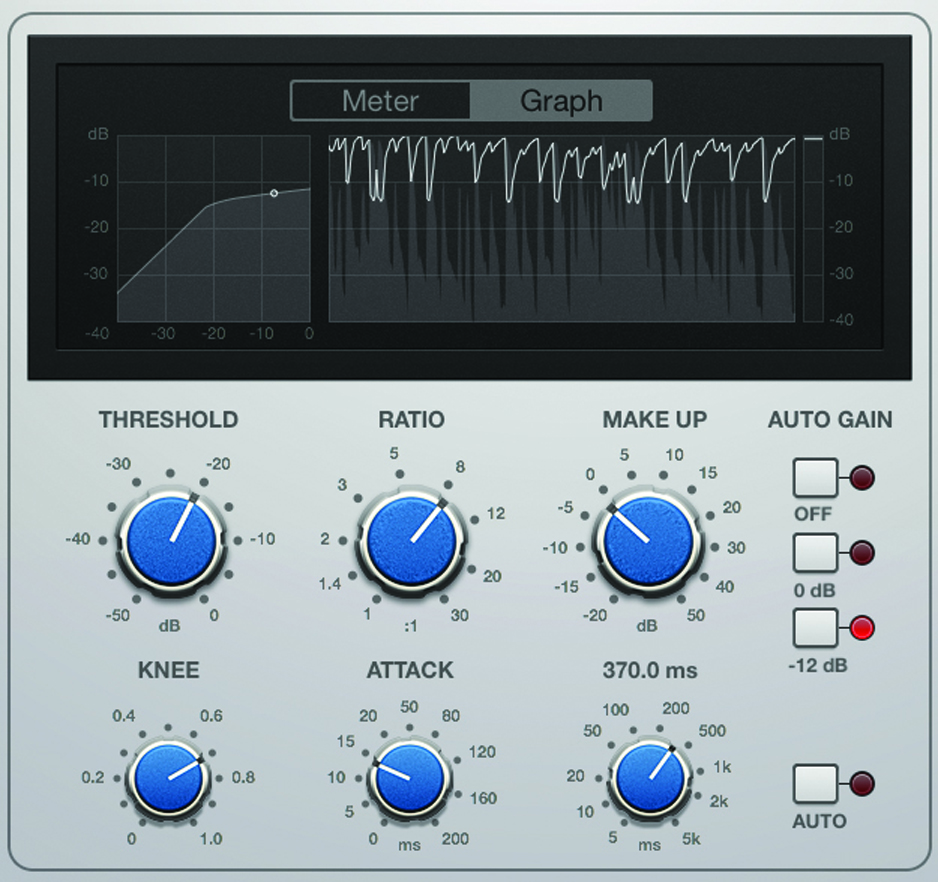
8: Remove the Release’s auto setting and experiment with Release times. Using a slightly slower setting (around 500ms) makes the compression appear more ‘pumpy’. The Graph display really helps here, so that your eyes and ears can work together.
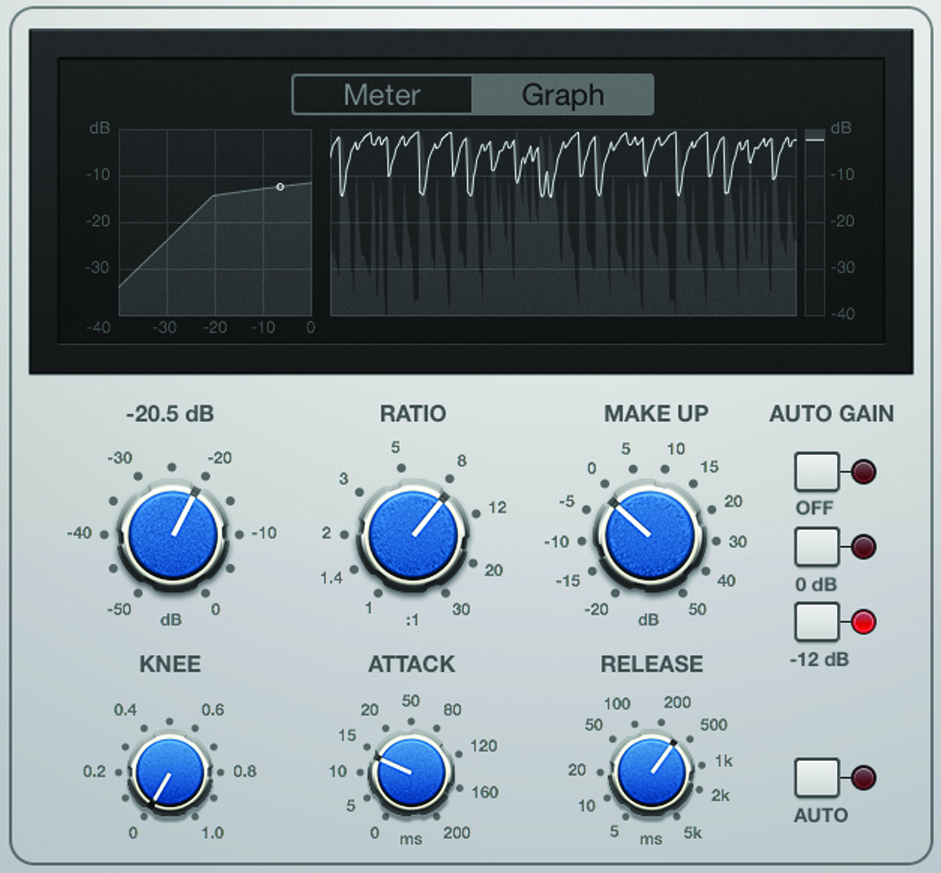
9: While we’re here, it’s worth picking up on the Knee parameter. The Knee governs the transition between no compression being applied and gain reduction being introduced. Lower Knee settings create a more defined kink in the Input/Output graph.
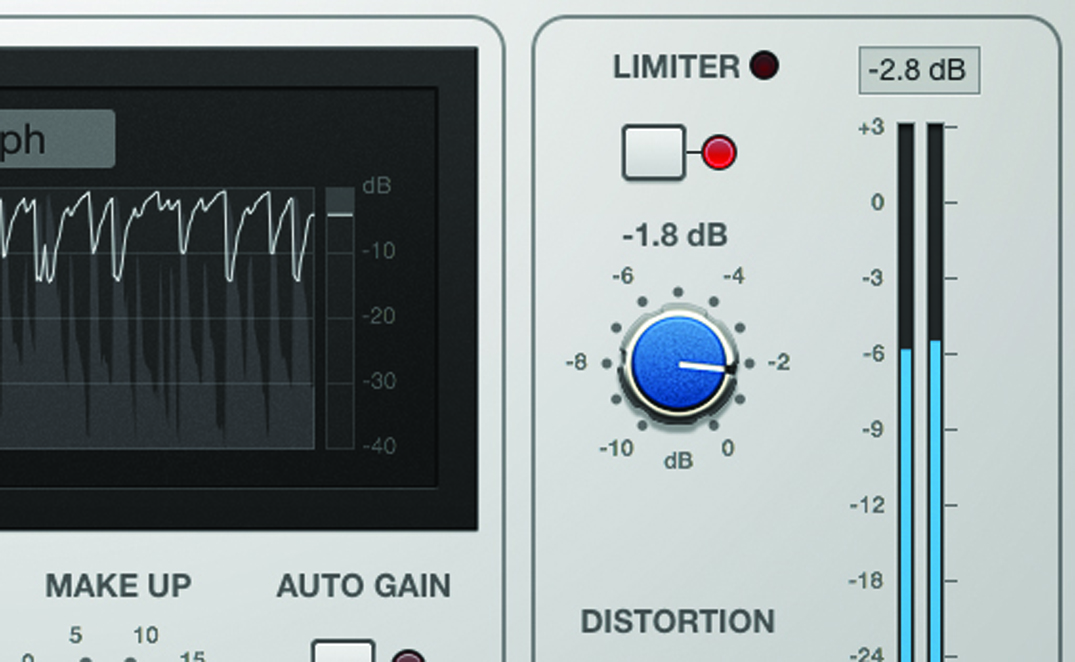
10: Use the Limiter to control any stray transients that slip through the net. With only an on/off control and threshold, the Limiter isn’t the most subtle dynamic tool, but it can provide another layer of dynamic control without using another plug-in.
11: The Output section also contains a mix control, which is useful if you want to experiment with Parallel Compression. Start by setting a fast-acting hard compression using the Studio FET model (quick attack, 8:1 ratio and plenty of gain reduction!).

12: The Mix controls set the balance between compressed and un-compressed signal. Increasing the amount of Input restores some of the transient energy lost by the heavy-handed gain reduction, while still retaining the extra body added by the compression.
