Logic Pro Tutorial – Articulation Switching
Creating an expressive, sample-based music score requires an informed understanding of articulation switching. Mark Cousins shows you how…
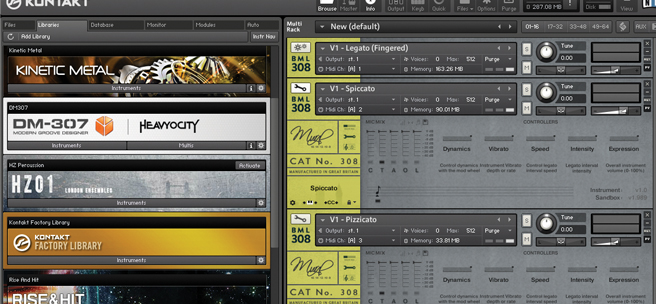
6: As we saw in last month’s workshop, another approach to moving between articulations is to use a seperate MIDI channel for each different sound. In this case, three violin articulations have been split between three MIDI channels.
Creating an expressive, sample-based music score requires an informed understanding of articulation switching. Mark Cousins shows you how…
Key Facts
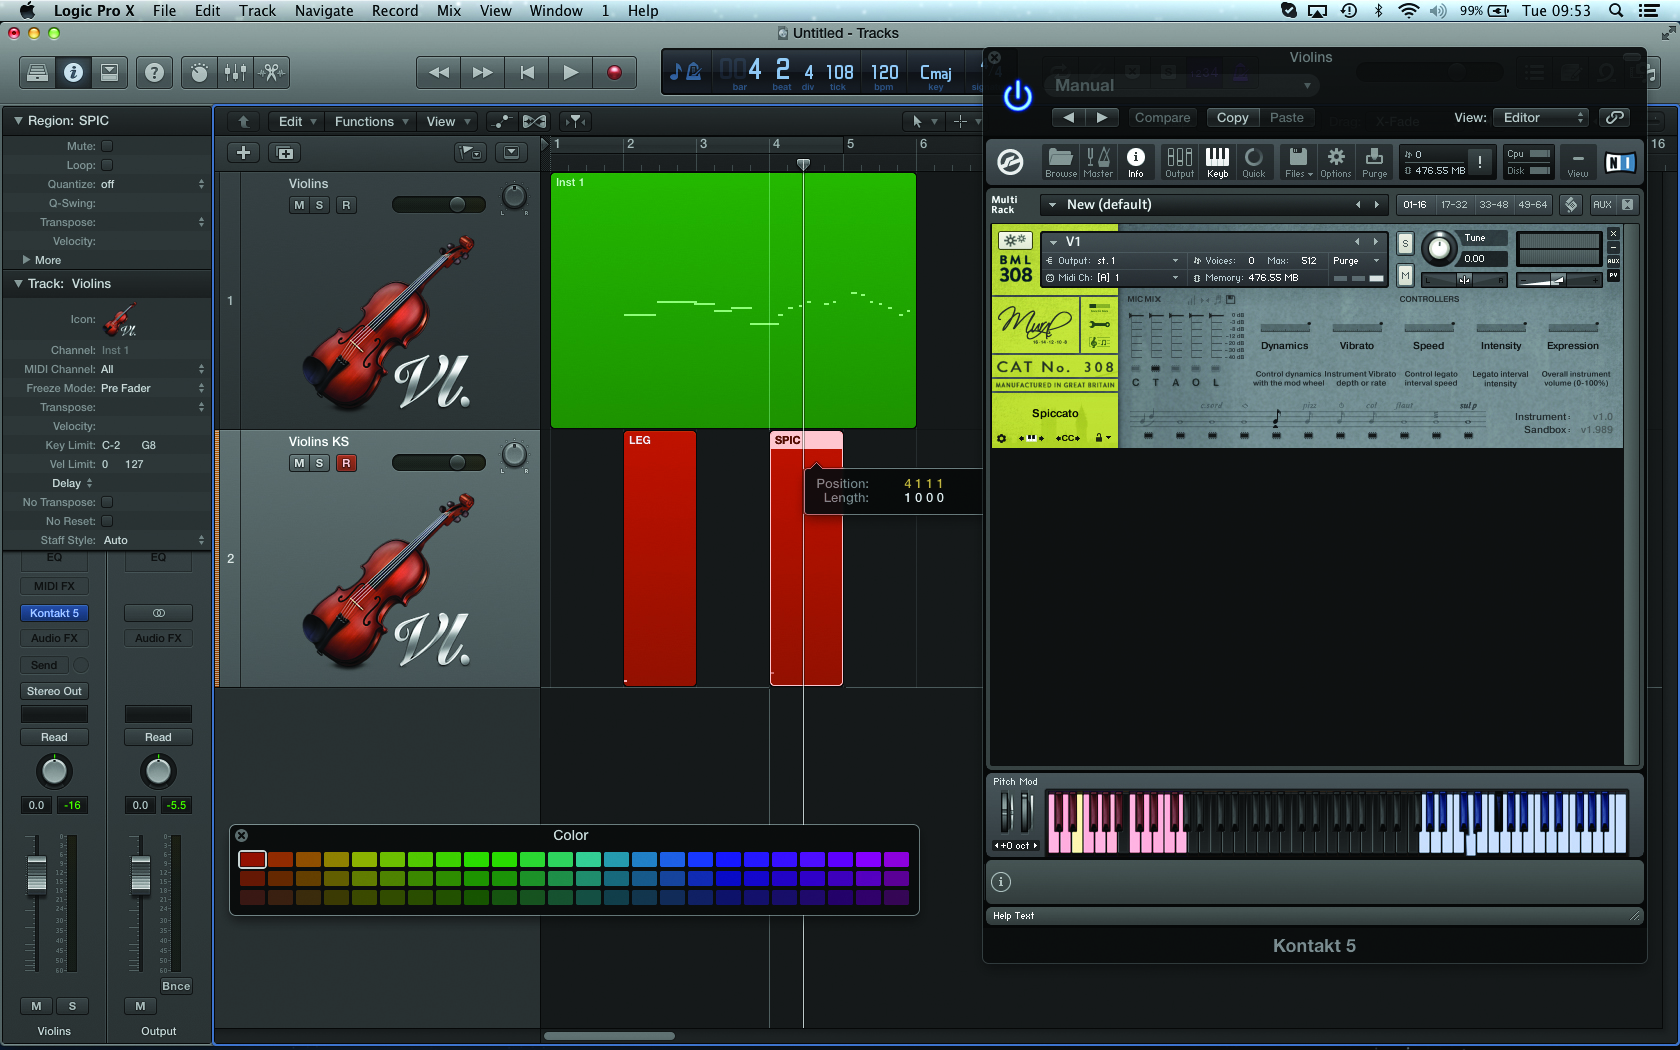
The main technique used to move between different articulations is keyswitching, whereby keys at either end of the keyboard are used to move between articulations ‘on-the-fly’. Keyswitching is certainly an intuitive solution, letting you record a complete performance in the one pass, but unless you’re particularly ambidextrous, there’s usually a degree of editing after the event to refine what you’ve performed.
Another point worth considering is the position of the keyswitches, possibly moving them back by a few ticks so that the engine has a small amount of time to switch the sample ahead of the note.
Don’t worry if a note is still sounding, though, as the switch only happens when the next played note starts.
While embedded keyswitching is an easy solution, it can be tricky to keep tabs on the use of articulations from an arrangement level. In this case, consider running a separate track lane for the keyswitching, so that it’s clear to see what’s happening outside of a MIDI region in the Piano Roll editor.
Colour coding and naming the articulation can also help, potentially making it much speedier to copy or reposition articulations (even between instruments) as you begin to arrange the cue as a whole. You can still edit the two regions together (by selecting both regions before you open the Piano Roll editor), if you still want to see the notes alongside the keyswitches.
Many Rushes
As we saw in a previous workshop, it’s still worth using individual articulations (referred to as split patches, or individual brushes) assigned to discrete MIDI channels as a means of moving between different performance styles. You have the option of applying the switching either at part level (using an event list editor and moving different notes between different MIDI channel assignments), or at arrangement level (using a discrete arrangement track for each articulation).
Not all libraries use keyswitching, though, as a number of other solutions make creative use of other facets of the MIDI protocol, notably Velocity and MIDI Controllers. Velocity, for example, can often be used as means of moving between different note lengths, so that a staccato is triggered on high velocities, or that progressive longer articulations are triggered as you play harder.
With a little thought, you can adapt how you work with your DAW to best match the switching technique. In the case of Velocity, using a MIDI transform editor to fix the velocities makes subsequent editing far easier and consistent.
Expressive Scoring
As we’ve seen there’s no one ‘perfect’ solution to articulation switching, and indeed, it’s often best to use elements of all the techniques, adapting your workflow to the demands of the music, or the technicalities of the library you’re working with.
It’s also worth experimenting to see what techniques work best with your compositional style – you might, for example, like the improved mixing potential of running articulations as separate brushes, or simply prefer playing everything live. Either way, it’s reassuring to note how flexible modern sound libraries have become, often providing a number of different solutions for moving between articulations.
Check out this tutorial where I explore the deliberate omission here: dynamics and legato performances. Combining the practices explored here with the techniques there arguably forms the complete palette of techniques for expressive sample-based scoring.
Focus On – Logical Editing
The use of velocity-based articulation switching makes it useful to apply either Cubase’s Logical MIDI editor or the MIDI Transform Editor in Logic Pro X. Both of these solutions are forms of conditional, text-based MIDI editors – in other words, MIDI editing is applied as a series of text-based instructions, rather than using a mouse. Here, the process starts by selecting all the notes, followed by an operation that fixes to the Velocity to a default value of 40.
These text-based editors can perform a wide range of tasks that relate to music to picture work – from humanising a rigid performance, to creating pseudo-random percussion sequences – so they’re well worth closer inspection.
Step by Step – Keyswitching
[metaslider id=35032]
This tutorial is endorsed by Point Blank. With courses in London, Online and now LA, Point Blank is The Global Music School. You can study sound to picture on their Music Production Diploma courses, with pro industry tutors. More info here: www.pointblanklondon.com