Logic Pro X Tutorial – Reverb & Space Designer
Logic Pro X’s Space Designer lies at the heart of creating a mix with greater spatial depth and perspective. Mark Cousins unlocks its secrets For this tutorial you will need the project file which you can download from here When it comes to defining the ‘spatiality’ of your mix, Logic Pro X’s Space Designer has […]

Logic Pro X’s Space Designer lies at the heart of creating a mix with greater spatial depth and perspective. Mark Cousins unlocks its secrets

For this tutorial you will need the project file which you can download from here
When it comes to defining the ‘spatiality’ of your mix, Logic Pro X’s Space Designer has to be the go-to plug-in for many engineers and musicians. In truth, though, many of us can take a slightly lazy approach to reverb – simply selecting a two-second Hall (or thereabouts) and routing through a group of instruments.
Listen to a commercial track, though, and you’ll hear a well-crafted use of reverb: contrasting different room sizes, reverb colours and relative wet and dry ratios to create a coherent and existing acoustic space. Exploiting the full potential of Space Designer, therefore, is a tangible way to improve the quality of your mixes.
As the name suggests, the beauty of Space Designer is its ability to tailor the sound of the reverb. Although the wide selection of presets are a great starting point, the real benefit comes when you start tweaking various aspects of the reverb’s sound.
An experienced Space Designer user understands how different sounds can work with reverb and how relatively simply controls – like pre-delay, or the tail’s EQ setting – can be exploited to best effect. In this workshop, therefore, we look at the intricacies of Space Designer, from the basics to its more creative applications.
Reverb Nation
Logic Pro X includes a number of different reverb plug-ins, but it’s Space Designer that’s the real star of the show. While the other plug-ins create their reverb synthetically, Space Designer is powered by a technique called convolution.
The reverb in Space Designer is created using short Impulse Response (or IR) files that are acoustic snapshots of either a real physical space, or a vintage reverb unit. The process of convolution effectively combines the original dry source with the Impulse Response file, resulting in an output that sounds like it’s been recorded complete with a room’s acoustics.
To make Space Designer even more interesting, it also includes a ‘Synthesized IR’ option that lets you create your own Impulse Response from scratch. Don’t be confused, though, as the Synthesized IR still uses the convolution process, and indeed, whenever you edit an aspect of the Synthesized IR, Logic will need to re-render the Impulse Response file that it uses for convolution. Although the Synthesized IR lacks the acoustic realism of the sampled version, it does have a few additional parameters that we’ll explore later on.
Match Making
Matching the reverb to the source material usually starts by exploring the size of the virtual room, or to put it another way, the length of the reverb tail. Although there are no hard-and-fast rules, shorter, more percussive sounds tend to suit smaller reverb times, mainly to avoid the reverb masking the rhythmic qualities of the source material.
A drum kit, for example, tends to sound best in one of the Small Spaces settings, using a reverb time between 0.5 and 1.5 seconds. Sounds that are less percussive – like a string pad, for example – tend to work best with longer reverb settings, which also have the effect of placing the instrument towards the rear of the soundstage.
Rather than use multiple instances of Space Designer on a per-track basis, the best strategy is to create a range of three or four key sizes – starting from a small room, and ending up with a larger hall setting. Sending different parts of the mix at varying proportions will then allow to define the ‘front to back’ perspective in your track, letting some parts positively swim in a larger hall setting, while others simply gain a sense of a ‘wraparound’ acoustic space, without a noticeable reverb tail.
Colouring In
Beyond the basic size and duration of the reverb, there’s plenty more to think about in terms of tailoring the sound to your mix. One key point that’s overlooked is the relative colour of the reverb – contrasting between a darker setting that lets the reverb recede in the mix, and brighter settings that have a shimmering quality.
When it come to colour, Space Designer has two options. Firstly, you can choose to apply a static EQ setting using the EQ page, which changes the reverb colour irrespective of time. Secondly, use the Filter page to change the colour of the reverb over time, usually as a means of attenuating high frequencies over time.
Another interesting quality in the reverb is relative density, which distinguishes between the reverb heard as a series of discrete echoes, or a more cohesive tail. When you’re working with Impulse Response files, the Density is an intrinsic part of the sample (although worth listening out for); but if you’re working with the Synthesized IR option, you have the option to change density over time.
Plate reverb, for example, has a high density, which is why it sounds good on percussive sources, where as higher density settings can sound ‘ringy’ on non-percussive sources, where you may consider a lesser density setting.
Getting Creative with Space Designer
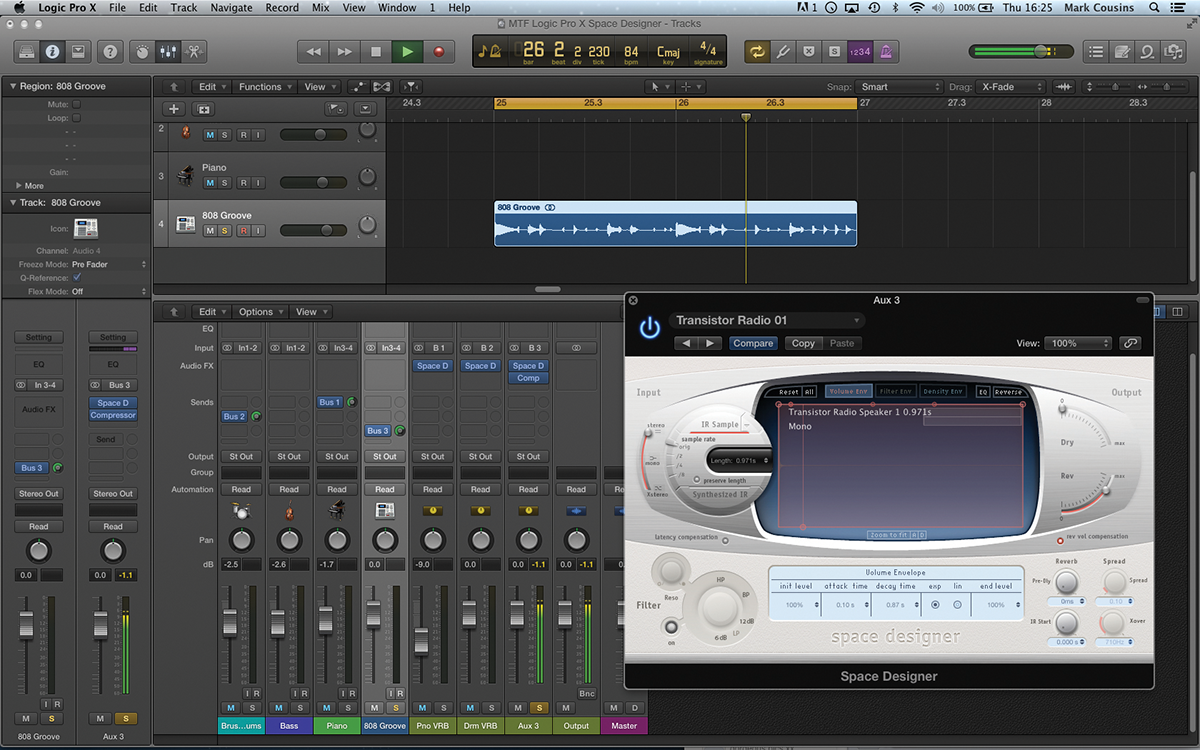
Although we’ve concentrated on reverb, the scope of Space Designer, and that of convolution in general, goes way beyond just the creation of an acoustic space. As the last section of the workshop illustrates, Space Designer can turn its hand to interesting and unusual sound-design treatments – ranging from drone-like resonators, to ghostly tempo-synced echo effects.
There are also a number of Impulse Response files taken from various speakers, so you can feed your sound through a variety of different cabinets and create some great lo-fi treatments.
Logic Pro X comes with a plethora of audio plug-ins, but it’s the key players �– Space Designer, the Compressor and Channel EQ – that are the cornerstones of effective mixing. Taking time to fully understand the intricacies of these plug-ins, therefore, will deliver the most tangible improvement in your mixes and the overall sound you achieve in Logic.
Focus On Complementary Plug-Ins
Although Space Designer works well on its own, it’s worth noting a few additional plug-ins that pair well with it. The Direction Mixer, for example, is a great way of controlling the relative width of the reverb. Sometimes vocal reverb, for example, sounds better in a more monaural form, so that you can ‘plant’ the vocal and its reverb in the centre of the mix.
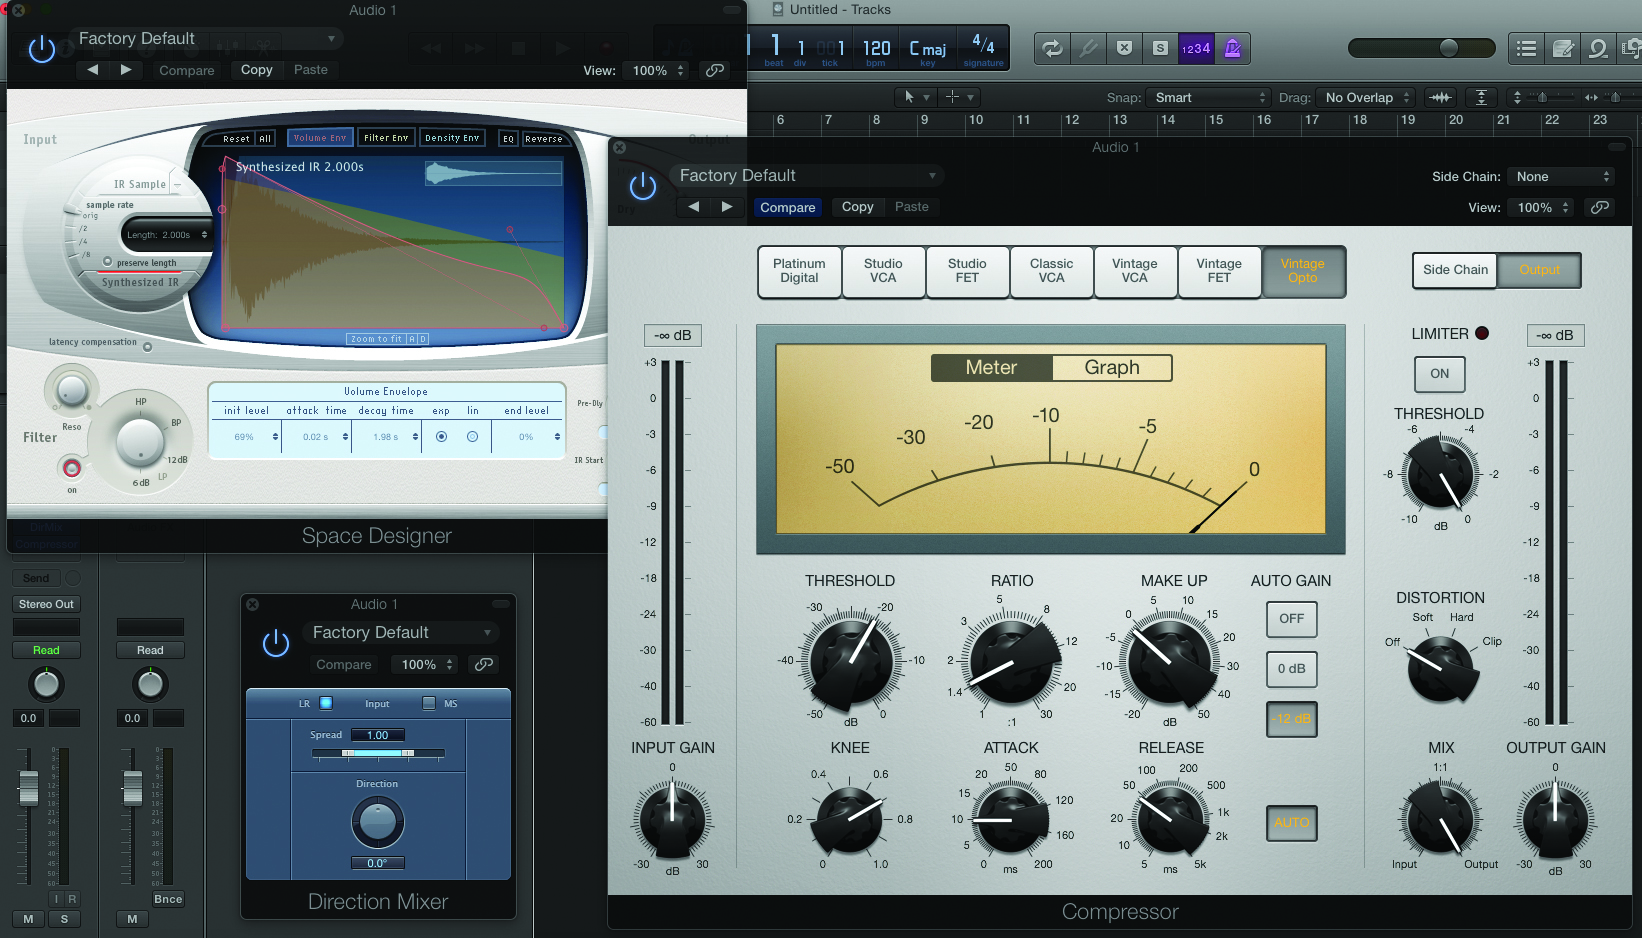
It’s also worth playing with compression – either after the instance of Space Designer or, even more effectively, across a bus that both the dry signal and wet reverb are being routed to. The effect of the reverb pumping, as well as the extra intensity compression delivers, makes this pairing a musically fruitful partnership.
Step-by-Step – Reverb Basics
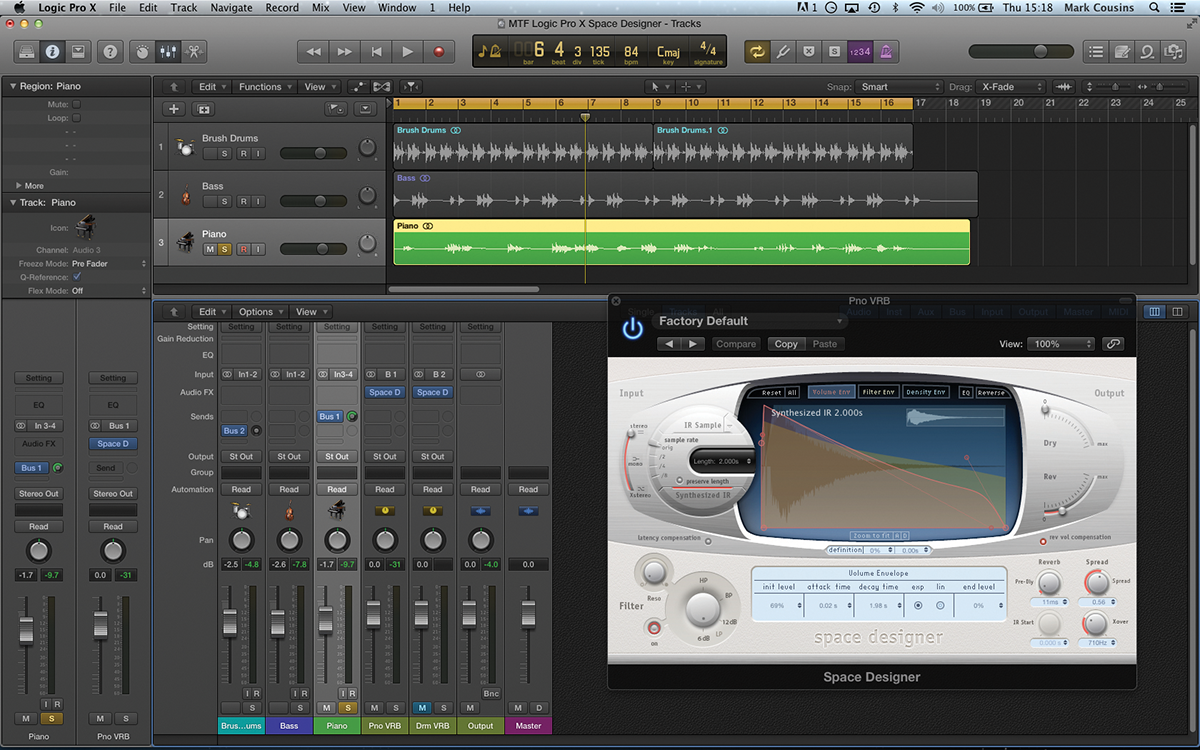
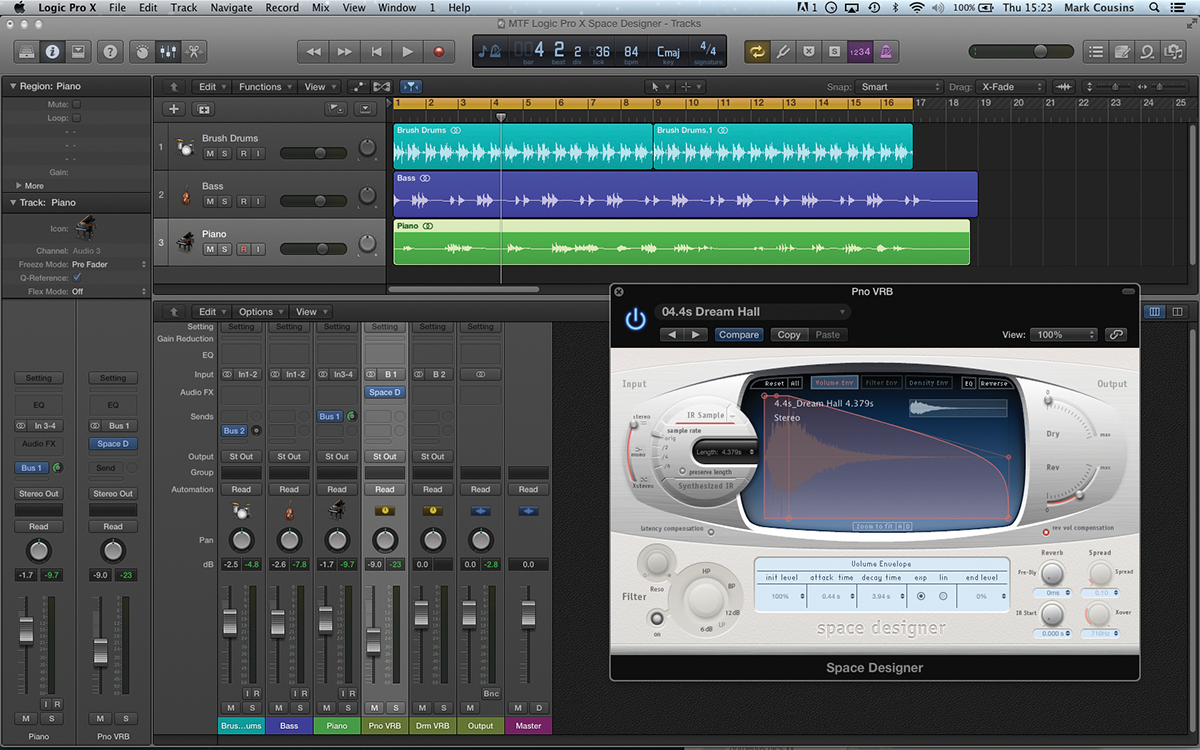
1:For the most flexible application, instantiate Space Designer across aux channels, fed from bus sends on the respective channel faders. Using the project file you can download at the start of this tutorial, create bus sends from the piano and drum tracks to two instances of Space Designer.
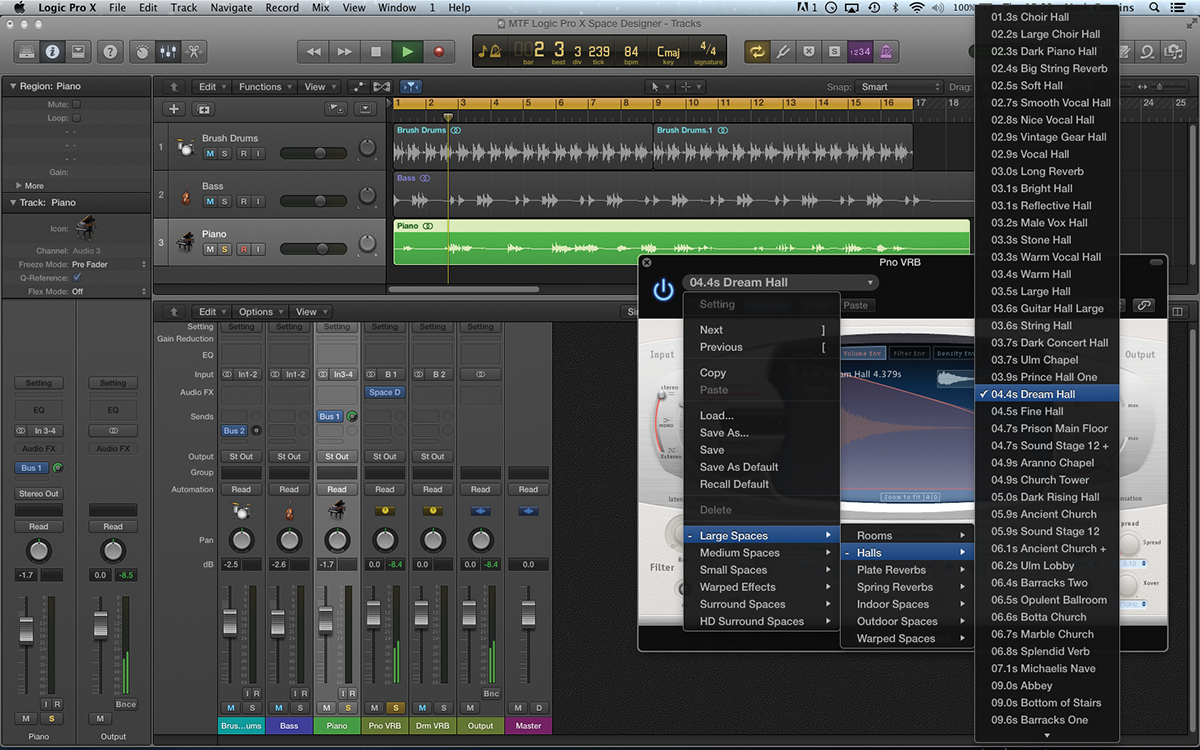
2: We’ll start by looking at the reverb used across the piano track. Load a suitable starting point, either using the plug-in preset settings (organised by size), or you could simply load a pre-recorded IR file using the drop-down menu next to the IR Sample button.
3: As you’ve loaded Space Designer via an aux fader, the Dry level should default to a zero setting. To set the balance between wet and dry signal, therefore, either change the level being sent from the fader, or attenuate the aux return channel.
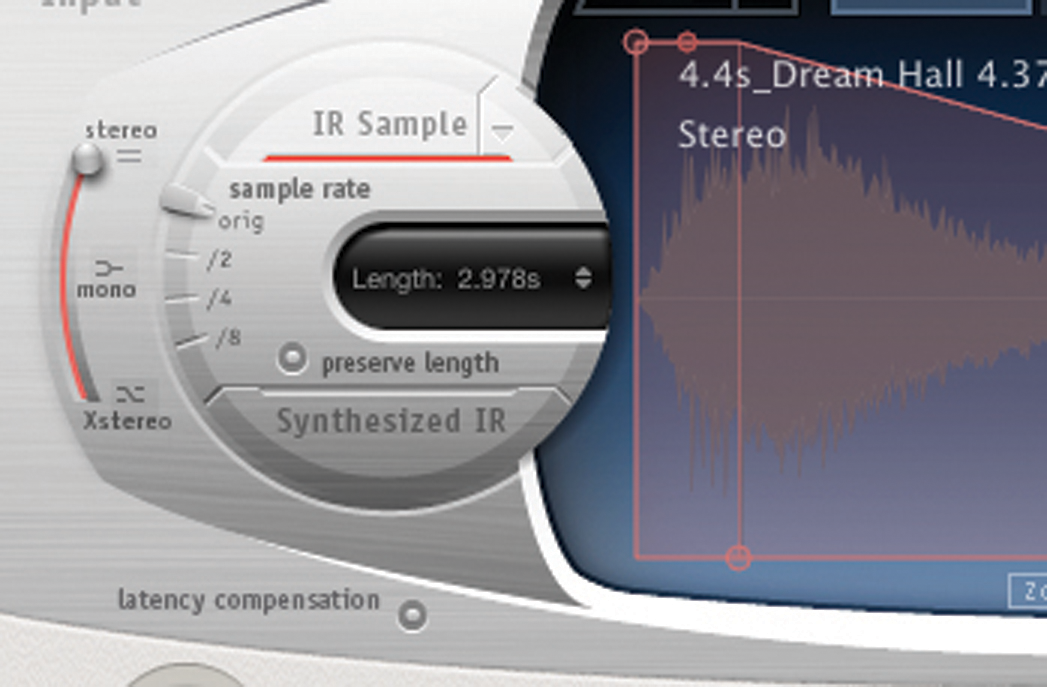
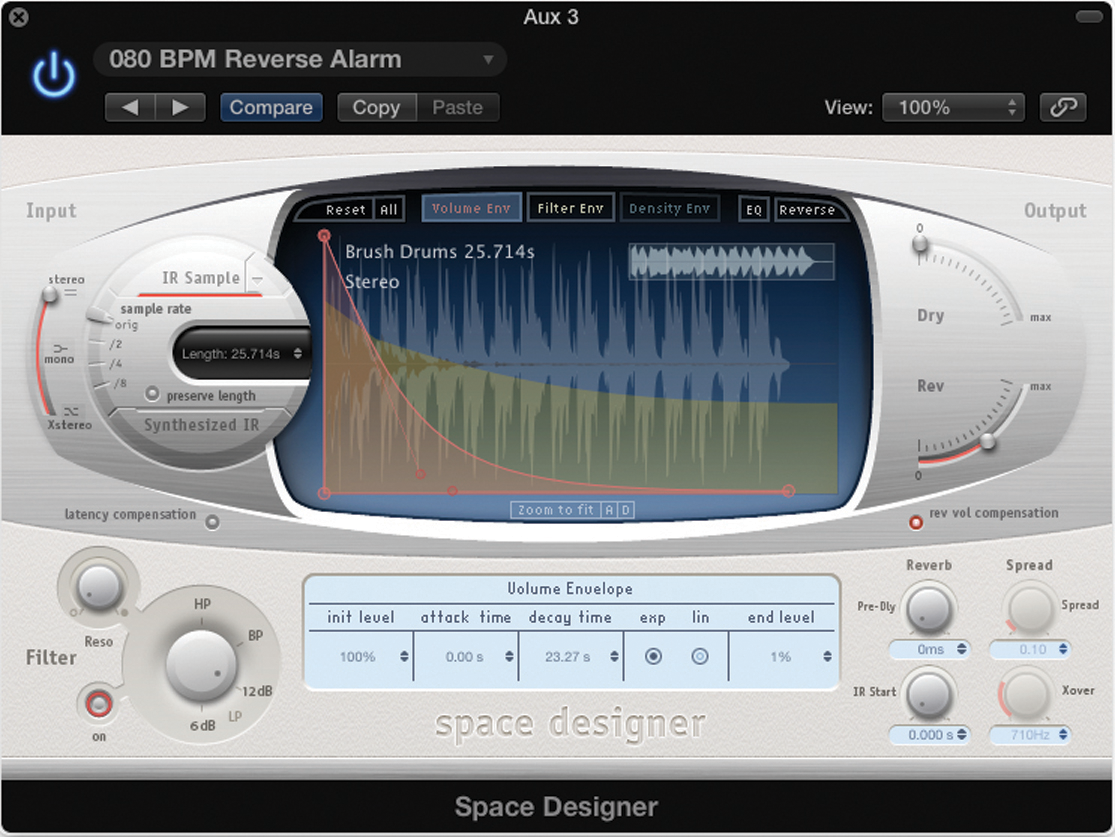
4: The IR Sample that you’ve chosen will have a predefined length, defined by the size of the room it was recorded in. To make the room artificially smaller, though, you can always reduce the Length parameter to a shorter setting.
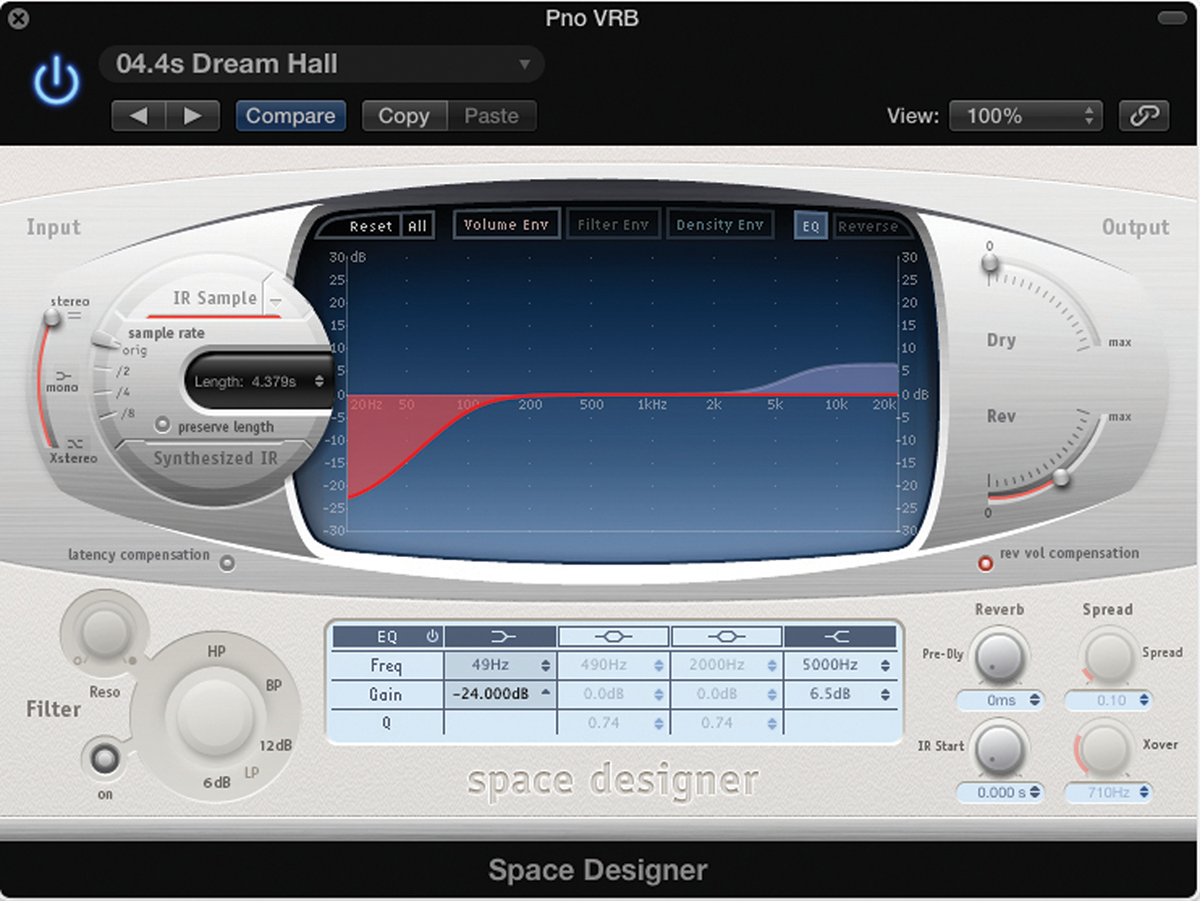
5: The IR file defines the colour of the reverb. However, it’s also possible to use the EQ tab as a means of adjusting the basic timbre. Try rolling off some low end, which can clutter the mix, as well as adding a touch of brightness.
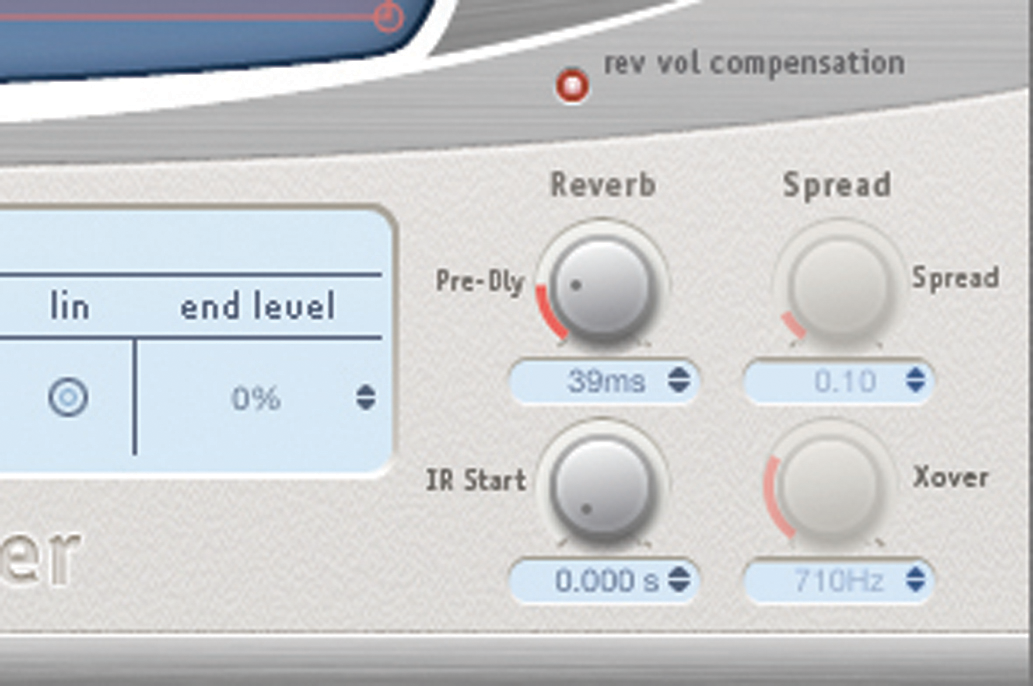
6: Try experimenting with the Pre-Delay on the reverb. Increasing the Pre-Delay time can help create a greater distinction between the dry source and the reverb tail. The source feels closer, with the reverb floating ethereally in the background
Click Here To Continue
This tutorial is endorsed by Point Blank. With courses in London, online and now in LA, Point Blank is the Global Music School. You can study sound to picture on their Music Production Diploma courses, with pro industry tutors.
