Logic Pro X Tutorial: Become a Power User Part 9 – Dance FX using Plug-Ins
Realising the importance of those final FX flourishes can help make or break a club track on the dance floor. Alex Holmes reaches for the white noise and his glow stick… So you’ve got your killer hook, a slamming beat and heavyweight bass line all laid-out in a convincing arrangement, but it doesn’t quite seem […]

Realising the importance of those final FX flourishes can help make or break a club track on the dance floor. Alex Holmes reaches for the white noise and his glow stick…
So you’ve got your killer hook, a slamming beat and heavyweight bass line all laid-out in a convincing arrangement, but it doesn’t quite seem to flow smoothly between sections. What to do? You, my friend, need to add some FX! Effects sounds in electronic music are the special ingredient that binds a track together and helps to indicate the transitions between sections. In some genres, the effects themselves are so prominent that they are a part of the main track, but here we’re going to look at creating a range of more subtle sounds that will support and enhance your arrangement.
At a basic level, there are four different types of FX sounds that you will typically hear: risers, descenders, impacts and atmos beds. Risers and descenders can be long or short and are arguably the most important, as they lead the listener from one section to the next. Although it can be heard on nearly every dance record at the moment, a long, 16-bar section of white noise with the filter slowly opening up is an incredibly effective way of building tension and indicating that something is about to happen.

Equally, a shorter, 1-bar version can be used more frequently to move from section to section. This often indicates a transition between one state to another through increased or decreased energy. If your next section moves down in energy, you could use a descending sound to indicate this.
At the top or bottom ends of risers and descenders you’ll often hear an impact effect to indicate that a new section has been reached. If it’s an important new section these tend to be bigger, but smaller crashes and impacts can be dotted mid-way through at every eight bars or more.
Finally, you can use atmospheric beds to fill out a track and give it some personality beyond your main instrumentation. Using an ambient night-time recording in a drop-down can really help to envelop your listener. Once you understand the differences between each of your sections and how each effect can be used to move between them, your tracks will flow much more naturally
Risers
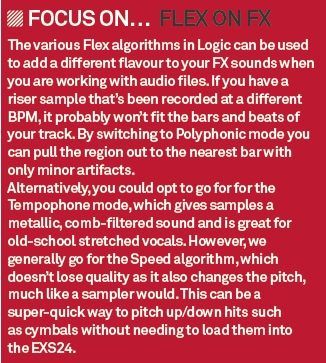
1 We’ll start by picking a sustained sound. Synth pads as well as simple string or brass sounds are suitable, but we’ve chosen the Classic Saw Tooth pad on the Retro Synth. You could also experiment by switching sounds once all the automation and effects are in place. We’re going to create a pitched riser, but you could just as easily use white noise for the classic noise riser.
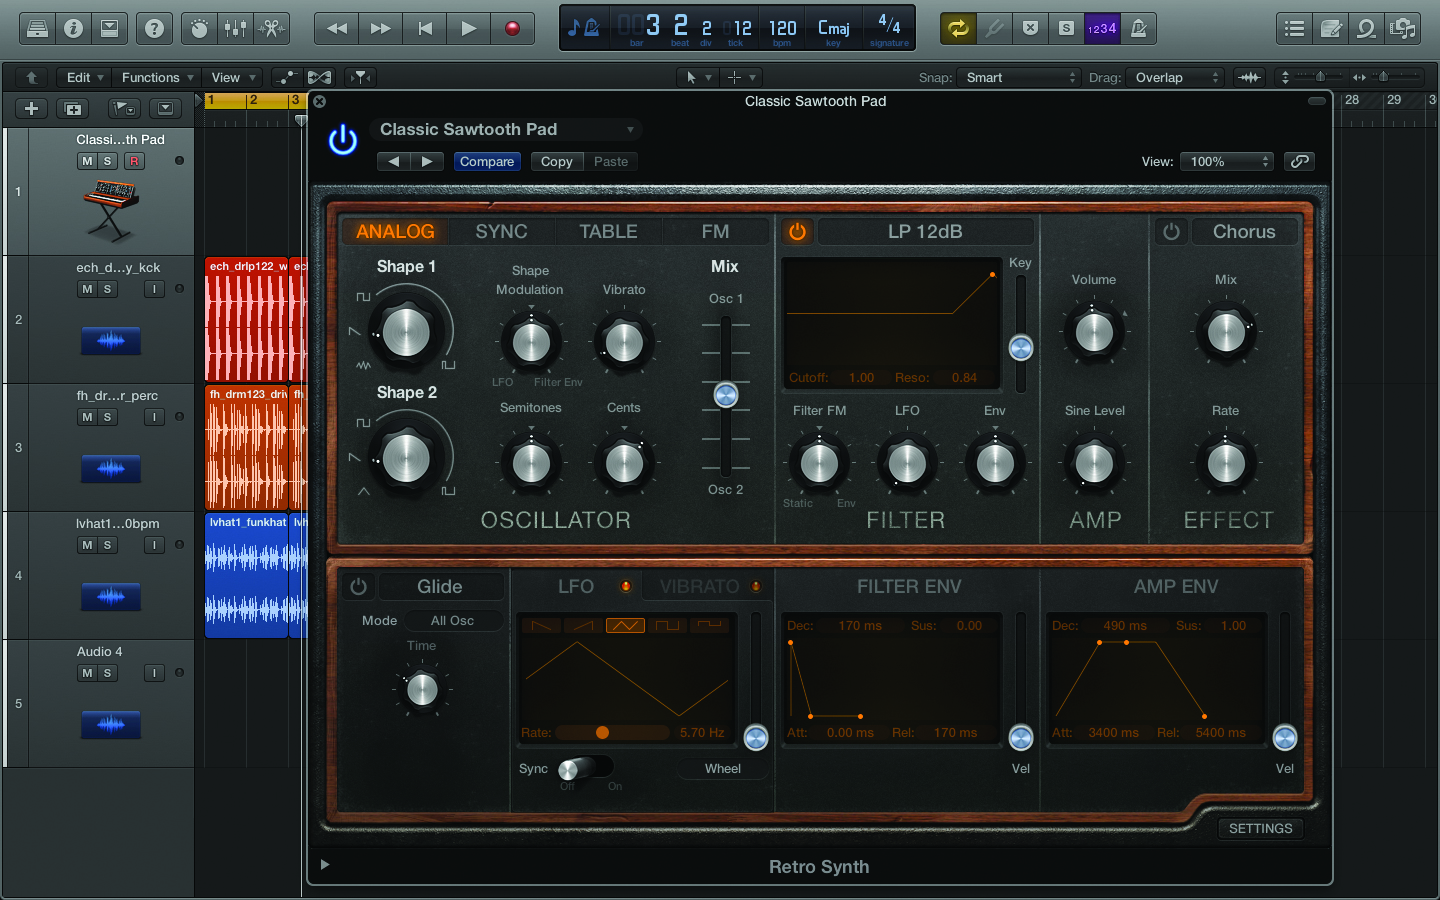
2: The next thing to do is to draw in a long MIDI note that will normally last 8 or 16 bars. Check your velocity here as it might effect the sound on some instruments. If you want it softer and more subtle, try lower values; for a more bold sound, try higher values. You could also thicken the part by placing an extra MIDI note an octave up.
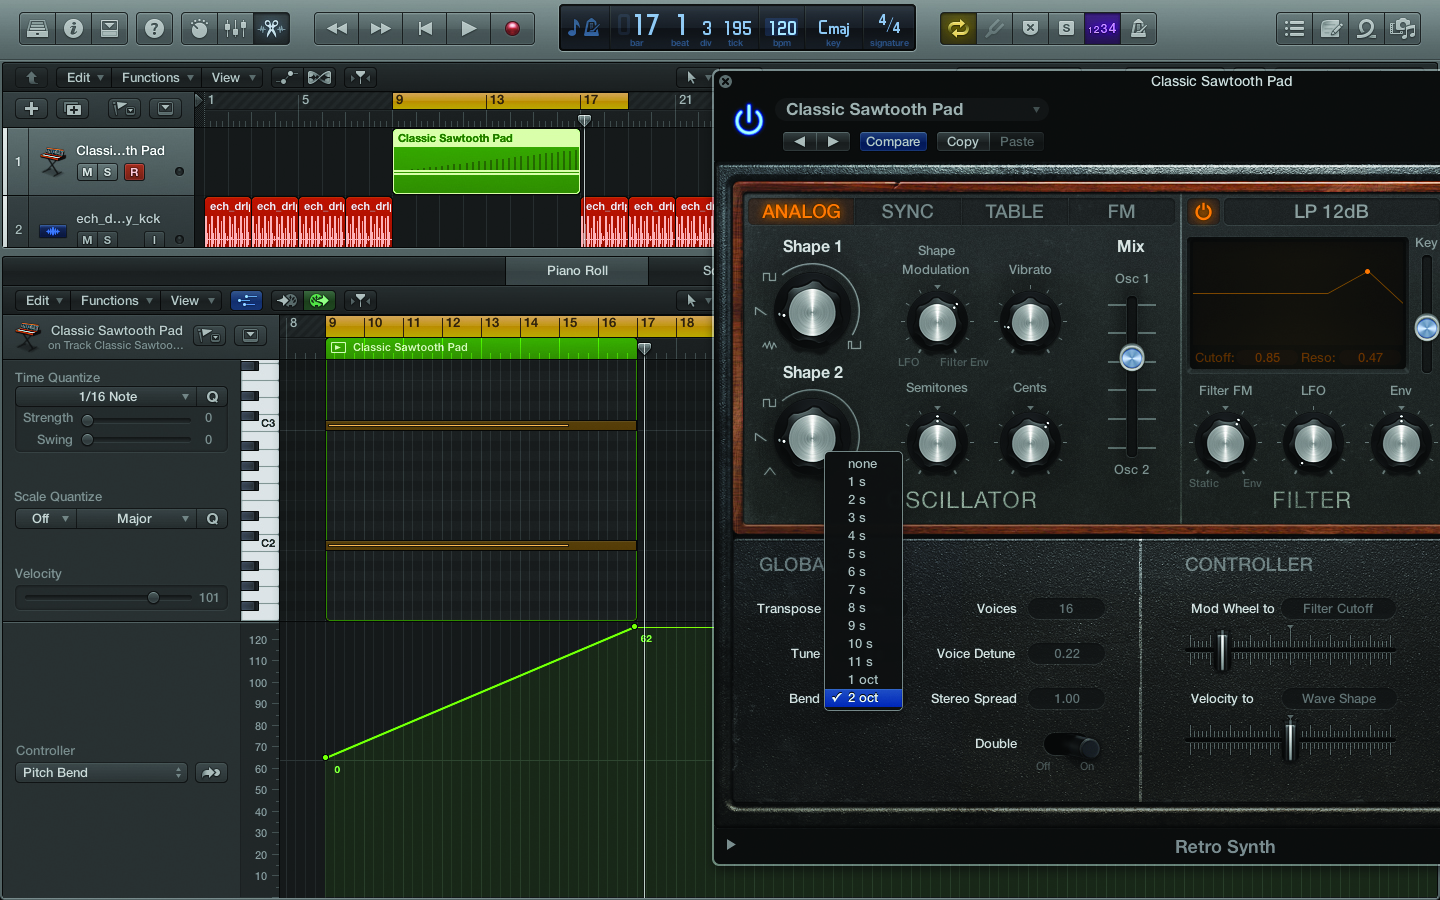
3: Click on the MIDI Draw button in the Piano Roll and draw in an ascending pitch bend. This could go from 0 to 62 or, for a more extreme bend, -64 to +63, although the actual amount will depend on your instrument settings. Here we’ll set it to two octaves in the Retro Synth. Choose a note that’s in-pitch with the track, then, as you rise up to the point where it kicks in, there’s a sense of resolution.
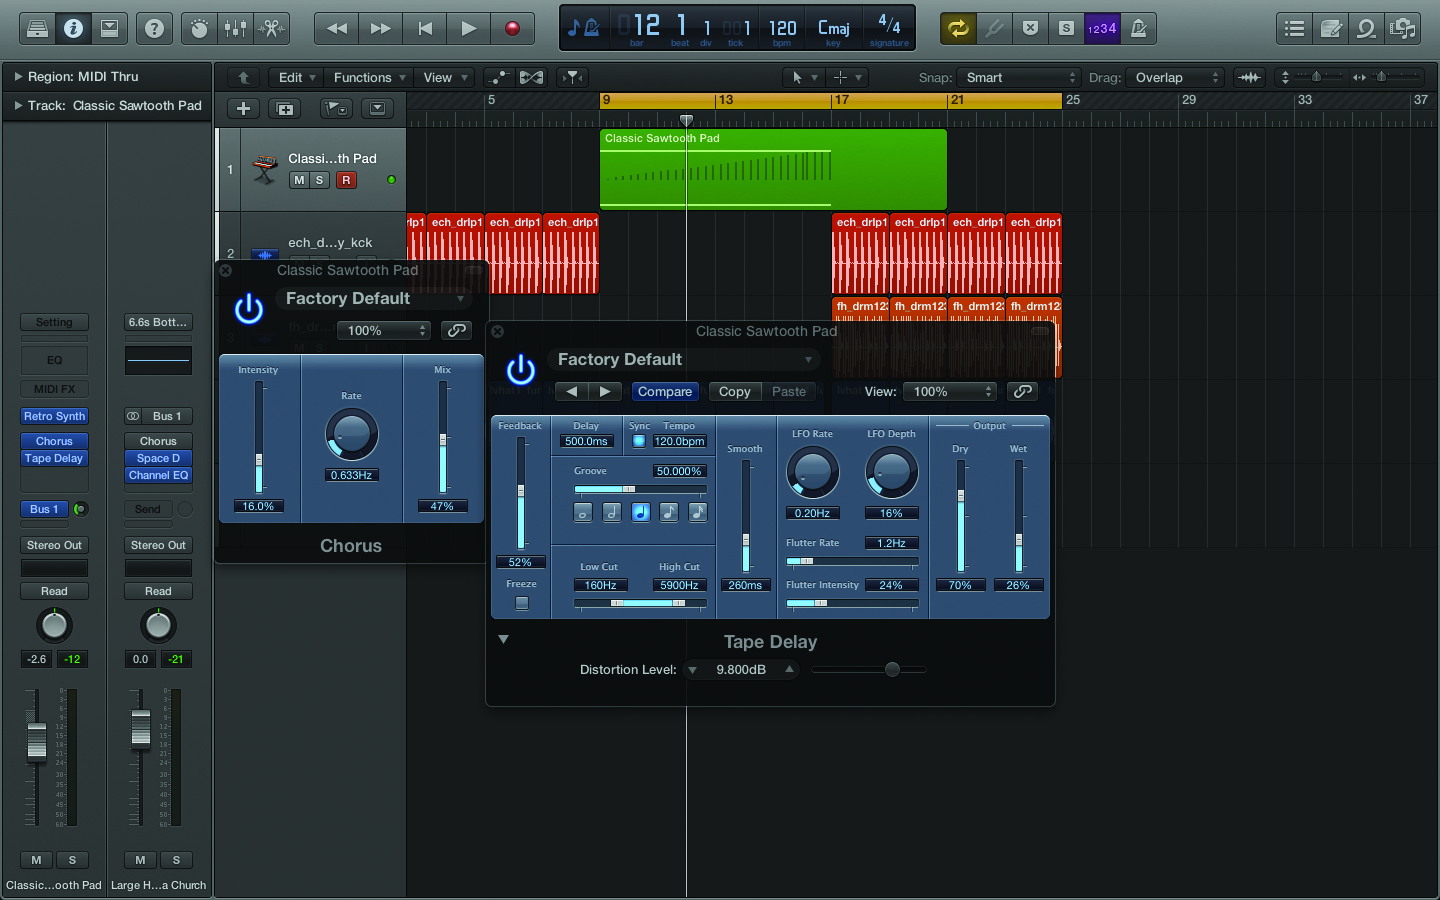
4: Your sound will probably be quite brash and upfront, but we can soften this by adding chorus and a medium delay with a fair amount of feedback. We could also use the Stereo Spread or Direction Mixer plug-ins to widen the sound and help create more space in the centre of the mix. Finally, send some of the signal to a long reverb on a buss to push it even further back, or just make the performance louder
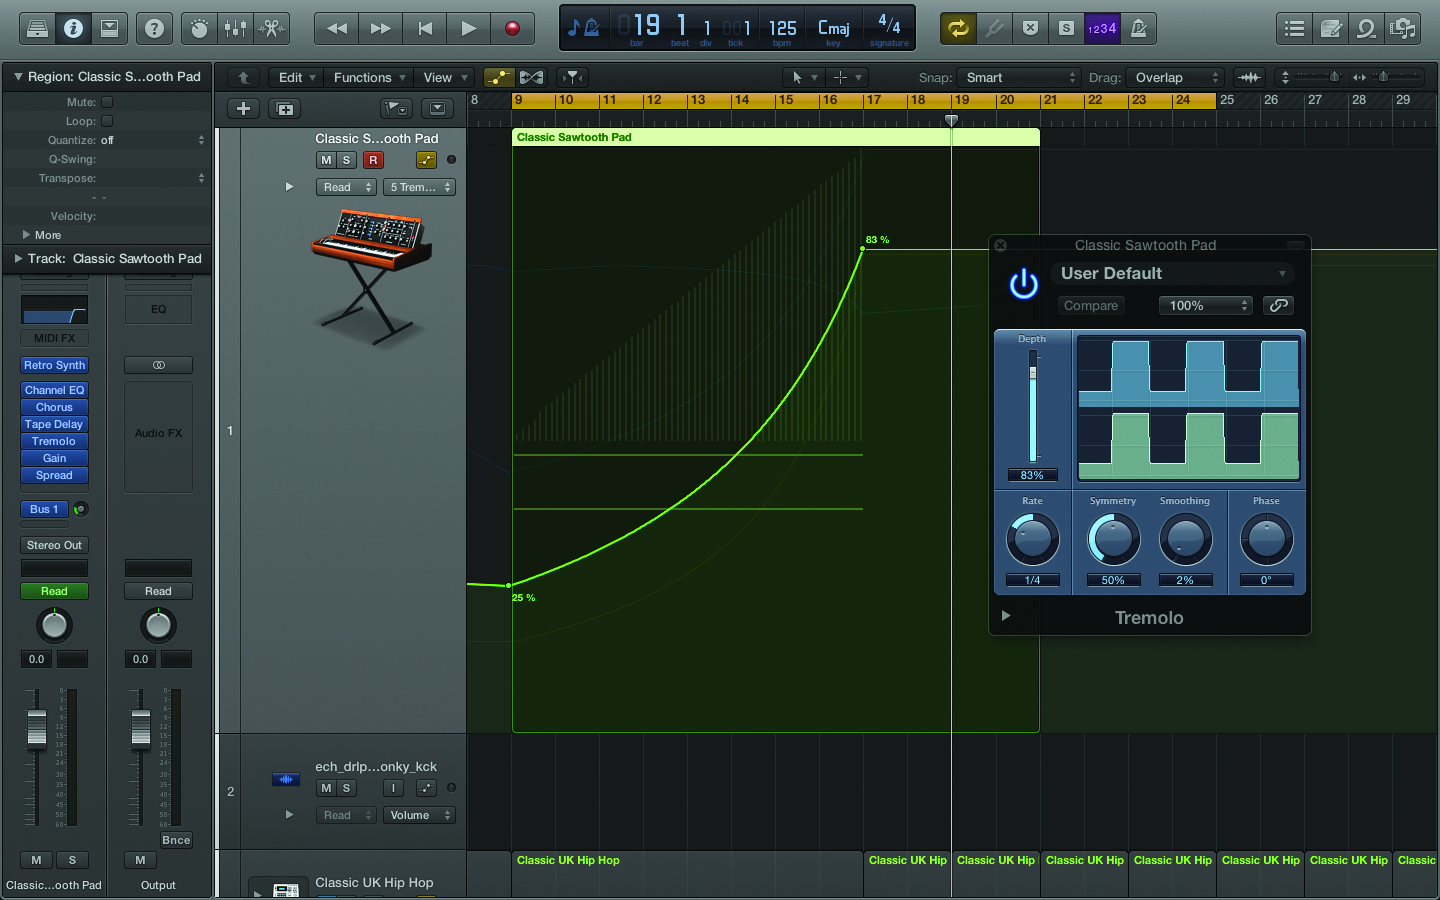
5: Another effect than can work well on pitch or noise risers is to use the Tremolo plug-in for sidechain-style pumping. Set the Phase and Smoothing to 0% and the offset in the extended parameters to 180º, then automate the depth to slowly increase as you approach the drop. If you have a fairly long delay you get a pumping pitch or noise sound echoing off when everything kicks in.
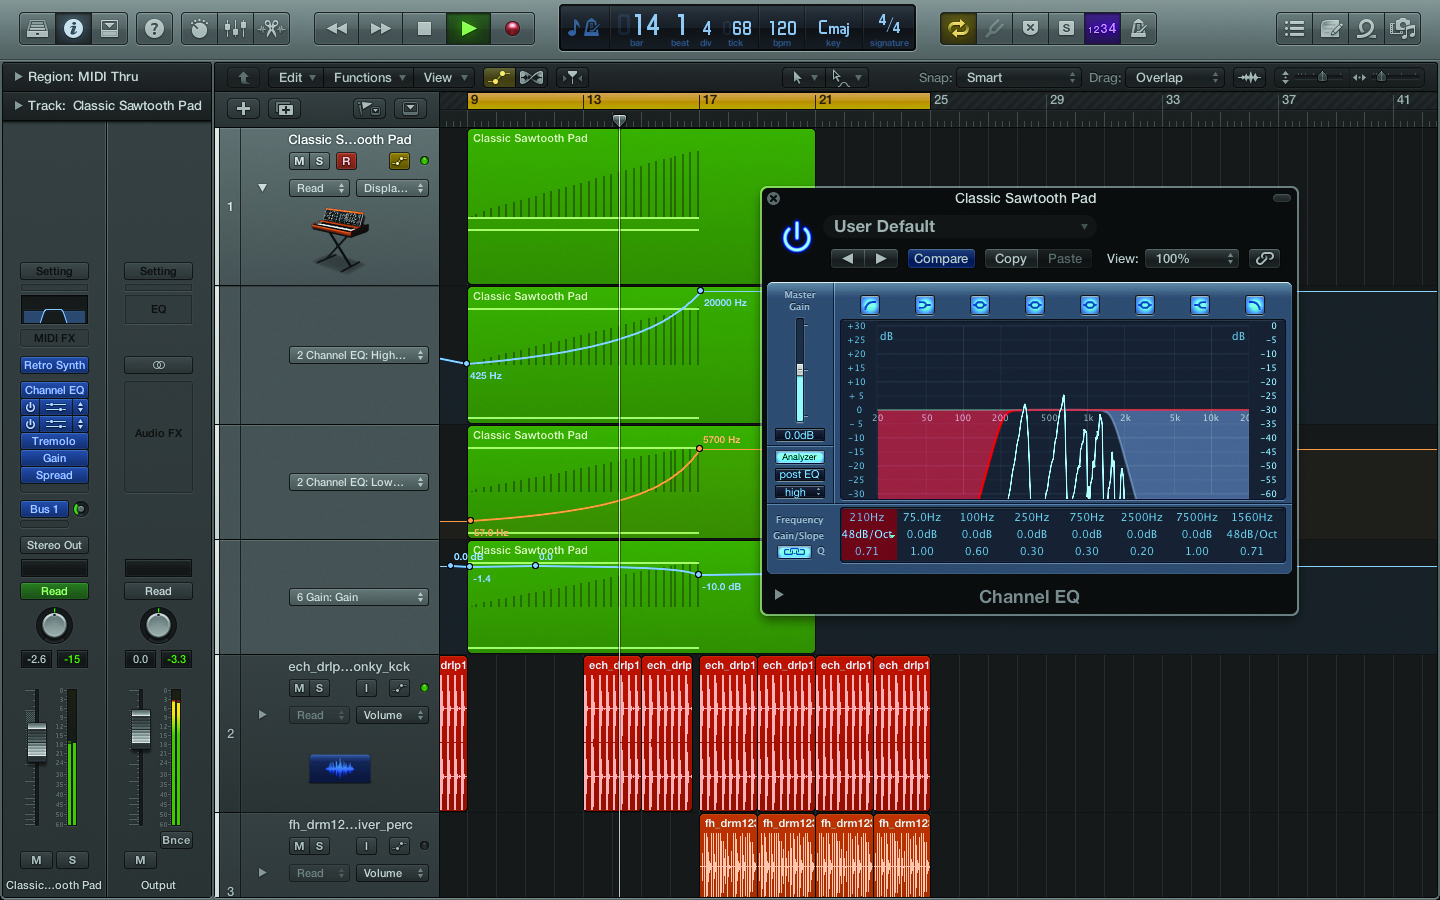
6: Finally, you may wish to fine-tune the volume and EQ to help shape and balance things. We would normally put a low cut to get rid of any rumbles (and perhaps automate it towards the end to get an extra degree of movement). You could also automate a high cut to achieve a filter-opening effect, finally balancing the volume level with a gain plug-in so that the whole sound sits just under the mix.
Bombs
1: We like to call them ‘bombs’, but the hits otherwise known as impact sounds can be used to signal new sections of a track. These will normally either be high crashes, low rumbles or a combination of the two. It’s advisable to avoid using low rumbles on sections with heavy beats and bass, but they can work wonders at the beginning of an expansive drop-down section.
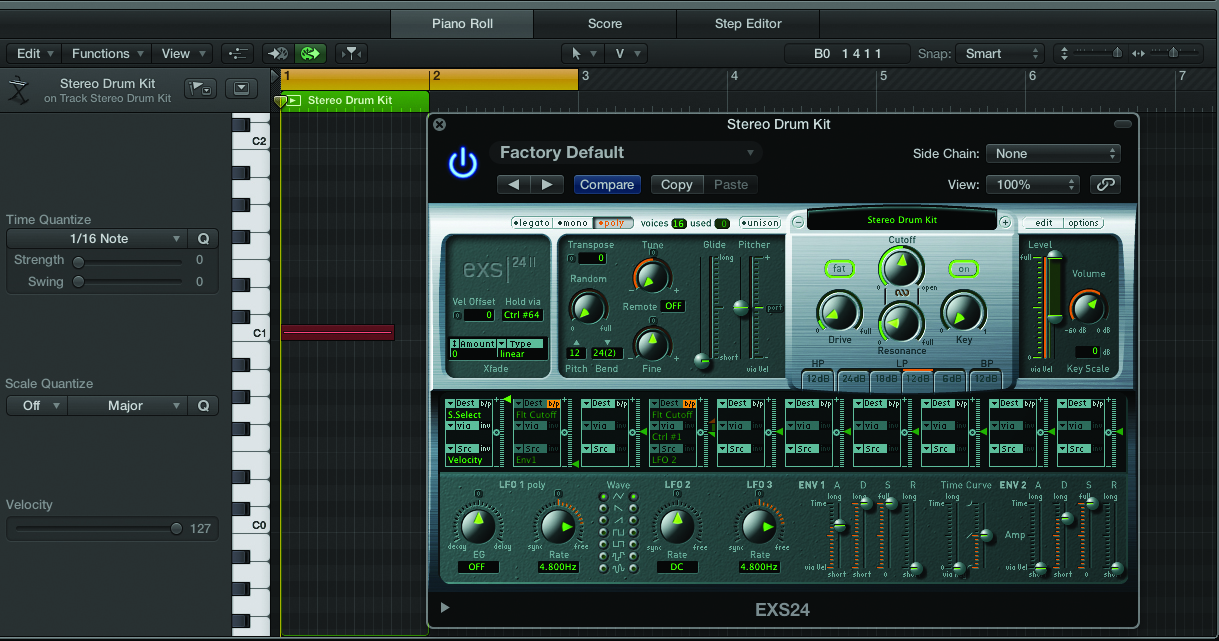
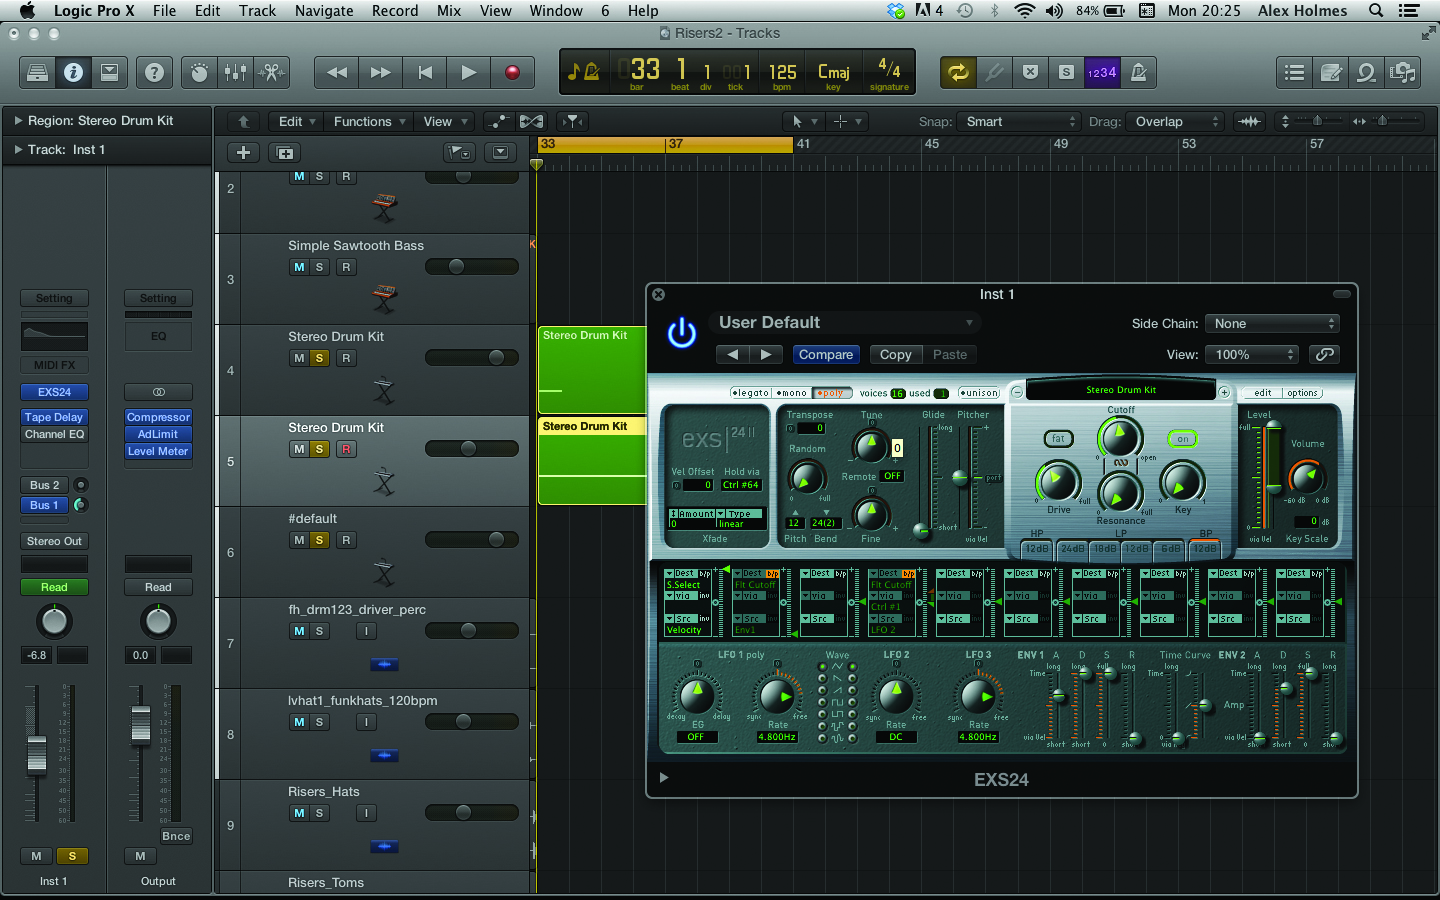
2: Start by selecting a kick drum or low hit. We’ve gone for Logic’s Stereo Drum Kit and a live-sounding kick with both low and high detail. We then tune the hit down to -24 (although your amount may be different depending on the qualities of the kick drum sample). We’ve also applied a low-pass filter with a little drive and engaged the Fat button, which helps to retain low-end weight
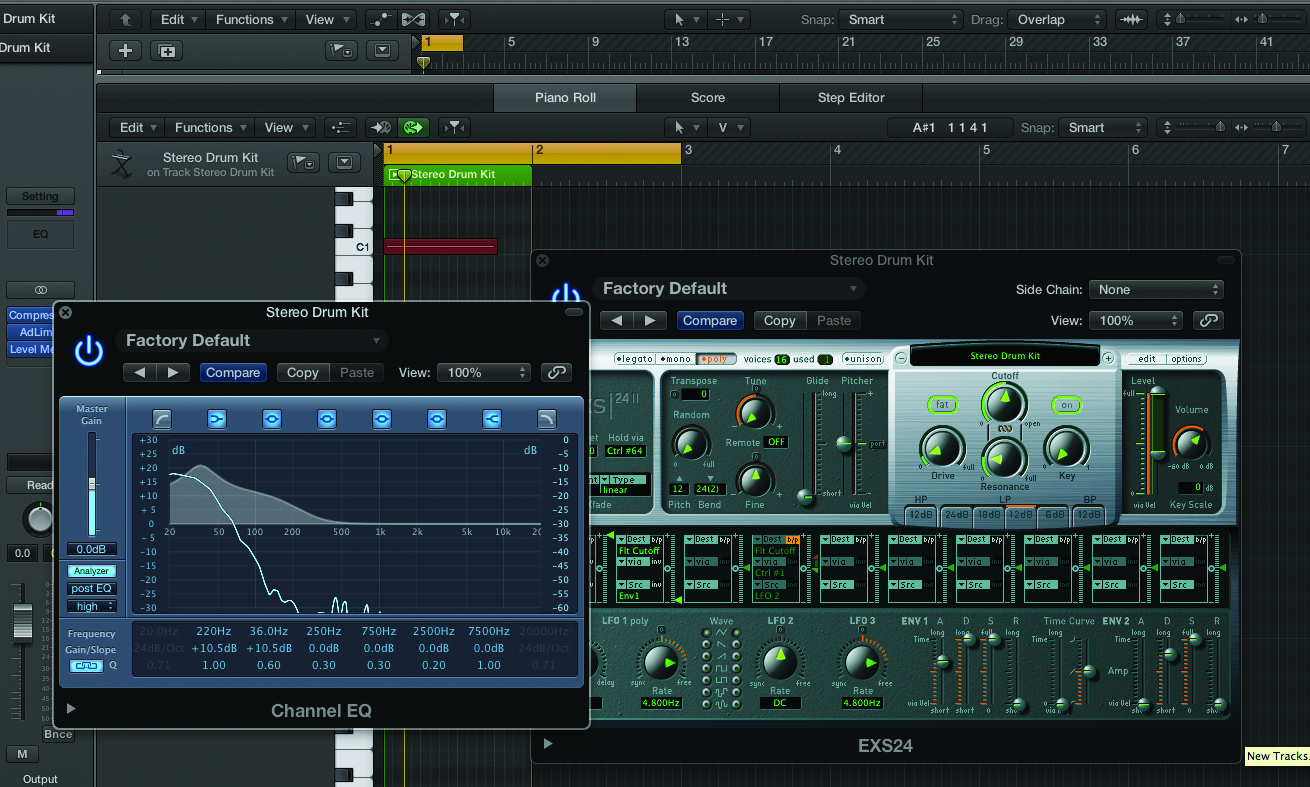
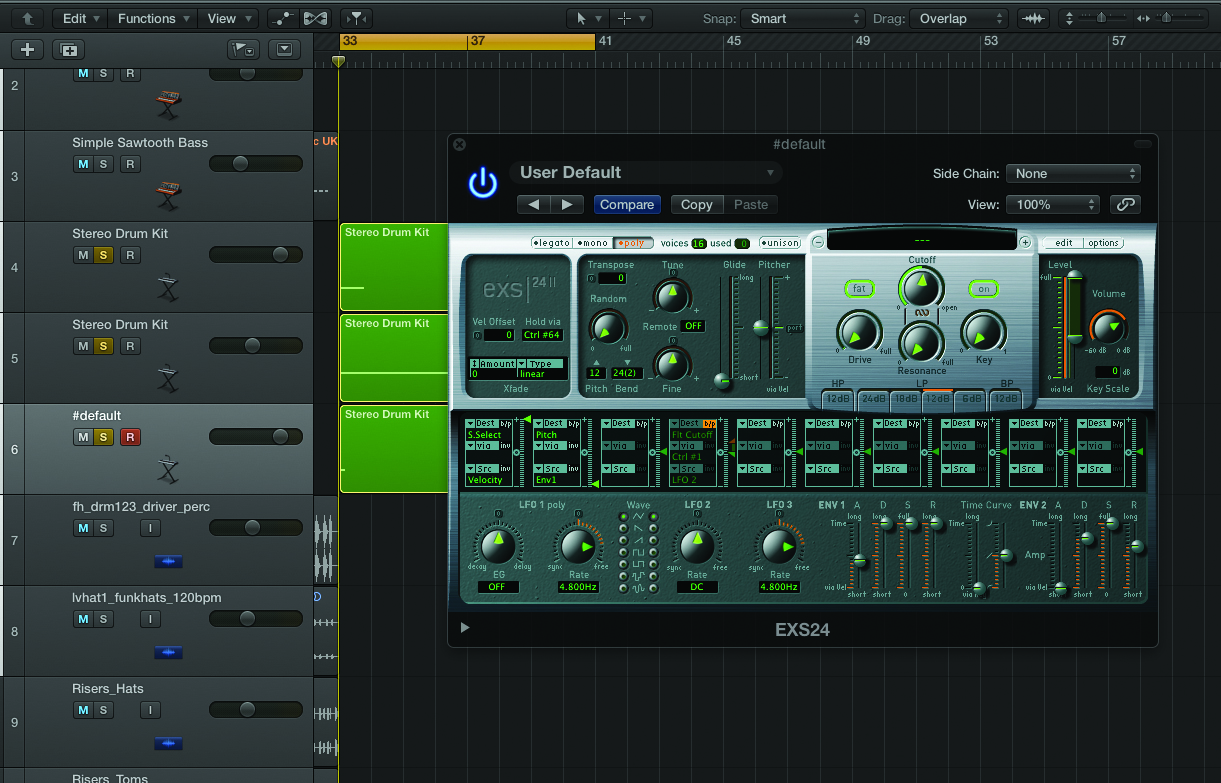
3: Next we apply a little pitch envelope so that the sound quickly dives further down in pitch. To give it more of a low-end bump, add a fairly healthy dose of low EQ using the Channel EQ, then send a portion of the sound to a long reverb on a buss. The character of the reverb has a considerable impact on how bright the tail is, so you may want to experiment here.
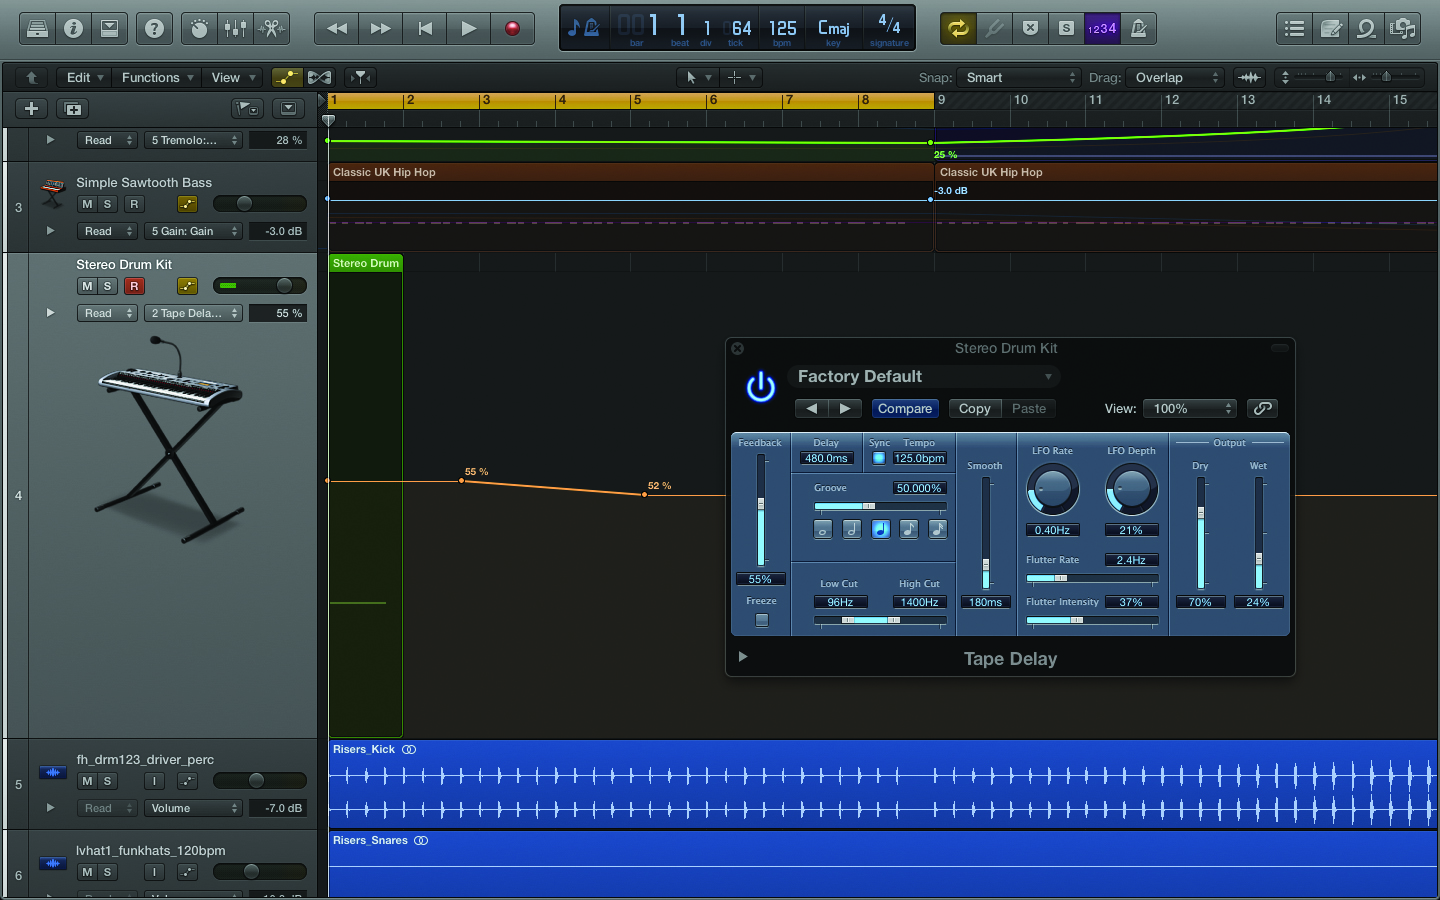
4: Don’t go much over a feedback amount of around 53%, though, as this is the tipping point for the plug-in, after which it infinitely feeds back on itself. We could, however, automate it to around 55% and let it ring out for a while, before dropping the automation back down before it gets too wild.
5: We can now add some texture by duplicating the track and adding a cymbal crash on top. You’ll probably want to adjust the Channel EQ and filter to better fit the sound. If you’re looking to add a hit over a busier part of the track, keep the pitch quite high so that it cuts through. However, if it’s to fill a more spacious section, a pitched-down and drawn-out cymbal can sound more atmospheric.
6: Finally, if you want a more refined bottom end to your kick hit, duplicate the kick channel again, but this time set the EXS24 to No Instrument, so it will simply play a sine tone. You can now tweak the pitch and envelopes to get a short bass dive that will sit under the other sounds. You’ll probably want to keep this quite dry, though, and remove the low EQ bump from the other kick.
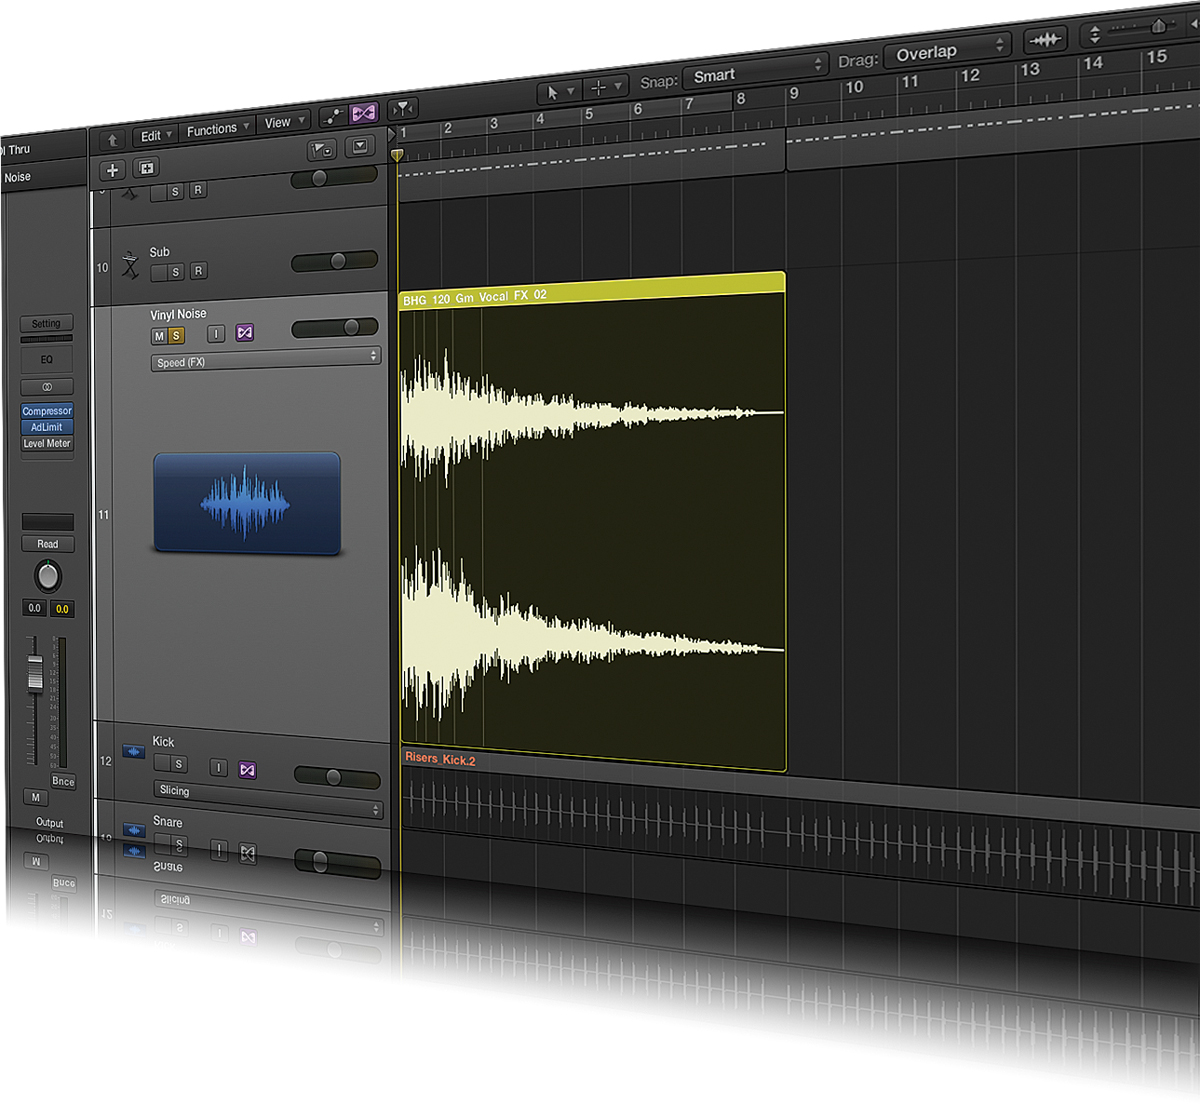
Atmos and Beds
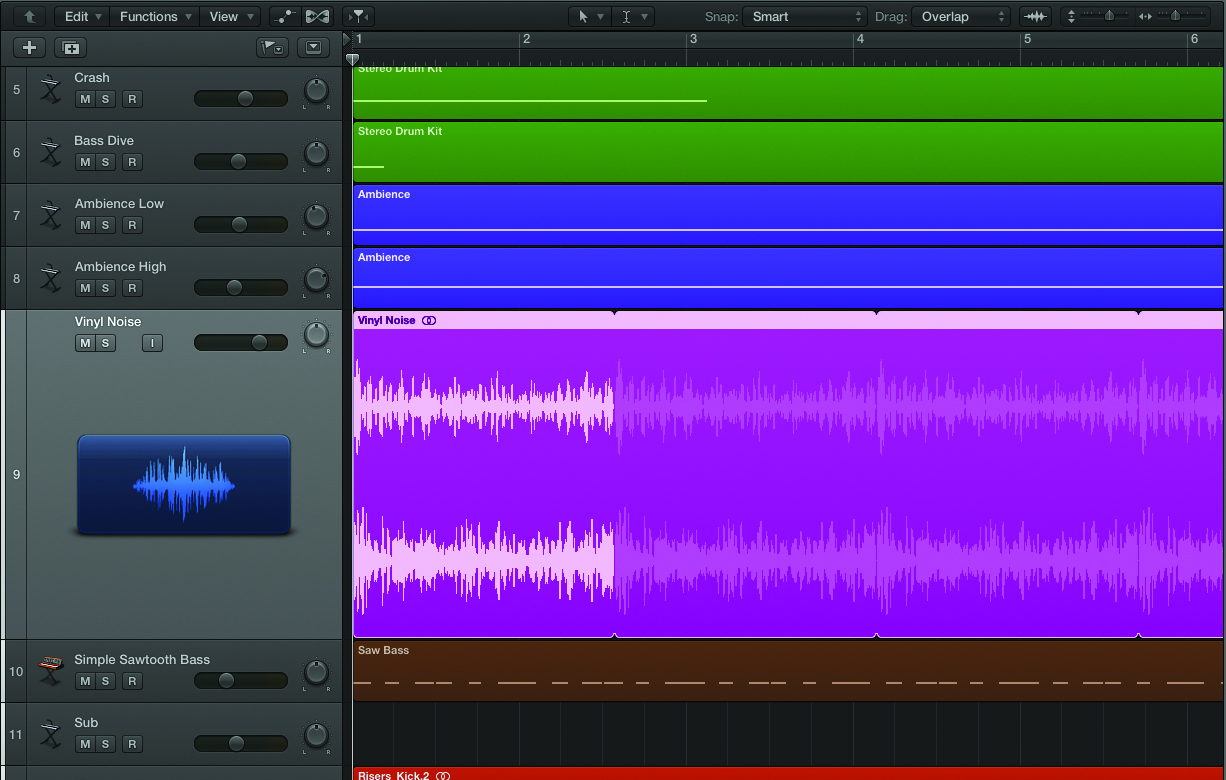
1: Adding an incredibly quiet layer of a real-world ambience or recorded grit such as vinyl crackle can be a good way to warm up your track, fill the silences and make it feel less like it was made in a sterile computer environment. The best way to do this is to record your own sounds, but you could also sample a portion of ambience from film or television footage.
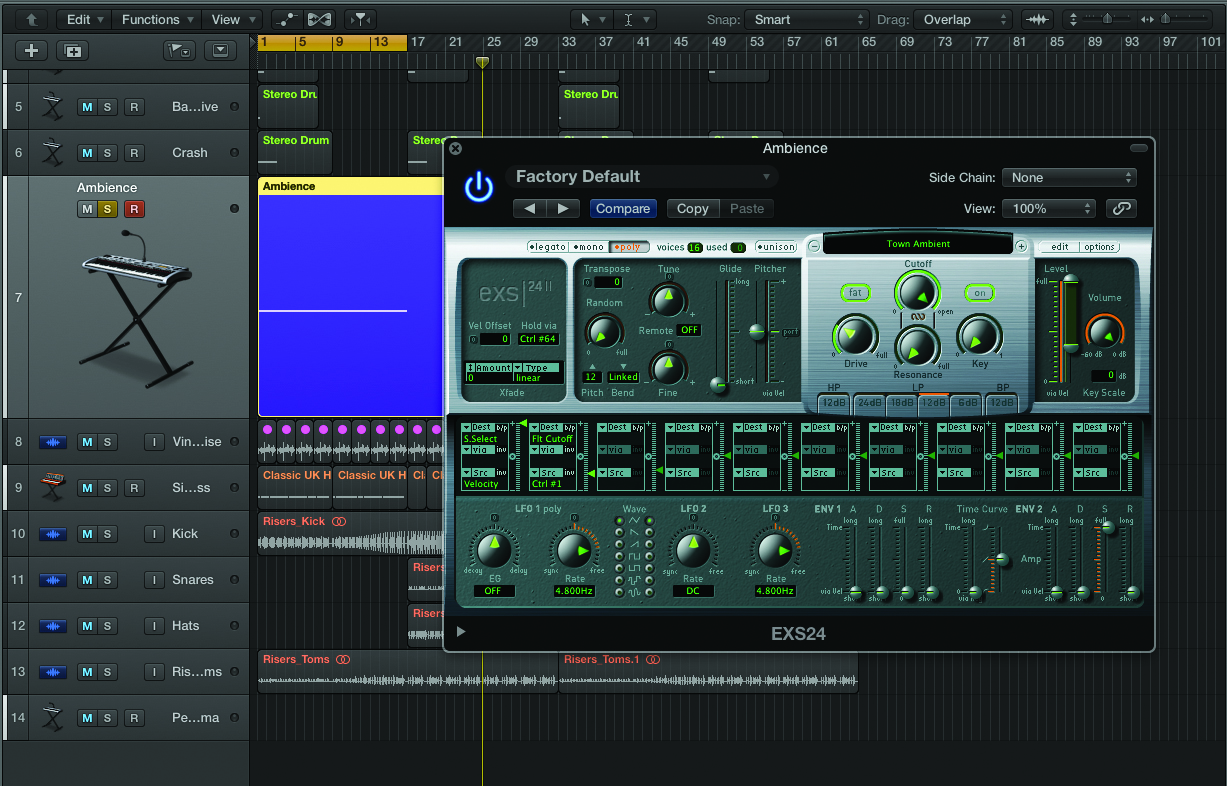
2: We’re going to use a couple of ambiences from the Logic EXS24 library, which can be found in FACTORY>TEXTURES>AMBIENT ENVIRONMENTS. Load up the Town Ambient patch and draw in a long MIDI note that stretches for around 8–16 bars. As the sound wants to be extremely low in the mix, you may want to drop the velocity right down to save you having to drop your volume fader down too far.
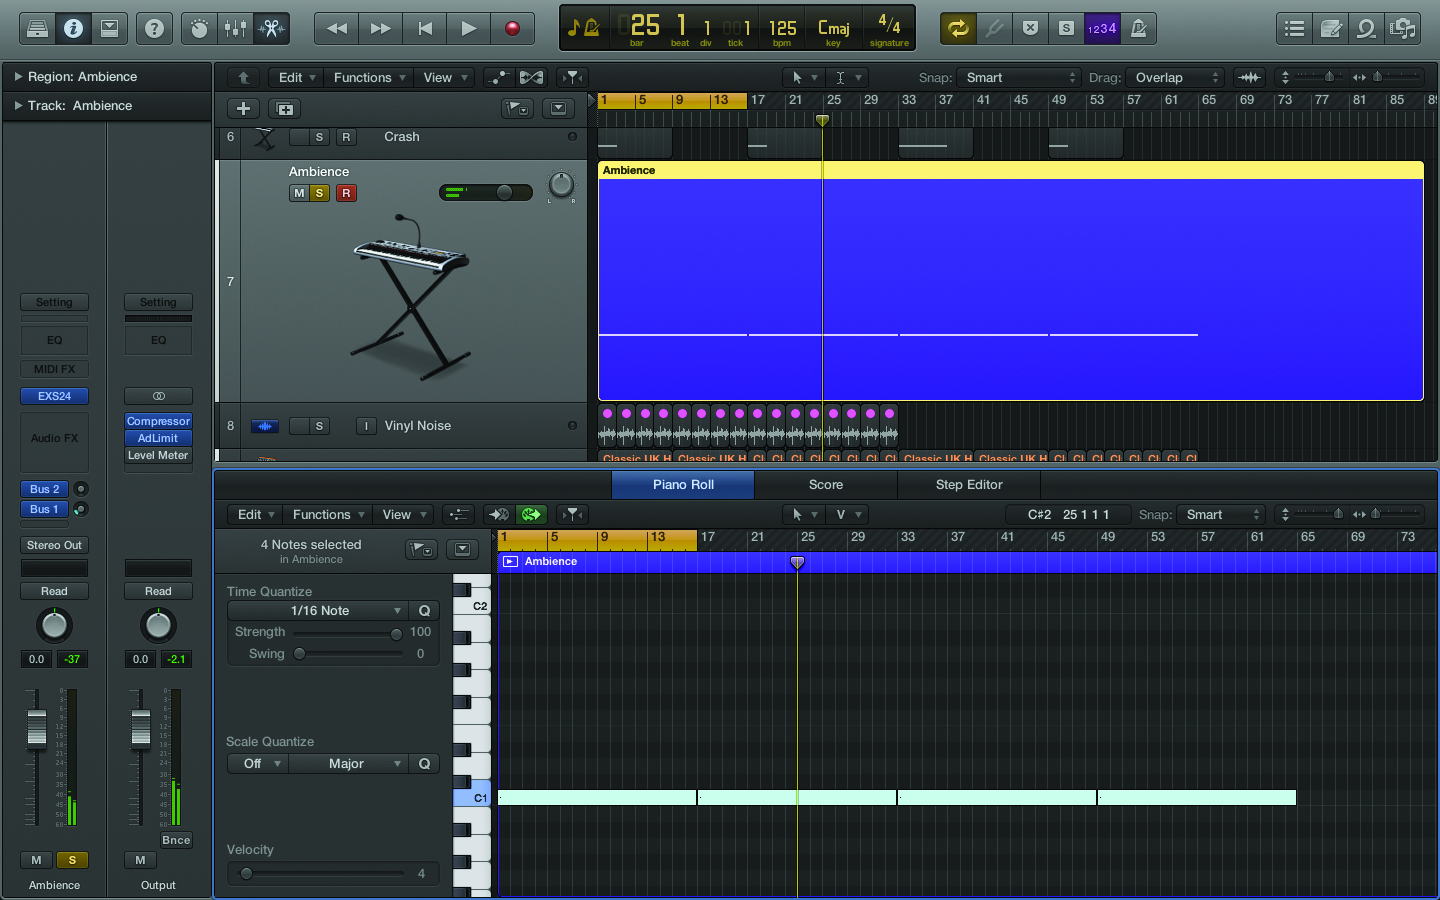
3: You now want to play around with the pitch to give the sound a more interesting texture. You could either use the Coarse Tune in the EXS24 or simply transpose the MIDI note up/down. Generally, moving the sound down will draw out any noises and give it a more grainy quality. We’ve taken this sound down two octaves by moving the note down to C1.
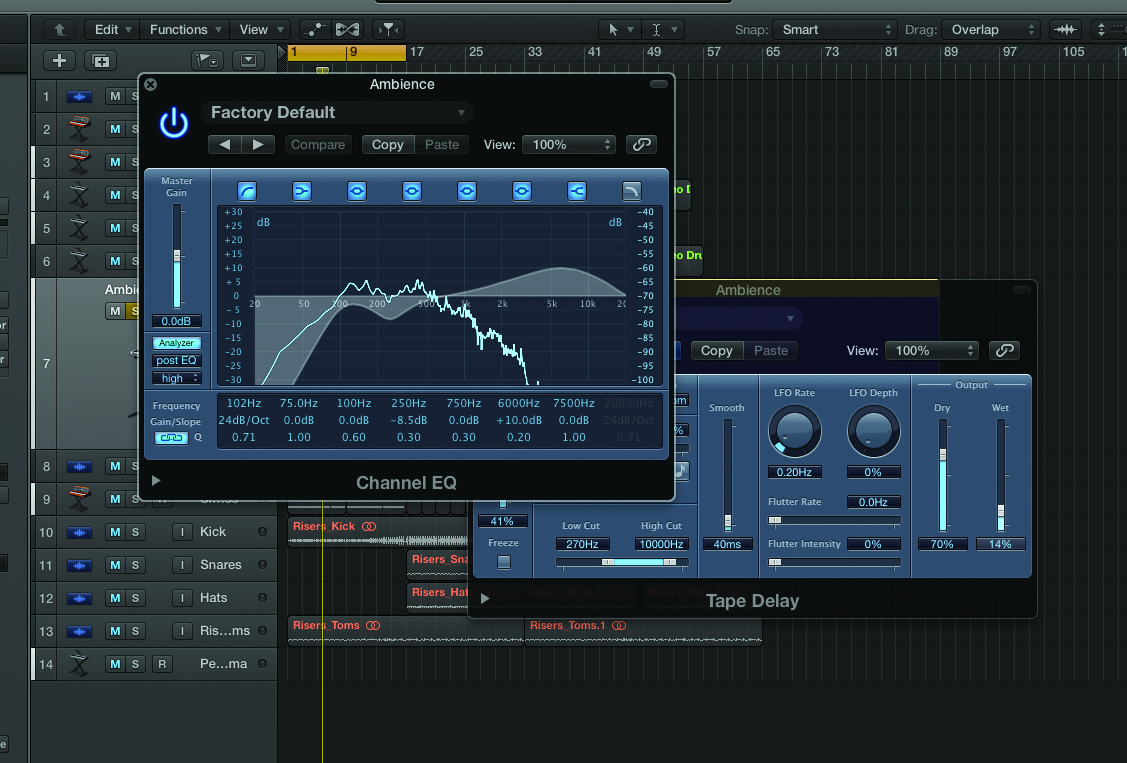
4: Our next task is to craft the sound with EQ to take out some low rumble and bring back in a little top-end detail. We’ll also add some subtle delay and send some of the signal to the reverb buss. Finally, as this particular sample is slightly weighted to one side, we have to pan it +7 to the right to get it central.
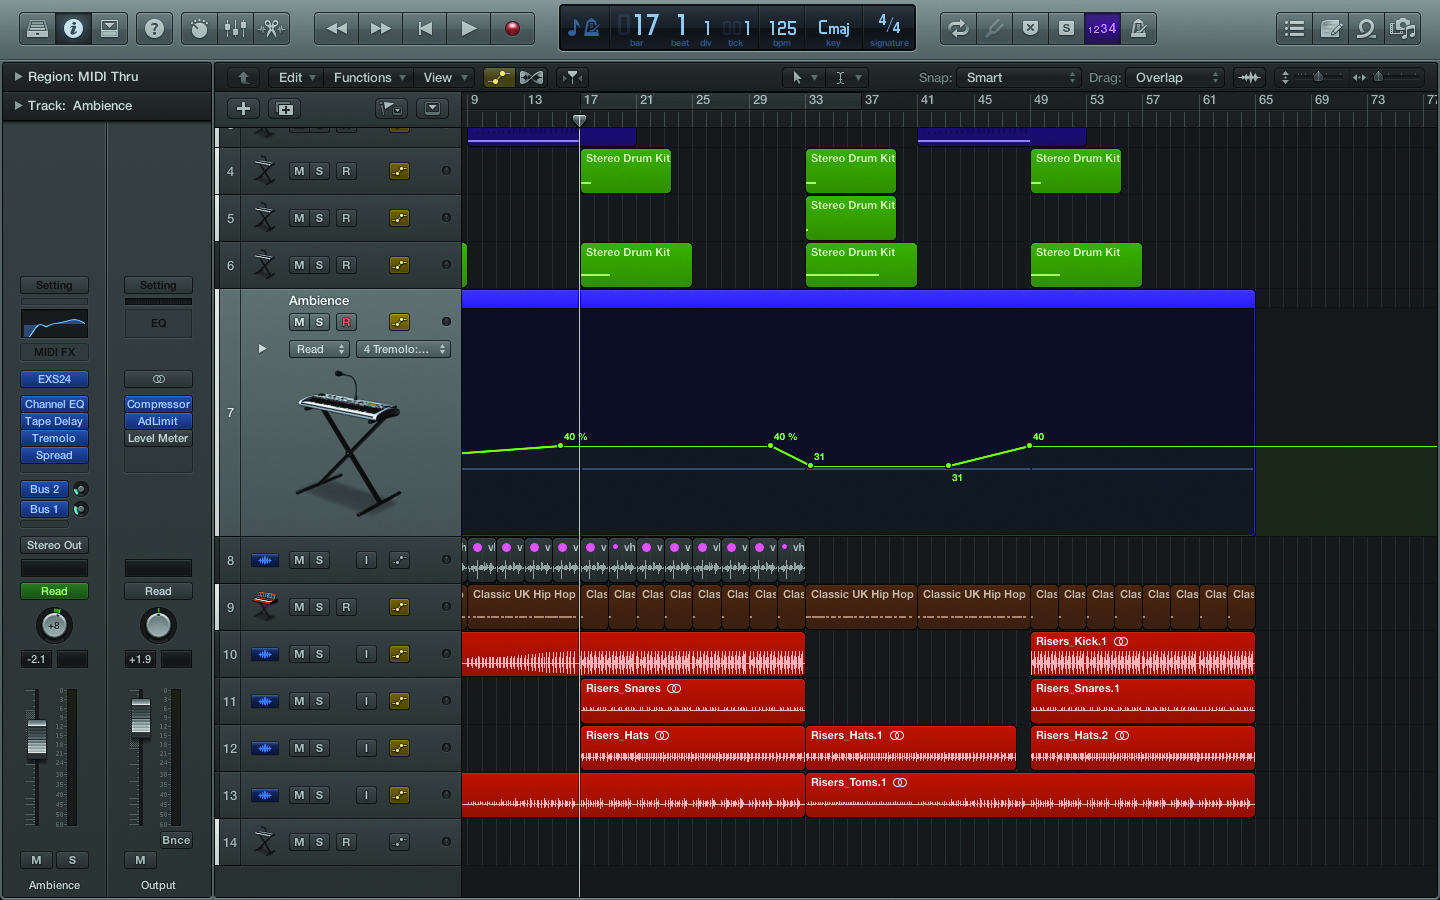
5: As we’re writing a track with a 4/4 kick, we can now apply some subtle SC pump to get it to sit better. However, this can sound odd in drop-down sections when the beat isn’t playing, so we would automate it to flatten out a little. The most important thing now is to balance the volume so that you don’t really hear the part, but you notice it when it’s muted.
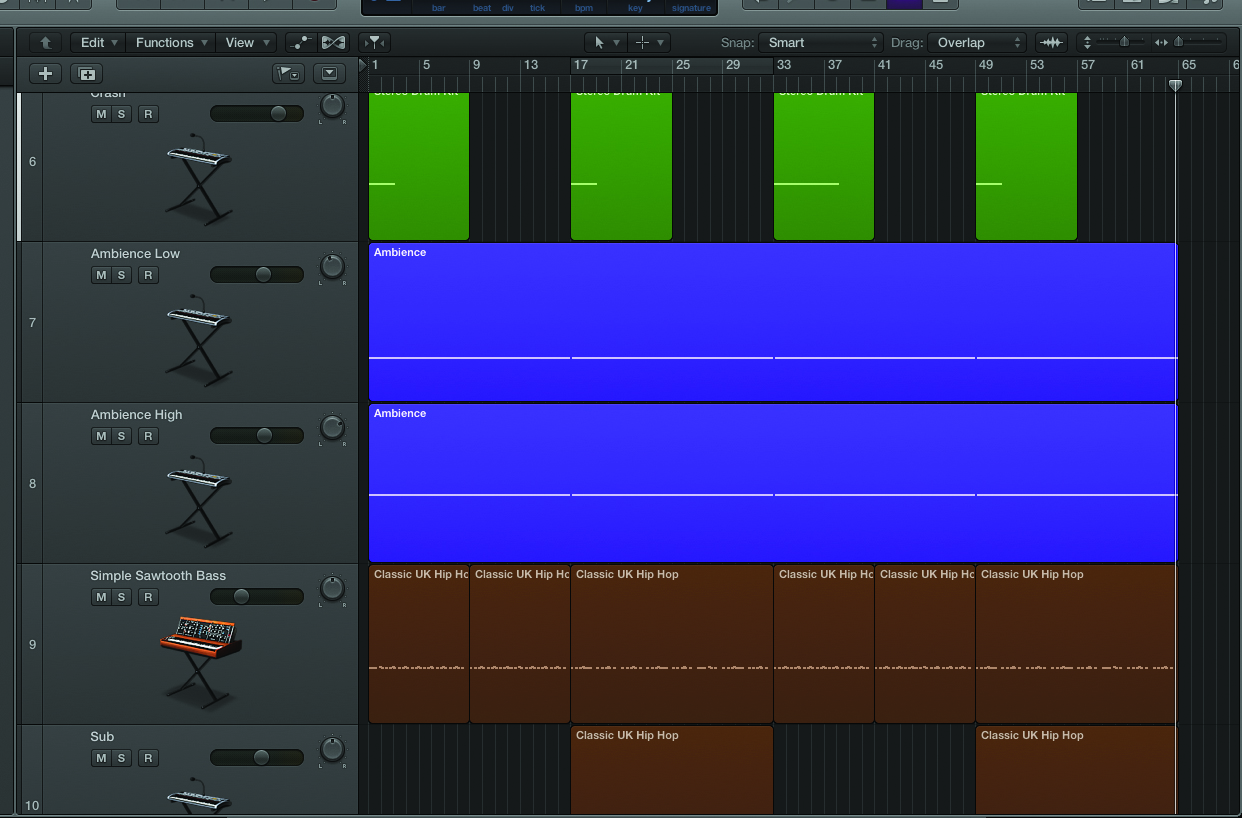
6: We could also slightly thicken the sound by duplicating the track and adding in a higher layer back up at C3. We’ve taken a bit more low end out to leave just some top-end sizzle, and slightly increased the delay amount. We can now gently pan this layer to the right and the bottom layer to the left to increase the stereo effect and leave a bit more space in the centre.